
This Is The Reason You Should Check Inside Your Shoes Before Putting Them On. This Is Scary!
It’s the stuff nightmares are made of, especially if you happen to suffer from arachnophobia. Even if you aren’t among the estimated 3.5 to 6.1% of the population that is deathly afraid of spiders (source: Wikipedia), this video will likely make you feel more than a little squeamish. It comes out of Australia, the continent that’s known for being the home of more dangerous and deadly animals than any place else on Earth.
While the people living there are taught from an early age on about how to best avoid all of the dangers, the occasional wildlife run-in becomes inevitable sooner or later. This footage shows one of those panic-attack inducing moments and if you really hate spiders, avert your eyes and consider yourself warned.
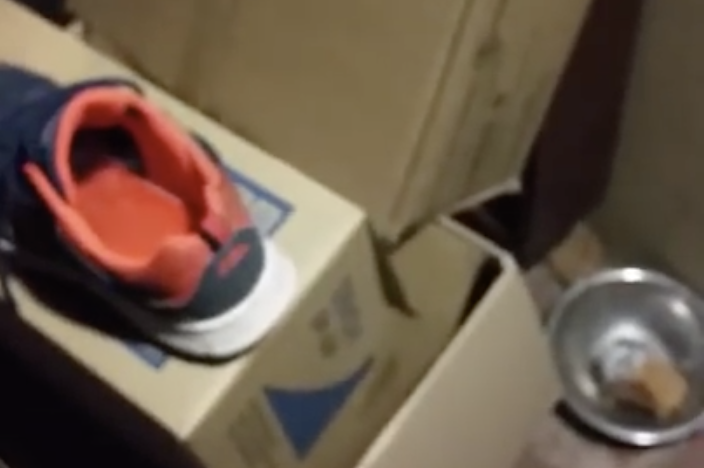
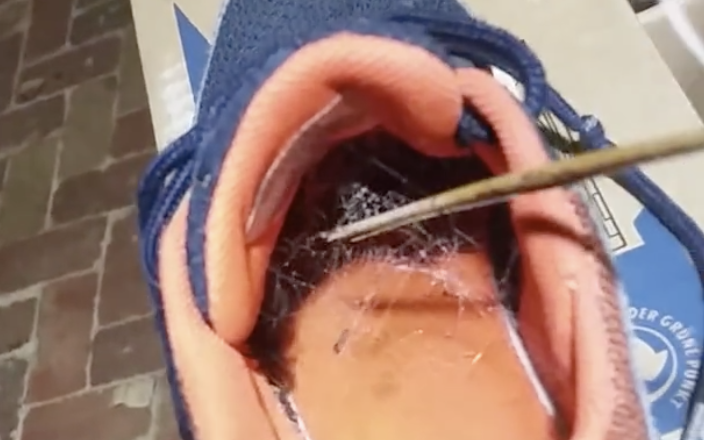
The man filming explains that his young son had left his sneakers outside over the weekend. In Australia, such practice is never recommended as you never know what might take the opportunity to crawl up inside and make them its new home. Thankfully, dad knows best and before his son could stick his foot in the shoe, he checked it out first.
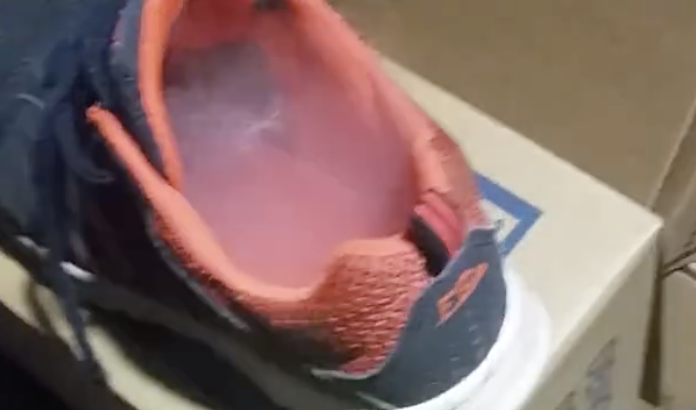
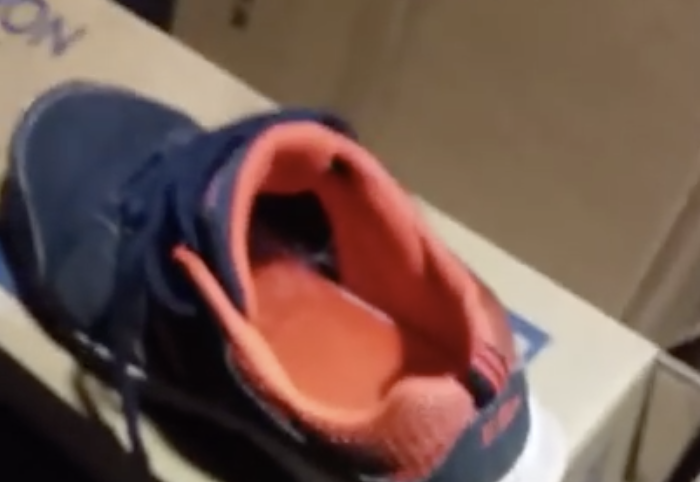
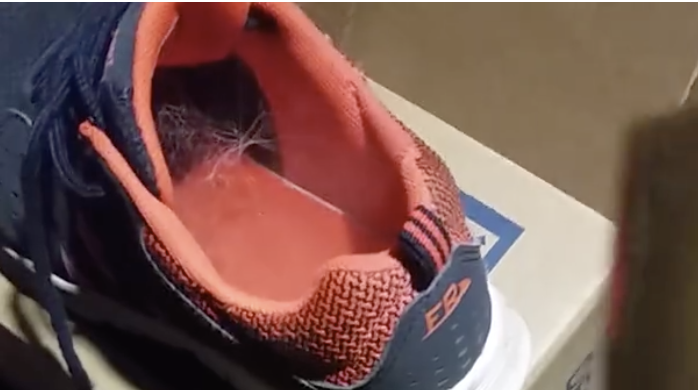
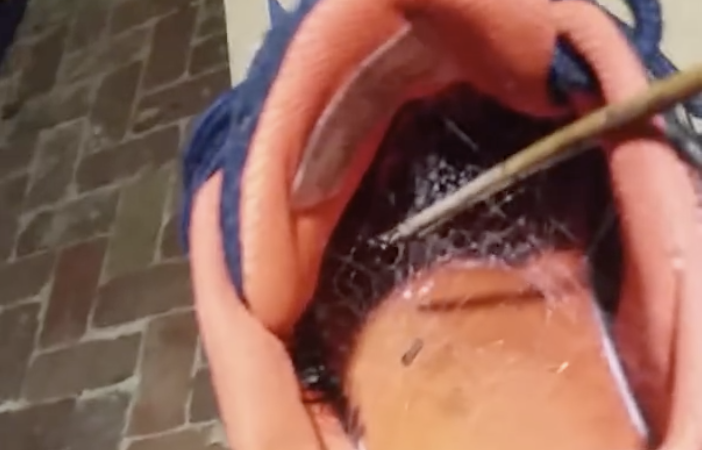
It turns out that the blue and orange sneaker contained a very unwelcome guest indeed, as was evidenced by the sticky mass of cobwebs that visibly reached deep down inside it. Alerted to the danger, dad wasn’t taking any chances and he thoroughly fumigated the shoe with a few good blasts of insect spray.

When no spider came crawling out, he grabbed a stick to poke around with and then suddenly out popped a large, shiny, black funnel web spider. Before he cuts the man ends the whole drama with a perfectly timed and humorously dry remark, “Welcome to Australia.” Eek!!

Funnel web spiders are among the most deadly spiders in the world because of their highly venomous bite. They love dark, moist areas and seek out tight spaces to burrow in, like a child’s shoe. Rather than run away and hide when they’re threatened or provoked, they act aggressive and will stand their ground and fight, often rearing up on their hind legs to better display their fangs.
When they do bite a person it’s often more than just once and it’s described as incredibly painful. If a male bites you, the venom he’s injecting into your body is almost six times more toxic than his female counterpart, which is why males are believed responsible for more severe cases and reported fatalities. Children are at a higher risk for funnel web spider bites because of their small size and about half of all annually reported cases involve kids.
Please Share This Video With Family and Friends
He Puts a Block of Wood In Boiling H2O. 2 Days Later An Awesome Unexpected Surprise!
Have you ever looked at something and wondered how the heck is it possible? Lots of things puzzle our brains and cause us to stop and think about how they were accomplished. Whether it’s through means of magic tricks, optical illusions, or even alien intelligence, the explanation is often much more simple than originally thought to be. The seemingly impossible nail through wood trick falls under this optical illusion/puzzle-type of conundrum.
If you’ve never seen the visually confusing puzzle before it features a nail which appears trapped within a block of solid wood. The piece lacks any drill holes and there is no physical way that the nail could have been hammered through the wood. The question it makes us ask ourselves is this; how did the nail get there?!

You no longer have to wonder because it’s been covered by Steve Ramsey on his YouTube channel where he shows exactly how it’s done. He gives us a comprehensive behind the scenes glimpse at the entire process from start to finish and it’s quite awesome.
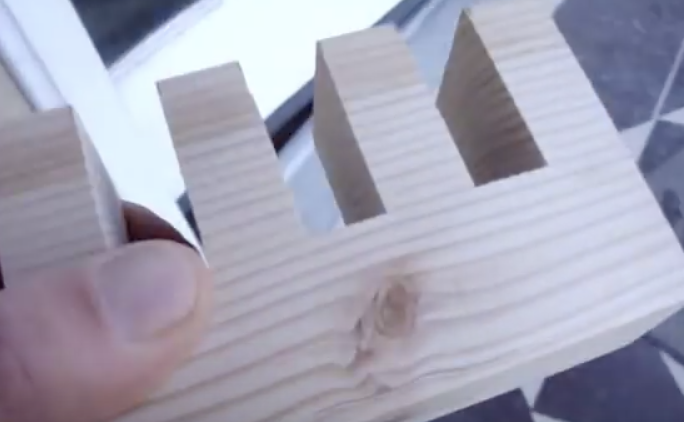
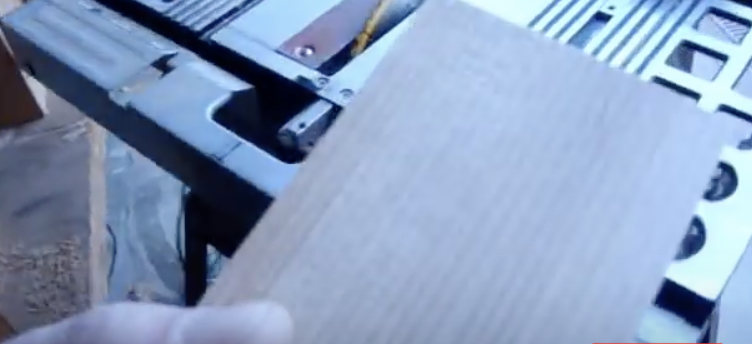
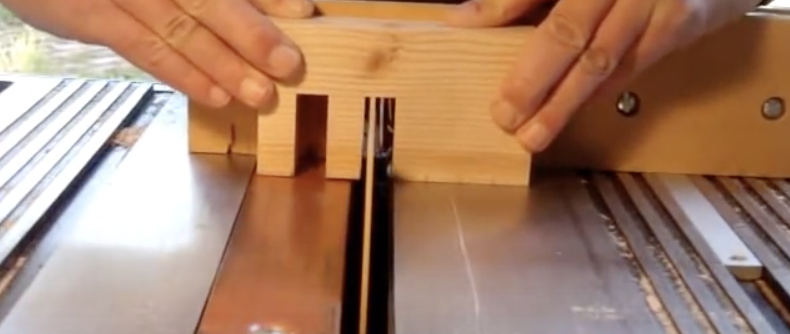
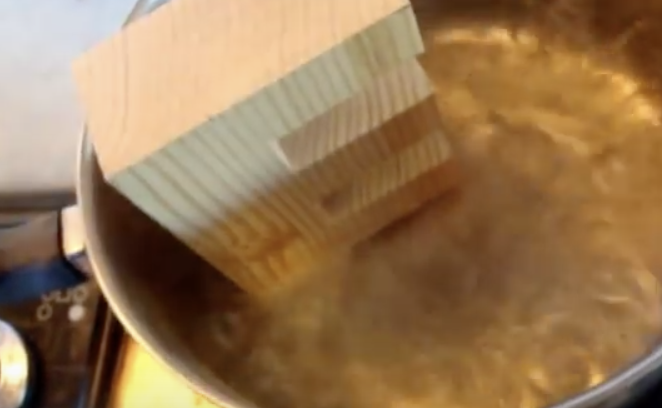
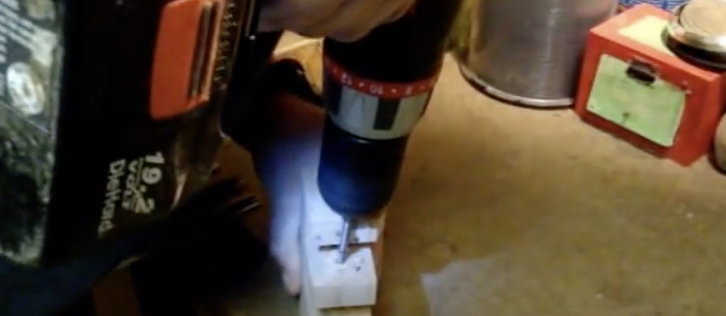
He begins with a solid block of pine wood and cuts three evenly spaced slots halfway down into one side of it. After heating up a large pot of water to a boil, the wood is placed in it to simmer for about 10 minutes and then removed. Immediately after that the block is transferred to a wood clamp where it’s tightly compressed and sits for two days.
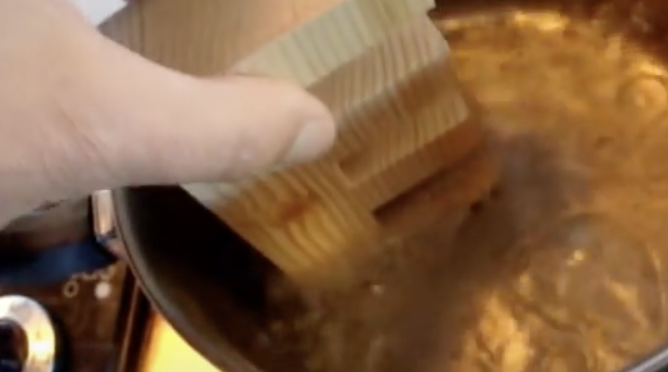
The force from the clamp causes the boiled portion of the wood to warp and mushes it down enough for a nail to be easily inserted through the inner slot pieces. Once the nail is in place the wood is boiled yet again for about ten minutes. The hot water causes it to expand back into it’s normal shape, and in the process the nail becomes entrapped within the sides of the block.
Simple science can explain the whole “trickery” at work here as the heating and cooling of the wood caused it to expand and contract. That, in conjunction with a little extra force from the clamp, allowed just enough room to insert the nail through the middle slots, while bypassing the end portion. It’s pretty cool that something so seemingly impossible turns out to actually be very possible indeed!
Please SHARE This With Family and Friends 🙂
If You Eat Ginger 1x Per Day For a Month This Happens To Your Body!

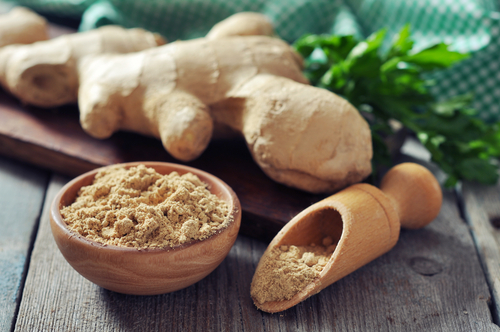
Typically, ginger is an ingredient found in Indian and Asian foods, and has been used for many centuries due to it’s remarkable capacity to remediate many health issues. It’s flavor is delicious as well, but the part of the ginger plant used for it’s health benefits is the root. The video that you are about to watch below, is an easy to follow tutorial, that discusses some of the medicinal properties of ginger, and how to prepare it in making fresh ginger tea.

Ginger is particularly well known in relieving issues involving STOMACH DISCOMFORT. One of the problems many people face, is the amount of time it takes food and fluids to move through their GI tract. If you have a problem with DIGESTION, because your stomach doesn’t empty quickly enough, ginger can RELIEVE INDIGESTION. In one study 24 healthy subjects were given 1.2 grams of ginger powder prior to eating; their STOMACH EMPTYING WAS ACCELERATED by 50%, which showed a significant impact on relieving the discomfort of indigestion.

Experiencing NAUSEA is one of the worst feelings, which GINGER TEA can alleviate. It works well with cancer patients who experience nausea from treatment. A review of twelve studies of 1,278 pregnant women who had morning sickness and were administered 1.1-1.5 grams of ginger, experienced a SIGNIFICANT REDUCTION OF NAUSEA.

Studies have shown that Ginger has a significant impact on the REDUCTION of MUSCLE PAIN. Research at the University of Georgia found that daily use of ginger yielded 25% less muscle pain, and was also effective in minimizing the day-to-day progression of muscle pain. MENSTRUAL CRAMP REDUCTION is another benefit of ingesting ginger.

A study of 247 people with OSTEOARTHRITIS of the KNEE found a significant decrease in pain when taking a daily supplement of ginger extract. Joint pain and stiffness is one of the most debilitating aspects of aging. The ANTI-INFLAMMATORY properties of ginger will allow people to take less pain medications, which have many negative side effects.

A REDUCED RISK OF HEART DISEASE by 10% was concluded from a study in which patients with TYPE 2 DIABETES were administered 2 grams of ginger powder daily. Over a 12 week period it was found that their blood sugars were lowered by 10%. As high blood sugar is a major cause of heart disease, it was concluded that ginger could lower the risk of heart disease by at least 10%.
A LOWERING OF CHOLESTEROL LEVELS with 3 grams of ginger powder daily was found to be significant in a 45 day study. This offers further evidence of the significant impact of ginger in reducing the risk of heart disease.

There are ongoing studies of the substance 6-gingerol, found in ginger, as a possible alternative treatment for certain forms of CANCER. A significant finding in one study, of reduced pro-inflammatory signaling molecules in the colon, when patients received 2 grams of ginger extract daily.

Last, but not least, studies of the ANTI-INFLAMMATORY and bioactive properties of ginger, have suggested that this powerful root may have a significant impact on REDUCING AGE-RELATED BRAIN IMPAIRMENT. Studies have shown an improvement in reaction time and working memory from ingesting ginger. With further research, the importance of ginger in PROMOTING BRAIN HEALTH is promising.

The video below will instruct you on the easy way to make home-made ginger tea, to start promoting better health, in a lovely relaxing way.

Please SHARE this with your friends and family
She Sets Wire Shelves Into Her Food Cabinets. The End Result Is Impressive!

Most of us dread having to clean and organize different areas of our houses but the time comes when you just have to get it done and over with. While we don’t really enjoy actually doing our spring cleaning chores, we do like learning about new and simple ways to get them done. It can be fun and interesting to discover what nifty and quick solutions people have come up with to solve common problems and the kitchen hack covered here is no exception!

If you’re currently dealing with messy, unorganized, sloppy looking kitchen cabinets where you store canned goods, then you know how frustrating and headache inducing it can be every time you open them up. Most of us simply place new canned goods and items on the shelf and in the process we end up piling and jamming things in wherever they fit.

Over time, the pantry cabinets that hold all of those cans and jars eventually becomes jumbled and disorganized. Food gets mixed up, lost, and pushed towards the back, where it’s never seen or heard from again!
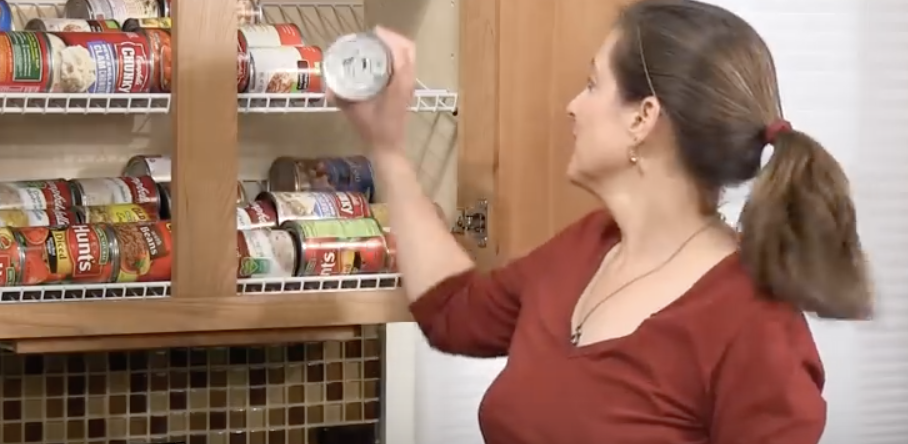
If you suffer from kitchen cabinet canned goods-itis then you need to check out this simple solution that will cure you of it. Elisa Bernick, associate editor at The Family Handyman, shows how an inexpensive and easy upgrade can turn your cabinet nightmare into a storage dream.
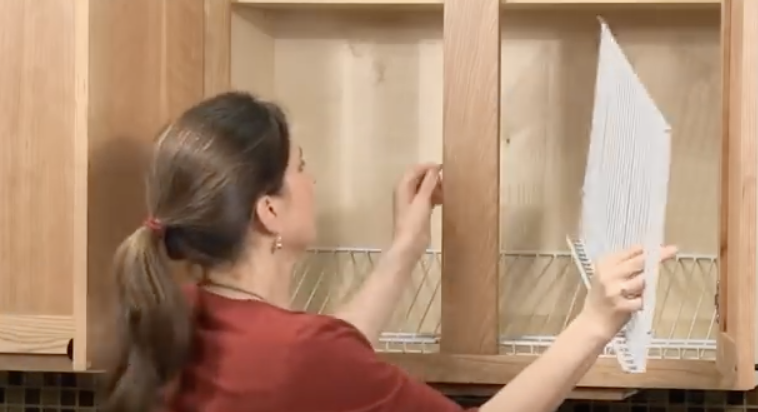
All you need is closet wire shelving, a hacksaw, two screws, and a drill. With the help of her easy instructions and a clear picture of exactly what to do, you can achieve clean and neatly organized kitchen cabinets. Check out the video for more details and below is a breakdown of how to make the storage shelves for canned goods:
First, measure the inside dimensions of your cabinet and then measure out a piece of wire shelving that matches. When you go to cut the shelving, make sure to cut it about half an inch short.

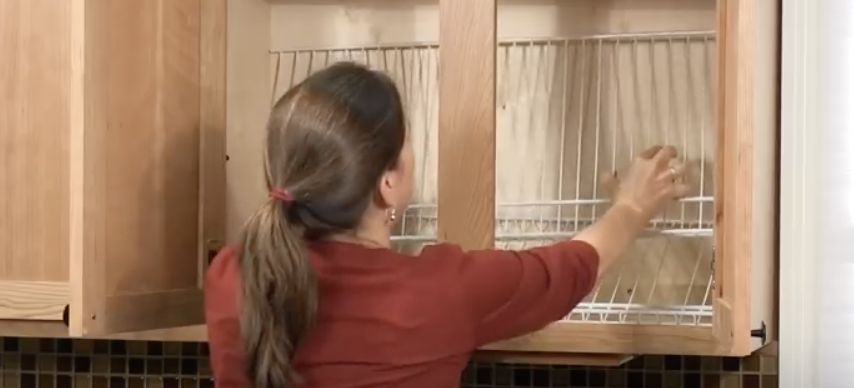
You can use a hack saw to cut the wire or heavy duty bolt cutters, which are quicker and easier to use. When placing the bottom shelf inside the cabinet just wedge it into place, but if you choose to add a second top shelf, you’ll need need to do some additional work that requires two screws and a drill.

For the top rack, start off by pre-drilling two screw holes into the back of the face frame of the cabinet. Next, install the screws but make sure to leave them each hanging out by about ¾ of an inch so that the top rack can rest on them.

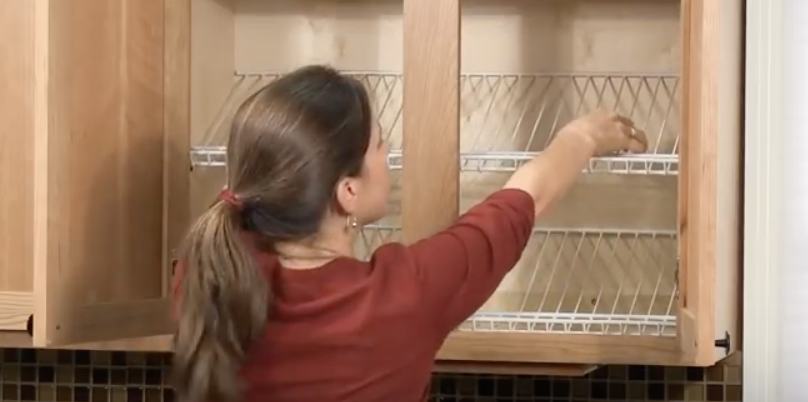
Cut the shelving to fit and this time when you go to install the top rack, position it inside the cabinet on an angle so that it’s slightly tilted. The front should end up sitting down on top of the screws, while the back will wedge into place.
Finally, check to ensure that it fits snug and securely so that it’ll be able to hold a bunch of heavy cans, jars, or whatever other items you plan to place on them. Once the shelves pass the quality control test, go ahead and load them up with goods, and enjoy your newly organized shelf-life!

Please Share This With Family and Friends 🙂
Lions Tigers and Leopards Try Catnip For The First Time Ever. The Results Are Hilarious!
Cats are very finicky animals with a whole lot of attitude. If they happen to come across something they hate, whether it’s their food, litter, a person, or another animal, they’ll let their feelings and disdain be known. However, there is one thing you can always count on that all cats seem to absolutely love; catnip!
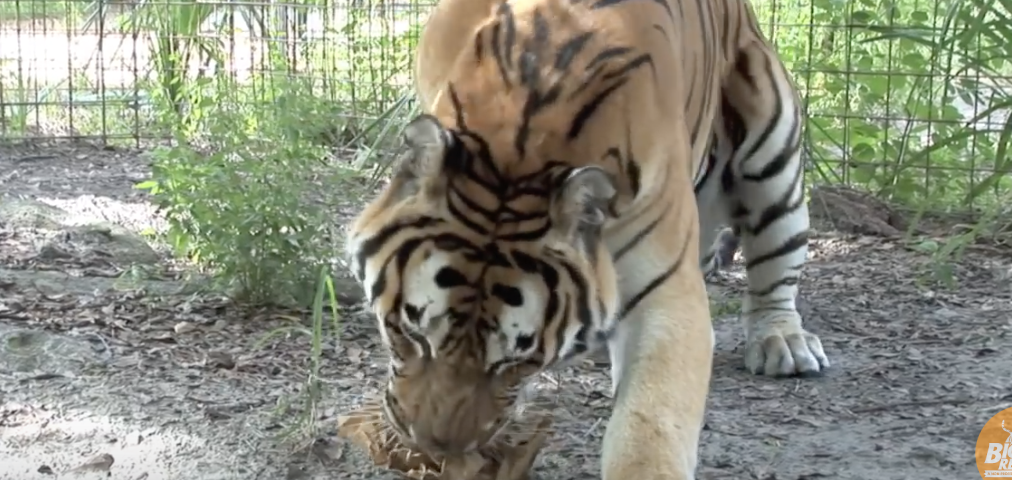
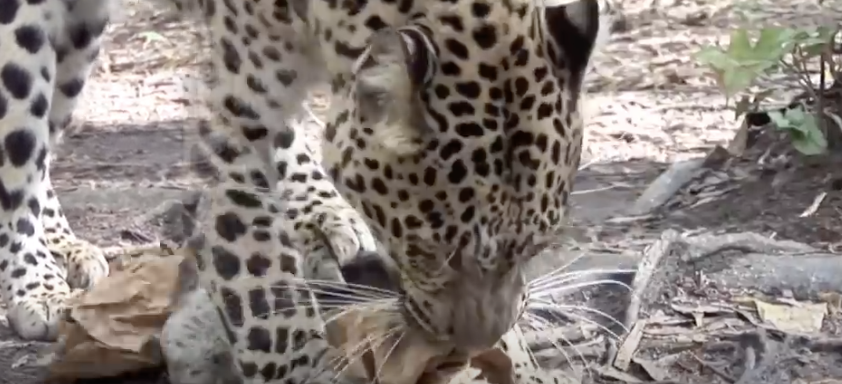
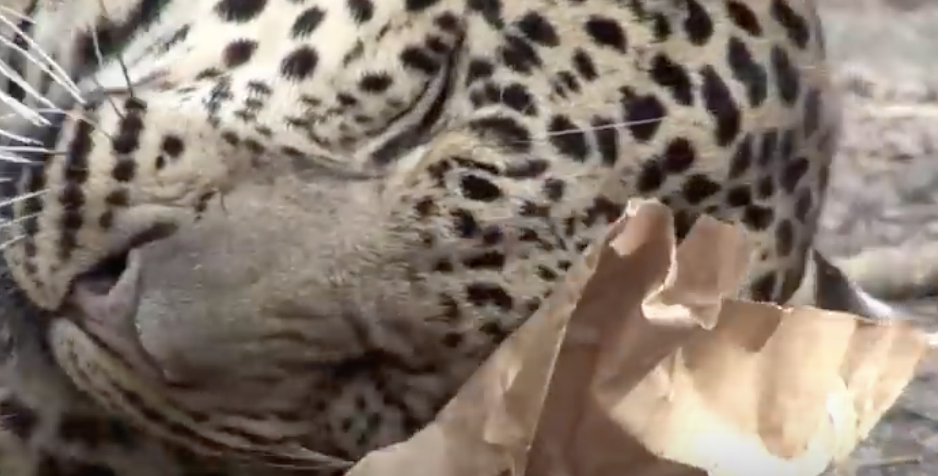
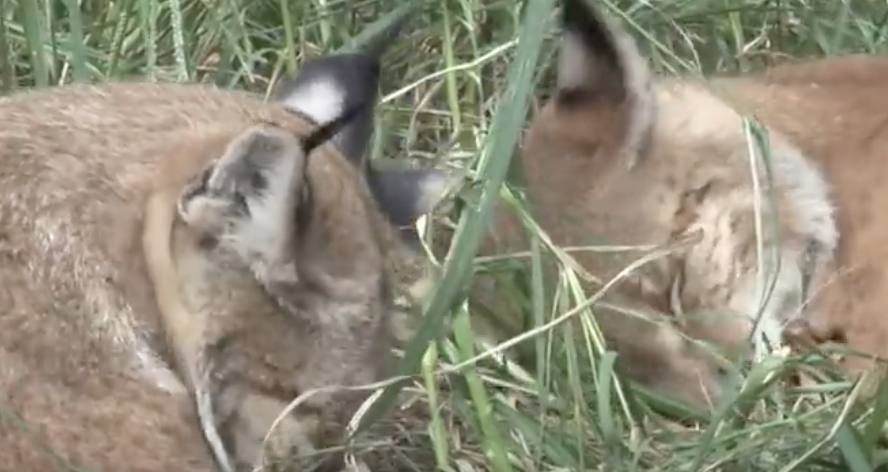
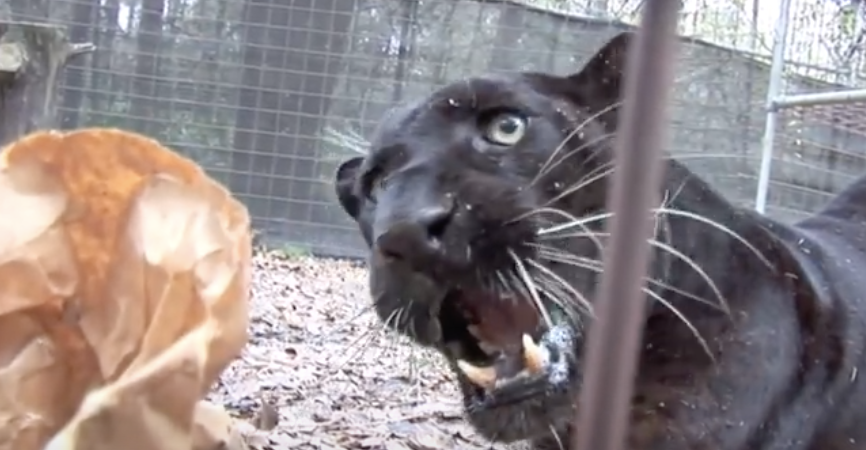
It’s not just domestic house cats who go crazy for the stuff, even big cats like lions, tigers, jaguars, leopards, cheetahs, and bobcats go cockoo for catnip. In fact, that’s one of the main questions that staff at the Big Cat Rescue in Tampa, Florida get asked all the time- whether or not the big cats in their care react to catnip. So if you’ve ever wondered what a tiger or panther hyped up on catnip looks like, check out this video the rescue group posted on their YouTube channel.
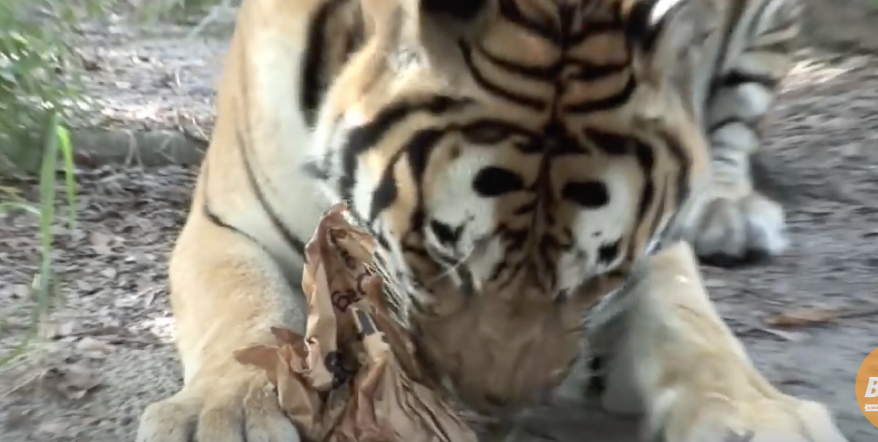
To safely give the cats their herbal treat, a handful of dried catnip is placed in a paper bag and crumpled up before it’s tossed out to them. Each big kitty is naturally drawn to the sudden appearance of a crinkly wad of paper in their midst and they get right to work on it. They sniff them out before aggressively tearing into the bags in search for more of the happy-inducing experiences they’re under.
Each cat reacts in their own uniquely quirky way. Some roll around, others rub their faces on the ground, twist about, claw at the bag, and act all hyper, while a few are pretty tame in response to it all. It’s amazing to see these big, strong, beautiful animals flopping around in ecstasy like little kitties! It makes me want to give my cat a little sprinkle of the magic catnip dust.
And in case you’re wondering, here’s why catnip makes cats go nuts. First and foremost, it’s perfectly safe for cats to consume and it effects them when they either smell or eat some of the stuff. That’s because it comes from an herbal plant called nepeta cataria which is part of the mint family and it has psychoactive effects on felines thanks to a compound it contains called nepetalactone.

When a cat gets a whiff of catnip that compound ends up binding to the olfactory receptors in their nose. In turn, it triggers a neurological response and kitty goes crazy, and we all know what that looks like.
A cat high on catnip is both adorable and hilarious all at once. Many are quite comical to watch, so if you want to smile, laugh, and feel good inside, check out this video!

Please Share This With Family and Friends Who Need a Smile Today 🙂
She Starts Pressing Store-Bought Dough Inside Her Crock Pot. The End Result YUM!
The cheesy, meaty, saucy and all around appetizing smell of fresh hot pizza is an aroma that a rare few can resist. The mouth watering dish is beloved by people of all ages. Even the ninja turtles and animals, like the infamous pizza rat, love scarfing down a slice! If you also happen to love sinking your teeth into some crispy, delicious, homemade pizza, then you have to try this recipe for crock pot pizza.
As strange as it may sound, you can bake stuff in a slow cooker and achieve many different types of food textures, from crunchy to moist. It’s often assumed that crock pots are just for whipping up soups, sauces, meats, stews, or other liquid-based recipes.
That’s simply not true and this yummy pizza recipe is a case in point. It cooks a lot quicker than the average slow cooker recipe and once you throw all the ingredients together it’ll be done and ready to serve within an hour or so.
A list of all the ingredients you need, plus recipe instructions, are below and definitely check out the accompanying video from the YouTube channel averagebetty. It’s an excellent tutorial put together by Sara O’Donnell where she shows us step by step exactly how to make a crock pot pizza.
She made a standard pepperoni pizza but you can customize the ingredients any way you’d like to fit your tastes. Most of what you need comes prepared, so it’s incredibly simple and convenient because you just have to combine your favorite types of foods!
Ingredients: – Pizza dough – prepared or store bought – Pizza sauce – Shredded cheese – keep it simple with mozzarella or try a different kind – Toppings – any that you like!
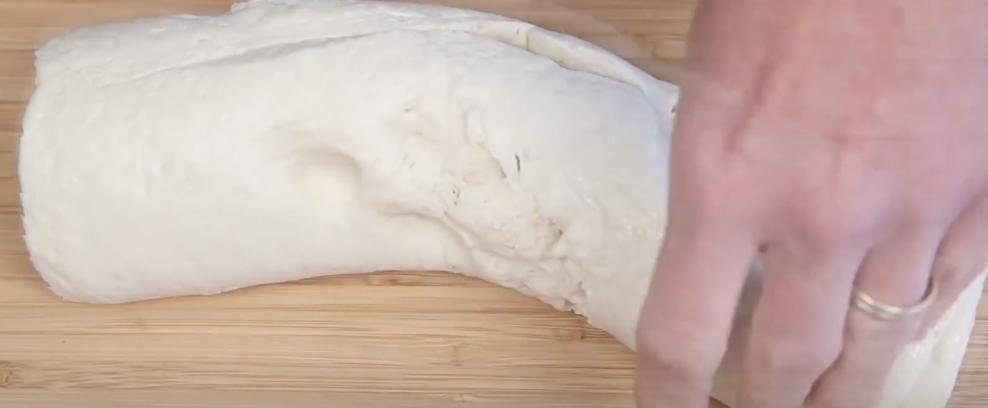
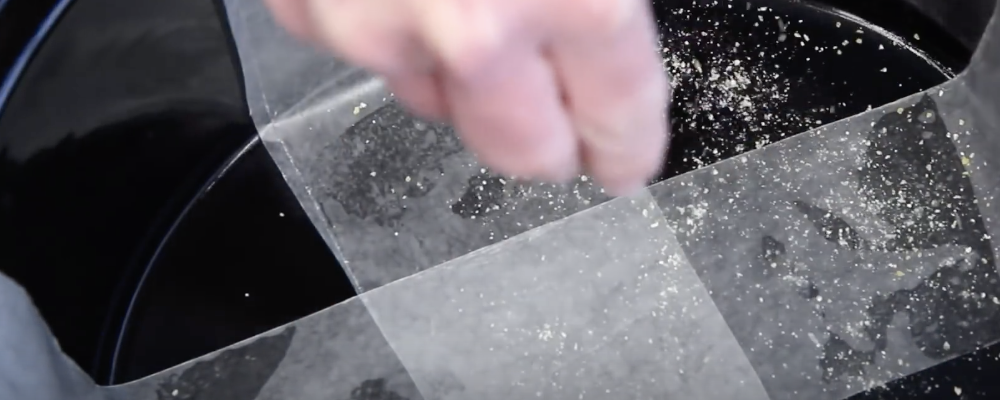
Directions: Start by oiling the base of the crock pot and line it with a few strips of parchment paper that crisscross and overlap each other at the center. You should end up crafting them into a sling and this step will make removing the pizza later on a whole lot easier.
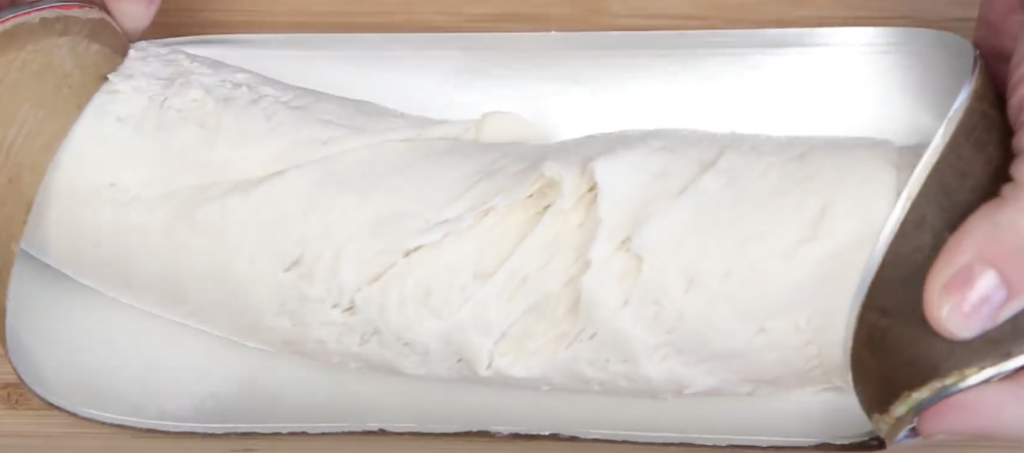
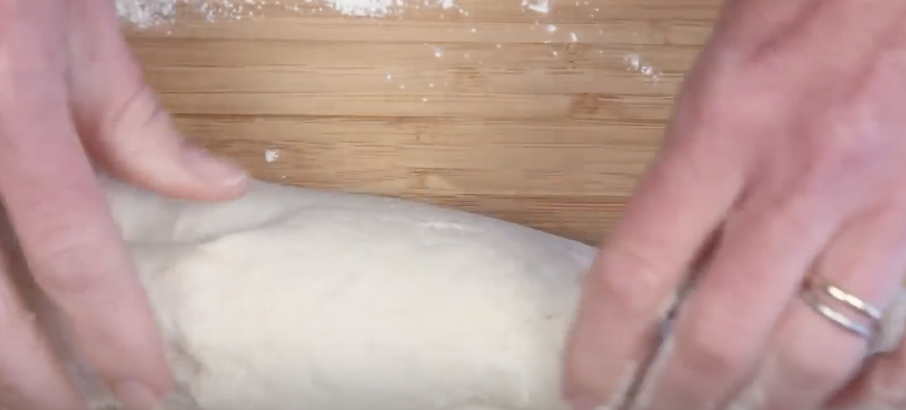
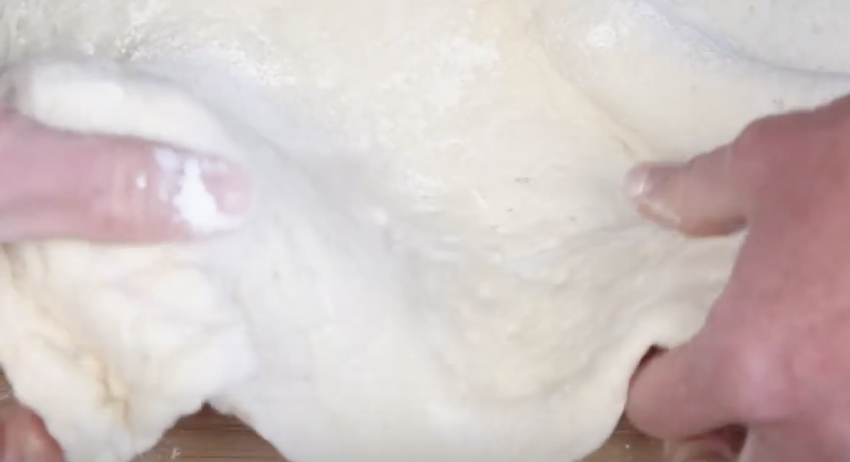
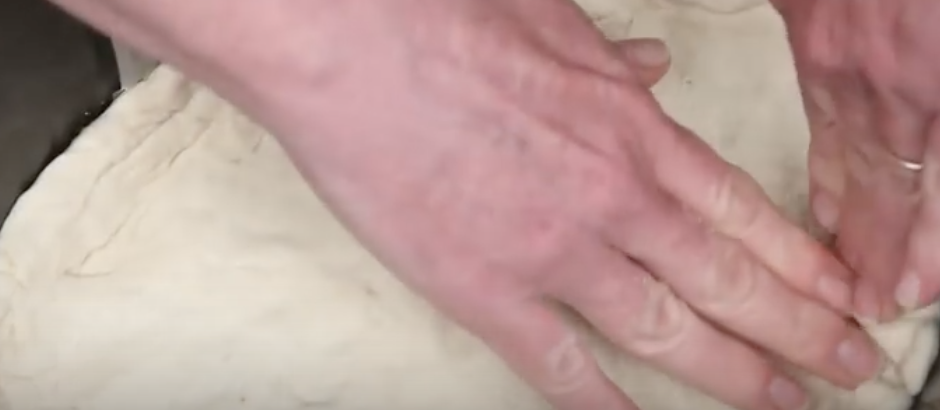
Lightly sprinkle a tiny bit of either cornmeal or flour onto the the bottom of the slow cooker. Next, take the pizza dough and press it down firmly and evenly along the bottom of the pot. Form and shape a crust around the edges and make sure to trim and remove any excess dough you may end up with.
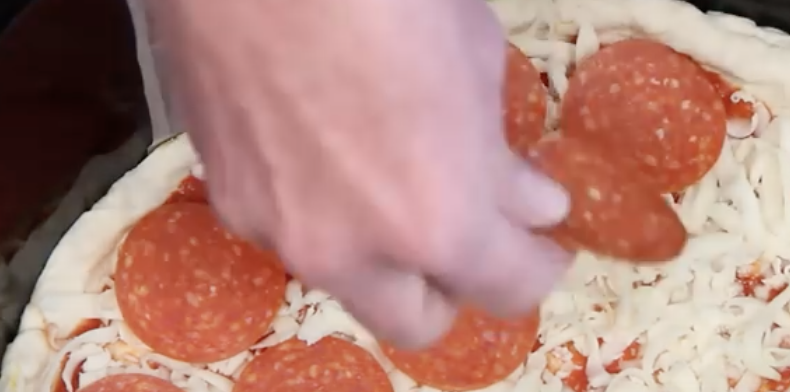
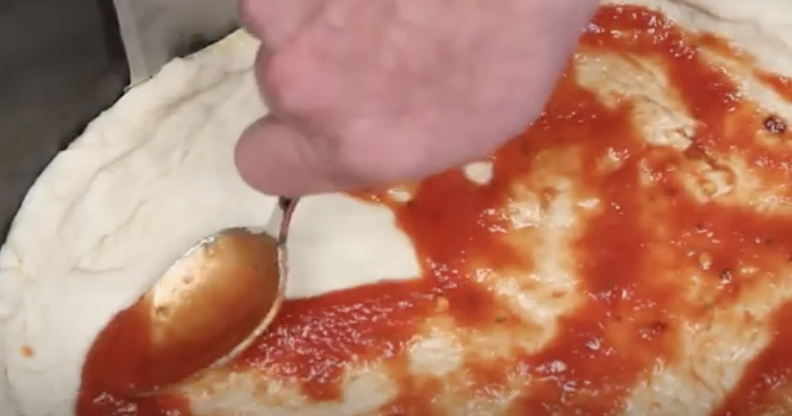
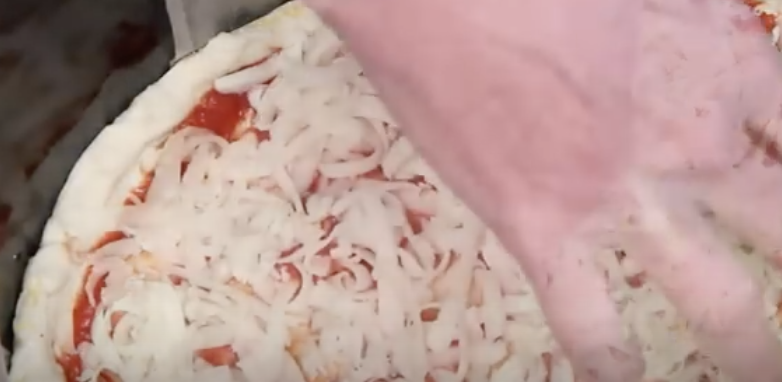
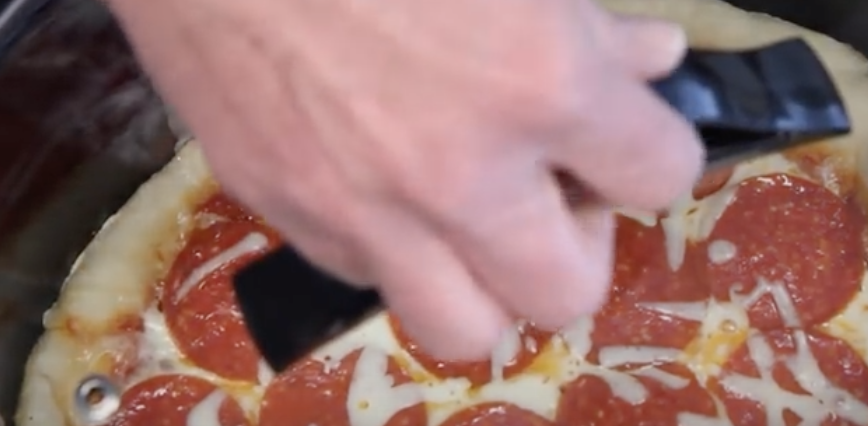
Now it’s time to add on the pizza sauce, spread as little or as much as you’d like on the dough. Follow that up with a layer of cheese and then add the toppings. Place the lid on before cooking it on high for 1½ hours. Finally, lift it out of the pot using the parchment sling you made earlier.

Cook times will vary depending on the types and amounts of toppings you used. You may have to cook it a little longer if you chose to load your pizza, so keep that in mind. Also, after about an hour condensation will likely appear on the inside of the lid and if you don’t remove it your pizza may end up soft or mushy.
Simply wipe it off with a paper towel and replace the now dry lid back on, then cook for the remaining half hour. Now all that’s left to do is to slice up the pie, eat, and enjoy the homemade deliciousness. Pass this recipe along and share it with friends and family, it’ll add a little more flavor and convenience to their lives. Bon Appétit!
Please Share This Delicious Recipe With Family and Friends 🙂
At First It Seems Like a Normal Pool But When The Water Flows Over The Edge It’s Incredible!
Having a beautiful private swimming pool is an amenity that many people wish to have in their backyard. Jumping into the crystal clear water is one of the quickest ways to cool off and besides pure refreshment they also offer endless hours of relaxation and entertainment. Pools seem to just naturally drawn us in and whether you like floating around, laying next to them, or swimming laps, there’s something for everyone to do!

While all of that sounds positively amazing, the reality is that backyard swimming pools also have a few majorly negative aspects. Everyone knows they cost a lot of money to put in and maintain and keeping them clean means dumping a ton of harsh chemicals in the water. There are health and safety risks as well, especially if you have young children at home.

However, the most often overlooked problem with pools is that they’re not environmentally friendly. This is especially true of ones in the hot, dry areas where they are mainly located. On average, the energy costs are estimated to be around 20% of an entire household’s usage and when chemicals like shock and chlorine evaporate, they end up contributing to ozone issues.

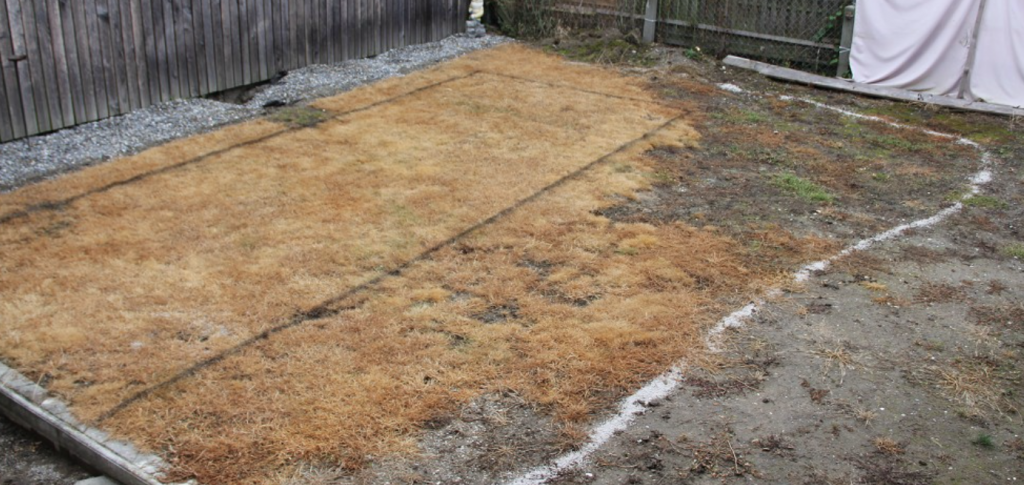
There has never been a better time to go green than now, and that extends to having an environmentally friendly pool. One family decided to build an all-natural backyard swimming pool and what they came up with is not only brilliant, but beautiful as well. The entire project was documented in stages and as you can see from the photos Reddit user VonBubenberg posted, the outcome is unique and very natural.
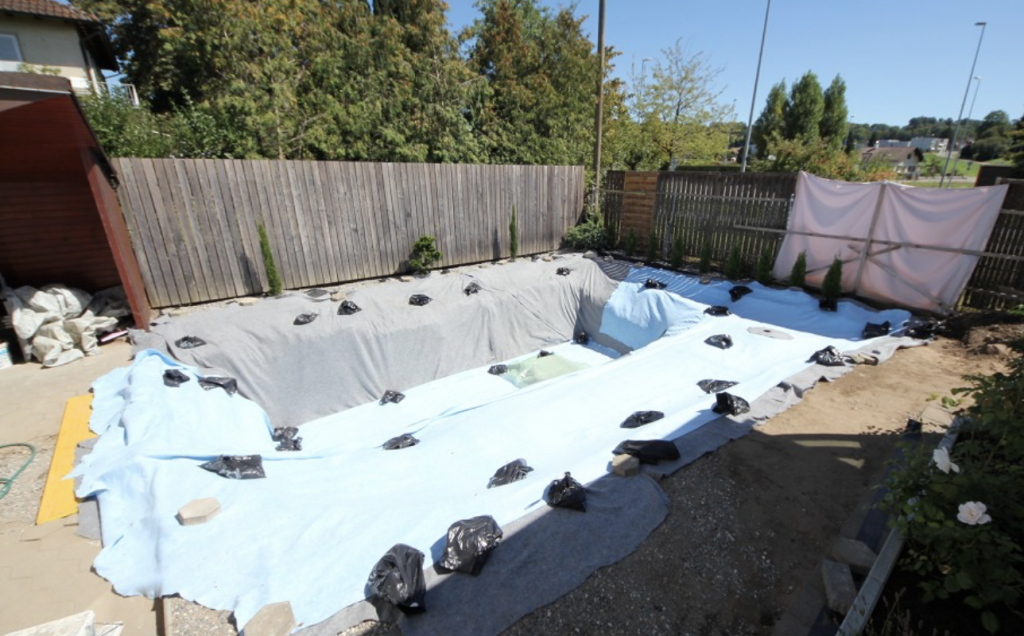
According to VonBubenberg, the pool is stone lined and filled with fresh water. No chemicals or chlorine are needed and the water is kept clean with the help of plants, fish, special UV lights, a fountain, and a filtration system.
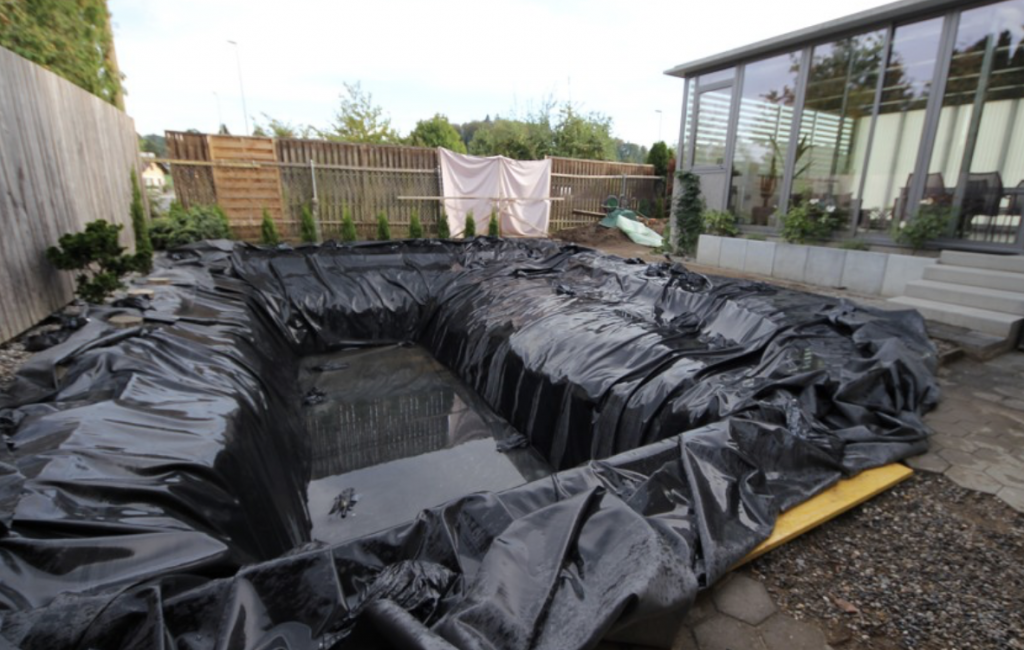
Rather than a standard rectangle or defined type of hole in the ground the edges of the pool, and the water in it, spill over. The result is a natural look, like that of a pond, and you can wade right into it because of the smooth stones underfoot.

This pool is definitely one of a kind and adds to the environment, rather than taking anything away from it. The design and thought behind it are certainly inspiring, check it out and see what you think!

Please Share This With Family and Friends 🙂
Small Puppy Is Fast Asleep When He Rips a Giant Fart. He Proceeds To Have The Funniest Freak Out.
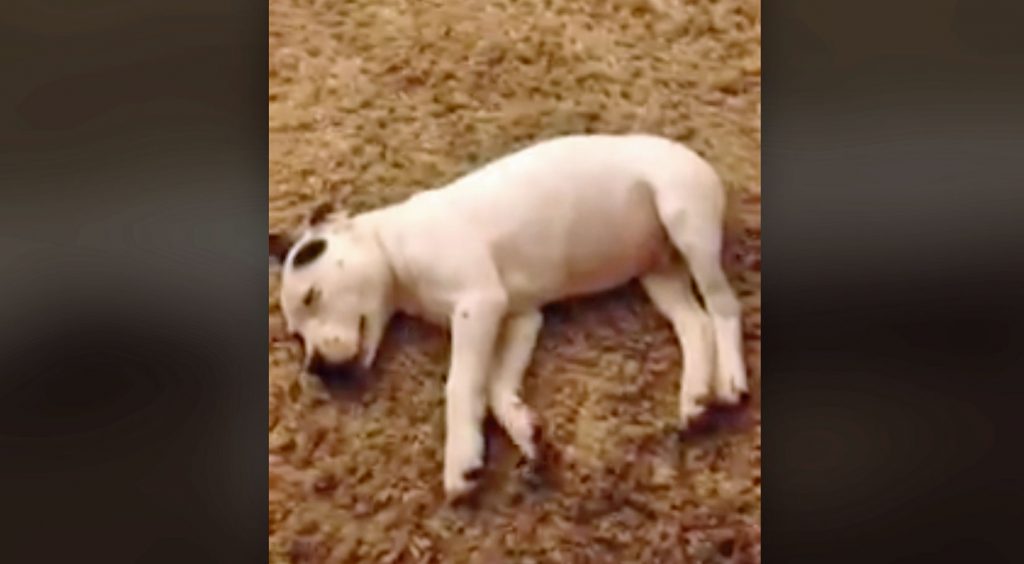
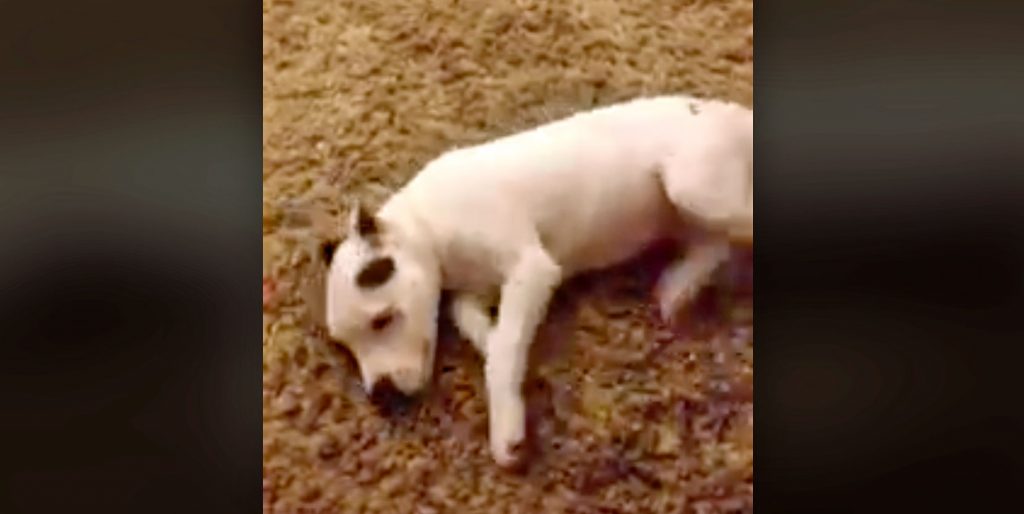
Dogs are full of funny surprises and it’s often the simple, little things they do that makes us love them all the more. This sentiment seems to be especially true when the dog in question is a young, chubby, adorable puppy! The white and black spotted little guy with the tiny white paws kicking restlessly around in the accompanying video is proof of this, but he’s also full of something else (maybe*- see below)!
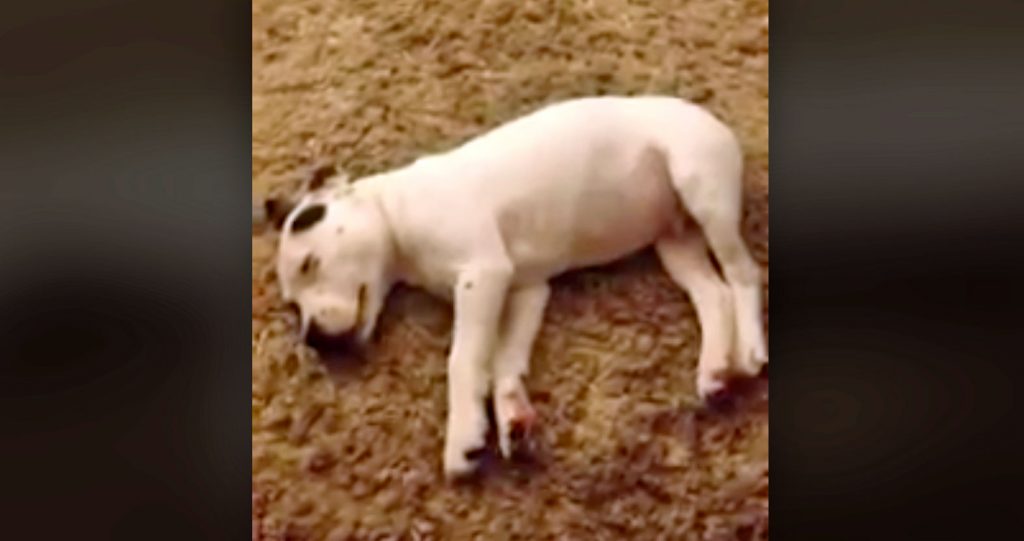
The angelic looking dog was taking a nice relaxing nap on the carpet one day and by the looks of it he was well and truly passed out. His legs were moving and his body was twitching randomly, which is a tell-tale sign that he was in the REM stage of sleep, which is where we experience heightened mental activity and dreams occur. I’m no expert, but it’s safe to assume that he was dreaming about chasing a ball or a cat or doing something of the sort that puppy’s love!
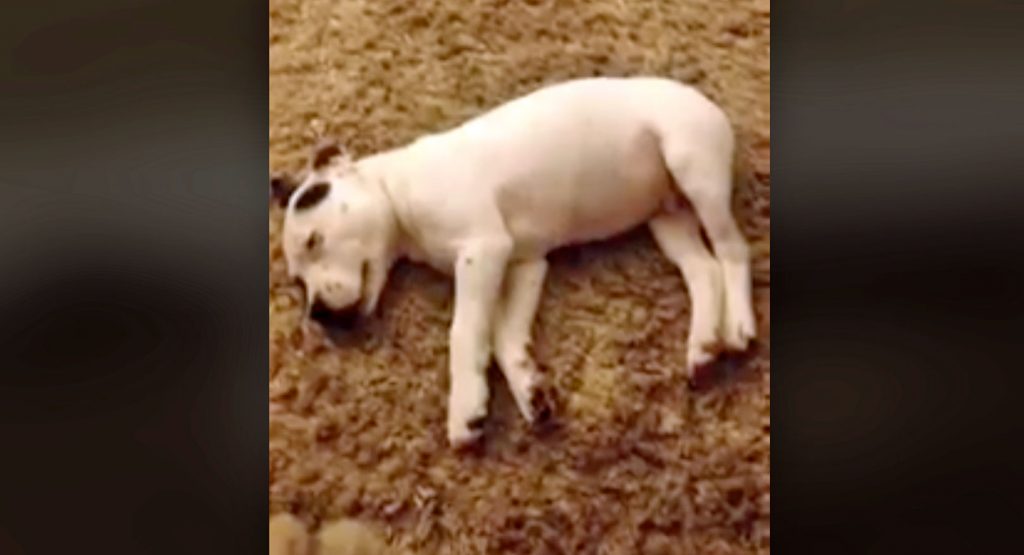
Anyways, in the middle of his siesta time someone decided to let one rip and out came a loud, disgusting sound that could only be interpreted as a fart! The sudden, unexpected noise jarred the poor puppy awake and scared the heck out of him. He looks bewildered as he glances around the room while a man, possibly his owner, can be heard laughing in the background. The dog’s reaction is spot on and exactly how I would have reacted if I were in his position, I’d be like what the…!?!
* While the story should end here, it doesn’t. Apparently many of the commentators on YouTube have been debating the source of the fart in the clip. One side claims the dog is the one who passed the gas, while those on the other side are positive that it was the man. In true YouTube fashion, everyone has to weigh in with their own opinion on the matter and some included a few strange facts(?) to back them which are really just gems. You be the judge!

Please Share This Hilarious Video With Family and Friends 🙂


