This Man Drops a Bunch Of Tomatoes In a Pot of Soil. A Week and Half Later Awesome.

People have a renewed interest in gardening and many are opting to grow their own fresh food at home. The reason is simple for many, instead of buying the markedly expensive organic products that are pesticide-free from the store, they’re choosing to shop locally and plant fruits, vegetables, and herbs right in their own back yard.
Between the ever increasing cost of food, consumer awareness, and health and safety concerns, it makes sense to plant your own garden. It’s the only way you can be sure and know exactly how the food you’re feeding your family was grown. Equally as important is the fact that the best way to enjoy any fruit or veggie is freshly picked right off the vine!
Even if you don’t have a green thumb or the know-how, there’s still hope! The simple method covered in this video from The Wannabe Homesteader channel on YouTube goes over a novel way to start tomato seedlings. It will cost you nothing and requires zero plant or gardening experience whatsoever.
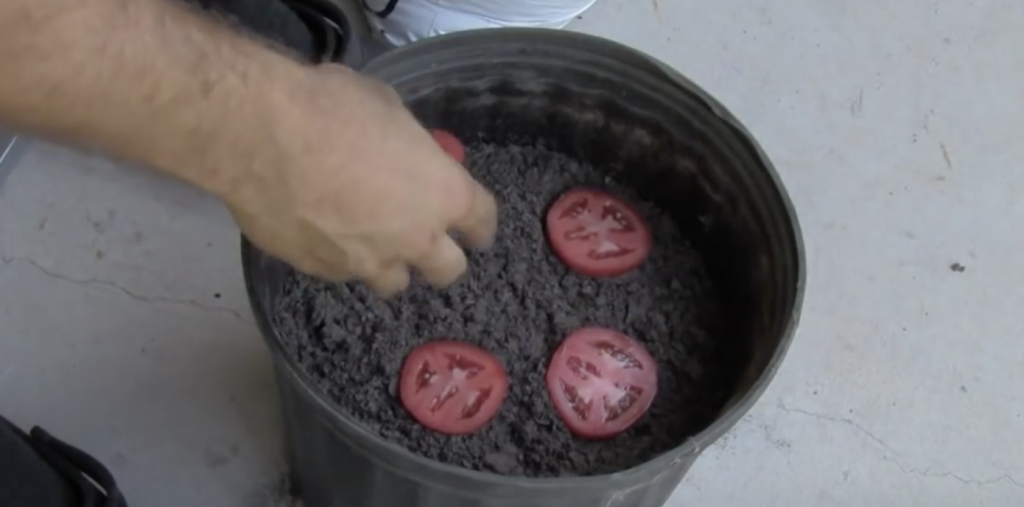
The two minute clip titled “The Easiest Way To Grow Tomato Seedlings” is not misleading in any way, shape, or form. All you need is a pot full of dirt and a few tomato slices. That’s it! You can simply take old pieces of tomato that you bought at the store, plant them, and re-grow a bunch of tomato plants all over again. The types of tomatoes that work best for this trick are heirloom tomatoes that have been grown organically or ones that you know come from a garden. Here’s what to do:
1) Cut a ripe or over-ripe tomato into ¼ inch thick slices.
2) Place them in the dirt evenly spaced apart.
3) Cover the slices with a thin layer of potting soil.
4) Water regularly as needed.
About a week or so after you plant the slices there will be a bunch of tiny little seedlings that have sprouted up. Take the larger ones and re-plant them in a new pot, you only want a couple in each container. After they’ve grown a bit more take the bigger ones out again and plant them in their own pot. Now you have the sturdiest, strongest tomato plants that will yield the plumpest, juiciest, and most delicious tomatoes you’ve ever tasted!
Please SHARE This With Family and Friends
I’ve Been Taking The Husk Off The Corncob Wrong My Entire Life. I Had No Idea..

Summer is full of awesome things from the weather to vacations, fireworks shows, and beyond. But perhaps one of the best parts about it is all of the delicious fruits and vegetables that are in season. On a hot, sunny day nothing is as light and refreshing as a fresh picked ear of corn on the cob!
Corn seems to go with just about everything people love to eat in the summertime, especially BBQ. It can be boiled and served simply with butter and salt or grilled and shaved over salad for a more exotic dish. It’s also one of the most convenient and versatile veggies out there. Plus even picky children love the sweet, crunchy kernels!
Regardless of how you choose to enjoy your corn, the fact remains that it needs to be peeled and the husk fully removed before you can bite into it. If you have a dozen ears you need to get through, shucking them all can take some time. It can be a messy endeavor too, all those fine silky fibers stick to everything and fly around.
You can avoid all of the hassles of peeling corn in the first place with this simple trick from America’s Test Kitchen. The less than one minute video quickly goes over the easiest way to shuck corn on the cob so check it out and try this method the next time you’re having it for dinner:
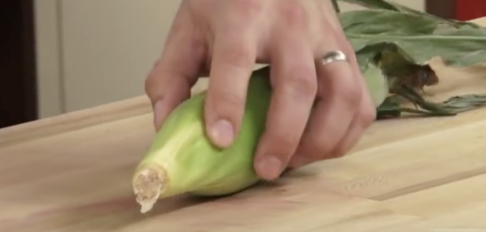
First, take a piece of corn and lay it flat and securely on a cutting board. With a sharp knife carefully cut about one inch off the end where it grows from the stalk. Place the corn in the microwave for 2-4 minutes, remove and let it sit briefly so it cools down. Grab the end that you did not cut firmly and gently shake it until the ear slides out from the husk. It will be silk and husk free and ready to be cooked!
One last thing! Here’s another corn on the cob cooking tip: Bring a pot of water to a boil, add a little bit of milk to it, place the ears in the milky water, boil for about five minutes, and drain when done. This easy method gives you delicious, sweet, creamy tasting corn that melts in your mouth!
Please SHARE This With Family and Friends 🙂
Simple Trick For Getting Rid Of That Gross Mildew Smell Out Of Towels. I Wish I Knew This Earlier
Dank towel smells are not pleasant and can occur quicker than anyone anticipates. Leave a wet towel out or in the washer overnight and the next day it may be smelling worse than it was before you cleaned it. Regardless of whether or not the weather is relentlessly hot and sticky, mildew can still grow like crazy on clothing and towels. It’s a resilient and pesky problem that we all face at some point in our lives.
Mildew smells gross and no one want to rub it all over their freshly cleaned body. When the stinky stuff gets into towels and fabrics it can linger long after the actual mildew has been destroyed. Normal methods of washing and cleaning mildew infected towels are not going to cut it. Instead of wasting time, water, soap, and your wits, try this odor eliminating trick to get the stink out once and for good.
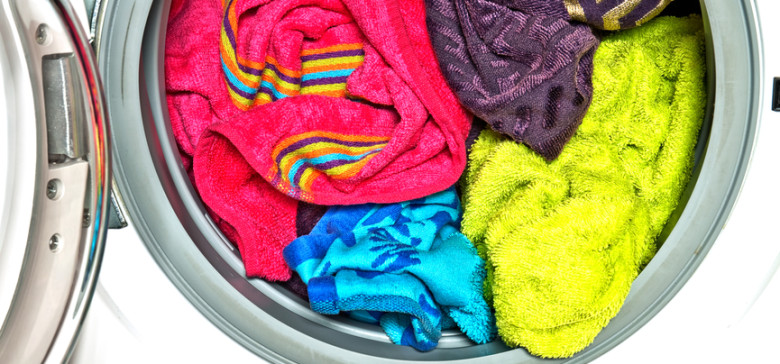
All you need to do is place all of your smelly towels and clothes in the washing machine. Fill it with hot water, the hotter the better, place a ¼ cup of baking soda in with the towels, and run them through a full wash cycle. Once it’s complete pour a ¼ cup of white vinegar into the washer along with whatever regular detergent you use. Run the wash again through a cycle with hot water and when it’s done take the towels out and place them in the dryer as soon as you possibly can. Place the dryer on the hottest setting available, throw in some dryer sheets, and put the timer on for long enough to ensure that they completely dry out.
This should do the trick and eliminate the lingering odors that mildew leaves behind. For really stinky and heavy smells you can increase the amounts of vinegar and baking soda. Try using one cup of vinegar and ½ cup of baking soda if lesser amounts fail to rid the smell, and whatever you do, dry wet towels as soon as possible to avoid future mildew problems.
Please Share This Trick With Family and Friends


