I Was Confused When She Put Peanut Butter In A Mixer. But When She’s Done A Delicious Surprise!
When it’s hot and sticky outside the last thing you want to do is spend time baking in the kitchen and making the house hotter than it already is. Instead, try whipping up a recipe that doesn’t require any cooking or heat at all. If you have a sweet tooth that needs satisfaction then this peanut butter pie is the answer.
It’s easy and simple to make and turns out a creamy, melt in your mouth, delicious treat that everyone will love to indulge in. The recipe can be made with creamy or chunky peanut butter and you can customize it by adding in other things such as crushed Oreo cookies or chocolate chips. Or you can switch up the type of pie crust you use and put other tasty toppings on it.
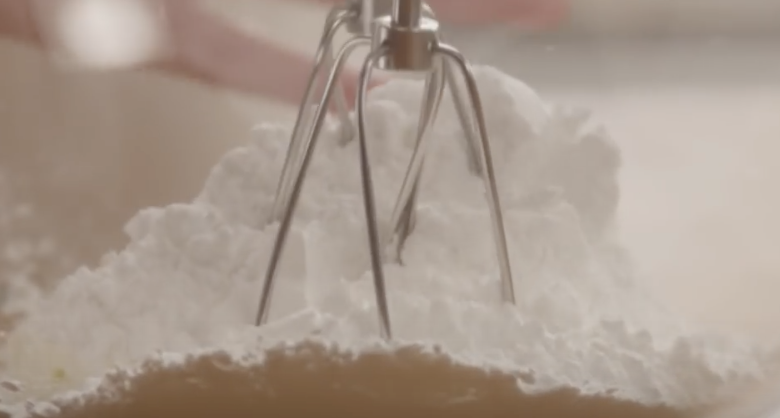
Best of all, you can make this dessert without ever having to put the oven on because it calls for freezing, so it’s perfect for these hot summer days. Start by combining one 8 ounce package of room temperature cream cheese with 1½ cups of confectioners sugar.
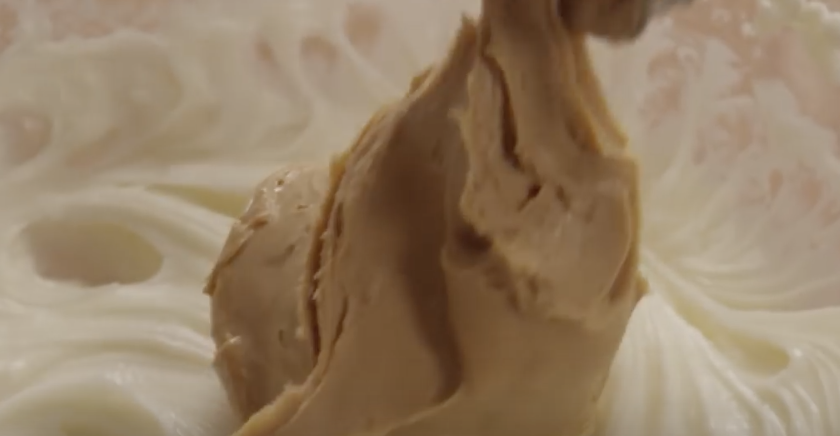
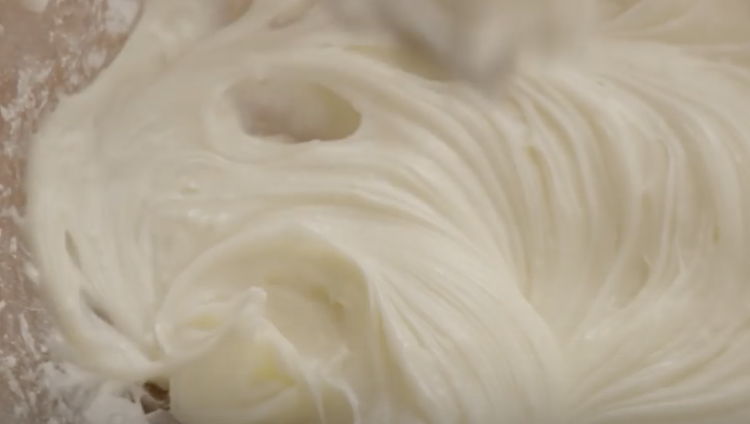
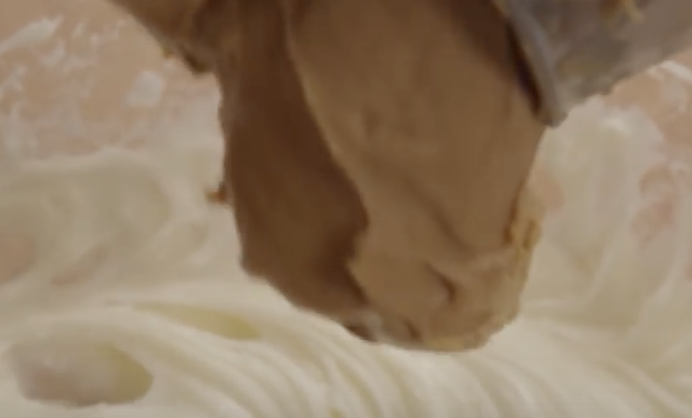
Blend them together with a mixer until smooth. Add in one cup of peanut butter and one cup of milk. Take the blender and beat the mixture until it’s smooth again. Next, add in one 16 ounce package of frozen whipped topping that has been thawed out and blend it in with a spatula.
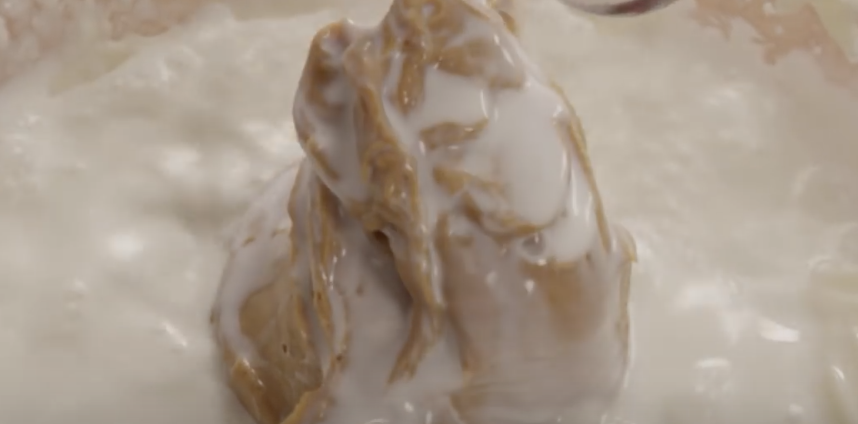
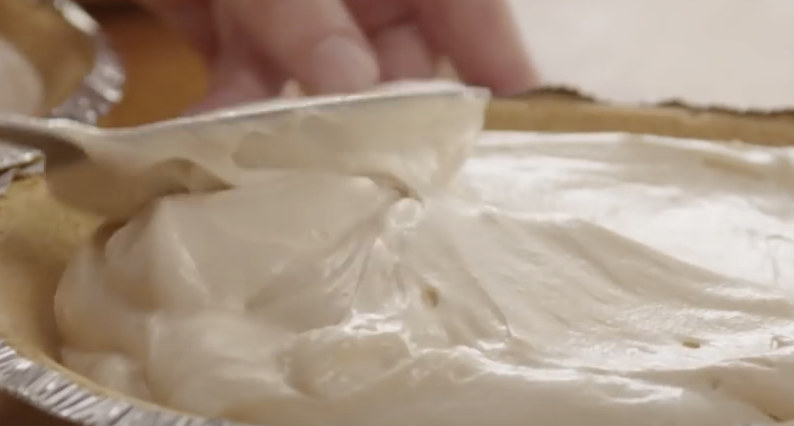
Afterwards, spoon the mixture into 2 nine inch graham cracker pie crust/shells, cover, and freeze for about 2 hours or until firm. This peanut butter pie takes about 20 minutes to make and 2 hours to freeze.
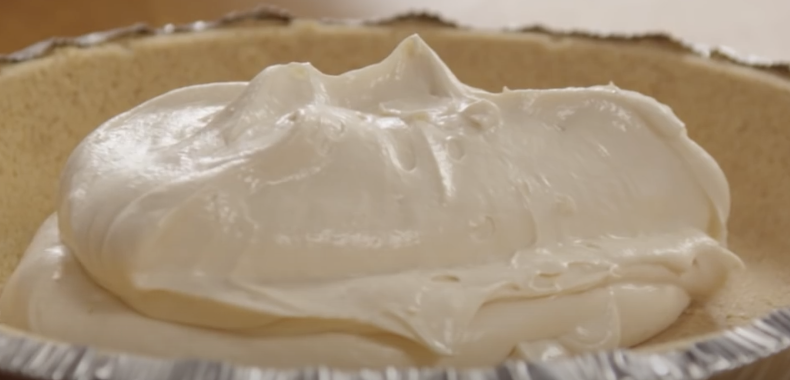
Once you pop it in the freezer you can go about your day and come back to it later for a cool, creamy piece of pie. We just tried this and it came out perfect. This is the perfect tasty treat for any occasion! Watch the video below for a more detailed recipe. What are you waiting for? Treat yourself!
Please Share This Recipe With Friends On Facebook
Apparently I’ve been Cooking Pasta Wrong This Entire Time. How Did I Not Know About This Earlier?
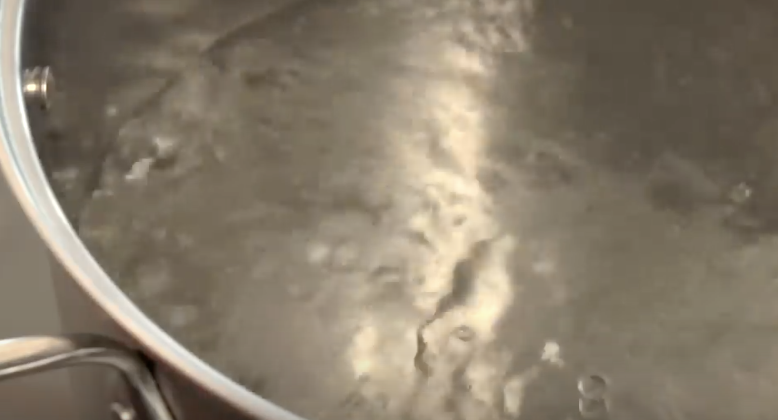
Even people who are not culinary aces know how to make pasta in the centuries old traditional manner. Most everyone starts the process off by putting a fair amount of water into a big pot. Some even add a couple of shakes of salt or a drop of olive oil to the water.
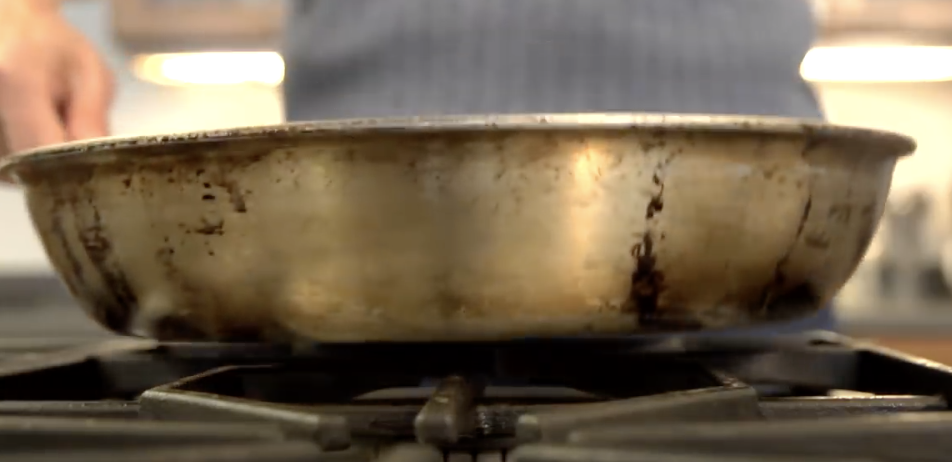
Then the pot is placed on the burner and heated until the water begins to boil, at which point the pasta is dropped into it and cooked until done. The problem with this way of cooking is that the pasta tends to stick together in mushy clumps that are unappetizing.
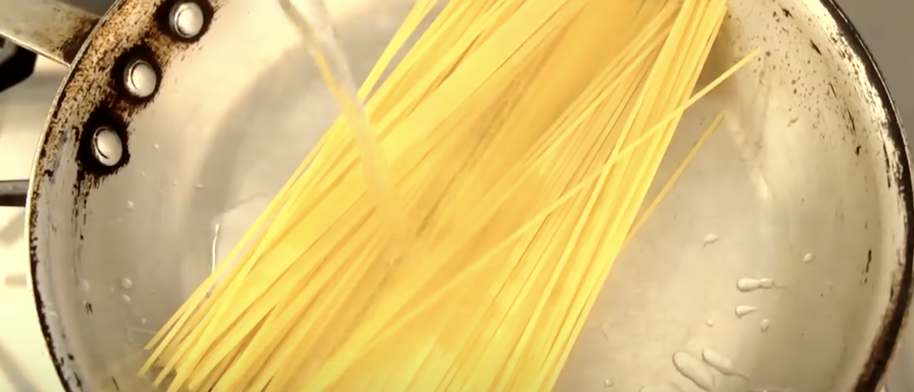
However, there is a better and more efficient way to properly whip up a delicious batch of the family favorite food. Cooking pasta with this alternative method eliminates the all too common problem of it sticking together in blobs, and instead leaves you with perfectly prepared noodles that everyone will actually want to dig into. It involves using less water and swapping out the bulky metal pot with a frying pan.
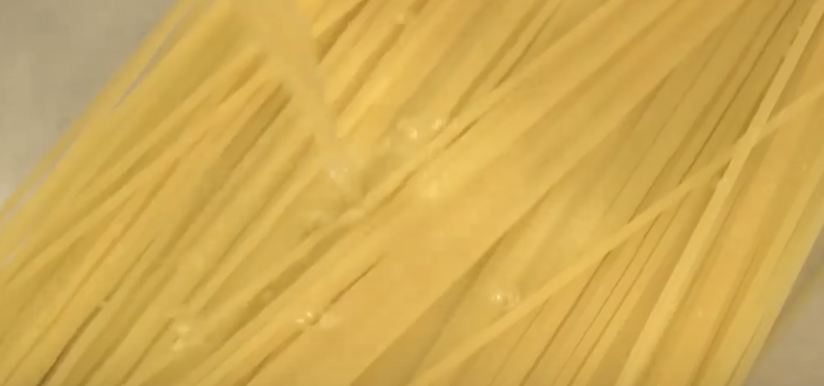
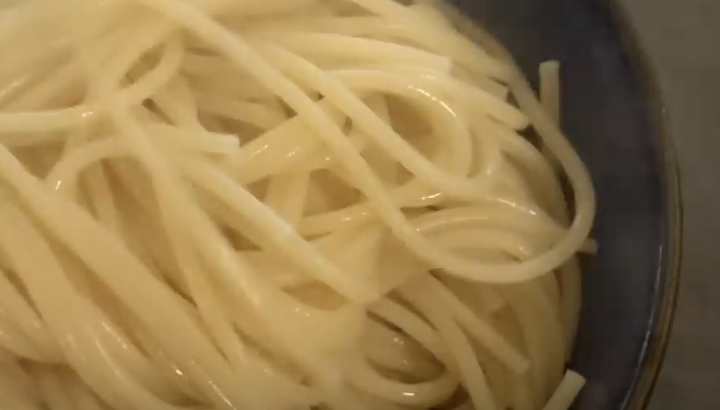
Start by placing the pasta in a large frying pan. Pour about a quart and a half of cold water in the pan and over the pasta. Turn on the stove and cook until the desired consistency is met. If you prefer al dente pasta, or a slightly firmer texture, less time is needed. You should end up with perfectly cooked pasta that lacks any clumpy stuck together pieces, because the cold water was added to the pasta before it began to cook.
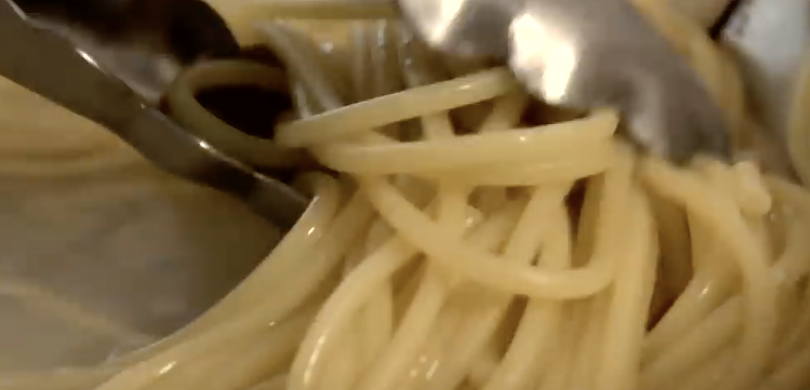
You also will have a thick, dense liquid leftover from the water than remains. This can be used to make a variety of different sauces with and gives you further use of the leftover water that most people simply throw out. Check it out and share with others so that you’ll never have to endure lumpy pasta again!
Please Share This Trick With Family and Friends
I Was Confused When He Put 1 Pound Of Onions In A Pan. When He’s Done An Unexpected Surprise!
Everyone loves a hearty bowl of delicious soup. It warms the soul as well as the stomach, and the mix of flavors is a true delight to the taste buds. Anyone can heat up soup from a can, but this video tutorial will have your family and friends asking for seconds with this homemade french onion soup! Making soup from scratch might seem intimidating, but with this great recipe and excellent guidance, it becomes easy.
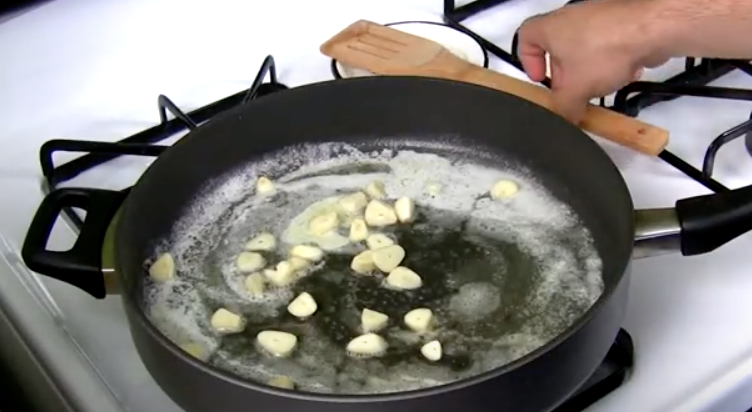
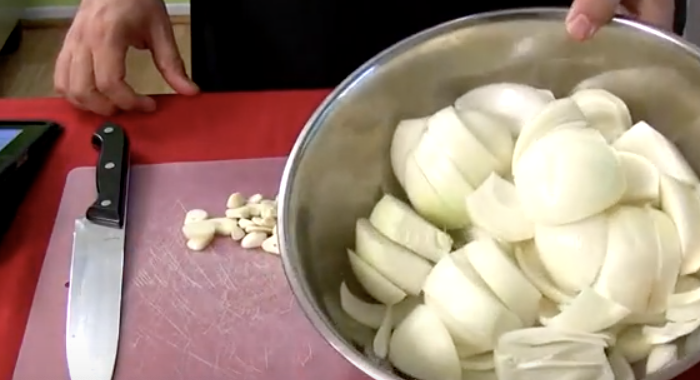
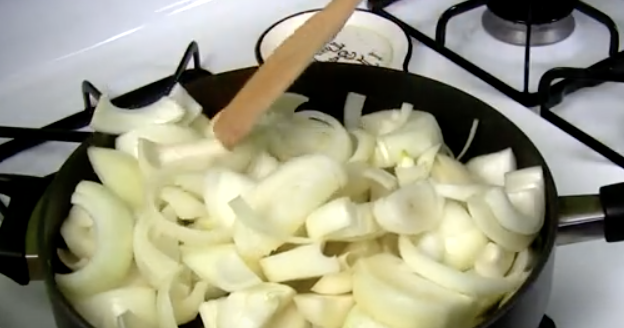
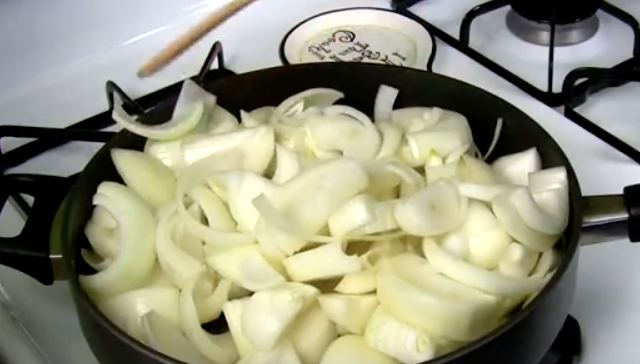
To get started, you will need the following ingredients: Parmesan cheese, Dijon mustard, Swiss cheese, butter, broth, French baguette, onions, garlic and dry white wine. First, toast slices of the baguette in the oven until crispy. Chop up your onions and garlic, sautéing them in the butter.
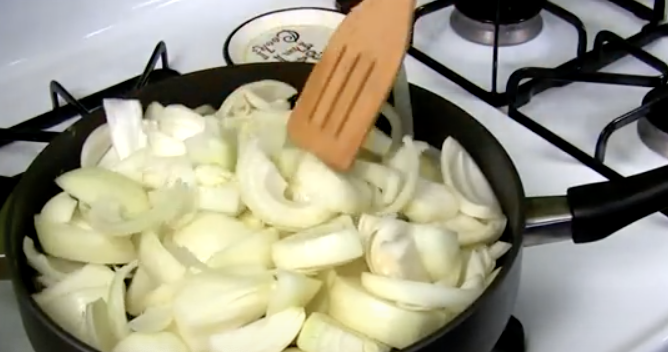
Once they start to brown, add the wine and let it simmer until it glazes over. At this point, add the mustard and broth, again leaving it to simmer. For the finishing touch, he bakes the bread and cheese onto the top for a perfect, golden brown topping.
French onion soup dates back three hundred years, although onion soups existed at least as far back as the Roman Empire, and most likely have been made ever since man started eating onions. Regardless of the interpretation, this dish is a classic for a good reason: it tastes great! Tell us how your soup turns out!
Please Share This Recipe With Family and Friends
This Guy Makes A Weird Slice Into These Raw Potatoes Before He Boils Them. The Reason Is Brilliant!
Potatoes are among the most popular and versatile food items that are readily available at any local grocery store. Just like rice, corn, and wheat, they rank among the world’s top grown crops and consumed foods. A potato can be transformed and prepared in many different ways and be served hot or cold. People love them mashed, baked, fried, hashed, steamed, and chipped.
One of the easiest and most basic ways to cook them is by boiling them in hot water until tender the whole way through. However, this leads to the biggest downside of whipping up a tasty batch of spuds, which is hands down having to scrub and peel them.
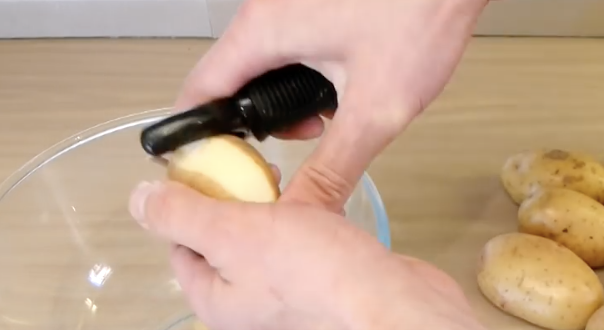
Their rough, pocketed skins are a pain to remove with a conventional peeler and if you have a bunch to get through it takes seemingly forever. This negative type of potato peeling experience can be forever banished if you employ a simple new method for doing the task.
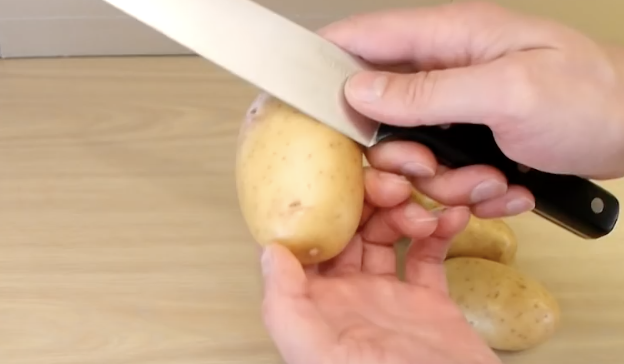
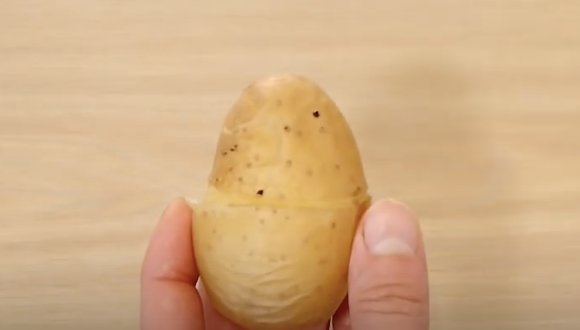
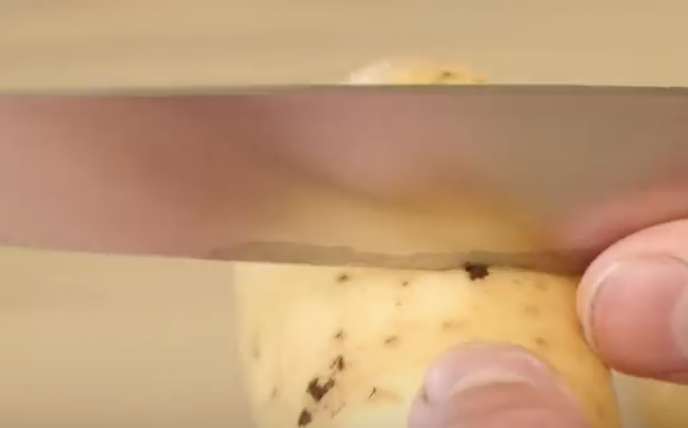
YouTube extraordinaire and life hack genius DaveHax shows us the light in his video on how to quickly peel a potato. Start by picking one up and carefully cut a skin-deep slice all around the center of it.
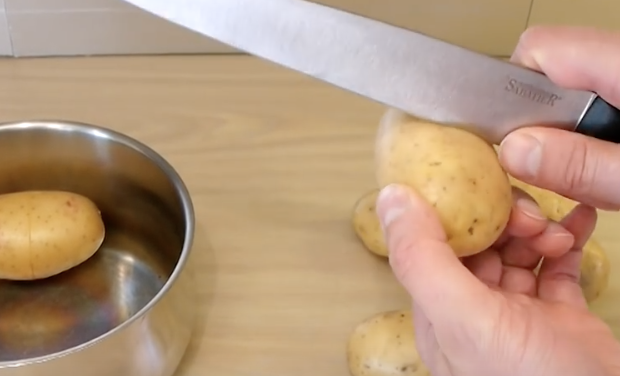
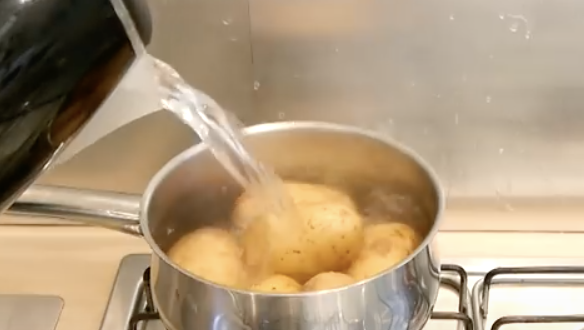
Try to ensure that the ends of the cut meet each other and don’t make it too deep, cut just enough to break the skin’s surface. Place the prepped potatoes in an empty pan, pour boiling hot water over them from a kettle, then crank the stove up to boil them further, and remove them once fully cooked.
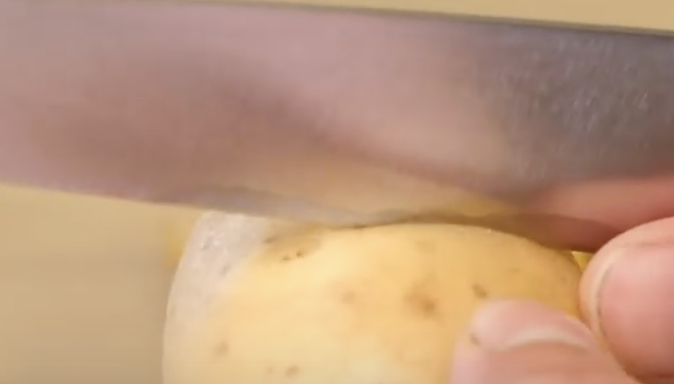
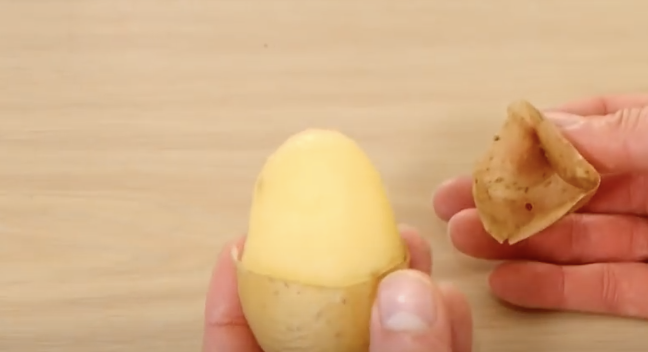
Drain the hot tater water into a separate pan and run the potatoes under cool water until they are safe to handle. Grab one and gently pull the skin off, pulling outwards from where you cu tit earlier. The skins should all slide right off and the potato will still be hot and ready to eat.
Try this almost effortless peeling method the next time you’re having potatoes for dinner, or when you need to shave minutes off your dinner prep time, and pass it along to convenience others!
Please Share This Potato Peeling Trick With Family and Friends 🙂
This Woman Starts Pouring Milk Into A Plastic Bag. But When She’s Done YUM!
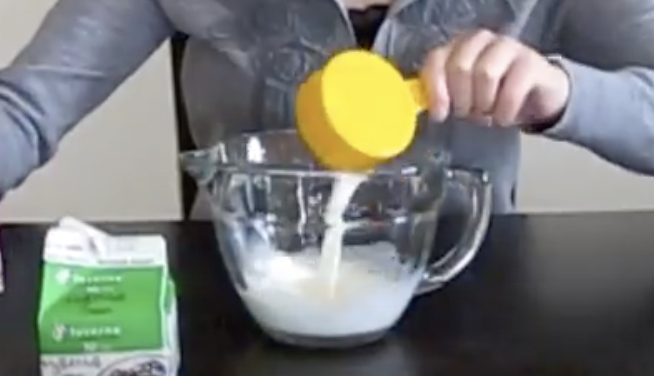
Shake and no-bake your way to fast, easy, homemade ice cream. All you need is a few basic ingredients and an appetite for frozen deliciousness to master this recipe. Best of all, it’s fun to do and a creative way to experiment around the kitchen with a new cooking method. If you have kids then try it with them and make sure to throw in a mini-science lesson because it’s a great way to learn!
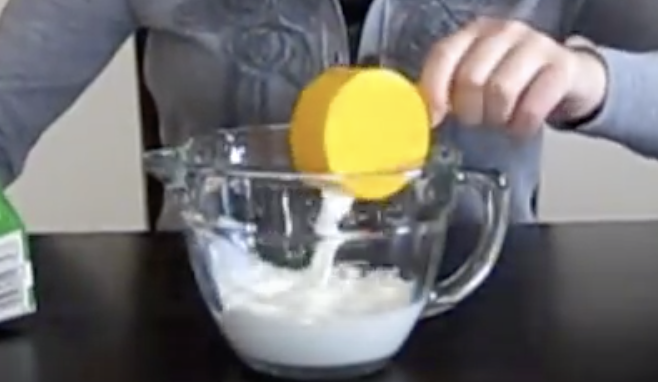
To shake up a proper batch of ice cream you will need milk, cream, sugar, salt, and vanilla extract. This style also requires the following tools and items to work; ice cubes, measuring bowls and spoons, a small plastic bag, a large freezer bag, and winter gloves.
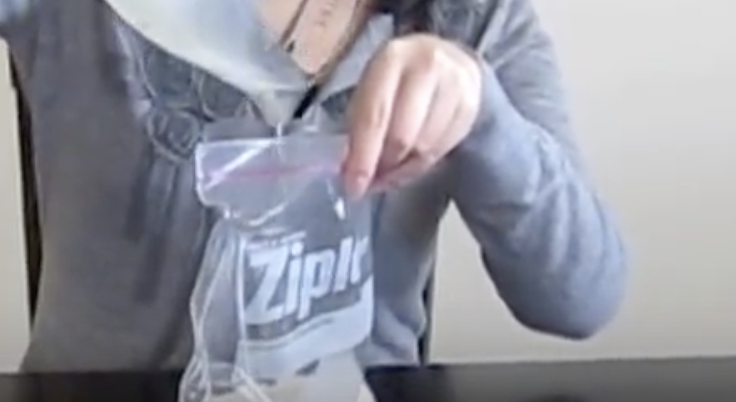
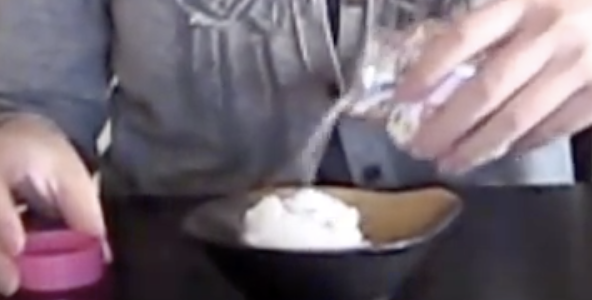
First, in a bowl combine a ½ cup of milk, ½ cup of cream, 3 tablespoons of sugar, and ½ teaspoon of vanilla extract. Carefully pour the mixture into a small plastic bag, squeeze all the air out, and seal tightly. Next, fill a freezer bag about halfway with 4 cups of ice then add in a generous amount of salt.
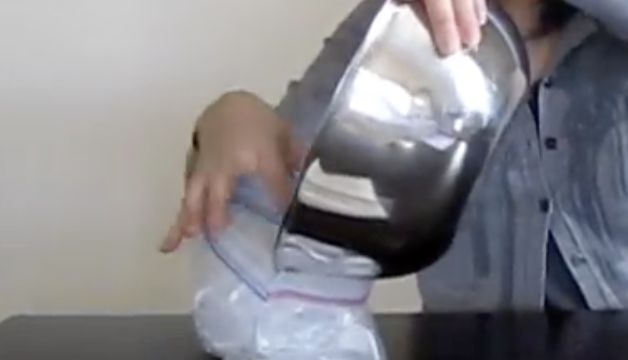
To speed up the process you can add about 8 tablespoons of salt. Place the small plastic bag into the larger one, seal that securely, and shake them very well for at least 5-10 minutes. It is recommended that you wear gloves for this part because it gets really cold. Remove the small bag and rinse off the salt so that it doesn’t contaminate the ice cream.
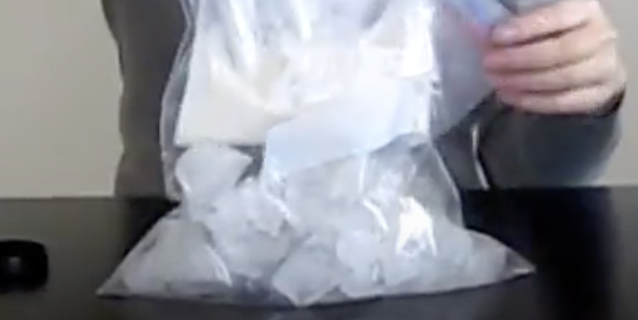
Now the good part!! Get a spoon and scoop the ice cream into a bowl, top with sprinkles or whatever add-ins you prefer, and eat it quick. This recipe makes about two servings and tastes delicious!
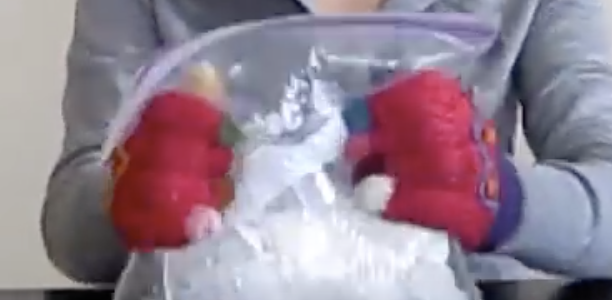
How does it work s quickly? This is the science behind it- The salt makes the ice cream freeze faster because it lowers the freezing point of the ice and melts it quicker.

Thus, the more salt the more energy gets taken from the ice, which results in a transfer of the melting ice’s coldness to the ice cream. That’s why you can shake your way to frozen, iced, creamy, tasty treats in a matter of minutes smile 🙂
Please Share This Recipe With Family and Friends
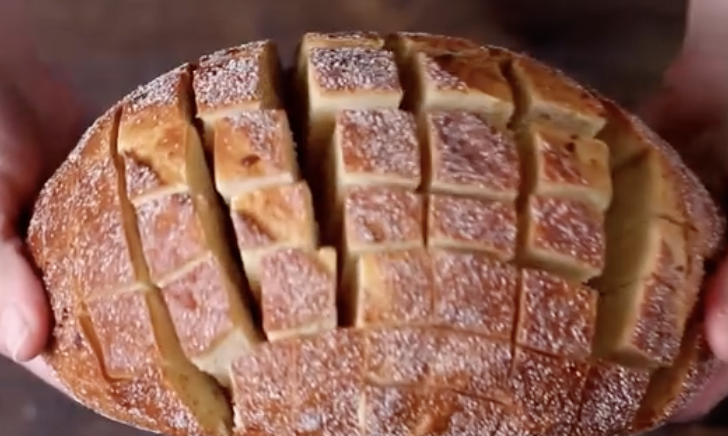
Woman Cuts This Bread Into A Bunch Of Little Squares. When She’s Done YUM!
If you are ever in need of a quick, easy to make, crowd pleasing recipe to serve or bring to a gathering, then look no further. This cheesy bloomin’ onion bread looks just as good as it tastes and everyone will want to try a piece. It goes well with almost anything and is a tasty treat all on its own. Check out the recipe below and video for instructions on how to make it at home, and be sure to save and file it away for later use!
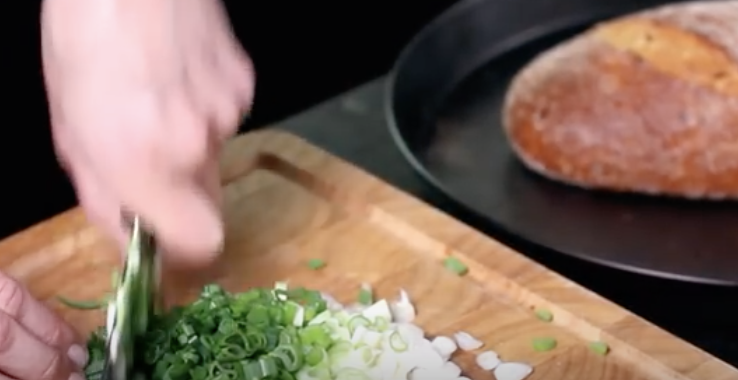
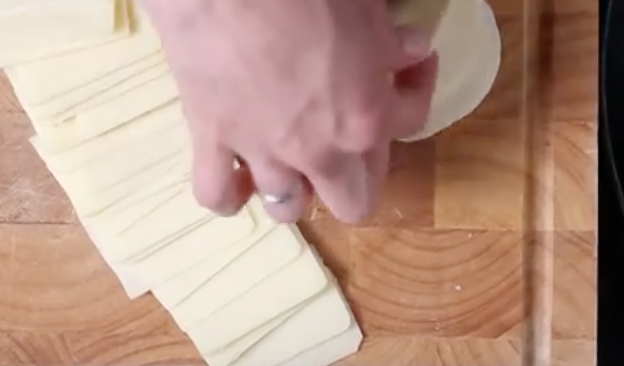
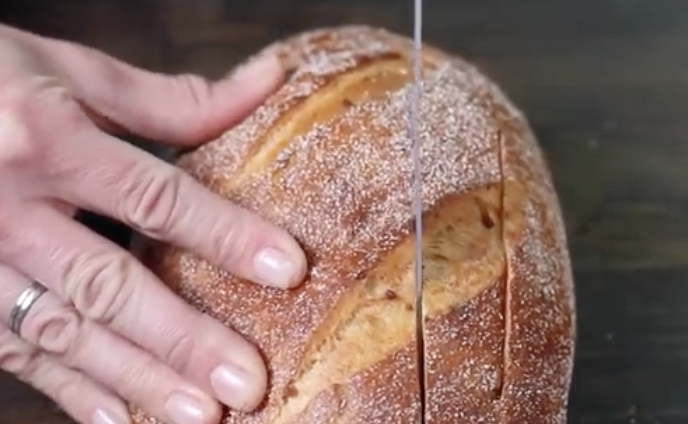
This recipe makes between 6 and 8 servings and can be made in under 30 minutes. Ingredients you will need include; 1 pound loaf of unsliced bread, 3.5 oz. matured cheddar cheese sliced thinly, 3.5 oz. mozzarella cheese sliced thinly, 1/3 cup melted butter, ½ cup chopped green onions, 2 tsp. flax and sesame seeds (optional). Preheat the oven to 350 degrees Fahrenheit before cutting the bread length and width-wise, without cutting all the way through to the bottom crust, so it stays in one piece.
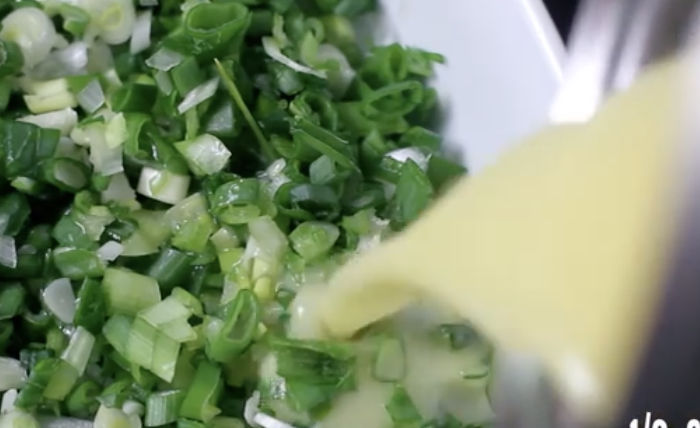
Place the cut bread on a foil lined baking sheet and insert the cheese slices between the cuts on the bread so they are evenly distributed throughout the loaf. Combine the chopped green onions with the melted butter and seeds, if you choose to use them, then pour the mixture into the bread cracks. Cover the bread with tinfoil and bake for 15 minutes. When time is up, remove the foil and place back in the oven for an additional 10 minutes, or until the cheese is melted, gooey, and golden.
With a bake time of 25 minutes and prep time of about 5 minutes or less, this bread is the perfect item to make for a last minute snack. Plus, you can easily add on other ingredients or substitute alternative types of cheeses that better suit your tastes. Personally, I like to serve this with dipping sauces and olives; to each their own!
Please SHARE With Family and Friends


