This Woman Wraps Bubble Wrap Around This Cake. But When She’s Done STUNNING
When you bake a cake at home it usually ends up being slathered in frosting and maybe some sprinkles, candy, or fruit gets thrown on top of it. The average home baker simply does not have the knowledge or specialized tools to make fancy cakes.
However, with this simple chocolate tempering decoration technique you can take a boring run of the mill cake and turn it into a work of art! All you need is a piece of clean bubble wrap, pastry chocolate, a microwave, and an already baked cake. Read on to see how you can take a cake from blah to WOW with a little finesse and patience, and be sure to check out the video to see how it’s done.
In a microwave safe bowl break up pastry chocolate into pieces, place it in the microwave, and cook for 1 minute on medium heat. Remove the bowl, stir the chocolate, and resume heating it for an additional minute. Depending on your microwave, you may have to keep heating it in short stages, and you can stop once the chocolate is completely melted and smooth.
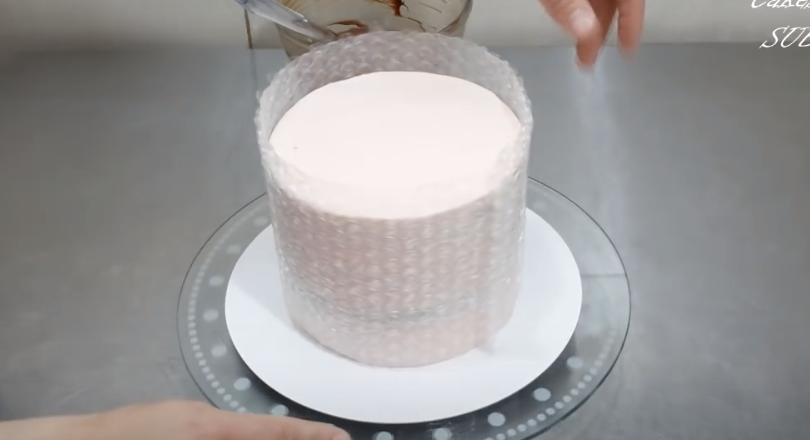
Take a clean, washed piece of bubble wrap that has been fitted to match the size of the cake you’re decorating and wrap it around the cake. Leave about ½ an inch of the edge to overlap where it meets, as well as an inch that extends over the topside of the cake (see video). Lay the bubble wrap flat with the bubble-side facing up and pour the melted chocolate onto it.
Working quickly, smooth the chocolate evenly over the wrap with a flat knife or spatula, covering the piece to the edges as best you can. Allow the chocolate to dry and harden up a bit for about 10 minutes, at room temperature, before you go on to the next step.
Once it’s ready, carefully pick up the chocolate bubble wrap and apply it to the outside of the cake. Make sure the chocolate covered side faces in, touching and resting against the cake, then wrap it around while smoothing it on and pressing firmly against the cake. Pay careful attention to the seam where the edges meet and make sure it’s evenly aligned. Wait about 10 minutes while it sets, then you may remove the wrap.
Starting at the edge that overlaps at the seam begin to slowly peel back the bubble wrap away from the chocolate. Once you get started it should come off easily and you’ll be left with a honey-combed chocolate enveloped cake that looks amazing and super tasty!
The chocolate part that extends over the top edge of the cake makes an excellent holder for any additional topping you may wish to add on, like fruit, candies, cream, or whatever other creative things you come up with.
Please Share this with family and friends
She Mixes Melted Chocolate And Condensed Milk To Make Mouthwatering Surprise. YUM!
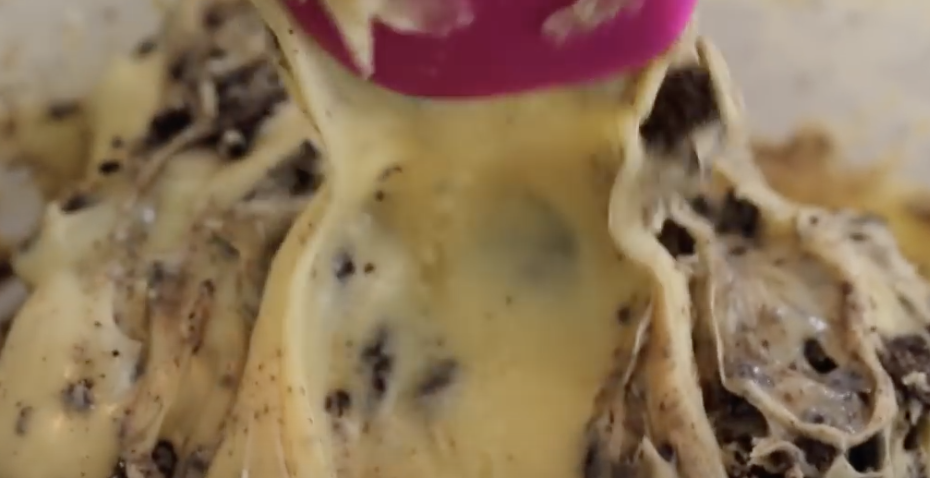
Here’s a DIY for fudge lovers! If you think you have to go buy fudge to get a high quality product, you are happily wrong. Gemma Stafford shows you how incredibly simple and fun it is to make yourself. It can even be done in a microwave.
Gemma’s video from YouTube will make your mouth water. She bring you 3 fudge recipes that not only look good but taste incredible. Being a fudge lover myself, I decided to try these recipes, and can vouch for both the ease of making them and the delicious results.
The 3 types of fudge in this delightful video are: cookies and cream, red velvet and s’mores. I hope you get to enjoy both the process of making these and the results which my family thought were professional.
Please Share These Recipes With Your Friends and Family
She Dips An Entire Onion Into A Pot Of Boiling Oil. The Final Result An Unexpected Delicious Surprise!
I don’t know about you, but the smell of onions cooking in my home is somehow better than that aroma in even the best of restaurants. It gives me a feeling of coziness and offering something delicious to my friends and family that’s from the heart!
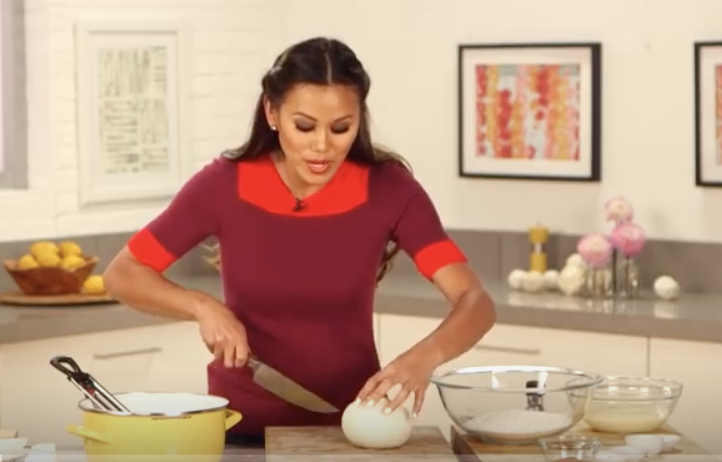
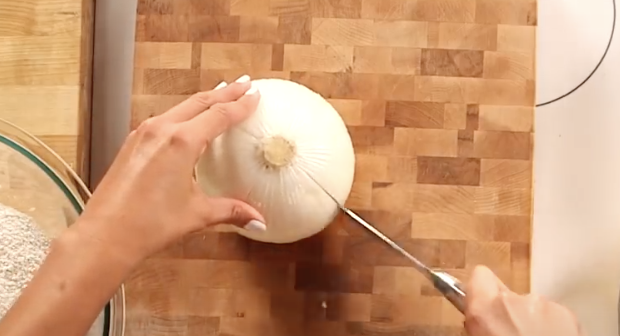
YouTuber POPSUGAR offers us a 5-minute video recipe of the “Blooming Onion” that looks really easy and fun to try at home, and results in something really pleasing to view. Watching this truly made me want to try this magical recipe; I could practically smell the gorgeous petal onion at the finale!
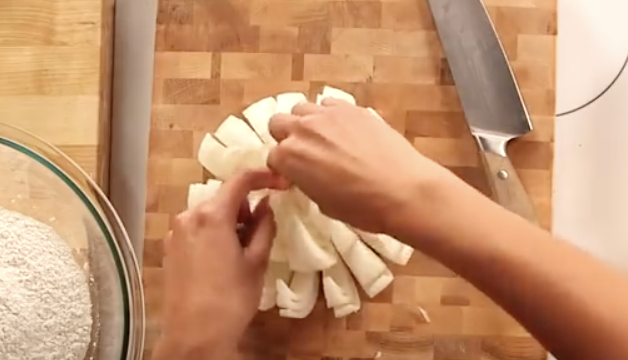
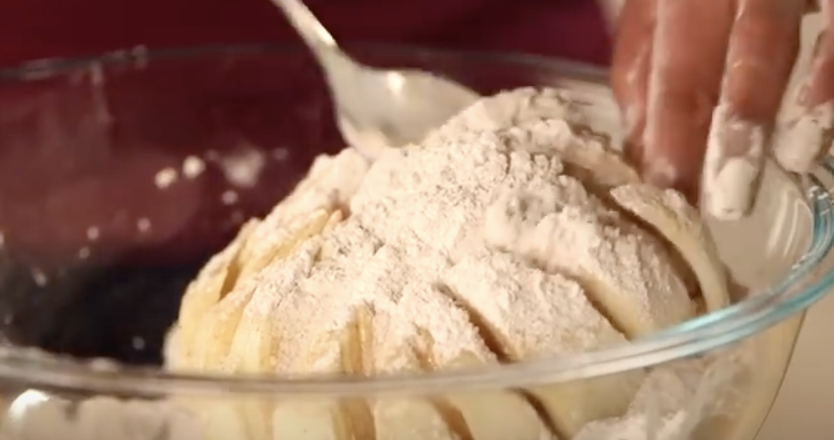
All that it takes to make this is a large sweet onion, flour, spices and oil. Timing is everything in this recipe so that your final product is crispy. Enjoy this fun video and let us know if you try the recipe that results in this golden brown delicious masterpiece. Let us know how it comes out!
Please Share this recipe with your friends and family 🙂
She Places Cookie Dough In Her Waffle Iron. The End Result Is An Unexpected Surprise Dessert!
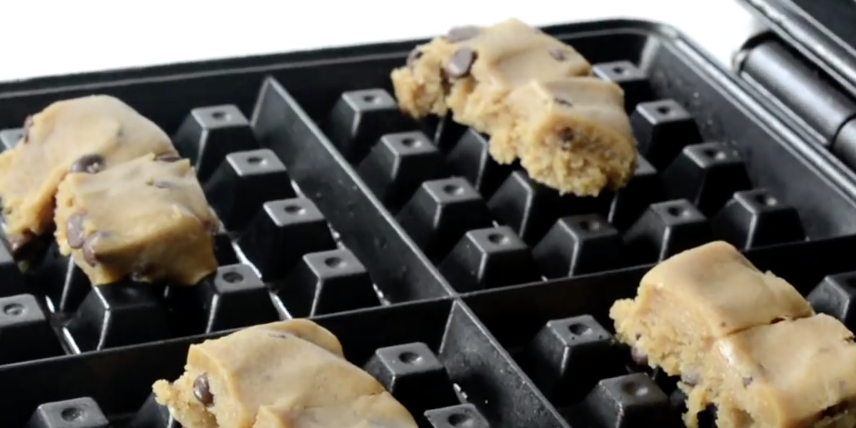
image via – youtube.com
Waffle makers are not just for making waffles. They are actually very versatile machines that can cook up a whole lot more than what they are named after. If you have one collecting dust in the kitchen drag it out and get some good use out of it once again.
Check out this video from Spoon University that shows delicious recipes anyone can easily whip up. In no time at all you can be enjoying tasty homemade treats, and even desserts, in just minutes.
The first recipe is for waffle pizza. Take some pizza dough and place it on the waffle iron, then brush olive oil on the top of it. Cook for 5-7 minutes or until golden brown and then add on sauce, cheese, or whatever toppings you’d like.
Next up is waffle cookies. Place a small lump of cookie dough on each of the waffle squares, cook for 3-5 minutes, and serve them with a cool glass of milk for the perfect snack. For a delicious waffle cinnabon break out some pre-made, store procured cinnamon roll dough and place one in each waffle section of the iron.
Shut the lid, cook for 3-5 minutes, and smear some frosting atop them while they’re still warm for a sticky, gooey treat. Perhaps waffle donuts sound more appealing to you. Take a regular old donut, place it on the iron, close it and cook for 2 minutes. The donut is now warm, crispy, and revamped.
Hate waiting an hour or more for brownies to bake? Whip up a batch from scratch or go the easy way and make the boxed type. Place a small scoop of batter in each section then close the lid and cook for 3-5 minutes. After they cool a bit remove them and sprinkle some powdered sugar on top.
Now you can enjoy a warm homemade brownie in just minutes! I made some of these and they turned out very moist and delicious. Best of all they can be made and cooked really fast. The waffle brownies were perfect for making ice-cream sandwiches with.
Just toss them in the freezer for a couple of hours, then scoop ice-cream onto one, mush another on top, and place back in the freezer. Check out the video and try this yourself!
Please SHARE These Waffle Iron Hacks With Family and Friends On Facebook
Woman Wraps Foil Around THIS Garlic and Puts It In The Oven. But When She’s Done YUM!
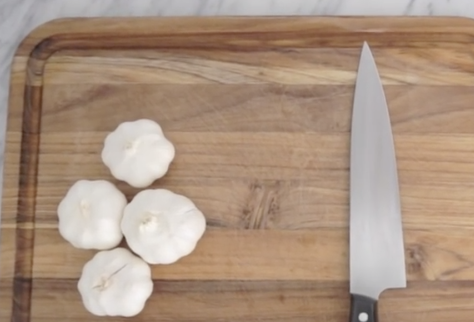
Roasted garlic is a wonderful ingredient that can add lots of complimentary flavor to almost any recipe or dish. It’s also really good for you and is packed with nutrients like fiber and Vitamins C and B6. If you ever have a cold skip the medicines and instead pop some garlic since it has been proven to boost your immune system and helps reduce the severity of symptoms associated with the flu and common cold.
There are many other health benefits associated with the hearty bulbs, as well as various alternative ways in which they can be used. However, one of the most universal and beloved ways we take our garlic is by roasting it first.
Roasting garlic helps to lessen the stinky effect it has on our breath and it tones down the powerfully strong taste it has in its raw form. Instead, the heat transforms it into a sweeter, less bitter, and more rich flavor that’s perfect for use in dishes, dressings, dips, sauces, spreads, and so on.
Try the following method to perfectly roast up some delicious garlic in the comfort and convenience of your kitchen at home.
First pre-heat your oven to 400 degrees. Take a bulb of garlic and remove the dried, papery outer skin from around it. Carefully cut off the top of the bulb with a sharp knife. Take a piece of tin foil and lay it flat, place an equal sized piece of parchment paper directly on top of the foil, and finally place the garlic atop the parchment paper.
Drizzle the garlic bulbs with some olive oil and wrap them up neatly and tightly in the foil. Place them on a pan in the oven and roast for one hour. Remove when time is up, unwrap, and allow the garlic to cool. Gently squeeze the garlic bulbs to remove the cloves and serve or use them right away. You may also place them in a covered storage container and keep them for a few days in the refrigerator.
It is simple and easy to roast your own garlic and enjoy its many benefits. Now you can spread it on crackers, use it in dips or different dishes, and upgrade the tastes of whatever you happen to whip up in the kitchen!
Please Share This Delicious Recipe With Friends On Facebook 🙂
She Weirdly Put Biscuits On The Bottom Of A Muffin Tin. But She Creates An Unexpected Tasty Surprise!
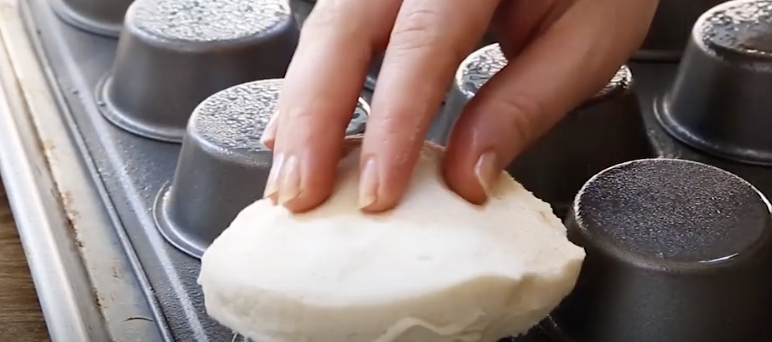
There is a right way and a wrong way to go about doing almost everything. Then there are all the ways that fall in between those two ends, and that’s what is covered in this Allrecipes YouTube video. It features a novel way for you to use a muffin tin to bake a variety of delicious treats that your whole family will love and appreciate.
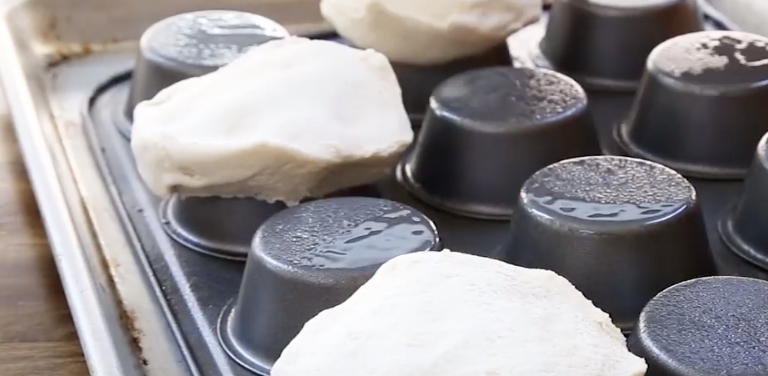
The awesome idea shown makes you think outside the muffin tin, and shows you how to switch up how you normally go about using the classic bakeware. Instead of putting dough in the little slots right side up, flip over the tin and use the underside of the moldings to make different types of edible food bowls. Get creative and imagine all the different ways you could use this technique to bake stuff, and below are some of the recipe ideas covered in the video.
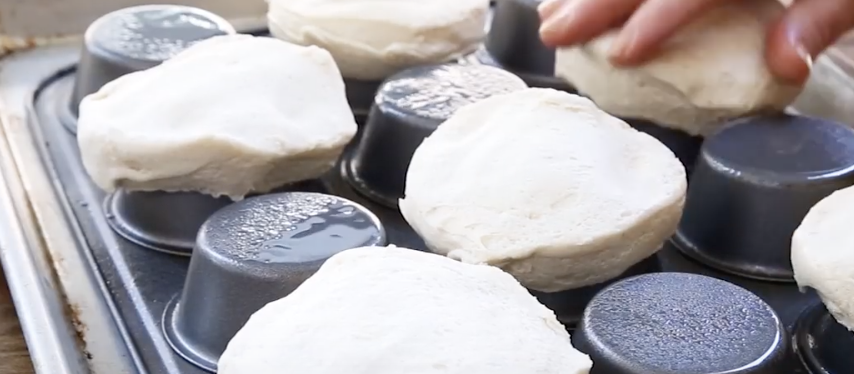
The first recipe shown is for biscuit bowls. Coat the overturned side of the tin with cooking spray, then take some biscuit dough and smush it over the muffin slots on the bottom of the tin. Pop it in the oven at 350 degrees and bake them for 12-15 minutes.
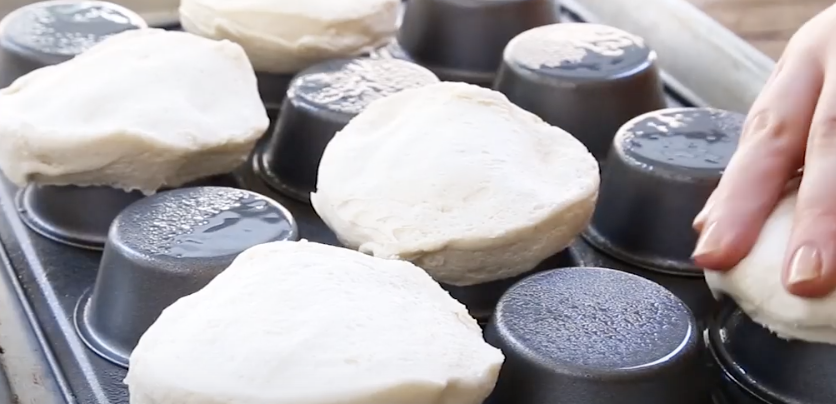
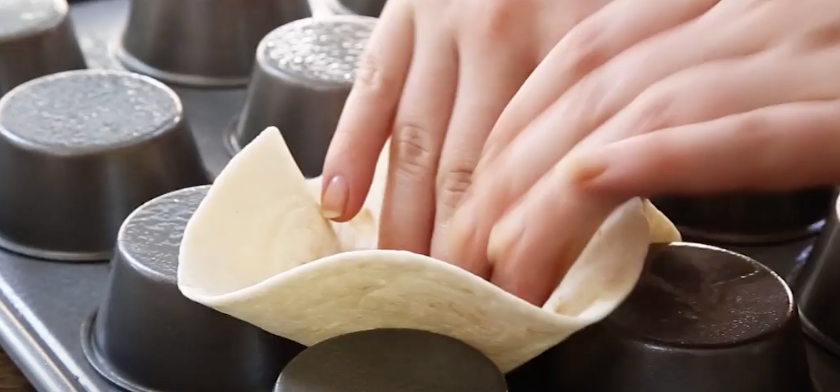
Now you have tasty little biscuit bowls that are perfect for holding hearty soups like loaded potato soup with cheddar or different chowders, as well as dips and chili. The next recipe is for taco bowls. Coat the underside of the muffin tin with cooking spray and then insert soft tortillas in between the muffin slots so that they form a nice bowl shape.
Bake these at 350 degrees for 10 minutes and then fill them up with taco fixings like meat, cheese, lettuce, tomato, salsa, guacamole, or whatever you prefer.
Please Share These Muffin Tin Kitchen Hacks With Family and Friends 🙂


