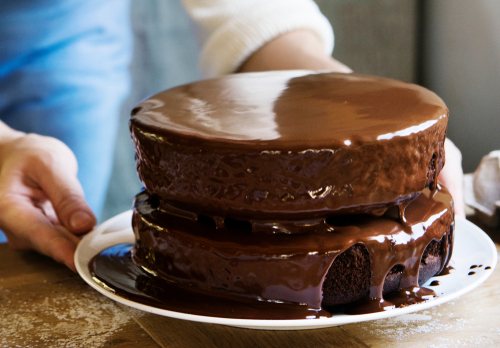
This Lady Pours Milk Onto This Chocolate. The Results? My Mouth Is Dripping!
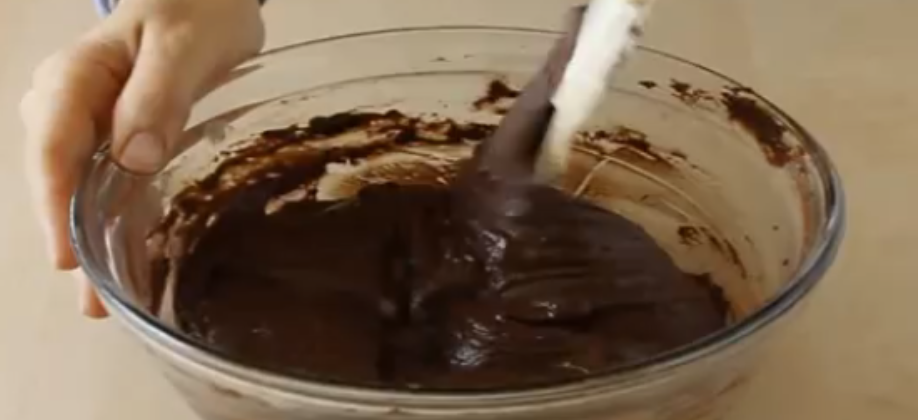
Fudge was first recorded in America by a student at Vassar College named Emelyn Battersby Hartridge. She wrote a hand written letter in 1886 to her friend in Baltimore, Maryland that the first Fudge was sold for 40 cents per pound. In 1888 Hartridge got her hands on the first fudge recipe and it become popular at her school immediately. Soon it spread like wildfire to other women’s colleges and then exploded into the rest of the population soon after.
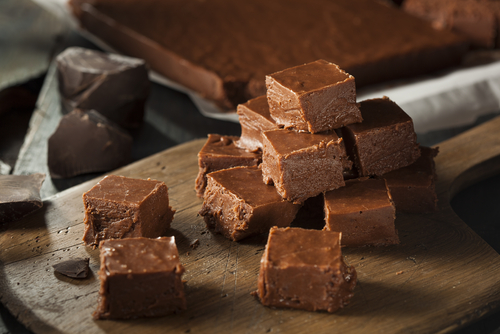
Fudge is usually rich, soft and sweet. It is usually made with a mix of milk, butter, and sugar. You then beat the mixture until it cools down and gets that special creamy, smooth consistency.
In the video below Elizabeth Labau will show you the simple steps to making your very own fudge at your house. You will need the following ingredients:
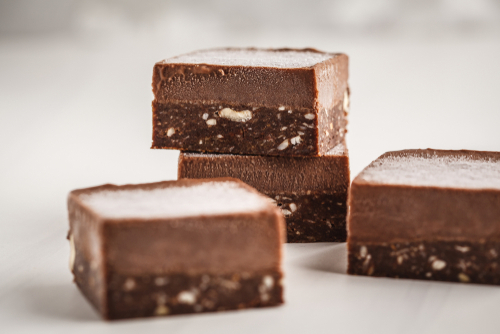
1. Prepare an 8×8 pan by lining it with aluminum foil and spraying the foil with nonstick cooking spray.
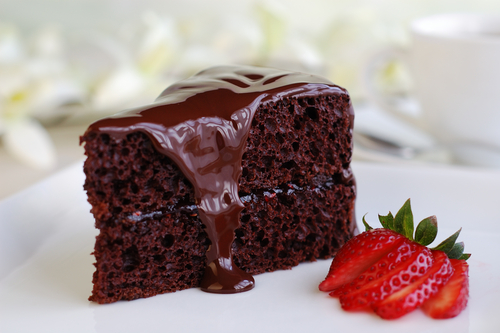
2. In a large microwave-safe bowl, combine the chocolate chips, condensed milk, and butter. Microwave in one-minute increments until melted, about 2-3 minutes.
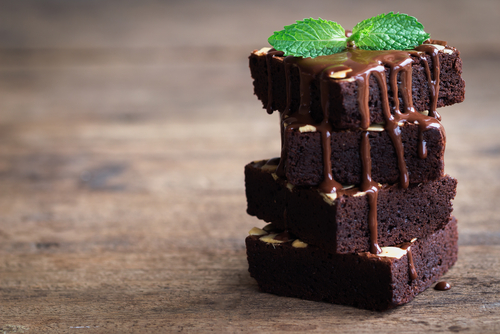
3. Stir to ensure all the chocolate is melted, then add the vanilla and salt. Stir until the candy is smooth and well-mixed.
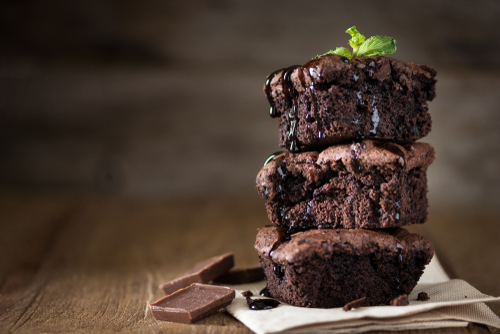
4. Pour the fudge into the prepared pan and smooth it into an even layer.
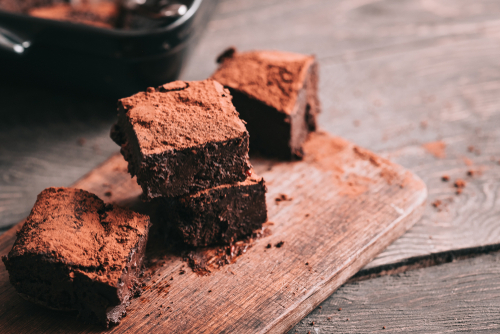
5. Place the fudge in the refrigerator to set for at least 2 hours. Once set, cut into 1-inch squares and serve at room temperature. Store excess fudge in an airtight container in the refrigerator.
Please Share This Recipe With Family and Friends
She Pours Eggs On Top Of Apples. When She’s Done I Can’t Stop Drooling!
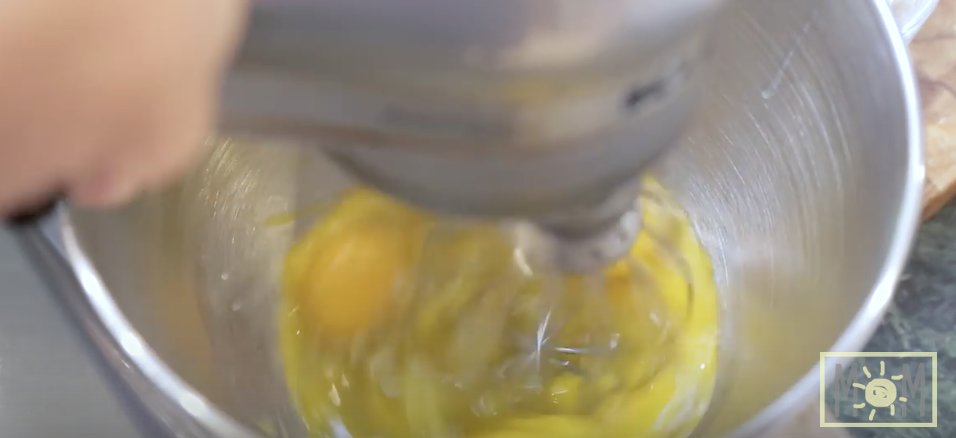
Sometimes the simplest ideas create the best results. In the following video you will learn how to make a delectable breakfast dish that your friends and family won’t be able to get enough of. Instead of just making normal boring pancakes, you add one surprise ingredient to really make the dish pop. That ingredient is 3 large sliced apples.
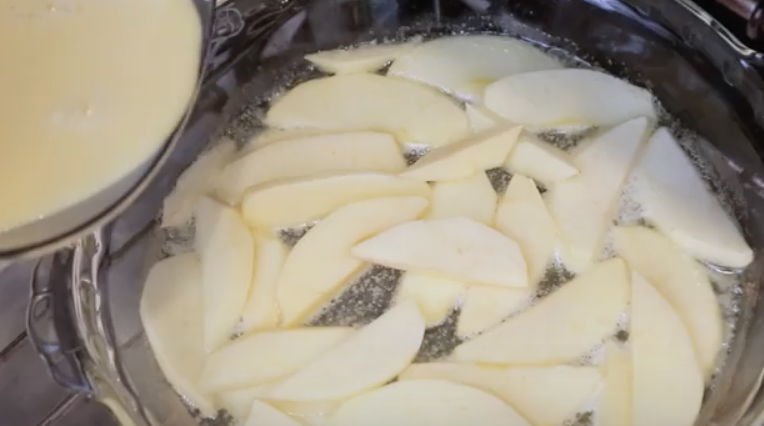
In the video below you will meet Meg from WhatsUpMoms who is joined by none other than her own mother Mimi. This duo will show you step by step how to make these Apple Puffed Pancakes. This dish is Meg’s favorite dish from her childhood and every time she goes and visits her parents she begs her mom to make it.
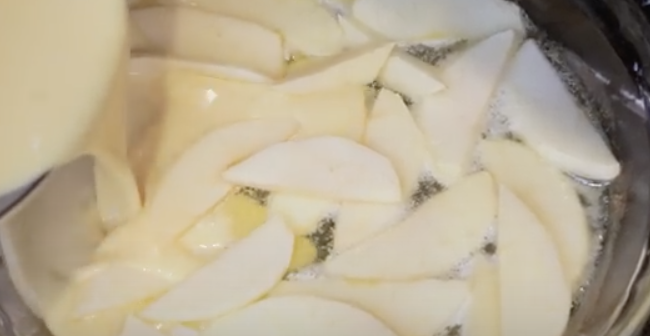
In order to make this delicious treat, you will need eggs, whole milk, flour, salt, butter, apples, brown sugar, and cinnamon. Then just follow along with the simple instructions, and voila your apple puffed pancakes will be ready to serve! This looks so yummy. I can’t wait to try it.
Please Share This Delicious Recipe With Family and Friends
This Lady Scoops A Few Different Batters Into A Bowl. When She Removes It From The Oven WOW!
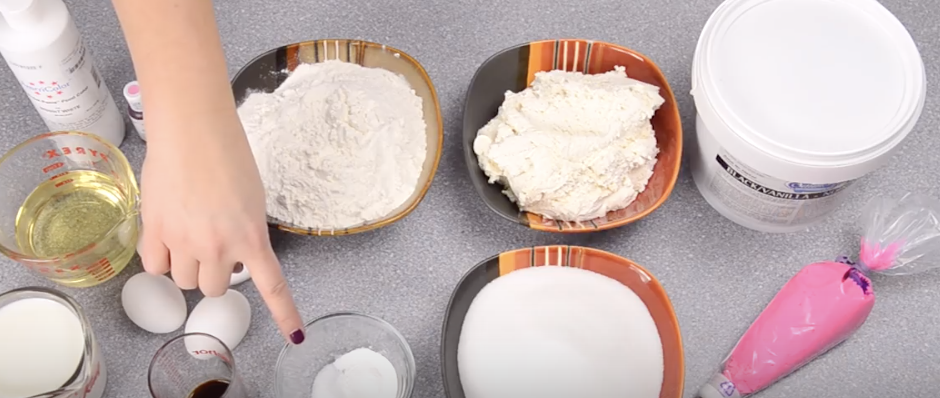
There is nothing in the world that makes people happier than a beautiful cake. Especially when it is for a party, it can change the whole vibe of the get together just by its mere presence. Nothing brings people together than a delicious cake that is almost too beautiful to eat. In the following video you will learn how to chef up a cake that your guests will remember forever. I know I will never forget this delicious recipe.
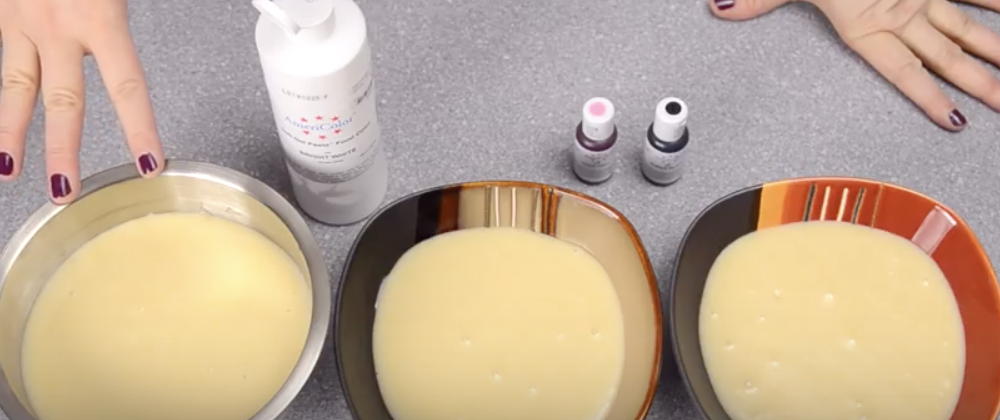
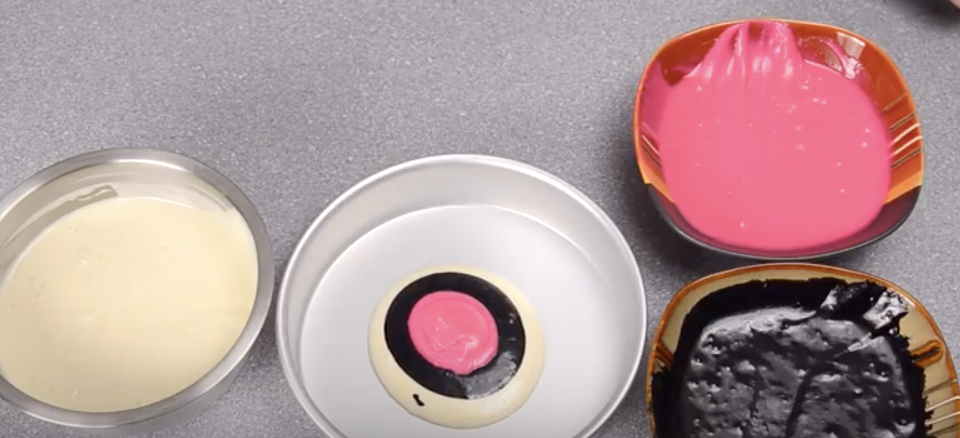
The outside of this Zebra Cake really pops with it’s bright colors and strong contrasts. But the best part about this cake is the inside, which kicks the whole thing up a notch. When designing a Zebra Cake you can go with the traditional black and white. Or you can take a walk on the wild side and add pink like she does in the video. Also if you did orange it would transform from a Zebra to a Tiger Cake.
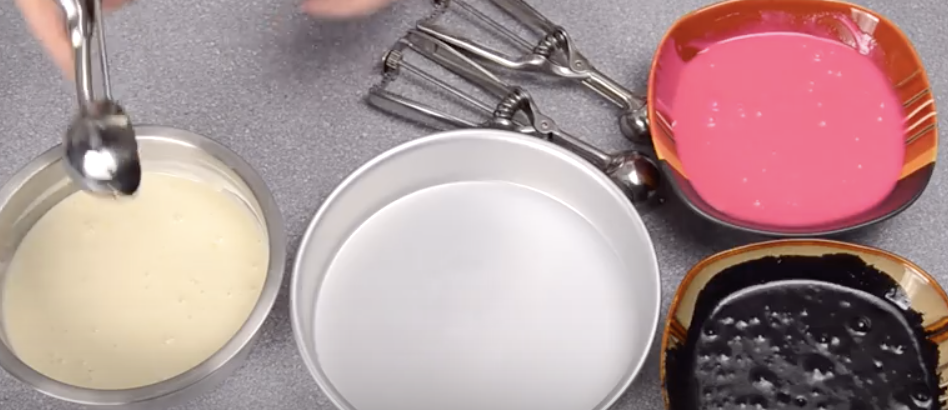
This recipe is something I will definitely be trying out. I can’t wait to experiment with different color schemes to produce a unique dessert experience for my guests at the next party. Are you going to try this out? Let us know!
Please SHARE With Family and Friends
Her Cake Looked Like A Mess At First But By The End I Was Drooling!
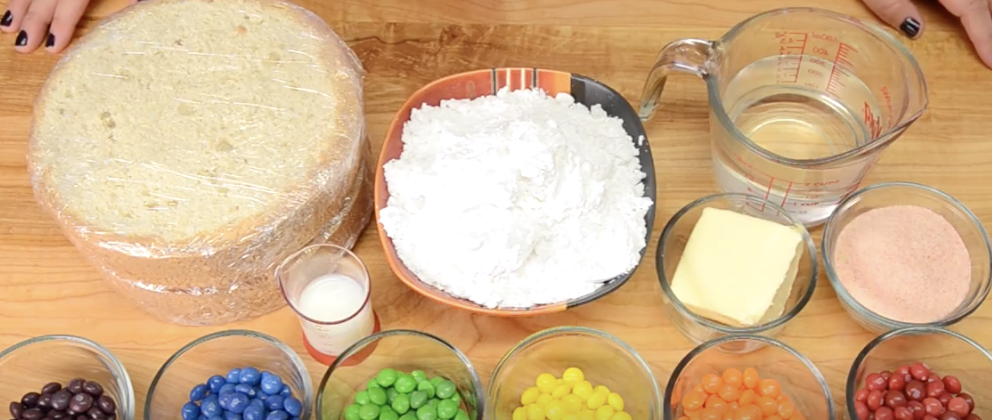
Want to taste the rainbow in cake form? If you answered yes then this Skittles poke cake recipe and instructional video will make your day. And the icing on the cake is exactly that; there is an accompanying Skittles butter-cream icing to compliment the cake. Are your taste-buds tingling yet? The cake is relatively simple to make and will come out looking kind of psychedelic as the different Skittles colors will bleed into each other all throughout the cake.
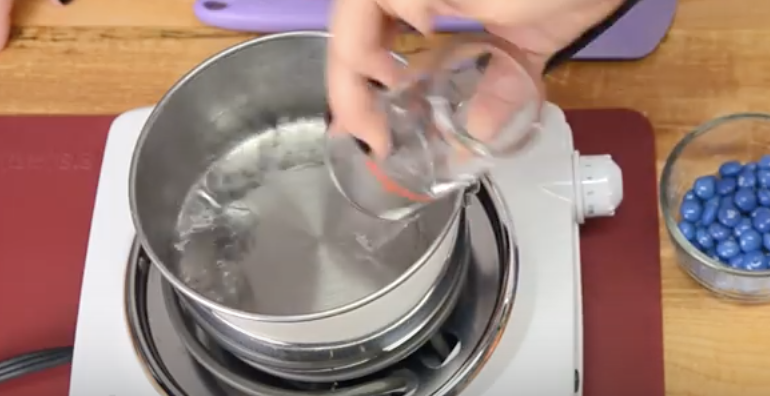
By boiling the Skittles down into a syrup the flavor is preserved and that is what makes the cake truly taste like Skittles. It all adds up to the perfect cake for a birthday party, special occasion or candy lover. The delicious video comes from the Cookies Cupcakes and Cardio YouTube channel. For quick and easy reference the recipe and instructions for making it have been written below. Make sure to check it out, share and enjoy!!
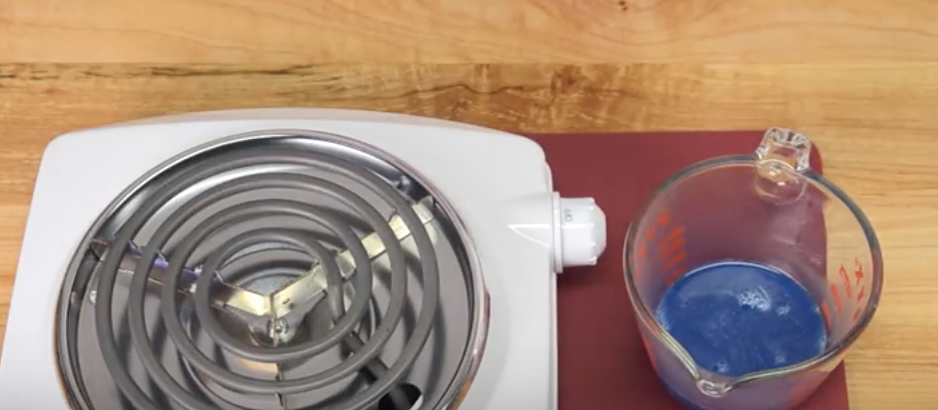
Skittles syrup ingredients: – ¼ cup of red, orange, yellow, green and blue Skittles – ¼ cup of water for each color Place 1 color of Skittles and water in small saucepan. Heat over medium-low and stir continuously until completely dissolved.
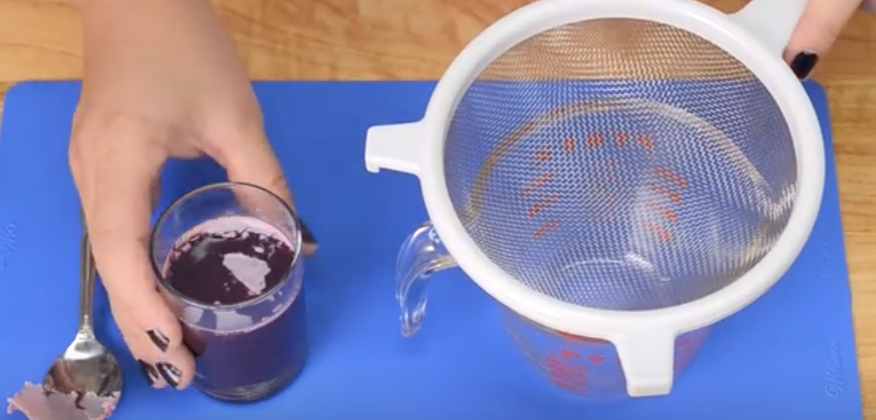
Remove from heat and place syrup in small jar. Set aside and repeat for all other colors. A waxy film may form atop the syrup while it cools. You can remove it with a fork or by pouring it through a fine strainer. It is simply what they coat the Skittles with and is safe.
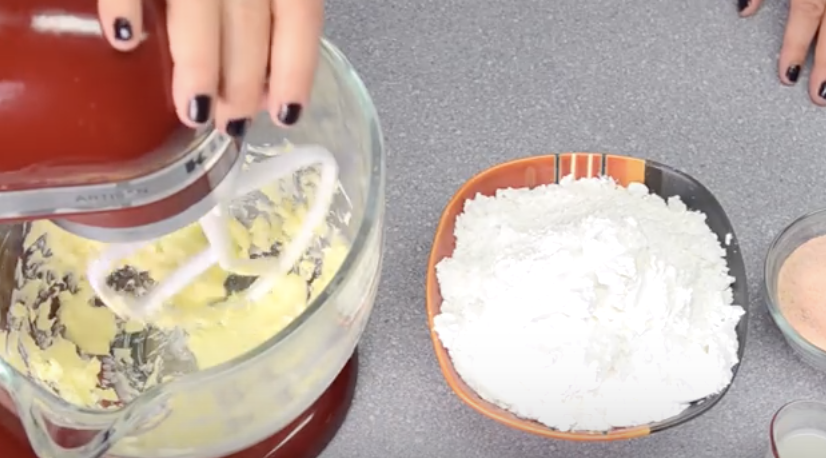
Skittles Butter-cream frosting ingredients: – 1/2 cup powdered Skittles from one color – 1/2 cup butter – 3 cups powdered sugar – 2-3 tablespoons milk Grind Skittles into a fine powder using a food processor. It is difficult to get them to grind down 100% to powder so do your best and use a fine sieve to strain any chunks out.
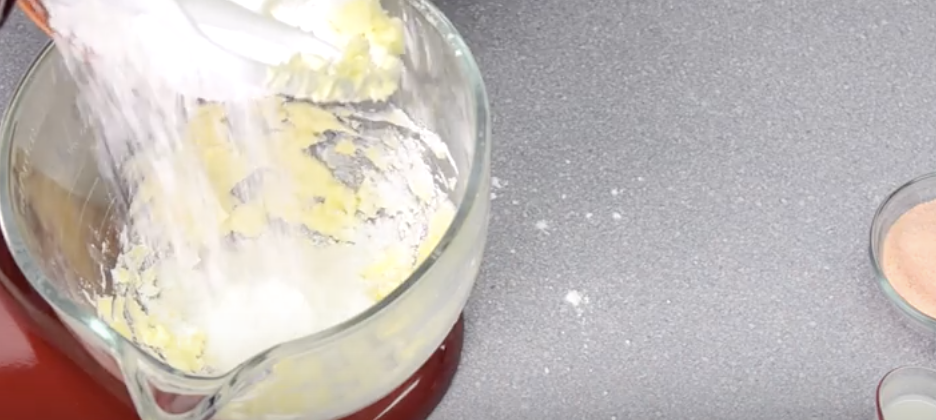
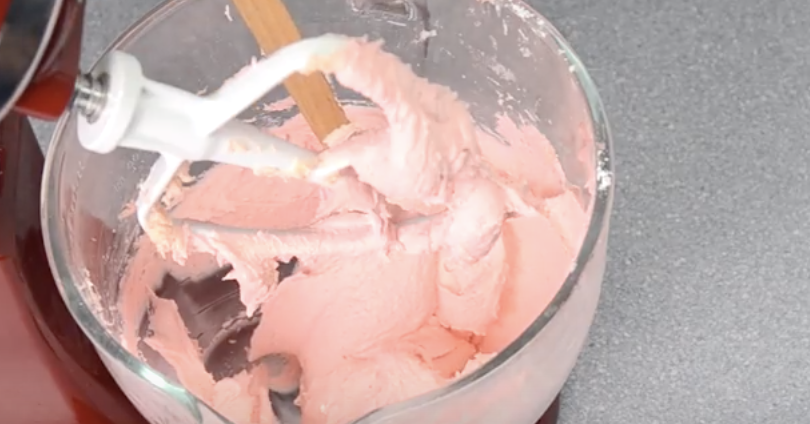
Fit a stand mixer with the paddle attachment and cream the butter in the bowl until it is fluffy. Add Skittles powder and 2 cups of powdered sugar. Mix on low speed. Gradually add 2 tablespoons of milk and continue mixing. Add the remaining 1 cup of powdered sugar, mix, and add in the remaining tablespoon of milk if desired for a softer butter-cream.
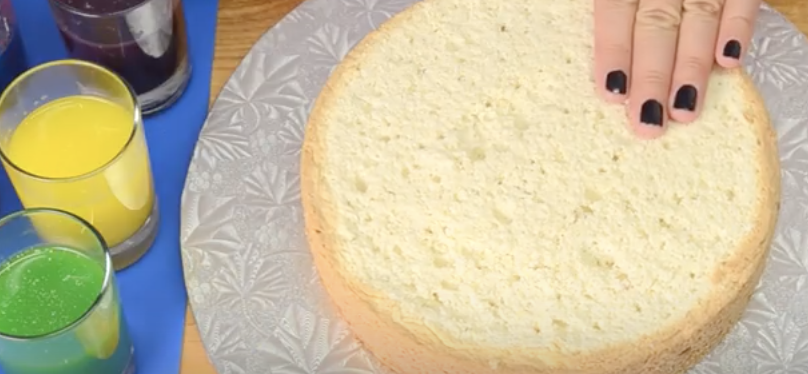
Making the Poke cake: Place one 8” cake layer on a cake board, securing it with a small drop of butter-cream. Take a sharp, narrow, round object and poke holes throughout the cake layer. You can use a fork for this but the holes will not show the syrup as well as a larger utensil will. Spoon 1-2 tablespoons of syrup over the top of the cake into the holes, repeating with each color until all the holes have syrup.
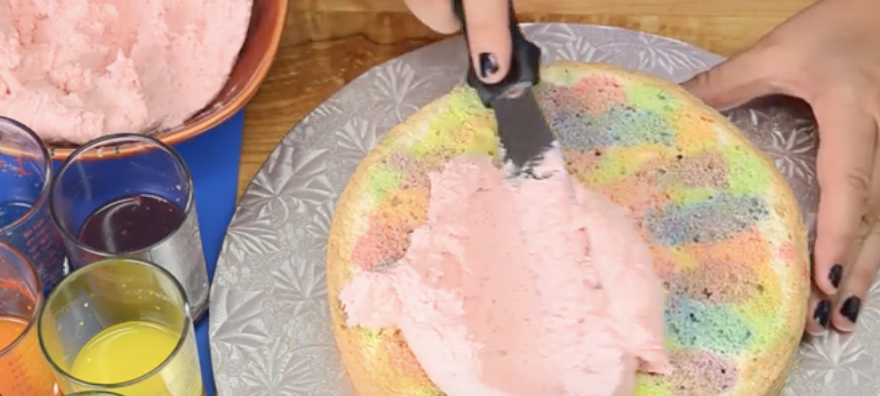
Spread a thin layer of butter-cream on top of the first layer and place the second cake layer atop that. Repeat the poking and syrup pouring on the second layer. Cover the entire cake with more frosting. Your done!! (this cake can be stored in the refrigerator for 2-3 days)
Please Share With Family and Friends
With Only 3 Ingredients You Can Make This St. Patty’s Day Dessert. The Result Is Magically Delicious!
The history of St. Patrick’s Day comes from the Declaration which was allegedly written by St. Patrick. Patrick was born into a wealthy family in Roman Britain during the fourth century. His dad was a deacon and his grandpa was a priest in the Christian church. When Pat was sixteen, Irish raiders kidnapped him and made him a slave in Gaelic Ireland. For six years he was a slave that worked as a shepherd. During these years Patrick ‘found God’. When he found God, God told him to escape to the coast, where a boat would be waiting to take him back to his family. He listened to God and sure enough, the boat was waiting on the coast to take him home. When Patrick got back he became a priest.
Legend says, Saint Patrick used a three-leaved shamrock to describe the holy trinity to the Irish pagans. He became Ireland’s greatest saint and was responsible for converting the Irish Pagans to Christianity. On March 17th St. Patrick died, however his legend steadily grew over the following centuries. We wear green to represent the shamrock that St. Patrick used to describe the Holy Trinity. Also, green has been associated with the country of Ireland since the mid 1600’s. Green flags, ribbons and shamrocks have all been recorded as early as the 1680s.
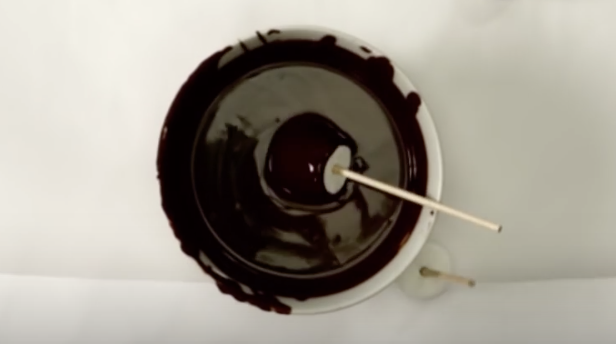
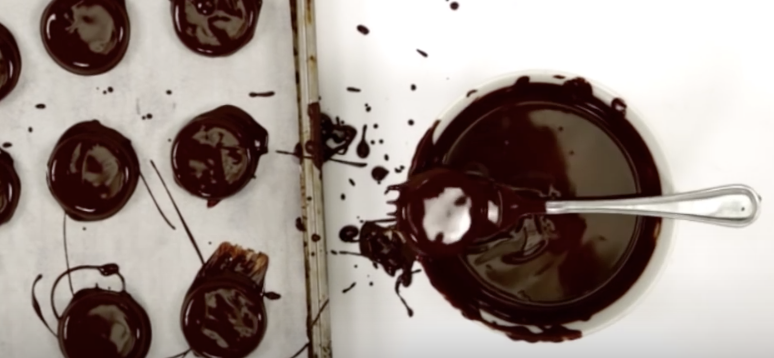
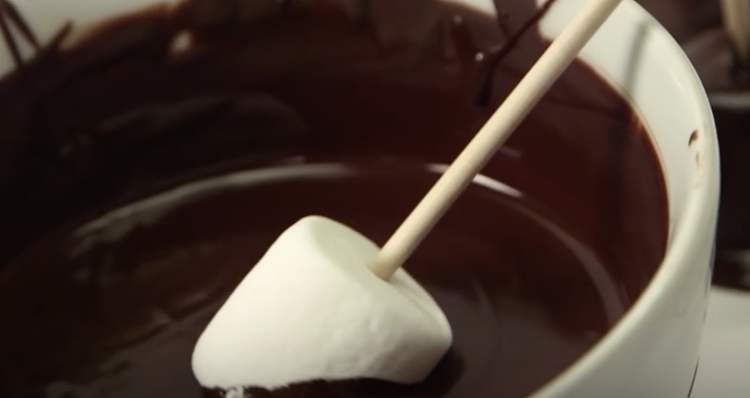
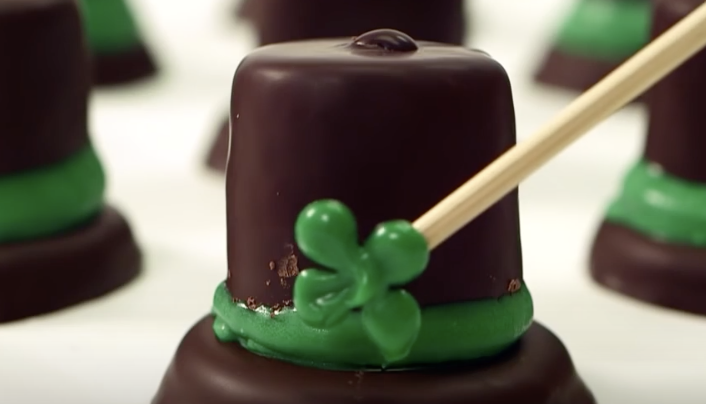
With St. Patty’s day right around the corner it is a perfect time to make a yummy dessert. In the video below we will learn how to make these adorable Leprechaun Hat Thin Mint S’mores. The best part about this St. Patty’s Day treat is that they are super easy to make. Follow the simple instructions in the video below, and those little leprechauns will be coming to eat your treats in no time!
Please SHARE This With Family and Friends
She Presses Dough On An Upside Down Muffin Tin. But When She’s Done YUM!
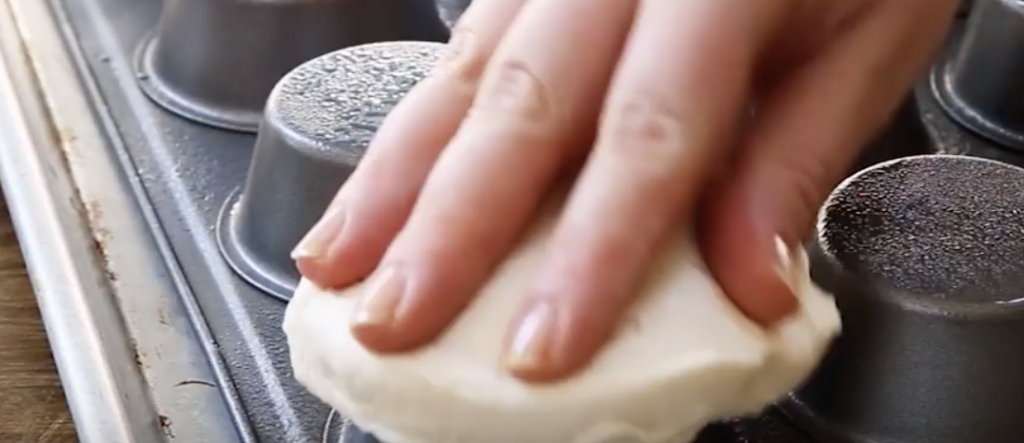
There seems to always be a right way and a wrong way to go about doing practically everything. Then there are all of the many ways that fall in between those two opposite ends, and that’s what is covered in this Allrecipes YouTube video. It features a novel way for you to use a plain old muffin tin to bake a variety of delicious treats that the whole family will love and appreciate.
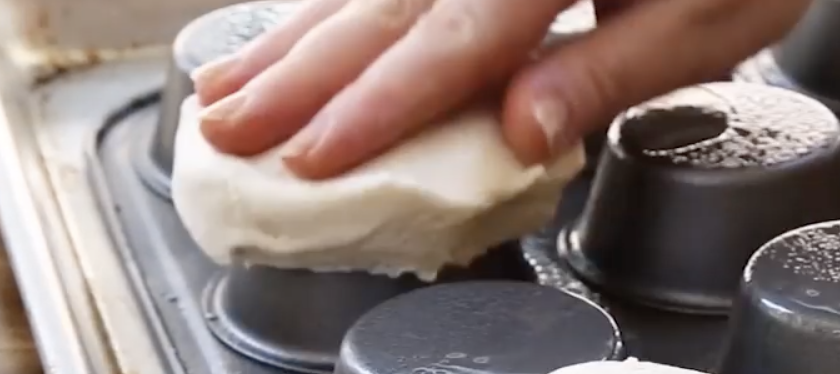
The innovative idea shown makes you think outside the muffin tin by switching up the way in which you’d normally go about using the classic bake ware. Instead of putting batter or dough in the little slots right-side up, flip over the tin and use the underside of the moldings to make different types of edible food bowls.
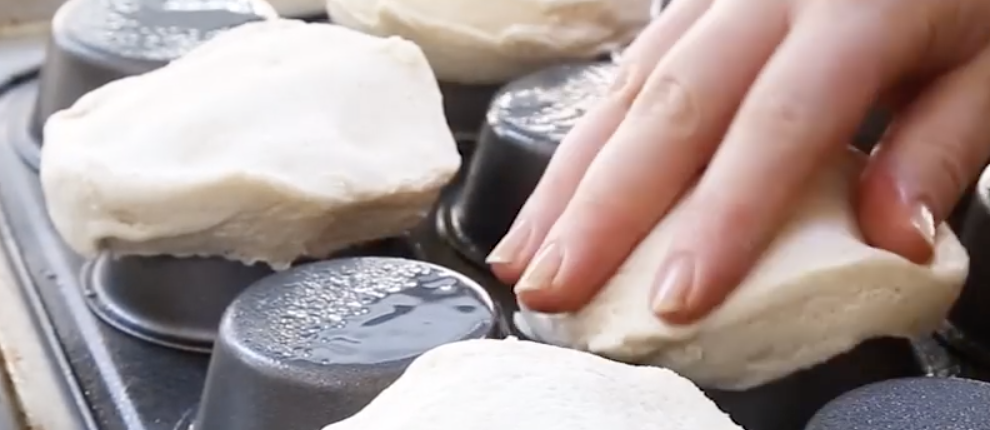
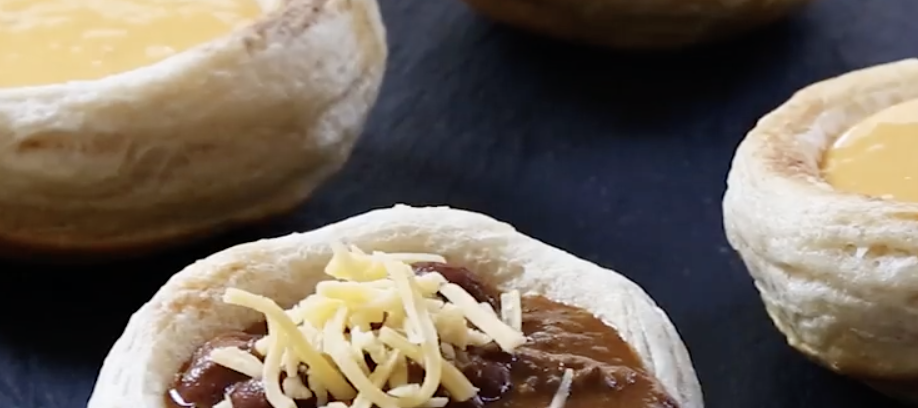
Get creative and imagine all the different ways you could use this technique to bake stuff and check out the recipe ideas covered in the video and below. The first recipe shown is for biscuit bowls. Start by turning the tin over and coating the underside with cooking spray. Take some biscuit dough (homemade or store bought) and smush it over each of the muffin slots on the bottom of the tin.
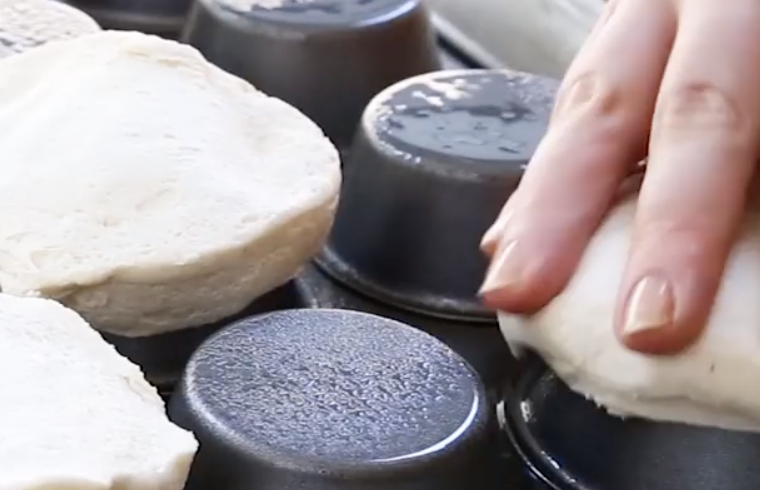
Pop it in the oven and bake them for 12-15 minutes at 350 degrees. When they’re done you’ll have tasty little biscuit bowls that are perfect for holding hearty soups, like loaded potato soup with cheddar or different chowders, as well as dips and chili.
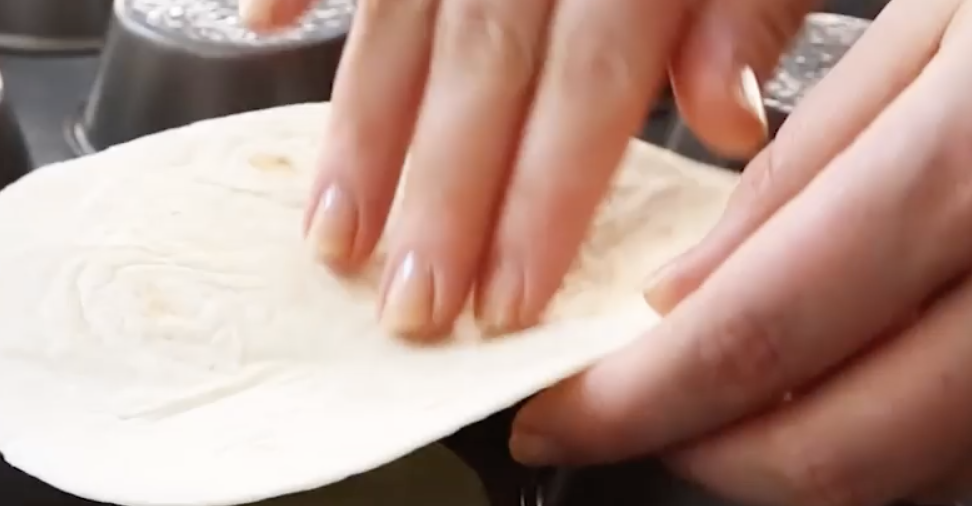
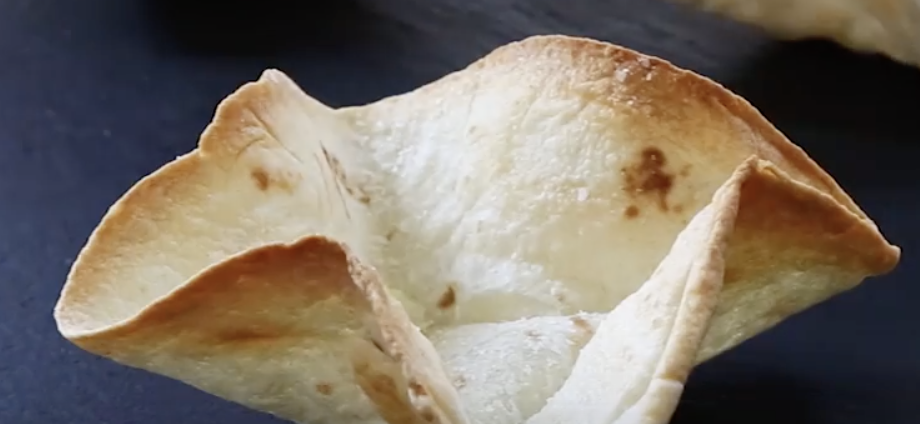
The second recipe is for taco bowls. First coat the underside of the muffin tin with cooking spray and then insert soft tortillas snugly in-between the muffin slots so that they form a nice bowl shape.
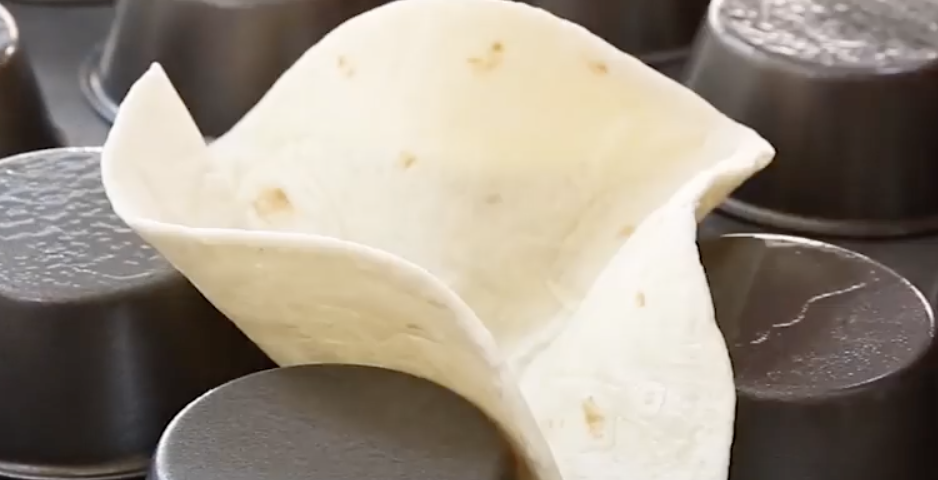
Bake these at 350 degrees for 10 minutes and then fill them up with your favorite taco fixings like meat, cheese, lettuce, tomato, salsa, guacamole, or whatever else you prefer.
The whole idea is a great way to maximize your muffin tin beyond using it to make the standard batch of cupcakes or muffins. Try it out and pass it on!
Please Share These Recipes With Family and Friends 🙂


