THIS Spice You Already Have In Your Home Will Get Rid Of Your Ant Problem Immediately
Ants are basically everywhere. In fact, the only areas on Earth that lack ants are locations where it’s too cold for them to survive. Oddly enough one such place, Antarctica, sounds like it’s named after them!
Even though they’re just about everywhere, the one place no one ever wants to see any ants is in their house. They’re just gross, some have painful bites, and just the sight of them crawling around can ruin your day. That’s because if you see one little ant it’s very likely that somewhere close by hundreds, maybe even thousands, more are lurking.
If or when your home is invaded by ants, keep calm and grab the cinnamon! It’s an effective all-natural remedy that’s a lot safer for pets and children than any of the toxic, chemical laden ant-rid products are. Plus, your house will end up smelling wonderful!
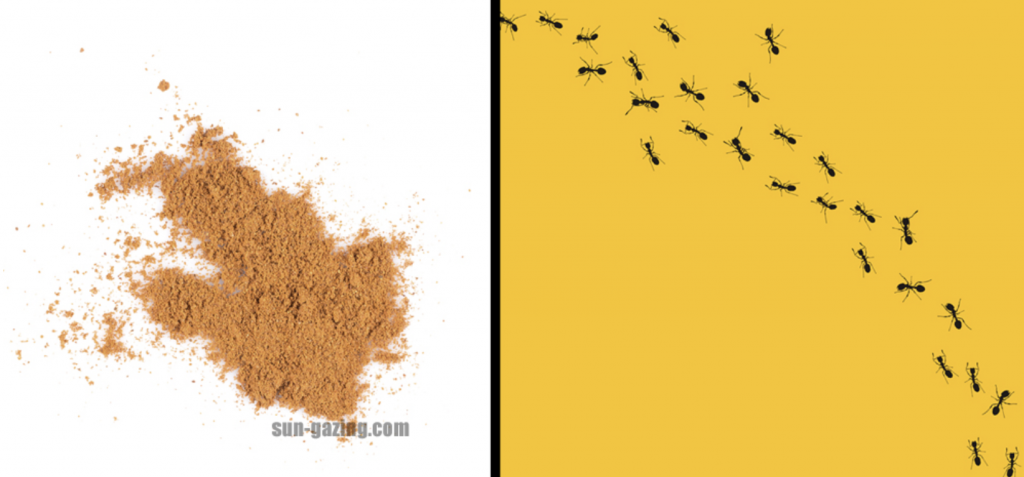
Here’s how to use cinnamon to repel pesky ants- Simply sprinkle a bit of plain powdered cinnamon wherever you see ants around the house. Look to see where they’re coming from and focus on doors, windows, cracks and crevices, the foundation, near the trash, or wherever else you think they could be getting in. You may also use cinnamon essential oil diluted in a bit of water. Dip a Q tip in the oil and draw a line across doorways or around cracks to form a barrier. Ants hate cinnamon and will not walk on or over it, so be thorough. To see just how well cinnamon works check out the accompanying video. If you were skeptical before the clip, it will make you a believer!
There are several different theories as to why cinnamon works. One is that the strong aroma it emits interferes with the ants sense of smell, which they rely on to get around and communicate by. Ants leave a trail of pheromones to scent mark pathways to food and others follow them, that’s why you often see them following one another in uniform lines. The cinnamon blocks these trails and messes up their sense of smell, sending them packing! Another theory is that ants cannot stand having cinnamon essential oil or powder on their bodies and that breathing it in causes them to choke or suffocate. Regardless of the true cause, it works and that’s all that matters.
All in all it sounds like cinnamon is the way to go. You won’t have to worry about your kids or animals, your house will smell good, and all of the ants will be gone. Try it and stop the little invaders in their tracks!
Please SHARE This With Your Family and Friends
3 Simple and All Natural Ways To Get Rid of Those Unsightly Large Pores
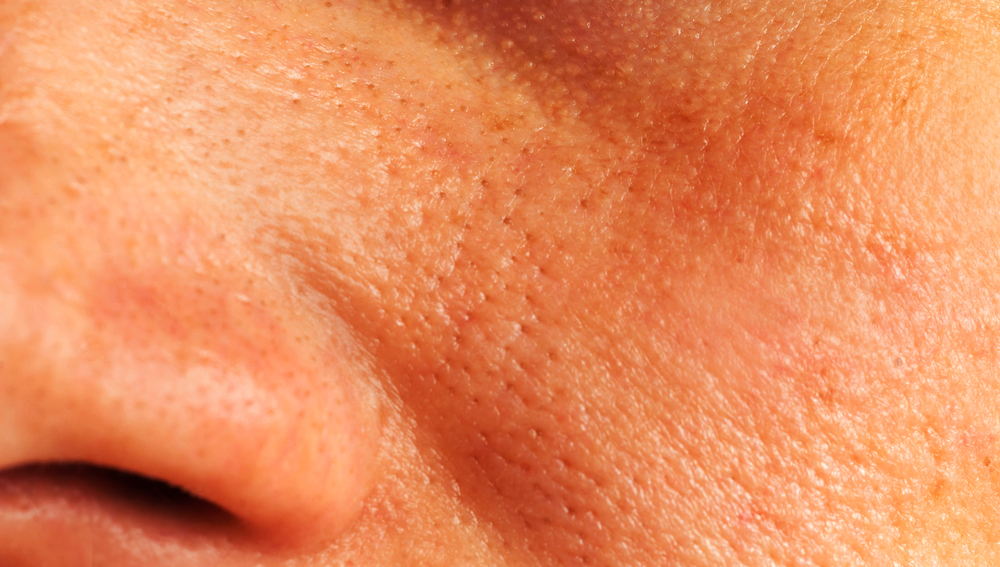
Large pores are a frustrating beauty issue for many people. The unsightly blemishes are commonly seen as a sign of oily skin, but that’s just the main possible cause. While some people do have overactive oil glands, oftentimes larger pores begin to appear as we age and our skin starts to lose elasticity and moisture.
There are many products available on the market that have been touted as effective at shrinking pores. They promise users a youthful new glow and miraculous results, yet most of them don’t do anything and are ineffective. Some even damage the fragile skin on our faces because they contain extremely harsh and abrasive ingredients that do more harm than good.
Instead of enduring more pain or wasting more money in search of a solution, try a more gentle approach like this 100% all-natural method. It only requires one simple ingredient that’s inexpensive and chances are it’s much more effective than anything else you’ve tried so far at minimizing pores. All you need is baking soda and warm water. Baking soda has long been used in a number of at home beauty treatments, the recipe and directions for the pore minimizing baking soda scrub are as follows:
In a small bowl combine two tablespoons of baking soda and a few drops of water. Add the water slowly because you don’t want to make the mixture runny, rather you want a paste-like consistency. Gently massage the mixture onto your face using a circular motion. Do this for 30 seconds, no more no less, before rinsing if off with cool water. Finish up by applying moisturizer or doing whatever your normal skin routine consists of. You should aim to do this application every day for one week straight, but those with sensitive skin should cut it back to 2-3 times a week. After the first week, you’ll only need to use it once a month or every 2 weeks. Over time, this will tighten pores and many people have reported that it works!
Part of what makes baking soda so effective at cleaning in general is that it’s efficient at regulating pH because it’s neither too acidic, nor too alkaline. Rather, it falls right around the middle. Thus, when baking soda interacts with things that are either acidic or alkaline it naturally reacts and neutralizes them. That’s why baking soda is so great at maintaining balanced and neutral pH levels, and when you add it to water and apply it to your face, your cleaning your skin naturally and getting all of the gunk that’s clogging your pores out. Perhaps best of all, it’s extremely affordable and won’t harm the environment, like most of the ingredients that are found in beauty products do.
Here are two other all-natural pore minimizing remedies:
Lemon Juice and Egg White Masque- Combine 2 egg whites and beat them until frothy, then add in the juice from half a lemon. Smear the mask onto your face, being careful to avoid the eye and mouth areas. Once the mask has dried, or after about 30 minutes, rinse it off with warm water, pat dry, and apply moisturizer.
Tomato and Lime Juice Treatment- Combine 1 tablespoon of tomato juice with 2-4 drops of fresh squeezed lime juice. Stir until well blended then soak cotton pads in it and place them on your face. Keep them there for 15 minutes before removing and rinsing your skin off with cold water. *Do not leave this on any longer than 15 minutes because citric acid can burn delicate skin.
Try one of these applications tonight before bed and see the results for yourself!
Please SHARE This With Family and Friends
Scientists Say This New All Natural Non-Toxic Mixture Will Stop Mosquitoes From Biting You This Year
More people are heading outside now that the weather is getting warmer, sunnier, and more pleasant. Springtime means that the birds are returning to their summer homes and the bugs are starting to come out in full force. Unfortunately, this also means that pesky mosquitoes are coming out in droves and they’re all looking for fresh blood. The way they swarm and buzz in enough to drive anyone crazy and their bites are just downright itchy and uncomfortable.
However, the worst thing they care capable of is spreading dangerous, sometimes even deadly, diseases. One bite is all it takes for a mosquito to transfer a virus to a person and many people end up with severe infections like malaria, Zika Virus, Chikunhunya, West Nile Virus, Eastern Equine Encephalitis, Yellow Fever, and more.
While chemical sprays and store bought repellents do work to a degree, they usually smell disgusting and are packed full of harsh, toxic ingredients that can irritate skin and cause difficulty breathing. A good rule of thumb is that you should try to avoid spraying DEET on yourself if possible, and fortunately there is a natural alternative you can use to keep mosquitoes away. It’s simple, gentle, and smells good, plus it’s effective and you can make it right in your own kitchen.
The simple 3 ingredient recipe for the homemade repellent was shared by YouTube channel HouseholdHacker in the accompanying video. Their tutorial on how to make it is informative and easy to follow so be sure to check it out. Here is a list of what you’ll need and steps on how to make it:
Ingredients:
– 1 teaspoon of vanilla extract
– 30 drops of lemon-eucalyptus oil
– 4 ounces of either rubbing alcohol, witch hazel, or vodka
Instructions:
1. Measure out each ingredient
2. Mix them all together
3. Transfer into a small spray bottle
4. Spray on yourself before going outside and reapply every 4 hours as needed
This non-toxic formula can be sprayed anywhere on your body, skin, on clothing, and even in hair. For that last ingredient listed above, witch hazel is preferred because it’s the least harsh on skin and won’t dry it out like alcohol-based ones tend to. Mix up a few bottle of the repellent so you can toss one in your car or bag, that way you’ll always be safe and covered wherever you go.
In the end, this natural spray will definitely make summer much more enjoyable. You won’t have to constantly be slapping at mosquitoes or itching bites, and that makes it worthy of your time and attention so try it out and see how you like it!
Please SHARE This With Family and Friends 🙂
A Simple Way To Naturally Get Rid Of Those Unsightly Brown Spots For Good.
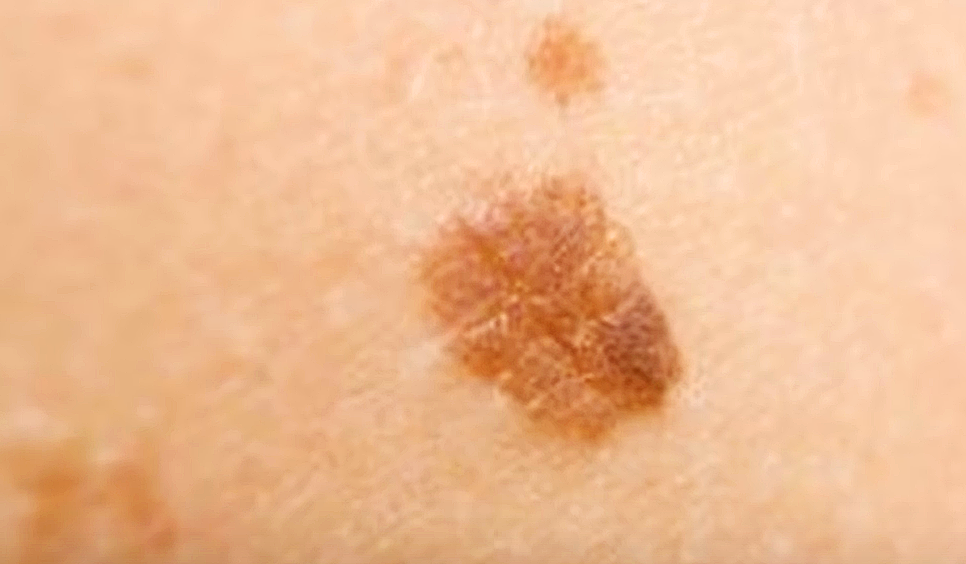
Brown spots that appear on the skin, are something that everyone eventually finds lurking, well after a tan has disappeared. Even if you haven’t been a sun worshiper at times in your life, exposure to the sun will leave these “age spots”, which can occur at any time in life.
In the VIDEO you are about to watch below, Drew of the YouTube channel “Fitlife”, explains that these age spots tend to appear in greater amounts, most commonly seen in people over the age of 50. When you are younger, they may not be as unsightly, but as we age they become more bothersome. With the increased use of tanning beds amongst younger people, in the last 20 years, these brown spots have been appearing earlier in life for many.
The culprit, of course, are the ultraviolet rays emitted from the sun, that produces a tan. In actuality our bodies produce melanin which allows the skin to tan, as an adaptation or armor that protects the deeper layer of skin, Drew goes on to explain. While the age spots are usually harmless, these dead dry patches of skin are stubborn, even resisting many laser removal treatments.
So, here’s the GOOD NEWS…as Drew says, “Food is Medicine!” A NYC nutrition expert, Dr. Doug Willen, D.C. has come up with an incredibly simple way of removing these stubborn brown spots completely. Two foods that you probably already have in your kitchen do the trick when combined: ONIONS and APPLE CIDER VINEGAR! Watch the video below, which explains why this solution is so effective, and illustrates how to extract the juice from a sliced onion and blend it with Apple Cider Vinegar. Drew demonstrates the process and the exact proportions and amount to apply on a cotton pad once daily. You will see results within 2-4 weeks! Then be sure to cover yourself in sunscreen on exposed skin every day, to prevent these unsightly age spots from reappearing, and preventing more serious sun damage that could be more serious.
Please SHARE this Effective “recipe” for ridding your body of age spots with your family and friends
The Easiest Way To Naturally Remove Unwanted Facial Hair At Home

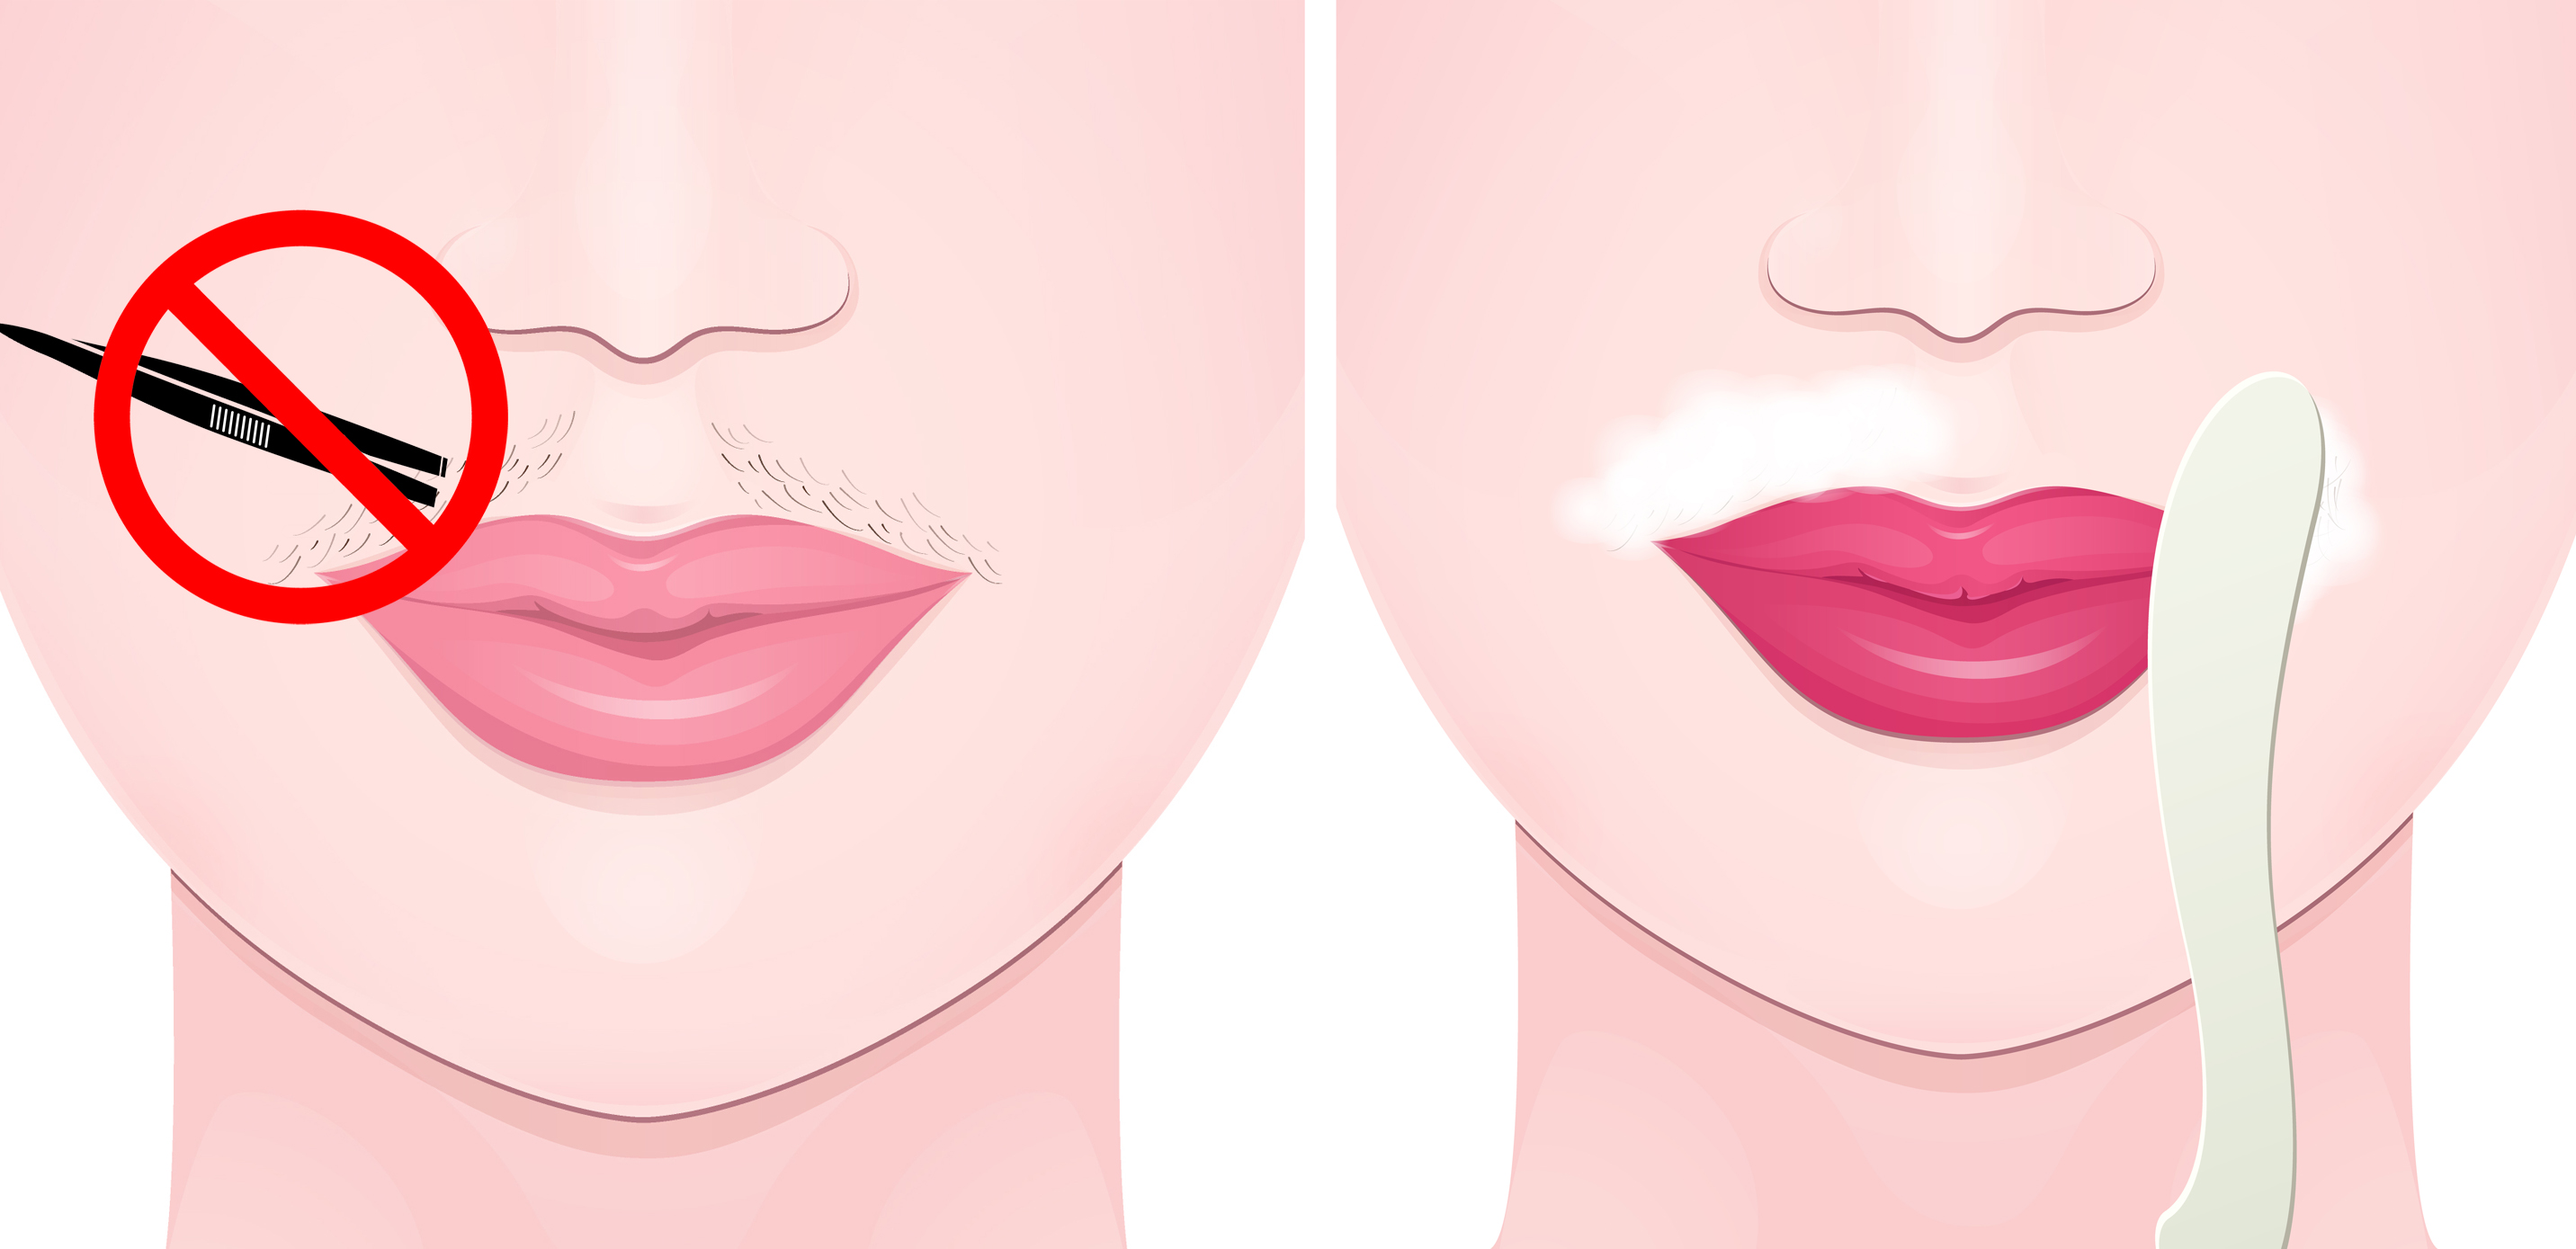
Women don’t have to be “Hair Phobes” to dislike that unwanted facial hair, known as “peach fuzz”. Although it tends to be light in color, it is quite visible in natural daylight, according to “Healthline”. Because of how light it is, it wouldn’t respond to a laser, even if you wanted to go through that pain and considerable expense.
I can tell you from personal experience that having it waxed is a really bad idea. It seems to come back in greater quantity and weirder texture. So when I came upon this video for a home remedy that claimed to get rid of “peach fuzz” PERMANENTLY, I decided to give it a try. It is actually a face mask, that not only removes this hair, but is great for your skin.
So, if that “peach fuzz” makes you self-conscious, this video you are about to watch below is
for you. The lovely young woman who presents this tutorial, Himani Wright, shows you exactly how to mix the ingredients for this all NATURAL MASK. All that you need is: COCONUT OIL, WHOLEMEAL (Whole Wheat), FLOUR and WATER. Himani stresses the importance of applying it in one direction, and removing it in another.
She advises doing this 2X per week (with a couple of days in between), for a period of a month for substantial permanent hair removal. I am in my third week of using this mask, and already see far less peach fuzz. She says continuing to apply it for the second month insures maximal results. It’s really exciting to come upon something on the internet that really does what it claims to do!
Please Share This With Family and Friends
Totally Natural Recipe Will Simply Get Rid Of All Your Unwanted Facial Hair Easily and With No Pain.
Facial hair is a very common problem that many women struggle with and yet no one ever really wants to discuss it. Lets face it, peach fuzz and straggly hairs on your upper lip, chin, neck and face are annoying and unsightly. It’s also incredibly frustrating because for the majority of women out there, unwanted facial hair is a nightmare to deal with.
People have ended up spending a small fortune on a range of methods in their quest to remove it. There’s a seemingly inexhaustible supply of waxes, creams, razors, gels, lasers, lights, and more that all promise to banish facial hair for good. Many of these treatments are pricey, some actually cause more harm than good and leave skin irritated, while others don’t even work! So what’s a woman to do?
Instead of turning to some product that’s filled with harsh chemicals, try an all-natural alternative method. This simple 3-ingredient face mask from beauty blogger Himani Wright is the perfect solution to all your unwanted facial hair problems! It’s safe for all skin types, convenient, and super affordable. Not only is it easy to make and use, it actually works and removes hair and peach fuzz effectively. Plus, if you use this regularly it will eventually get rid of facial hair completely and permanently, so you can skip the painful waxes once and for all. The following is exactly what you need for it:
½ teaspoon of extra virgin, cold pressed coconut oil
3 tablespoons of wholemeal* flour (*this is the same as wholewheat or wholegrain flour)
A splash of water
1. Start by gently massaging coconut oil into your skin, taking special care to cover your entire face.
Coconut oil has anti-fungal properties, which is part of what makes it an excellent base moisturizer. It’s commonly used in beauty treatments because it contains protective nutrients and antioxidants that our skin, hair, and bodies love.
2. After you’re finished with the coconut oil mix together 3 tablespoons of wholemeal flour with enough water to form the thick, pasty consistency, as shown in the video.
3. When you go to apply the flour mask to your face use a downward stroke and work in one direction.
4. Allow it to dry and after about ten minutes you can begin to remove the mask. Rub your face gently in the opposite direction than how you applied it, using an upward and out type of motion. When the majority of the mask has been removed you can wash the rest off of your face with water and then pat it dry with a clean towel.
5. For optimal results, apply a toner to all treated areas to close up pores and further protect your skin’s health. Finally, finish up with your favorite moisturizer and you’re done!
This wholemeal flour treatment works best when done twice a week for at least one month, all while waiting a couple of days in-between each application. After the first month you can cut it back to once a week for however long it takes for facial hair to lessen and disappear.
This is by far one of the easiest all-natural ways to remove facial hair and it costs just a few dollars. Please pass this along and share this beauty tip with others. Who knows, it could change someone’s appearance and life for the better. In the meantime, try mixing up a mask and prepare to be amazed at how well such an unlikely solution actually works!
Please SHARE This With Family and Friends 🙂

