Apparently I’ve Been Folding My Socks Wrong For My Entire Life. THIS Is The Unexpectedly Surprising Way To Do It!
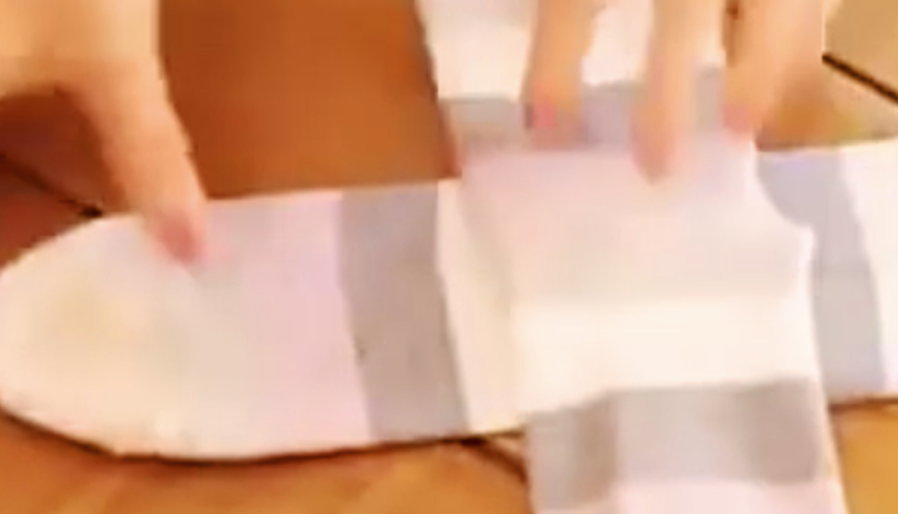
image via – youtube.com
You are about to spend 16 seconds of your life watching the following video below, that will change your sock drawer forever. You don’t have to be an OCD type to just love this DIY. I’m a very neat person on the outsides of my home, but my closets and drawers are more chaotic than I would like.
I have always put my own, my husband’s and kid’s socks together by stretching the top of one sock and looping the other through, to keep pairs together. This always has the tendency to stretch one top of the pair of socks, as well as increasing the probability of one sock coming loose and disappearing.
Additionally, this method has never made it easy to keep the drawer organized in any way, and to find what your looking for quickly. When I found this amazing DIY that’s so easy to follow, I tried reorganizing my sock drawer using their method before writing this article. It’s not only fun to do, but I have to tell you that I felt really satisfied after putting all my socks back into the drawer, when I was done. It was such a thing of beauty, that I pulled out my phone out to snap a pic and send it to my friends, who were all in awe.
Sometimes it’s just getting one chaotic area of your life organized, that can just make your day! It truly is the little things in life that can give you pleasure. Let us know if you will use this method after watching this short footage.
P.S. An added bonus just may be less socks disappearing into “SOCK HEAVEN”. Wouldn’t that be nice?
Watch the video below for the full instructions and technique tutorial:
Please SHARE This With Family and Friends
After You Watch THIS Simple Nail Polish Hack You Will Never Polish Your Nails The Same Way Again!
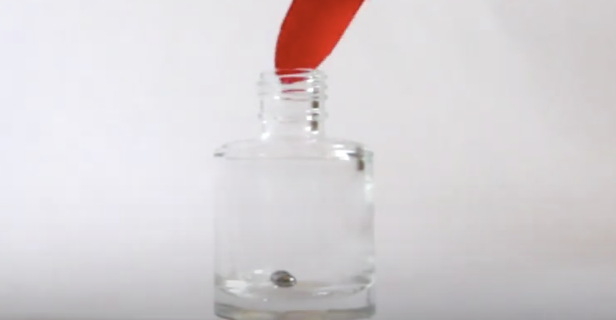
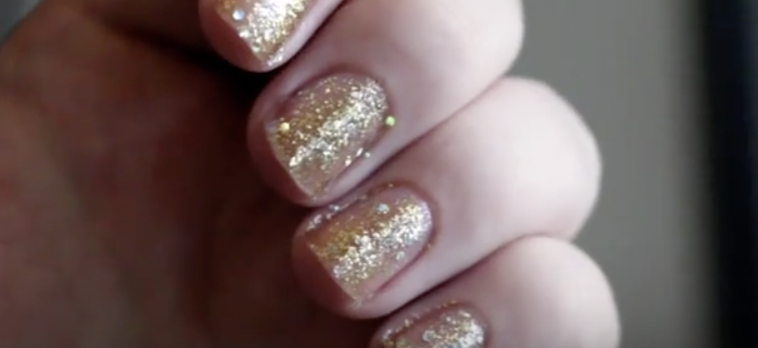
The worst type of nail polish to remove is hands down the glitter filled kind. It takes ten times longer to scrub the glittery bits off your nails than any version without it. The worst part is when the nail polish remover soaked cotton swab you are using snags and sticks to the glitter on the nail then tears up the swab into an unusable mess!
If all this sounds familiar then you need to view this video and learn this cool trick. It will save you time, energy, and overall just make you more sane the next time you go to remove the dreadful polish.
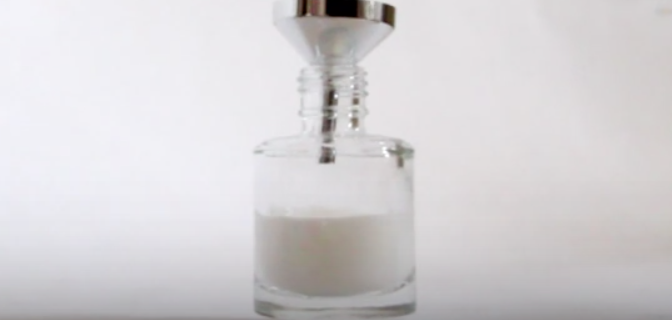
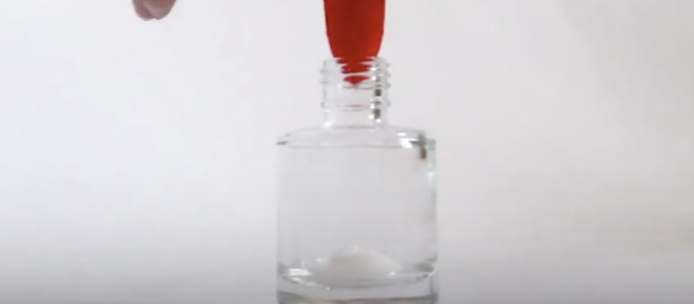
This method involves a glue base coat that will allow you to peel the glitter right off. It only lasts about 2 days so keep that in mind if you want or need a longer wear time. For those who like to change their polish color or texture often, this is perfect. You will need Elmer’s glue, water, and a nail polish bottle, plus an optional small funnel to make it even easier.
Begin by squeezing some glue into the bottle and use however much you feel is enough to coat all the nails you plan on painting. Then pour a tiny bit of water into the bottle. This is where a small funnel will come in handy. Screw the cap on tight and shake the bottle until the glue and water are well mixed.
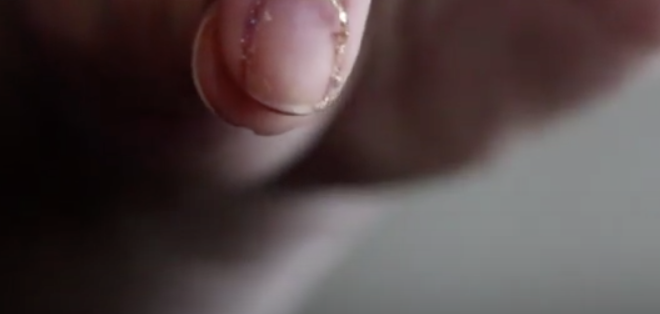
You want to have a consistency that is similar to what you find in a store bought nail polish base coat, which is slightly thicker than regular polish and not on the runny side. If you need to thicken it add more glue, and to thin add just a few drops of water at a time.
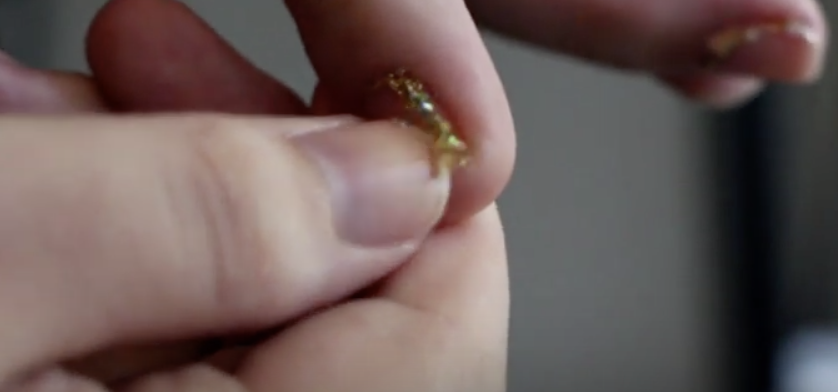
Once you have adjusted the glue and water to the ideal texture paint it on your nails like you would regular polish. Wait for it to dry into a matte state and then paint on any overcoat you desire.
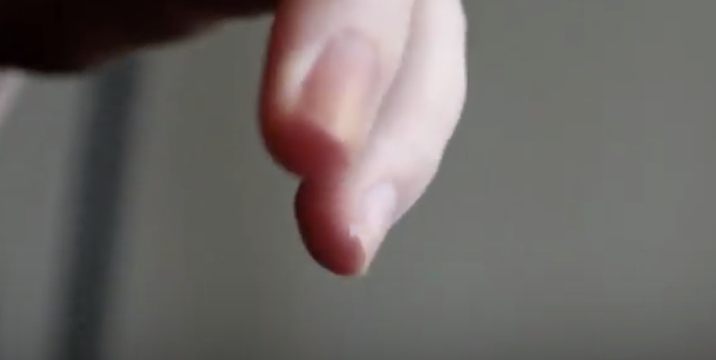
The video shows us how easily the glue peels off nails. Even with three coats of glitter paint it lifts cleanly off. In total, around 90% of the polish comes off with the glue and then rest can be rubbed away with polish remover. Try it the next time you want pretty glittery nails and you’ll be glad you watched the video and learned this technique!
Please SHARE With Family and Friends
An Awesome 4 Step Toothpaste Life Hack To Deal With Those Dull and Grimy Vehicles Headlights.
image via – facebook.com
When it comes to cars and maintaining them, many people are clueless about what to do or even where to start. Lots of things demand our attention from washing and waxing the paint job to changing the tires and oil. Some of the upkeep is easy and can be done by anyone, while other things are best left to a mechanic. This video falls in the former category and shows how anyone can clean their car’s headlights with just some toothpaste, a bottle of warm water, paper towels, and a bit of wax..
For obvious reasons, headlights are an essential part of any vehicle, and the cleaner they are the better you can see and be seen by other drivers. When headlights turn hazy and dirty, as they inevitably become over time, the light output from the bulbs ends up getting diffused. This makes the light beams appear dimmer, weaker, and therefore less effective. The lights end up covering a reduced area ahead and pose a potential safety hazard, which is the last thing anyone wants because driving is already dangerous enough.
If you noticed that your vehicle’s headlights have this issue then you have to try this quick and easy method to clean the plastic covering. This fix will work if your headlights are yellowing on the outside, pitted, and not smooth. If your car’s headlight is smooth on the outside, it won’t work.
You’ll need to use a type of toothpaste with a gritty texture to it, such as the ones that contain baking soda and peroxide or a whitening version. It’s also important to not use any gel formulas because only pastes work and if you need more grit try adding baking soda to it.
Start by rubbing a generous amount of toothpaste onto the headlight and to keep your hands clean you can use a toothbrush. Work it in really well and soon after the paste should begin to turn yellow as dirt and grime start to come off onto the brush. Next, grab a spray bottle filled with warm water and spray the light, then rub it off with a paper towel.
Apply a fair amount of pressure while buffing it away and when you’re almost done grab a clean paper towel to remove the last of the residue. Finish it off by applying a smidgen of wax to the headlight and wait for it to completely dry before buffing it all off. The wax will form a protective layer over the now clean light and help keep it from becoming yellow again so soon.
The older and more yellow the light, the longer you’ll need to rub the toothpaste into it. If the light is still hazy or you feel that it needs to be cleaner, simply apply more toothpaste and try again. The best part about this technique is it costs maybe a dollar or so, but if you have a tube on hand that’s the right kind of toothpaste then it’ll only cost you a few cents.
In comparison, store bought headlight restoration kits sell from anywhere between $15-25 so this is by far the cheapest way to clean them. Hopefully this trick will work for you and help to restore your car’s headlights to their former clear and shiny glory!
Be safe and and watch the video below for the full tutorial:
Please Share This With Your Family and Friends
10 Clear Signs Somebody Is Lying To You. A Simple Way To Spot a Liar.

image via – shutterstock.com
We all tell lies, it’s a part of our human nature. Sometimes they’re harmless, even well intentioned, and told to avoid hurting someone that we care about. Other times they’re not so minor. Instead of being trivial, they end up truly harming others and lead to nothing but trouble. We even lie to ourselves, we just can’t help it. As often as we hear them, one would assume that we’re quite adept at detecting a lie when we come across one.
While that may be the case for some people, for the majority of us it’s not. Thankfully there are signs to look for that can help us detect when someone is telling a lie. That way we can minimize any possible negative effects of the ones we happen to come across. Here are the top signs you need to know on how to spot a liar:

1. They hide or cover their mouth. A liar will often touch their face and mouth area when they’re being deceptive. It’s as if they are subconsciously attempting to cover up and shut down any further conversation about it.
2. They stare and maintain eye contact for an uncomfortable amount of time. This is classic behavior of a liar who is very likely consciously trying to deceive you. They believe that by staring and not blinking they are showing real honesty and are thus offsetting any suspicions others may have of whatever it is they’re lying about.
According to the accompanying video, honest people maintain eye contact for a little over half of the entire conversation. Someone who lies will gaze steadily at you for 70-100% of the time.
3. They blink rapidly. People who are uncomfortable tend to blink rapidly 5 or 6+ times in a row on average. This is a manifestation of the stress they’re likely feeling. It may also be an indication that they’re attempting to be more convincing, either way it’s a red flag you should pay close attention to.

4. They point. This can be both physical and verbal. They may be trying to deflect attention away from their lies by pointing your attention elsewhere. It’s also a way to shift the blame and defend themselves. Literally waving a finger around and becoming aggressive shows that they sense they’ve been caught in their lie and are attempting to distract you in a last ditch effort.
5. They give you too many details. Over sharing and offering up more information than is necessary is a sign that whoever is talking too much has a guilty conscience. They think that by being so forthright you’ll perceive them as open and honest, and will buy whatever line of bs they’re feeding you.
6. They fidget. While we all can be a bit restless at times, moving around more than average or nervously is a sign someone is lying. People will adjust their clothing, loosen a tie, play with a necklace, tuck hair behind an ear, wipe their glasses, twiddle their thumbs, clean up the immediate area surrounding them, straighten a pencil and pad, wipe the swear off their brow, and do just about anything else as they squirm their way uncomfortably through a lie.

7. They have trouble swallowing, clear their throat, and purse their lips. All of these indicate that the person is stressed and anxiety has set in. When that occurs our bodies slow salivary production which causes our throat and mouth to become dry and uncomfortable. Liars will appear to gulp before speaking, pinch their mouths closed, and purse their lips in vain attempts to get past this.
8. They display verbal and non-verbal disconnects. Our physical actions tend to naturally match the words that come out of our mouth. As such, when we agree with someone we nod in agreement, and when we disagree with someone we shake our heads from side to side as if to say “no.”
When there is a disconnect, a person will nod in denial while saying no, and/or shake their head from side to side in agreement while saying yes. These are unnatural movements that do not match up and are a strong indication that someone is lying.
9. Their voice changes. Depending on the liar, they may do a number of things with their tone of voice. They may speak rapidly or slow down, talk quietly or become much louder than usual, and maybe even stutter over details that they should be able to recall effortlessly had they been telling the truth.
Some people will just sound nervous or agitated at inappropriate times where they need not be. Others may be jumpy and defensive or hesitate before answering questions.
10. They start sweating more or breathing harder. A liar’s body will often give them away. Lying is stressful and causes both our heart rate and blood pressure to increase, which in turn makes us breathe more heavily and perspire. These two physical changes are highly noticeable within the setting and circumstances, so watch out for the obvious signs!

By honing in on a person’s body language, actions, voice, and their overall manner of speaking, you should be able to discern if they are lying or not. Simply training yourself to notice the above signs will give you a clearer overall picture down the line and help you figure out the truth.
The accompanying video covers these and a few additional signs so check it out and be sure to use them to your advantage. Call out the lies and the liars when you see or hear them, whatever comes first!
Please Share This With Family and Friends
He Rubber Bands a Ziplock Bag To His Shower Head For a Grimy Shower Cleaning Life Hack Everyone Should Know
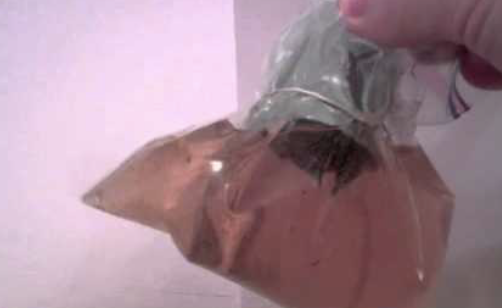
image via – facebook.com
When it comes to cleaning just about everyone loves learning new simple ways to get the same old things done. It can be fun and interesting to discover what nifty and quick solutions people have come up with to solve common problems. This video, from YouTube channel Outdoors and Gear Review highlights a helpful trick for dealing with a common and difficult problem you’re likely to encounter when tidying and cleaning your bathroom up; hard water deposits and stains.
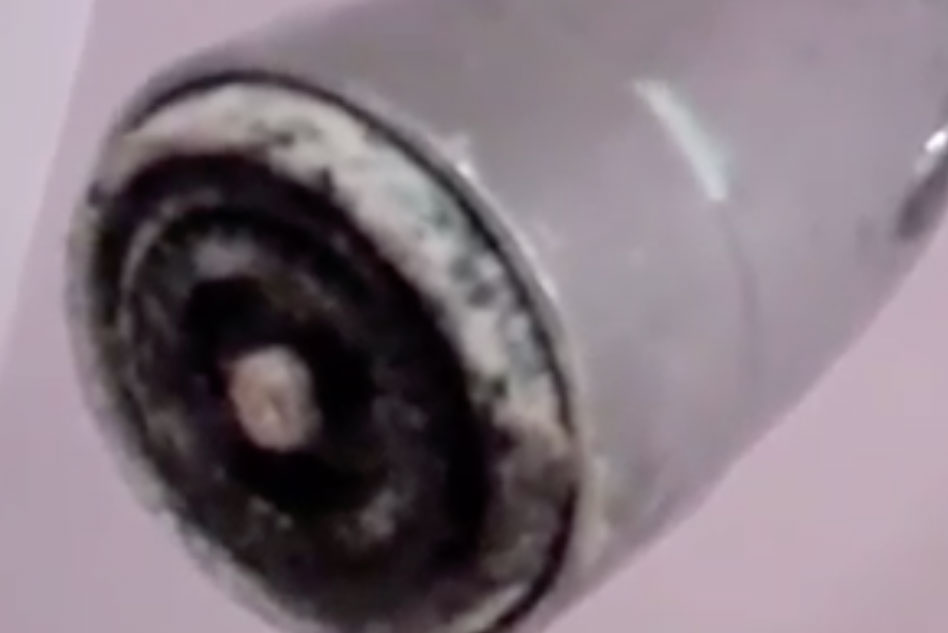
Hard water can be a real pain in the neck and the nasty looking stains and blemishes that it leaves behind on bathroom and kitchen surfaces can be extremely hard to fully remove. The ugly spots and stains are caused by water that contains large amounts of minerals such as limestone, calcium, and magnesium.
These metals and minerals are naturally occurring, most often in areas with low water tables and mountainous regions, and water that contains them is perfectly safe to use and drink. The biggest downside to it is the crusty, whitish colored mineral deposits and stubborn stains it leaves behind. Over time these gradually build up on stuff, especially faucets and shower heads.
Many people struggle to remove these stains and often think that they need strong, harsh chemical cleaners to get rid of them effectively. However, there’s a better and more affordable way to go about cleaning a shower head with crusted on mineral build up. All you need is apple cider vinegar, a Ziploc bag, and a rubber band.
Simply pour some apple cider vinegar into the plastic bag and place it over and on the shower head. Use a rubber band to secure it in place and then leave it on overnight. Remove the baggy the following day, wipe the shower head clean, and it should be restored to its former glory!
Check out the video for more information and to see just how shiny and spotless looking it turns out. This may be the fastest, easiest, and most natural way to clean hard water stains. It requires minimal effort or exertion on your part so try it the next time you’re stuck cleaning the house!
Watch the video below for more information and the full showering cleaning head life hack tutorial:
Please Share This Shower Trick With Family and Friends
This Guy Cuts An Old Tin Can Up. When He’s Done It’s Perfect For An Emergency Situation!
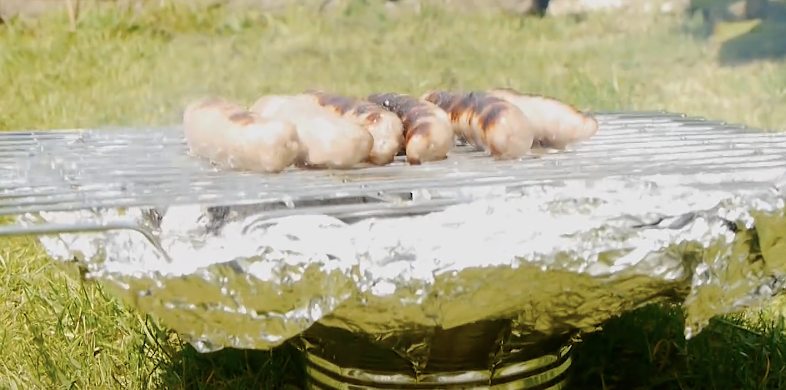
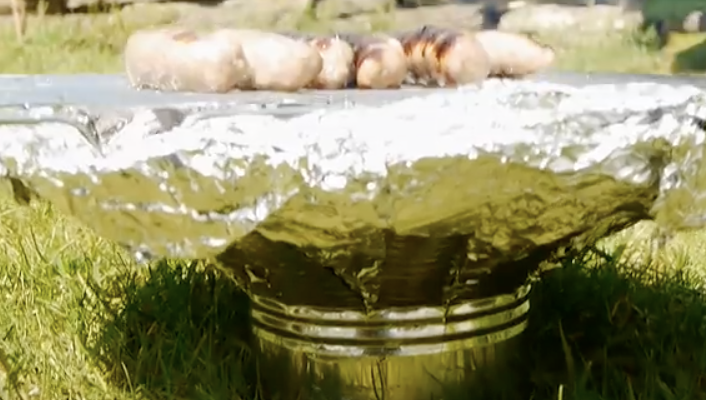
If you ever may need to MacGyver up a BBQ grill on the fly, check out this video for the best way to do it. This DIY project comes in handy for those who enjoy hiking and camping, but don’t want to haul a heavy, expensive, and bulky camp grill along with them. It also comes in useful when the power goes out and you get hungry. Forget having to eat cereal and crackers and instead grill up a nice juicy steak before it spoils in the fridge. Also, it puts to good use things you’d normally throw out, like tin cans. By re-using and recycling them into cheap and easily made BBQ you can make clean up a breeze and safely dispose of the ashes in seconds.
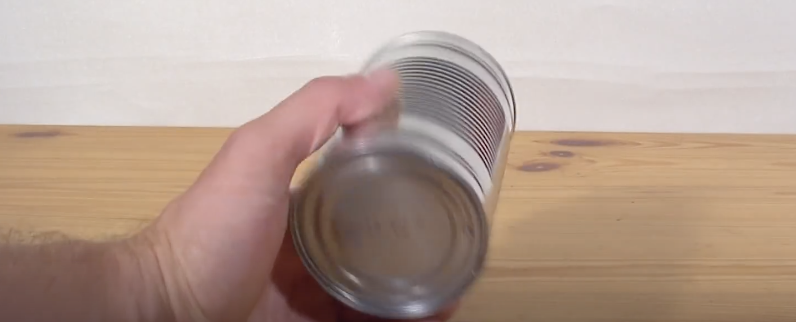
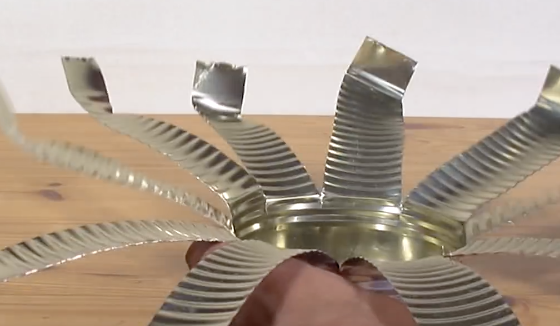
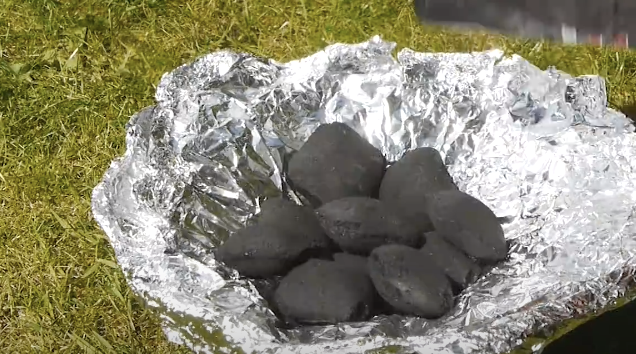
All that this simple little BBQ requires is a tin can, scissors, tinfoil, a metal grate and five minutes or less of your time. Start by taking a tin can, remove the lid, then grab a pair of scissors and cut strips down the sides, leaving about an inch or so uncut towards the bottom. The larger the can the better since it makes it easier to cut, more stable, and will better hold the coals later on. Next, bend the strips down and out all the way around the can (refer to the video for a visual). Be very careful when handling this because the edges are extremely sharp. After, line the can with tin foil so that you form a bowl shaped type of container out of it. With that, the constructing part is now done.
Place the grill somewhere safe, flat and outdoors before adding charcoal and lighting it. After the coals have heated to the right temperature spread them out on the foil and place a grill rack over the top. DaveHax, the man who made this video, used the rack from his oven, but you could also use a cooling rack or other similar metal-type grate. With the rack in place you can now throw a shrimp on the barbie, or grill whatever delicious meats, veggies, and fixings you desire.
This DIY tin can BBQ is versatile and useful in all sorts of situations. Plus, it may even prove itself out to be very useful one day. Check out the video for more detailed instructions and to get a better visual idea of what it will look like at each step. Enjoy!
Please Share With Family and Friends

