She Gets A Toothbrush And Starts Plucking Out Every Bristle But When She Reveals The End Result? AWESOME!
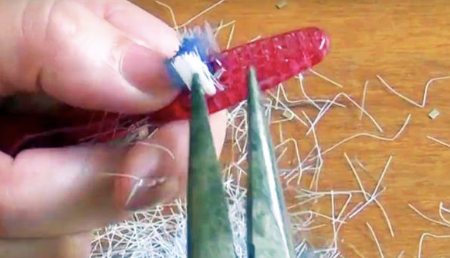
image via – facebook.com
Custom made jewelry can end up costing a pretty penny if you buy it at the store or online. Why not try making some one of a kind pieces at home that cost practically nothing and look just as beautiful as their pricier counterparts! With this tutorial, making your own arm candy can be extremely low cost, easy, and fun to do.
YouTuber Katrina Sherwood posted the creative method that she uses to make unique and inventive plastic bracelets on her blog “Katrinaosity.” The project is a hands-on way to re-use and recycle old plastic toothbrushes into trendy, colorful, 80s style bracelets, so you won’t waste or need to buy anything.
Even if you don’t have any old plastic toothbrushes laying around, they can easily be found at the store for well under five dollars. You can make lots of these and if you mess up it doesn’t matter, just keep going until you make the perfect accessory!
To create your very own bracelets you will need some plastic toothbrushes (the cheap kind work fine), needle nose pliers, a towel and oven mitts, heat resistant tongs, and a pot of hot water. To begin, start by first heating up the pot of water on the stove until it boils.
In the meantime, take the needle nose pliers and use them to rip out all of the bristles from the toothbrush heads. Once the bristles have been completely removed, place one toothbrush at a time in the boiling water for about 10 seconds or so. Using the heat resistant tongs, carefully remove the toothbrush and check to see how pliable it is with a towel or oven mitt protecting your hand.
If it bends enough to be folded into a bracelet shape that will fit around your wrist, it’s done. If it doesn’t, simply place it back in the boiling water for another 10 seconds or so, until it’s flexible enough to bend. The plastic will cool off quickly so you may have to re-boil it a few times until you get the toothbrush to bend into a wearable, desired shape.
These awesome looking, colorful, acrylic type bracelets are so easy to create and turn out beautiful. You can make a bunch and stack them, plus they can be custom made to match any outfit or look you are going for. Check out the video to learn more on how to make them and enjoy!
Please Share This With Family and Friends
Apparently THIS Simple Life Hack Will Air Seal Any Bag Of Chips With No Clip Necessary!
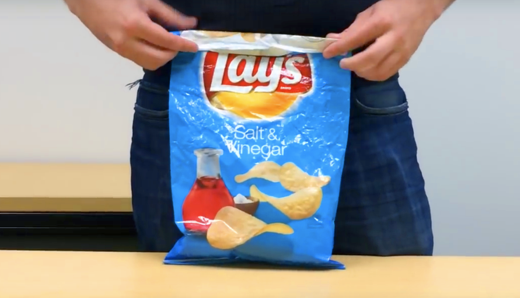
image via – youtube.com
Nothing is better than reaching into a bag of crispy chips or crackers when you’re really hungry and need a little snack to stave off the empty stomach pangs. That light, airy, crunchy taste and texture is so soothing and pleasing that it can even make your mouth water just thinking about it.
However, nothing is worse than when the chips hit your lips and instead of a satisfying crunch they mush down into a stale wad of grossness that you have to spit out. The feeling of limp, old snacks is an immediate appetite killer and one we have all experienced.
Plus, as if the taste wasn’t bad enough, you also end up throwing out the rest of the bag. Money and food gets wasted, all your snack hopes and dreams get crushed, and overall you’re left with a really bad taste in your mouth.
Part of why such a situation and the above scenario is so depressing is that it doesn’t have to be like that. By properly sealing and closing bags chips, crackers, cookies, and whatever tasty treats you open can stay fresh and crispy for much longer than not.
When someone fails to do that, they are asking for stale, wasted food. The most common way to avoid this is by placing a clip on the open bag to ensure it stays closed. Even a rubber band, clothespin, binder clip, or any similar type of object can be used to secure the bags opening.
For those times when you don’t have a clip of any sort nearby or available, you can always try this handy little trick to seal up an opened snack bag. Start by neatly rolling the top of the bag down over itself until you near the part of the bag where it is filled to.
Take each of the topmost rolled corners and fold them in about an inch or so towards the center. Using your fingers to hold the corners in place, turn the fold over itself in the opposite direction from which it was rolled down.
Refer to the video for a better idea of what I’m attempting to describe, but it’s basically similar to turning the fold inside out. Doing this will ensure that the bag stays closed and won’t pop open. Air is kept out and freshness is ensured for at least a few days, in some cases weeks, longer.
Be sure to check out the short video clip because it will come in handy at some point and help you (a lot) to avoid future chip issues. Also, don’t forget to spread the wealth and share it so that others know how to keep their snacks fresh for longer too!
Have you tried this trick before?
Please Share This Life Hack With Your Family and Friends 🙂
She Places A Mug Over An Egg. The Final Result Is A Delightful Unexpected Surprise!
YUM! A light and delicious, sweet treat, that’s easy too! This quick take on a classic meringue is a perfect dessert for the warm summer months. Only two ingredients and minimal effort until you’ve got yourself sugar heaven. Not only that, but you can get creative and combine almost anything in your kitchen with the fluffy cookies, or just eat them plain. Most people have enough kicking around to make this a full gourmet course at the last minute.
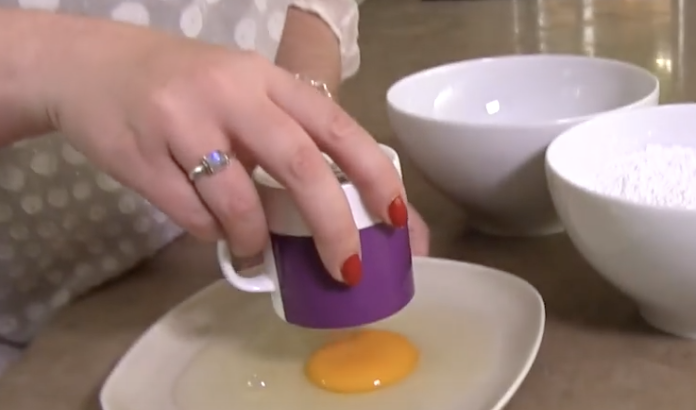
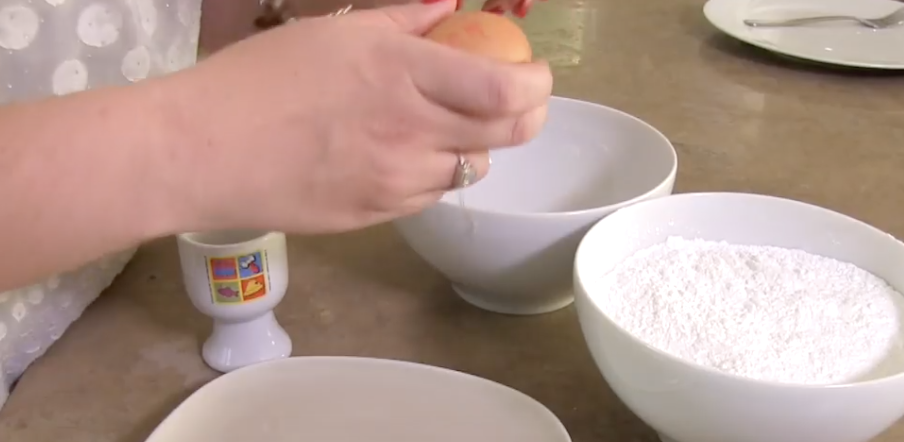
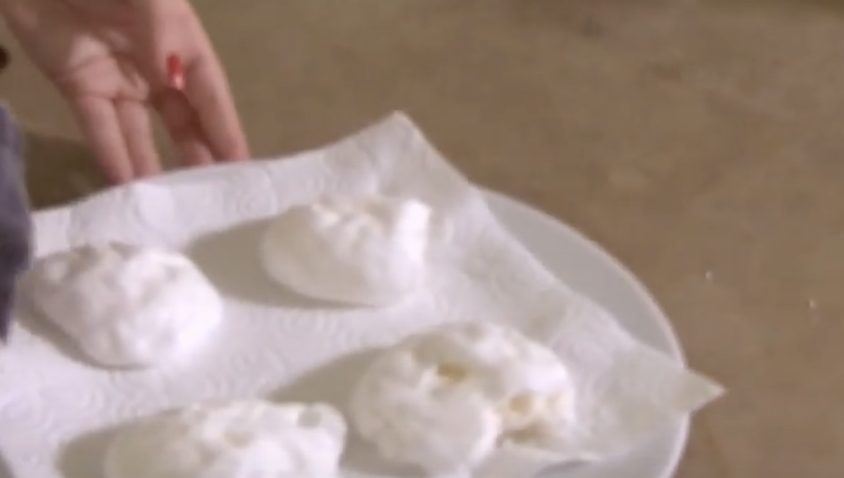
Start by cracking one egg onto a plate. Place a small cup over the egg yoke for a really simple way to separate the whites. Pour the egg white into a small bowl full of confectioner’s sugar If the egg you are using is a little one, you might consider adding another half of an egg’s white.
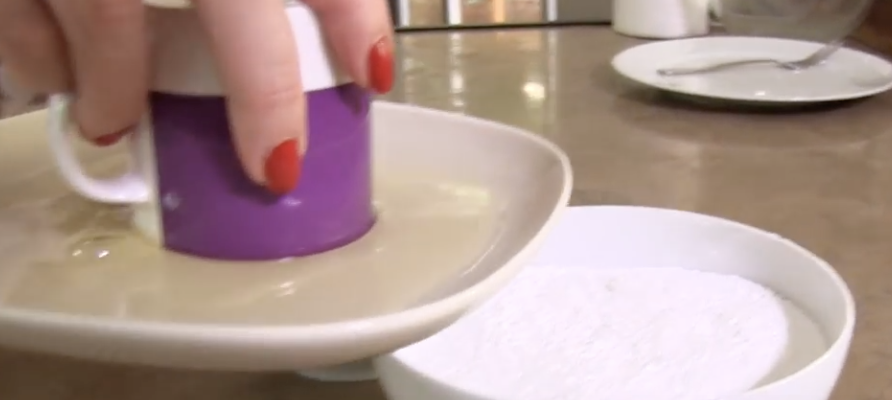
Mix the egg whites and powdered sugar by hand until the ingredients form a ball. The process will be similar to kneading bread dough, with an identical result. Prepare a microwave sized plate by placing a paper towel on top of it.
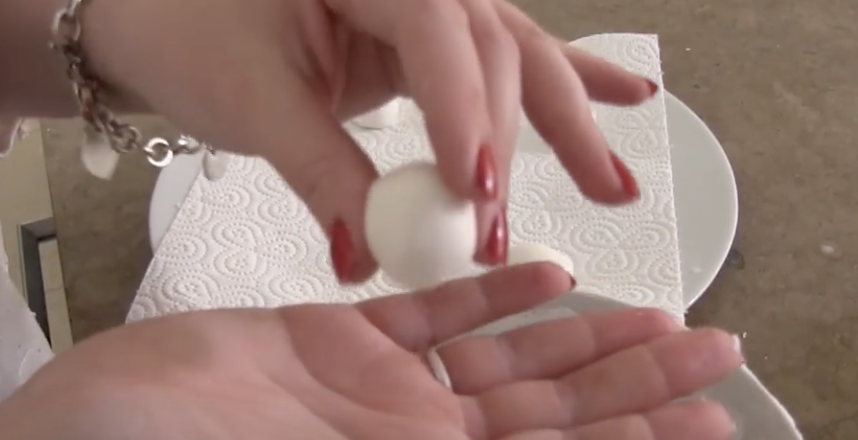
Next, you’ll want to break off small chunks of your meringue dough and form them into balls, much like making cookies except without a sticky mess.
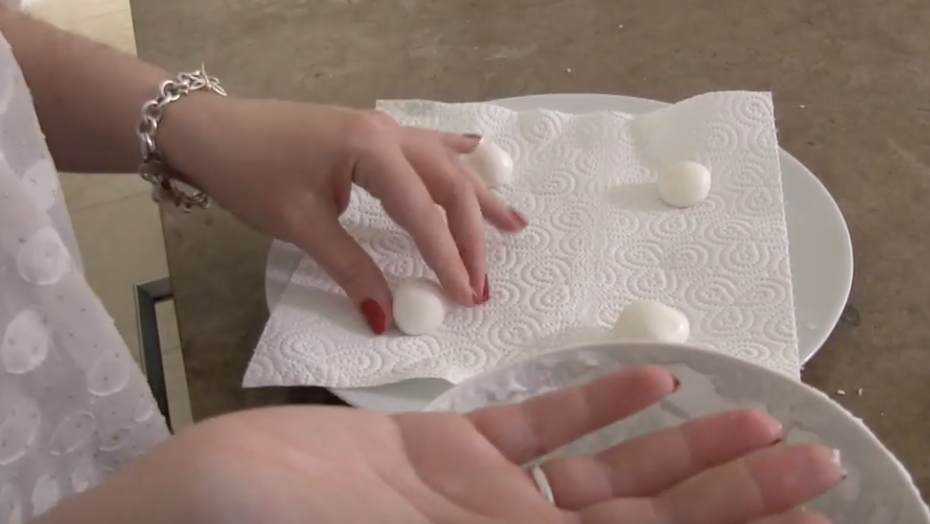
Position the balls on the paper towel covered plate with ample room between them for expanding. Microwave the plate and dough balls for one to two minutes, until they look like meringue.
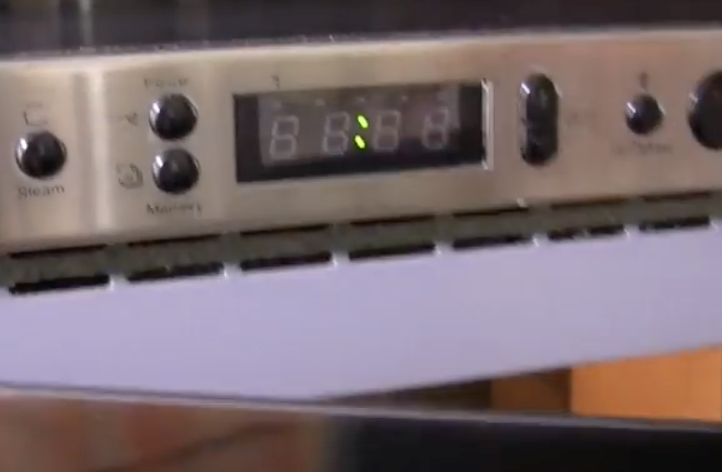
Remove your treat from the microwave and enjoy with fresh berries, ice cream, fruit, coffee, nut butters, or anything you can think of!
Please Share This Recipe With Family and Friends
12 Vehicle Cleaning Tricks and Life Hacks
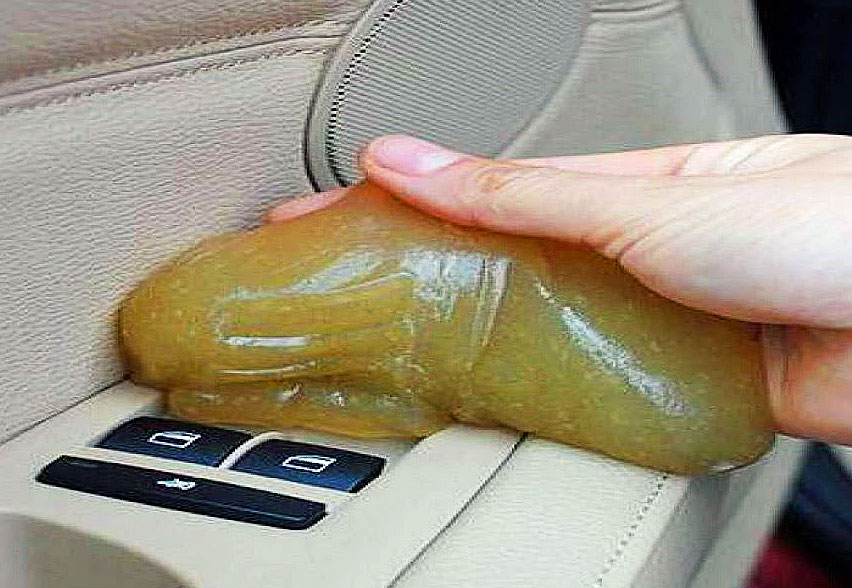
image via : youtube.com
Having your car professionally detailed can easily end up being quite expensive. While it’s always nice to have a sparkling clean car, it’s even better when you can have it without spending a small fortune. Thankfully there are all sorts of cheap ways to clean your car with common items that you probably already have around the house. They can do the job just as well, if not even better, than what professional cleaners use.
Below are just a few of the handy tricks covered in the accompanying video so be sure to check it out for even more:
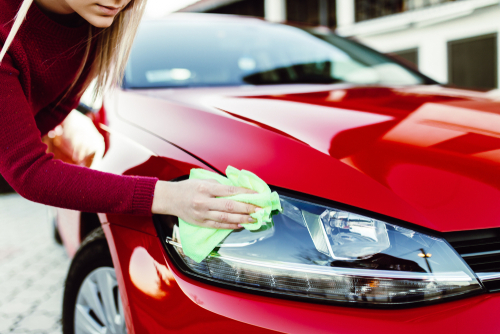
Clean your headlights with toothpaste. Use regular toothpaste, not the gel type, to polish up car headlight lenses by rubbing it on evenly with a cloth. Move in quick circular motions to then buff it off and you should notice the grime and fogginess disappear.
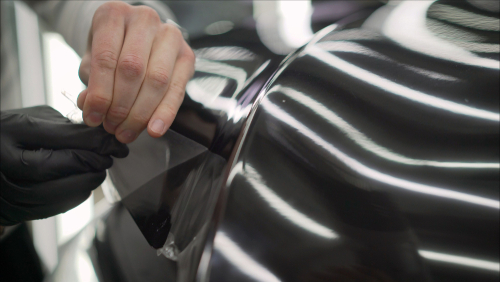
Remove stubborn old bumper stickers cleanly and completely with WD-40. Simply spray the sticker with WD-40 and let it sit for a while, the sticker will absorb it, then you can peel it right off.
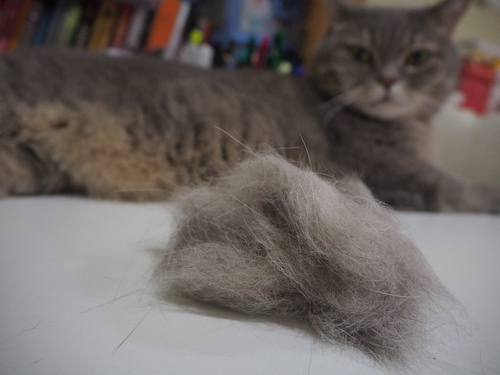
Remove pet fur from carpets and seats with a spray bottle, water, and a squeegee. Spray the water on the seat and then move the squeegee over the area, it will gather and lift up the hair so you can easily pick it up.
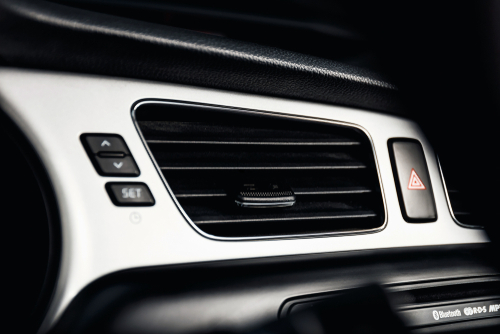
Clean air vents with small foam brushes. They can easily fit in even the smallest vents and pick up all the dirt and dust inside them.
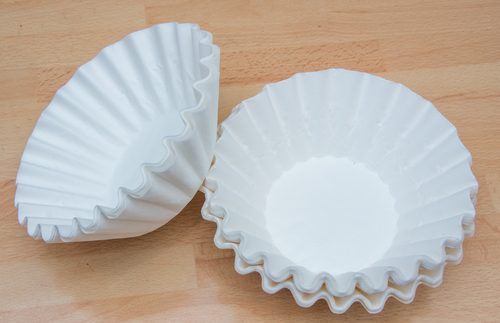
Use coffee filters to dust your car dashboard. Unlike cloth towels and paper towels, coffee filters won’t leave behind lint or just push dust around. Instead they work great at picking up dust and you can toss a few in the glove compartment for whenever you might need one to freshen up the dash.

Get streak free windows by cleaning them with newspaper. It’s the cloths and paper towels that leave streaks when you clean your windows so don’t even bother using them. Instead, spray down the window with cleaner and wipe it off with a piece of newspaper as you normally would.
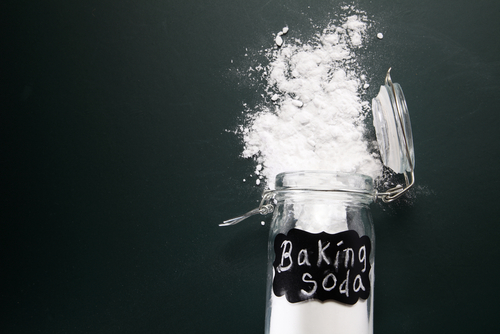
Get rid of stubborn, lingering odors by sprinkling baking soda on car seats and carpets. Let it sit for a couple of hours before vacuuming it up. The baking soda should absorb the foul odors, leaving your car smelling fresh and clean.

There are even more clean car tips covered in the video and it might just have the solution you’ve been looking for so be sure to check it out!

Watch the video below for the full story:
Please SHARE This With Family and Friends
Vicks VapoRub Life Hacks
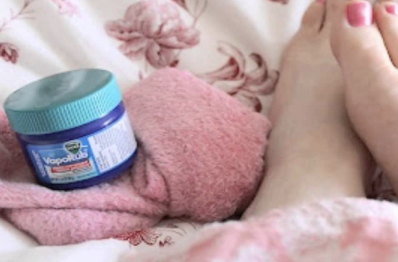
image via : youtube.com
Like the man narrating the video you are about to watch below, you may have comforting memories of your mom rubbing Vicks VapoRub on your chest, to relieve upper respiratory congestion. Even though it had a strong smell, it did the job and is often associated with a mother’s care.
The reason for Vicks distinctive smell is that it contains camphor, eucalyptus oil and menthol. Over many years, these ingredients found in Vicks, have been found to work their magic on multiple other ailments and practical problems. Thirteen of these will be discussed in the upcoming footage.
I will mention just of few of these uses, which will be discussed in further detail on the video as well, along with 9 other surprising ways to have Vicks do it’s thing.
Applied to the temple, when you have a standard HEADACHE, Vicks can offer quick relief; breathing some of it in will help a SINUS HEADACHE.
Putting some Vicks on a cotton ball placed in the ear overnight, will get rid of EARACHES that come from a cold. If you have TOENAIL FUNGUS or CRACKED HEELS, Vicks has amazing healing powers. The video will amaze you, with some of the other unusual uses for which Vicks comes to the rescue, including a remedy for pet problems.
Please SHARE This With Family and Friends
I’ve Used Tape Measures A Million Times But I Never Knew What This Little Hole Was Used For!
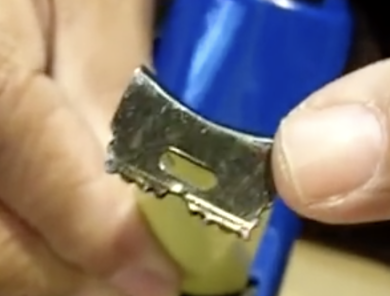
image via – youtube.com
Even if you are not the handiest person around, you definitely have used a tape measure in many different circumstances. There are things about a tape measure that you may have wondered about, but never thought to ask.
Even if you haven’t wondered about these characteristics of a tape measure, the tricks that you are about to see in the video below, are well worth your time. Leah, of “See Jane Drill”, offers some invaluable tricks that the tape measure is capable of, that I, for one, am thankful to learn about.
When I have been alone doing measuring for various things, I have found it difficult to handle the tape measure myself. Leah’s tutorial will show you four invaluable tricks when using a tape measure alone.
She points out that all tape measures have these four features that will make your life easier. The first is the little slot in the middle of the metal end of the tape…it turns out that it is a “nail or screw grab”!
To see how this works, as well as the ridges at the bottom of that little metal piece and two other features, watch this incredibly illuminating footage.
Get ready for the video tutorial below and you will never look at a tape measure the same way again!
Please SHARE This With Family and Friends


