
This Is What Unexpectedly Happens When You Massage THIS Spot On Your Ear!

People around the world are constantly searching for alternative and natural ways to help treat their health conditions and disorders. They don’t want to have to rely on modern health options that usually involve harsh, expensive pharmaceuticals, which often have even worse side effects than their actual issue!
Many people end up turning to homeopathic remedies in an effort to naturally balance and heal their bodies, as well as their minds. One of the most popular and effective treatment methods is hands down auricular acupuncture.
It’s an easy, all natural way to help treat a variety of health issues and people have found that by using the simple techniques associated with it they could dramatically relieve pain and discomfort associated with many common ailments.
The treatment is similar to reflexology, which is the stimulation of a reflex point to relieve and help regulate abnormalities between different body parts. However, with auricular acupuncture different parts of the ear are stimulated either manually by pressing finger tips on certain points, or by using very short and thin acupuncture needles.
The most commonly used location stimulated on the ear is the Shen Men point, which in Chinese means “heavenly gate.” The Shen Men point is located in the apex of the triangular fossa of the ear, which is in the upper mid-center part, above the opening of the ear canal and the surrounding folds.
This is the most active treatment point and can be used to treat stress, anxiety, allergies, headaches, addictions, inflammatory diseases, depression, pain disorders, and more. The Shen Men acupressure point that you can stimulate on your own is explained and covered in the video.
Michael Reed Gach shows you how to locate the exact area on the ear, and demonstrates how you should hold your fingers on the points. Massage the points by rotating your fingertips and applying a bit of pressure for at least a minute or longer each time you do it.
He suggests massaging them at least once or twice a day to help enhance your bodies overall energy flow. Doing this will help to reduce inflammation, alleviate pain, lessen addictions or cravings, and result in better overall body health.
The treatment is incredibly simple, easy to do, and can be done anywhere at anytime. You have nothing to lose and potentially lots to gain by massaging the Shen Men point. Try it today and pass this along to others to help them find comfort and better health in their own lives!
Please Share This With Family and Friends
I’ve Been Taking The Husk Off The Corncob Wrong My Entire Life. I Had No Idea..
Summer is full of awesome things from the weather to vacations, fireworks shows, and beyond. But perhaps one of the best parts about it is all of the delicious fruits and vegetables that are in season. On a hot, sunny day nothing is as light and refreshing as a fresh picked ear of corn on the cob!
Corn seems to go with just about everything people love to eat in the summertime, especially BBQ. It can be boiled and served simply with butter and salt or grilled and shaved over salad for a more exotic dish. It’s also one of the most convenient and versatile veggies out there. Plus even picky children love the sweet, crunchy kernels!
Regardless of how you choose to enjoy your corn, the fact remains that it needs to be peeled and the husk fully removed before you can bite into it. If you have a dozen ears you need to get through, shucking them all can take some time. It can be a messy endeavor too, all those fine silky fibers stick to everything and fly around.
You can avoid all of the hassles of peeling corn in the first place with this simple trick from America’s Test Kitchen. The less than one minute video quickly goes over the easiest way to shuck corn on the cob so check it out and try this method the next time you’re having it for dinner:
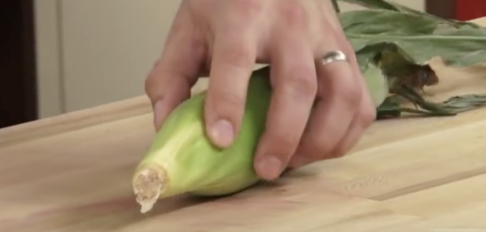
First, take a piece of corn and lay it flat and securely on a cutting board. With a sharp knife carefully cut about one inch off the end where it grows from the stalk. Place the corn in the microwave for 2-4 minutes, remove and let it sit briefly so it cools down. Grab the end that you did not cut firmly and gently shake it until the ear slides out from the husk. It will be silk and husk free and ready to be cooked!
One last thing! Here’s another corn on the cob cooking tip: Bring a pot of water to a boil, add a little bit of milk to it, place the ears in the milky water, boil for about five minutes, and drain when done. This easy method gives you delicious, sweet, creamy tasting corn that melts in your mouth!
Please SHARE This With Family and Friends 🙂
She Crushes Aspirin Into a Powder And Puts It Into Her Hair 3x Per Week. The Reason Is Unexpectedly GENIUS!
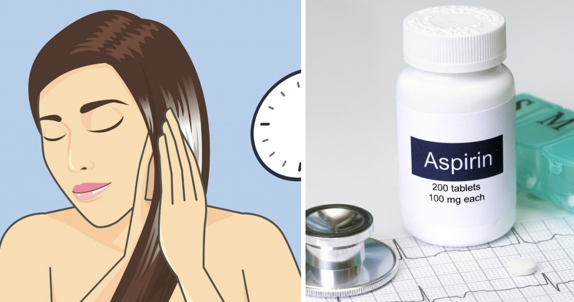
image via – shutterstock.com
Aspirin is something that should be in everyone’s medicine cabinet. Most of us reach for it when we have a headache or fever since it’s quite effective as a general pain reliever. Some people take it to help with their heart problems and to prevent blood clots from forming.
The main active ingredient in it, salicylic acid, is what makes it so effective and useful. While there’s many medicinal uses for aspirin, there are also lots of other non-medical things you can do with it, which this video and article cover. Check it out and see if any of the alternatives could come in handy in your life!
1) Renews and Clears Skin- The salicylic acid in aspirin is like a clear-all for skin since it helps to reduce swelling, redness, and acne by removing oil and dead skin cells that are clogging them. Make a mask by crushing up 5 aspirin tablets, combine them with a ¼ cup of water, and one teaspoon of honey. Leave the paste on your skin for at least 10 minutes before rinsing it off with warm water. You can do this daily, weekly, or monthly to fit your skin’s needs.
2) Reduce Dandruff- Aspirin can help fight dandruff so if you suffer from an itchy, dry, flaky scalp try crushing 2-3 pills into powder and mix it in with your shampoo. Allow the shampoo to sit on your scalp for several minutes before rinsing, this works because the salicylic acid it contains makes it a very strong and effective moisturizing agent.
3) Make Flowers Last Longer- Plants and fresh cut flowers have a tendency to wilt away and they can start to look sad very quickly. That’s because they’re producing ethylene gas as they slowly decay, but if you add a crushed aspirin to the water they’re in, your flowers will last much longer than not.
4) Remove Tough Sweat Stains- Yellowed armpit stains on clothing are unsightly and getting them out can be a real pain, if not impossible, but not if you use aspirin to pre-treat the spots! Combine 5 crushed aspirin tablets with ¼ cup of water and apply this paste to sweat stains. Allow it to work its magic for at least several minutes before rinsing and then wash clothing as you regularly would.
5) Jumpstart a Dead Car Battery- This trick is only for use in case of an emergency and it’s best to check out the video for more information on it. If your car battery ever dies, put at least 2 aspirin per cell into the battery. The salicylic acid in aspirin reacts with the sulfuric acid in the battery, which creates a charge strong enough to get your engine to turn over so you can get to a service station or mechanic. Care should be taken if and when you ever do this because the chemical reaction can produce some nasty, harmful byproducts.
Watch the video below for more information!
Please Share This With Family and Friends
Have You Ever Noticed This Diamond On a Tape Measure. Apparently This Is What It Means.
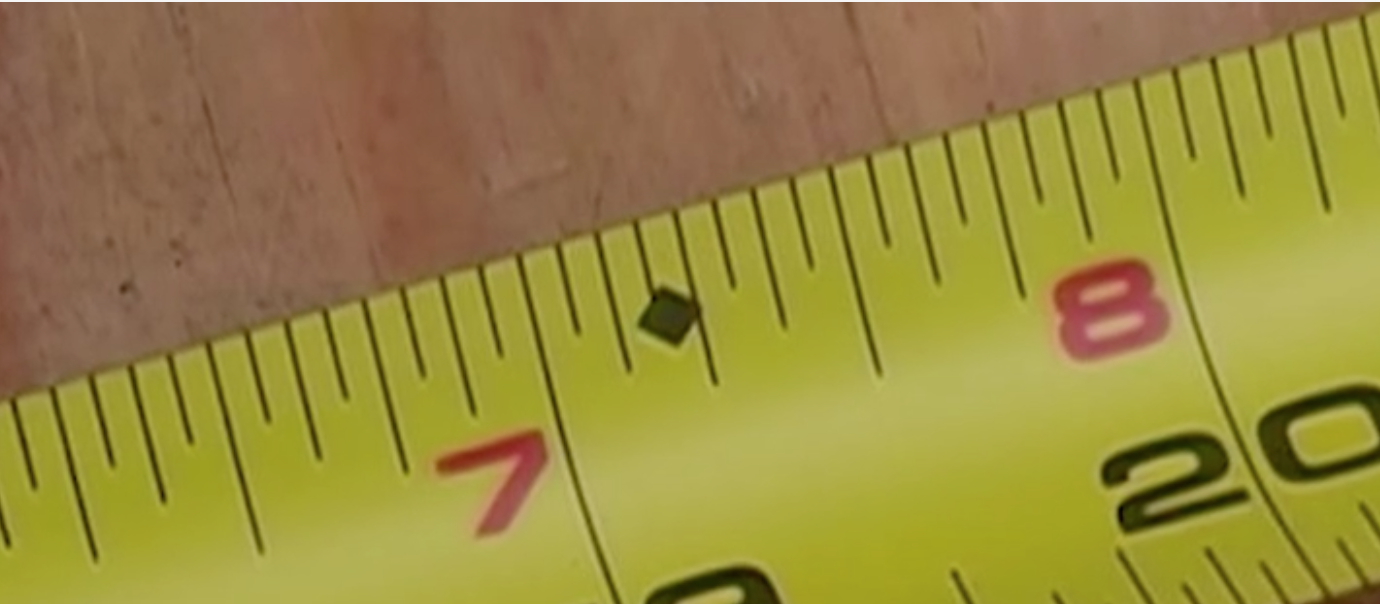 image via – rumble.com
Tape measures are a common staple that most people have on hand. The handy tool makes measuring things around the house easy and if you like to build or fix things, your going to need one at some point. While we all know how to use a basic tape measure, not everyone is as familiar with the various markings that come standard on them. The clearly defined inches and centimeters are what the average person goes off of, but what about those little black diamonds or the red and black boxes on them?
The accompanying video covers all of the answers to those questions and more. The tape measure tips it goes over will tell you everything that there is to know about the tool so the next time you reach for it, you’ll understand the markings and can put them to good use!
One of the main mysteries surrounding measuring tapes is the black diamonds on them. Before you can truly understand what they represent, you need to know a few other basic things. First is the red and black boxes, which are marked 16 inches and 24 inches respectively. The red 16inch box is the on center mark which shows where the most common separation for studs is located. The black 24inch box does the same, but is used to indicate stud separation in smaller types of buildings, like tool or gardening sheds.
The black diamonds are located exactly in-between these two marks. For carpenters and home builders, they allow one to lay five rafters underneath a standard 8 foot section of plywood. As such, the black diamonds mark the building industry standard for laying rafters, and so that is where you can expect to find the studs. When you ever need to hang photos, art, shelves, or anything else on the wall, they give you an excellent visual aid and way to measure out equal distances when setting things apart.
In addition to the black diamonds there are a few more neat things you may have never know about tape measures. Take for example the end of the tape, where you pull from, which features a small metal part. That piece has a hole in it that can be used to grab things like nails or screws in order to help hold the measuring tape in place. The side edge of this metal part can also be used as a sort of engraving tool to handily scratch or mark out distances when you haven’t got a pencil nearby.
Be sure to check out the short clip for more information and a better visual aid of everything covered above. Once you know everything about the markings on a tape measure, you can call yourself an expert on them!
Please SHARE This With Family and Friends 🙂
She Pours Batter Into a Crock Pot. But When She’s Done My Mouth Won’t Stop Watering
Home cooked food always seems to taste better than any of the ready-made, store bought varieties, especially when it comes to dessert. The downside is that baking can be tricky and certain recipes are hard to pull off and get just right. It can also take a long time to cook up something delicious and flavorful from scratch. In today’s busy world, between working all day or taking care of kids, the motivation is simply not there for many of us!
That’s what makes crock pots so convenient, they make cooking homemade meals quick, easy, and almost effortless. All you have to do is toss a bunch of ingredients into the pot, set the timer, and let it cook slowly for a few hours. You can go about your day and when the food is ready it’ll be warm and waiting, it’s perfect!
If you’re looking for a really tasty and filling crock pot dessert recipe this quick and easy banana cake is sure to please all types of palettes. Plus, you can use up those old bananas laying around and satisfy your sweet tooth at the same time. Unlike many other cakes made from scratch, this one requires little time or effort on your part. Here’s a list of all the ingredients it calls for:
1 ¾ cup plain flour – 2 tablespoons baking powder – ½ teaspoon salt – ¼ teaspoon baking soda – 1/3 cup of butter or margarine – 2/3 cup sugar – 1/2 cup chopped walnuts – 2 eggs, well beaten – 2 tablespoons dark corn syrup – 3 ripe bananas well mashed
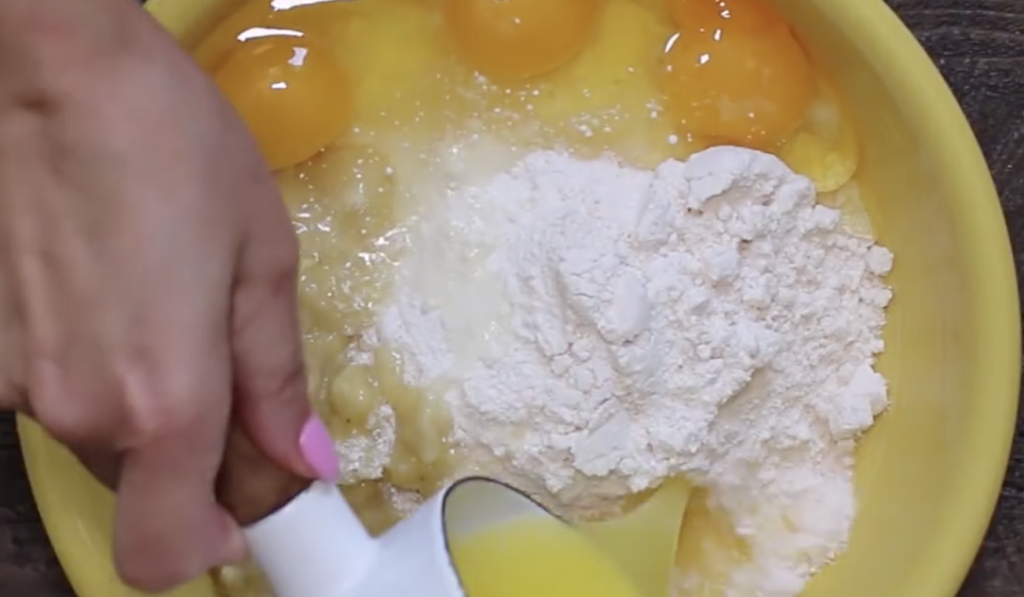
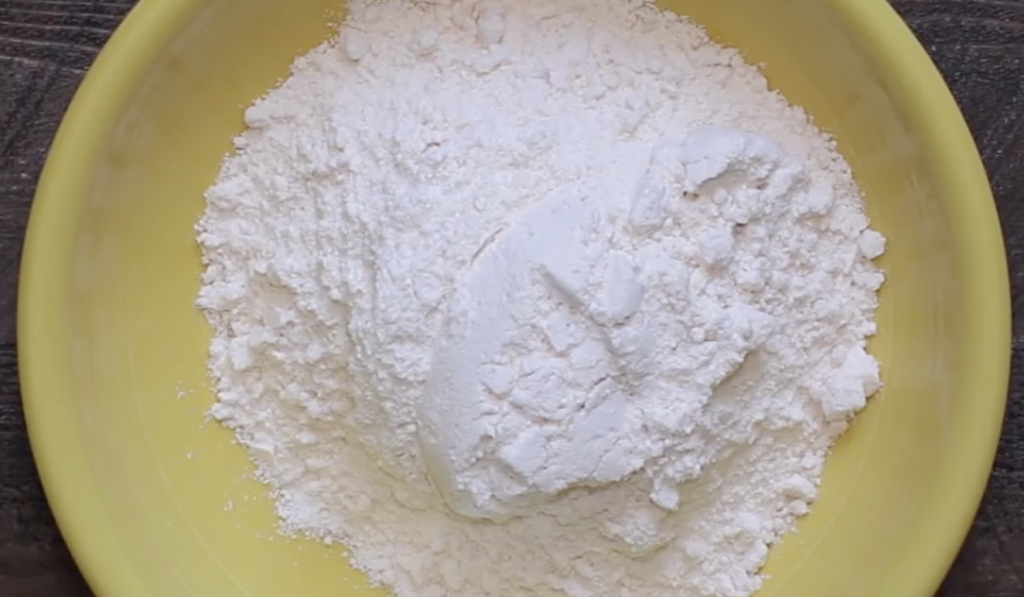
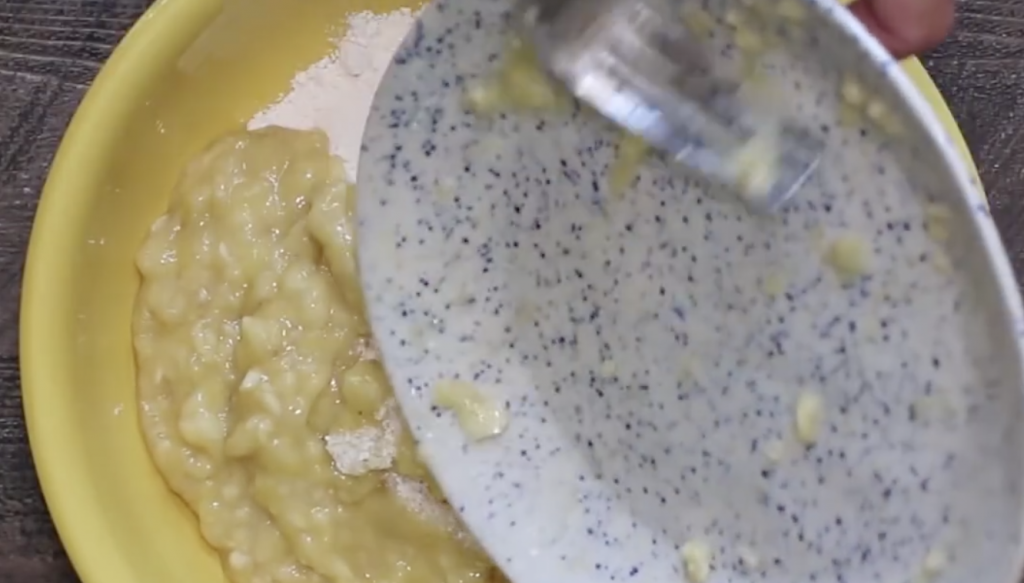
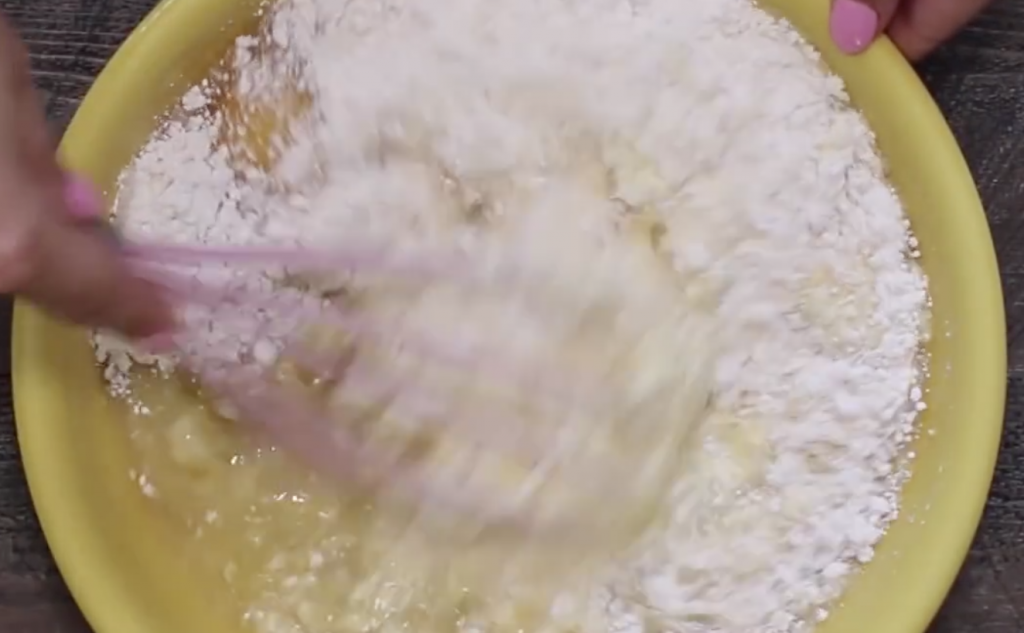
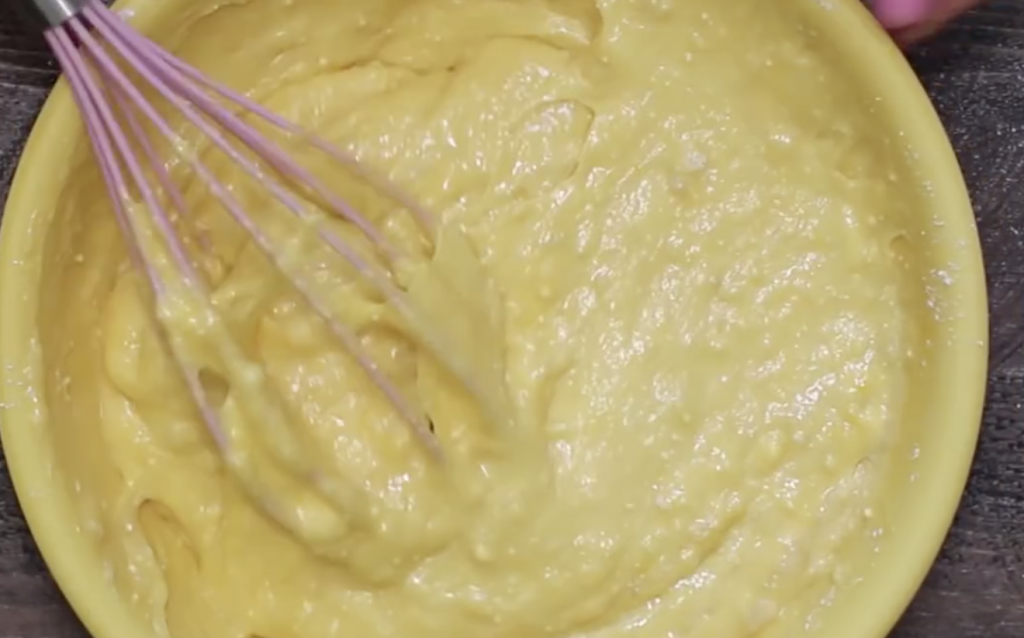
Gather all the ingredients and start by beating the two eggs in a bowl. Place the peeled ripe bananas in a separate bowl and mash them up with a fork. In a medium sized bowl sift the flour, salt, baking powder, and baking soda into it. Mix the sugar and butter together in yet another bowl so that they form a creamy consistency and then stir in the corn syrup, eggs, and bananas. Finally, add the dry ingredients to the wet ingredients and mix them all together very well.
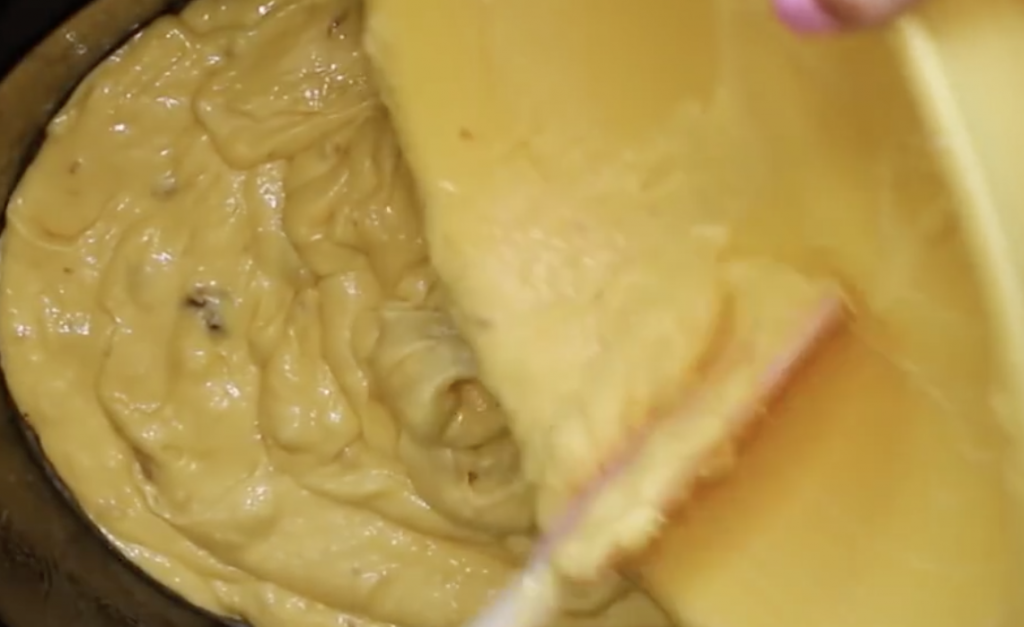
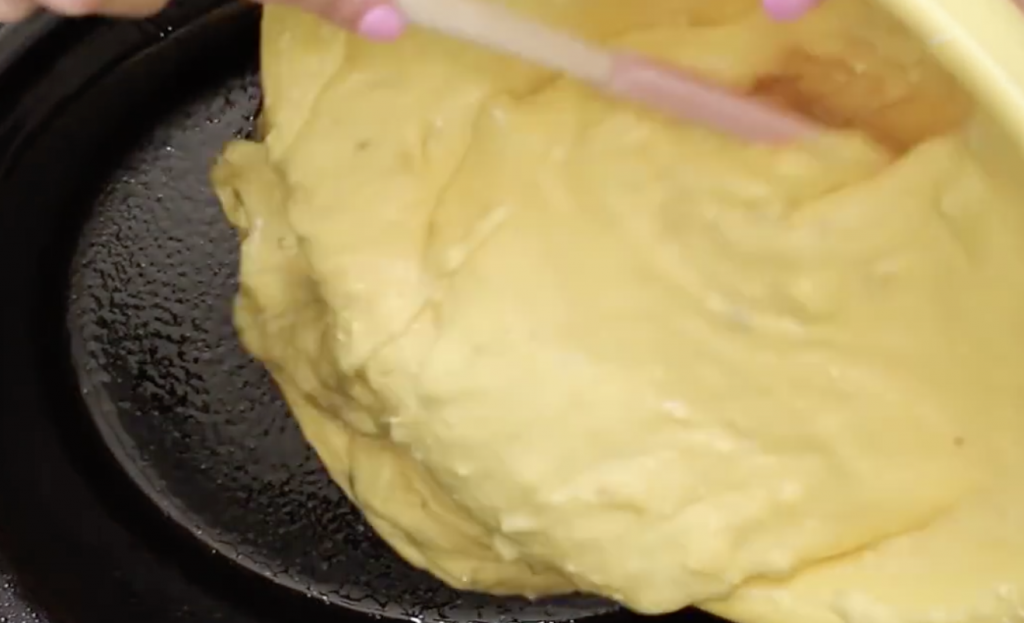
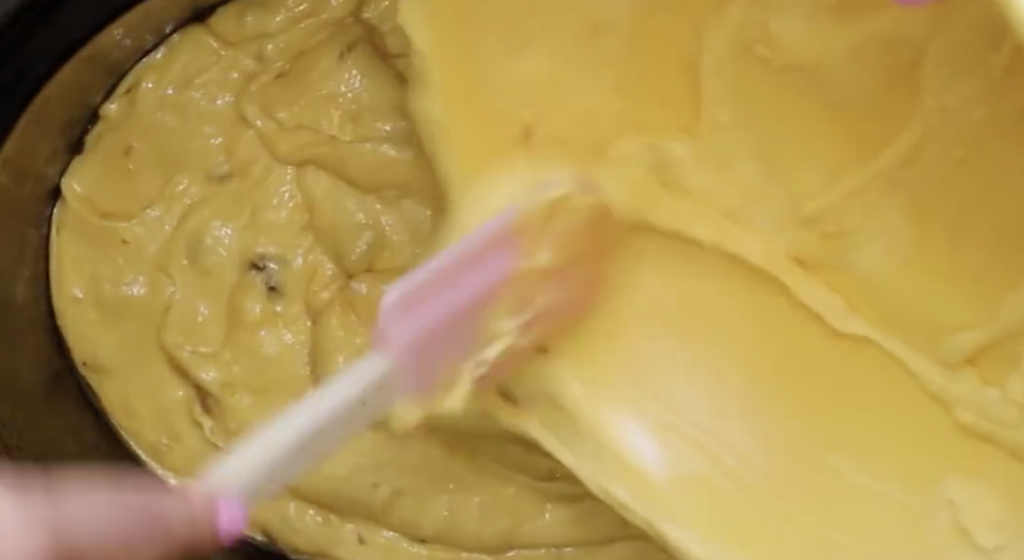
Grease up the inside bowl of the slow cooker with a coating of butter and then place a generous amount of flour inside. Tip it all around so that the flour sticks to the butter and completely coats the inside, this will prevent the cake from sticking and make the removal a lot easier. Place the banana bread batter into the floured and buttered crock pot and cover it with the lid.
Cook times may vary depending on your crock pot.You’ll know it’s done when you stick a toothpick in the middle of the cake and it comes out clean. If there is cake batter sticking to the pick, continue cooking a little longer or until it comes up clean. Allow the cake to cool before removing, it should slide right out when you turn the cooker upside down but you may have to run a butter knife around the edge to help ease it out.
How you decide to serve the banana cake is all up to you. Cream cheese frosting pairs well with it, as do chopped nuts, a sprinkling of brown sugar, whipped cream, or fresh berries. Really any toppings and additions will work, or none at all because it tastes yummy all on its own! Pass this delicious banana cake slow cooker recipe along and help add a little more sweetness, and convenience, to the lives of your friends and family. Bon Appétit!
Please Share This Recipe With Family and Friends
He Couldn’t Focus With Cats Taking Over His Work Space. His Solution? Brilliant!
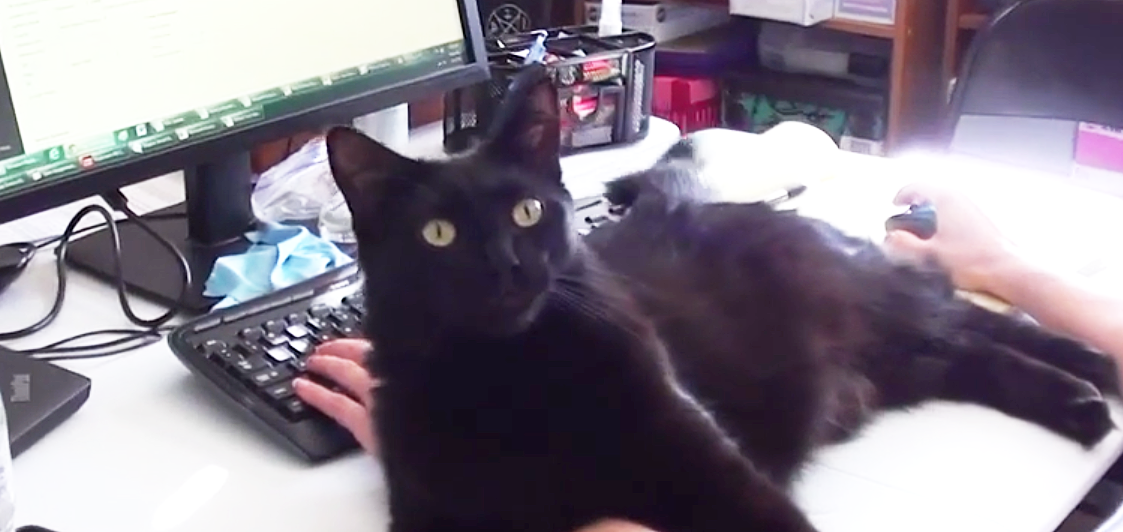
The old saying “curiosity killed the cat” can be modified into “a cat’s curiosity killed people’s production levels,” for humans trying to get work done around them. Our four legged furry feline friends love nothing more than to stick their pink little noses into everything they come across. Many feel the urge to inspect whatever new object or nook and cranny that catches their fancy. A lot of the time cats want to be right by the side of their human companion, no matter what they may be doing. This seems to be especially true when working at home at a desk area, on a computer, and when a person is in the middle of doing something that needs to get done.
If you suffer from feline induced work struggles then check out this video from the YouTube kitties over at Cole and Marmalade on “How to survive working with cats!” They offer some great insights and tips on kitty management for beginners. First off, you need to always keep a spare chair close by and handy; one for you and one for fluffy. Next, always provide comfortable, and appealing sleeping spots. Any cardboard box will do, just place it at an elevated spot because cats like to be higher up so they can better look down on us. Be sure to cover up and tape down any wires that are hanging around and dangling down because a cat will feel the need to bite and claw at them. When you go to print important documents be quick, alert, diligent, and ready to snatch them as soon as the printer spits them out. If you fail to do this then you better be prepared to re-print the paper because the cat will in all likelihood have promptly destroyed it.
The most important thing you should practice is keeping all liquids and drinks in spill proof containers. Nothing could be worse than having coffee or some sticky, sugary drink getting knocked over and spilling onto electronics or a stack of papers. When all else fails, you need a break, or need to lure the cat away, take some tasty treats and strategically place them where desired. A cat will have no choice but to go to where the treats are and this will work every time. Another idea is to create a cat-free zone by separating and isolating yourself. Get creative with how you go about this and if all attempts fail you may have to shake that treat bag again. Check out the video for more adorable information and we hope these tips work to help improve those special moments spent working with kitty!
Please Share These Tips With Family and Friends 🙂


