
He Takes An Onion And Pushes A Hair Pick Into It. The Reason Is Brilliant!
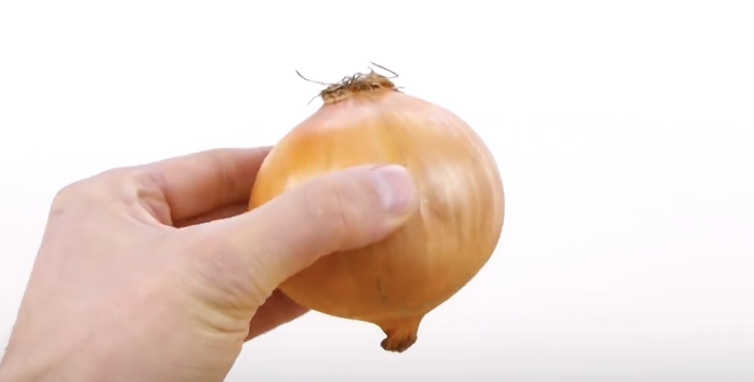
In terms of food preparation, chopping up onions is probably one of the worst jobs you’ll ever have to do in the kitchen. Sometimes they’re so strong that they make your eyes water and burn, and when you get onion juice on your skin and fingers, it lingers forever and stinks. However, the worst part about it is the actual chopping part.
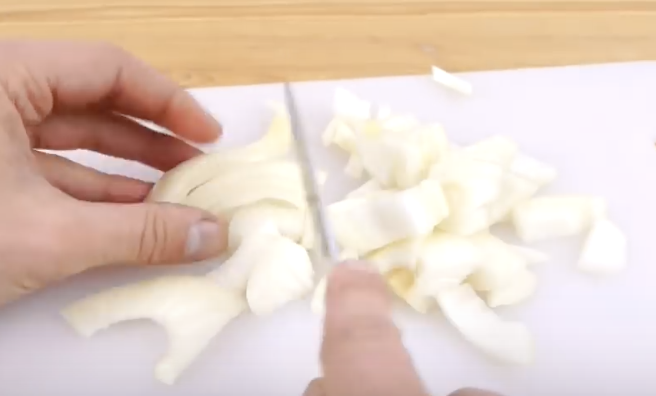
Onions are tricky to cut because all of the many layers fall apart and never seem to stay in place, if they did stay put it’d be a whole lot easier to slice and dice. Your cozy night in making a simple dinner can easily turn into a kitchen nightmare with a combination of blurry, watery eyes and a sharp knife slipping on stray onion pieces.
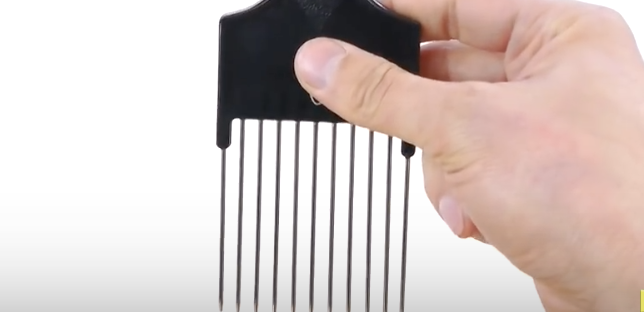
Don’t let that scenario become your reality the next time you have to chop onions, or for that matter any other type of similarly shaped fruits and vegetables. Instead, use a hair pick to streamline and simplify the entire process. In the accompanying video YouTube’s DaveHax demonstrates the trick and shows us exactly how easy cutting things can be.
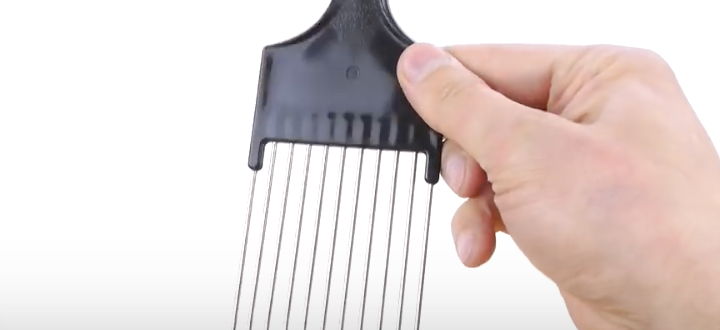
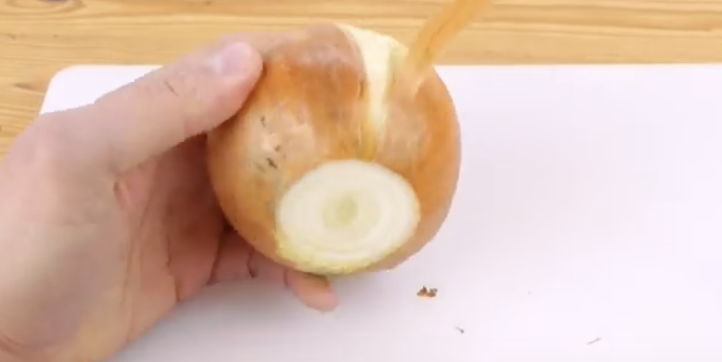
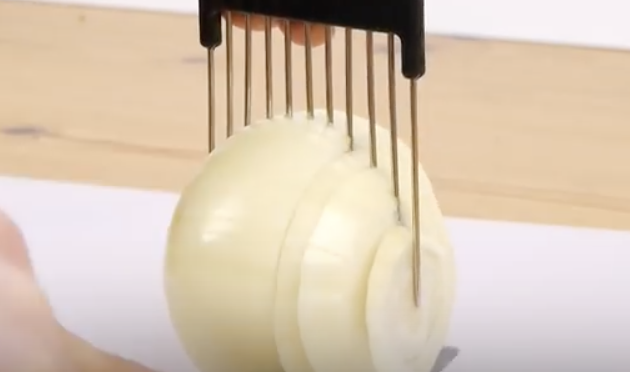
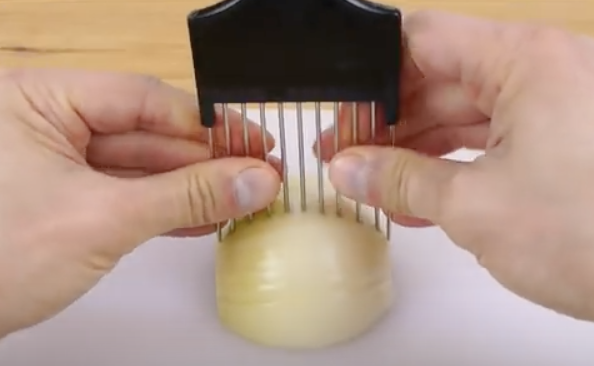
The key is making sure that you use a hair pick that has stainless steel prongs. Take an onion, chop off both ends, and peel all of the dry papery layers off it. At that point you simply stick the hair pick into the onion and use it to hold the bulb steady.
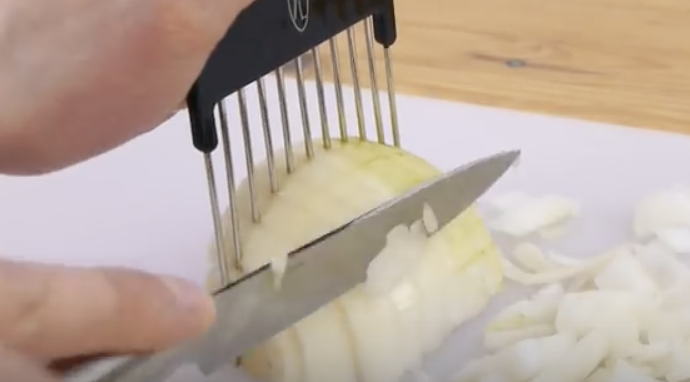
Then, using the spaces between the prongs as a guide, slice through them for perfectly proportioned cuts every time. Depending on how you stick the pick into the onion, you can make picture perfect onion rings or a bunch small diced cuts in just a matter of seconds.
The pick trick works for just about any fruit or vegetable you can stick it into. DaveHax demonstrates the technique on lemons, tomatoes, and cucumbers but really the possibilities are wide open for this hack.
If you don’t already have a suitable hair pick, be sure to write it down on your grocery list so that the next time you’re at the store you remember to get one. This is something that’s affordable, simple, and guaranteed to make life a whole lot easier. Once you try it, you’ll be hooked!
Please Share This With Family and Friends
Apparently I’ve Been Cooking Sweet Potatoes Wrong For My Whole Life. I’m So Glad I Learned THIS
Potatoes are among the most popular and versatile food items that are readily available at any local grocery store. There are many different types grown throughout the world, but one of the tastiest and most healthy varieties is the sweet potato. Sweet potatoes are exactly as their name implies; sweet.
The orange fleshed root vegetables are considered a superfood because they contain a lot of vitamins and nutrients, such as vitamins A, C, E, and B-6, as well as beta carotene, fiber, potassium, iron, manganese, and copper. The antioxidants found in them can help prevent cancer and heart disease, strengthen your immune system, and even slow aging. Plus, they’re fat free and cholesterol free! A simple sweet potato can be transformed and prepared in many different ways.
They can be served hot or cold and people love them mashed, baked, fried, hashed, steamed, juiced and more. Their only downside seems to be that it often takes a long time to thoroughly cook them. One of the easiest, most basic ways to cook any type of potato is by poking a few holes in the skin and tossing it in the microwave.
Press the preset “Potato” button and minutes later it’s done. While that’s the fastest way to cook them, it’s definitely not the tastiest. Oftentimes the skin and flesh gets rubbery or becomes kind of mealy and it’s just not the same as a slowly cooked, oven baked potato.
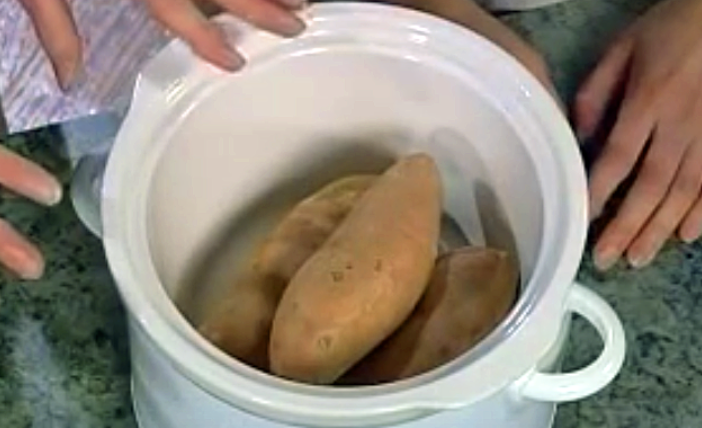
Instead of zapping them, try cooking a bunch of them at once in a slow cooker. In the end it’s just as easy as microwaving, but the potatoes will turn out much more delicious. JoAnn Rachor shows how it’s done in this easy to follow video she posted to her YouTube channel.
Start by washing a few sweet potatoes, making sure to scrub the skins well. There is no need to poke them with a fork for this recipe, just trim off any bad spots and then toss into a crock pot with a little water. In the video they used about ½ cup of water for 3 large sweet potatoes, if you cook a larger batch simply adjust the water amount up to about ¾ of a cup.
This doesn’t require a lot of water, just enough to steam and help cook them. Cook on high for about 2-2 ½ hours for a small batch and 3-3 ½ for a larger amount. While they’re cooking you’re free to go about your day and when you get back the potatoes will be done.
The insides will be evenly cooked, fluffy, and tender, while the outside remains firm. You can eat them right away since they’ll be warm and ready, or you can use them in another recipe that calls for cooked sweet potatoes. Try this practically effortless slow cooking method the next time you plan on having sweet potatoes for dinner.
Plus, if you need to shave minutes off a dinner prep time, cook them ahead of schedule and free up a lot of time and valuable oven space.
Please Share This With Family and Friends
He Scatters Tea Bags All Around His Vehicle. The Reason Why Is Brilliant.

Riding around in smelly car is never fun. Some odors can even give you a headache, especially if you’re sensitive to smells. From old spilled food and beverages to moisture trapped inside, a wide variety of causes can make a car stinky. On top of that, gross odors usually stick around much longer and smell ten times worse in small, hot, enclosed spaces like car interiors.
When your car smells, you have to act and do something to eliminate it or else the stench will only stick around and get even worse. Instead of reaching for aerosol sprays or air fresheners and spending a bunch of money, try using tea bags!
Tea bags are perfect for making your car smell fresh and clean. Their natural deodorizing effects make them the most inexpensive and easy way to combat nasty smells. Rather than just temporarily mask odors, they effectively absorb them, which makes them great for freshening up damp, dank spaces. Lots of people toss a few in trash bins and shoes to help cut down on the stink and as YouTube’s OnePotChefShow explains, tea bags work just as excellent in cars!
The only thing you need to do is pick up a box of flavored tea if you don’t already have some on hand. Place a few of the dry tea bags around the interior of your car and the smell will quickly disappear. The One Pot Chef recommends cinnamon and vanilla flavored teas since they work great and smell pleasant. The bags will absorb any moisture in the air, which is often the cause of stale smells, and last for months. In fact, one box of tea will easily last you at least a year or more!
This simple trick just goes to show that you don’t have to drink your tea to enjoy it! If you have some tea bags that have been sitting in your kitchen go grab them now and toss a few under your car seats. That way the next time you drive both you and any passengers can sit back, relax, and enjoy the car ride!
Please SHARE This Tip With Family and Friends 🙂
Apparently You Should Be Doing THIS 1x Per Month To Your Fridge. I Had No Idea.
What do you think is the largest and most useful appliance to have in a house? If you answered a refrigerator, you answered correct! Refrigerators are indispensable for modern day living. We rely on them to keep our food from spoiling and use them every single day.
All that use makes them dirty. Oftentimes foods and drinks get spilled inside on the shelves and door. When that happens we clean the mess up quickly. But what about other parts of the fridge, like underneath it, do you ever clean there? Not many people do, at least not until they realize just how gross and disgusting it gets down there!
As dirt and dust accumulates underneath a fridge, it gets caught up in the coils. Over time this causes the energy-loving appliances to run much less efficiently than how they were intentionally designed to, and you end up paying more. On average, it costs about 10 cents an hour to run a refrigerator. Multiply that by 24 hours a day, 7 days a week, for a year straight, and you get the point- even a slight difference in efficiency can have a huge, costly impact over time.
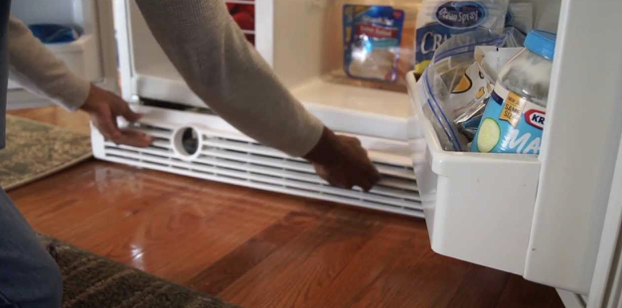
While we can’t simply pull the cord and unplug them for days at a time, we can for a half an hour or so. That’s all the time you’ll need to clean the coils and the drip pan which are both located at the bottom of the unit. Check out the accompanying video to learn exactly how you can properly clean underneath your fridge and read on for more information. You’ll not only save yourself money in the long run, but you’ll also be healthier by doing it!
First off, it’s highly recommended that people clean under their fridge regularly. Aim to try and do it once a month. That may sound like a lot, especially if you never ever do it, but doing this ensures that nasty stuff like mold, germs, and bacteria, gets cleared out and removed. Unplug the fridge before you get started and then remove the grille, if there is one, that conceals the condenser coils. Use a long, thin, bristled refrigerator coil brush to really get at the dust on the coils and then vacuum up the debris. The brush is specifically designed for the dirty job and can be found at most hardware stores or online for less than ten dollars, refer to video to see what it looks like. Rinse off the grille and disinfect it of any possible mold or mildew build up, then dry it completely before placing it back on the fridge. Finally, run a damp cloth over the top, sides, doors, handles, and wherever else needs a good wipe down. Plug it back in and you’re done!
Please SHARE This With Family and Friends, To Help Save Them Money and Energy 🙂
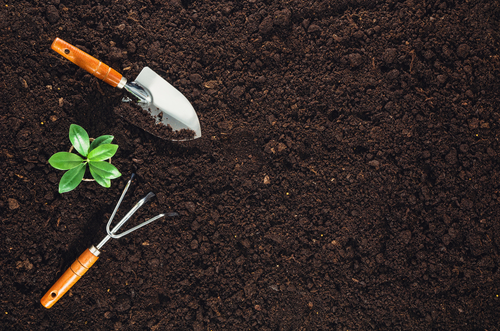
10 Gardening Life Hacks Everyone Should Know.
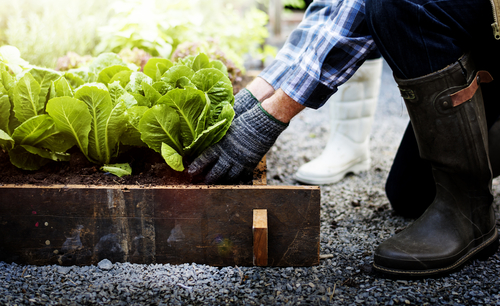
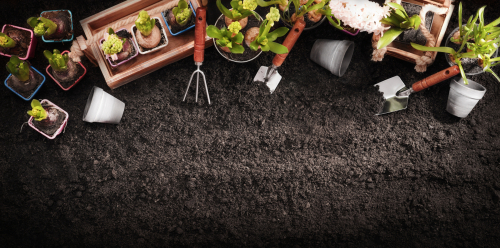
image via – shutterstock.com
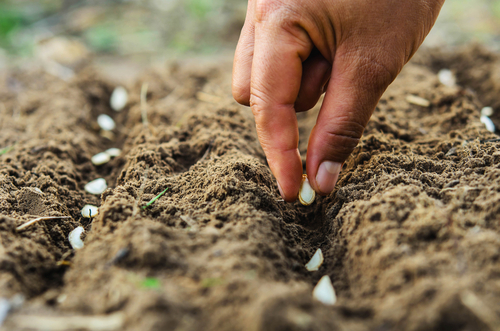
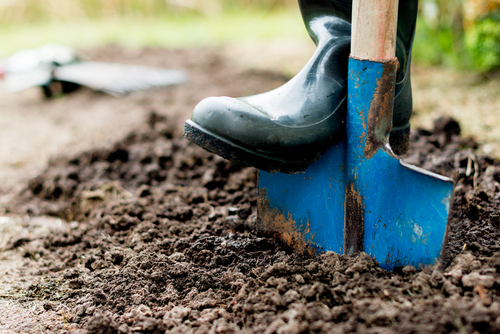
This time of year is when everything starts to come alive again. The trees are beginning to bud, plants are starting to poke through the dirt, flowers are blooming, and the songbirds are out in full force. If you’re a gardener, that means it’s time to start digging in the dirt! Even if you aren’t a seasoned gardener, it’s not too late to get started. Who knows, once you try it, you may just end up falling in love with it!

Gardening is a good for your health, your wallet, and the Earth. Many people find that it’s a very relaxing and rewarding way to spend some quality time outdoors and it helps to improve their mood and life. Not only that, fresh healthy foods like fruits and vegetables can be grown to your tastes and cost much less than the grocery store variety. Plus, foods that you have taken the time to grow yourself always taste a lot better!

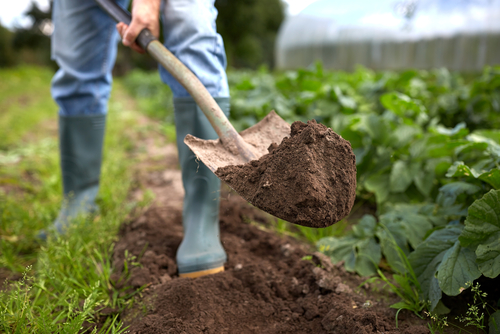
Beautiful, colorful flowers, green shrubbery, and ornamental plants can all help to liven up any yard and make it appear brand new. The possibilities for gardens are endless with thousands of varieties and combinations of seeds readily available. If you’re interested in learning more about gardening or making your green thumb greener, look no further. This video and what follows below are some super clever ways to help ease your garden along. They all use everyday items and objects that you probably already have on hand or can pick up at the store for cheap, so check them out. This year garden smarter, not harder!

1. For plants that are sensitive to root disruption, such as beans and peas, use leftover cardboard tubes from paper towel and toilette paper rolls as planters. The tubes make transplanting much less stressful and ensures roots stay separate and untangled from one another.

2. If you don’t have a lot of space to work with try making a vertical garden on a wall, fence, or other space. The video shows how to use gutters to create a wall garden by drilling holes in the bottom of them for drainage. Measure and cut them to size and then hang on wall brackets.

3. To help seeds germinate and sprout earlier soak them overnight in lukewarm water before planting. 4. For a technological and creative approach to gardening check out the available software and apps out there for planning and plotting out gardens. They’re really useful for both new and seasoned gardeners and have even been shown to reduce the chances of ending up with failed crops.
5. For neat rows of evenly spaced plants use a measuring stick. To always have one handy nearby make one out of a long wooden handled gardening tool marking off intervals on it.
6. Keep track of plants by labeling what and where they are located. You can recycle last years labels by scraping off any old marker with sandpaper or use cheap Popsicle sticks, flat stones, or tiles as markers.
7. On cold nights where frost could be an issue you always need to protect sensitive seedlings. Cover them with a terracotta pot at night and simply uncover it the following morning.
8. A very common pest that plants often get is aphids, which are also known by their nastier sounding name, ‘plant lice.’ To get rid of the tiny bugs wrap sticky tape around your hand and brush them off your plants. This will help pick the aphids off while keeping them off your hands as well.
9. Make a super easy irrigation system by recycling old plastic water bottles. Punch a couple holes in the cap, cut the bottom off, insert it in the ground near the plant, and fill with water. This design allows water to slowly be released into the ground so it lasts longer, which is especially important and necessary if you are growing plants in hot, dry, arid conditions.

10. Recycle and reuse leftover water from cooking, like water used to boil veggies, and collect rainwater from your roof/eaves to help water your garden and decrease overall consumption. Every bit helps!

Please check out the video for more information and to get a better visual understanding of all the pointers covered here. Remember, don’t garden harder, garden smarter!

Please Share These Gardening Tips With Family and Friends 🙂
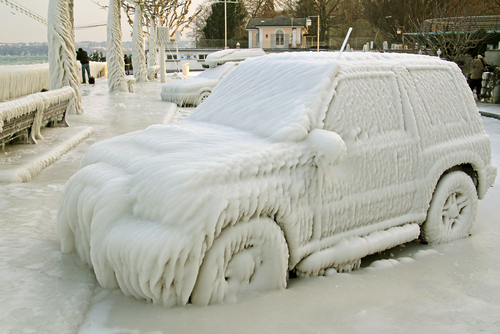
A Simple Life Hack To De-Fog Your Windows Quickly During The Polar Vortex 2019
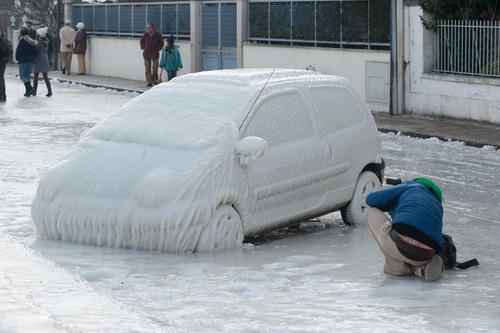
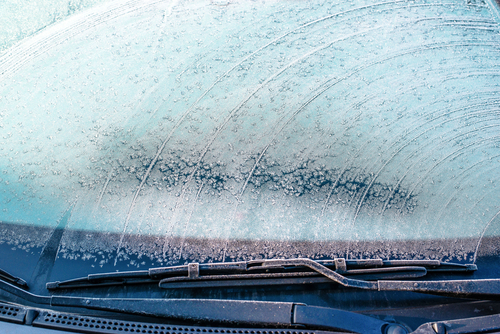
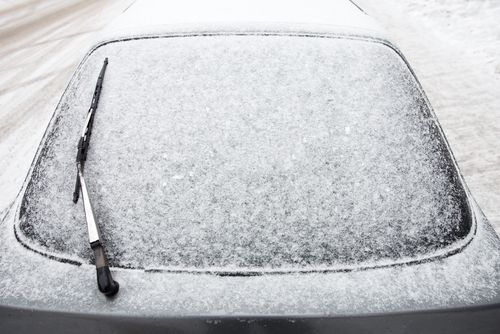
Out of all the driving hazards that cold winter weather brings along with it, foggy car windows are often the most overlooked. When the interior glass gets all white and hazy it can be incredibly hard, and sometimes downright impossible, to see out of. While just about every car comes equipped with vents and a defrost setting, they don’t always work as well as they should.

Fog occurs when there is humidity in the air and the temperature changes, which causes the moisture to build up on the inside of car windows. If your car’s defrost system is less than stellar then you know how much of a real pain it is to get your windshield dry and clear. Impaired visibility combined with rain, snow, or any other type of winter weather that is already making it hard to see can equal a whole lot of stress, or even disaster.

Instead of wiping windows in vain while driving down the road or fumbling with all the climate settings and blasting air at them, try this simple trick. It’s the easiest and most affordable way to effectively prevent any car windows from fogging up in the first place. DaveHax, YouTube’s go-to guy for easy do it yourself tips, shows us all how to safely and efficiently remove excess moisture from our car interior before winter really sets in. Here’s what you will need:
One pair of socks with no holes in them
Cat litter, try to get the silica crystal variety
A roll of tape

In the video DaveHax explains that he used silica crystal cat litter because compared to regular old clay litter it absorbs a lot more moisture, but really any type will do the job. First, take a sock and fill it up with cat litter. For this part it helps to use a roll of tape just to keep the sock open while you’re filling it. Stretch the sock over the roll, as demonstrated in the video, then remove it when the sock is near full. Next, tie off the sock end with a knot or two before placing it in second sock to make it extra safe and secure. Nobody wants messy cat litter all over their car. Plus, what good is one sock, you may as well put it to good use!
All that’s left to do now is to place the sock inside your car. You can stick it under a seat, on the dashboard, in the car door pocket, anywhere you want will work and in a few days you should notice a major difference. The litter acts to absorb all of the trapped moisture that’s lingering in the car, thus keeping windows fog free and you safe!
This may seem too cheap and easy to be true, but it works remarkably well. Check it out, try it yourself, and say goodbye to squinting through the fog while trying to drive safely.

Please Share This Tip With Family and Friends 🙂


