
VIDEO: Car Repair Shops Don’t Want You To See THIS But It Will Save You A Lot Of Money!
This is so cool! Do you have a dent in your car, or know someone who does? This trick could save you hundreds of dollars in costly body shop repairs. If you are able to hold a can of compressed air, you can try this yourself! I have a dent in my car, and I’m going to go try it as soon as I finish writing this.
The video shows that it is possible to fix some small dents yourself using this secret method, which was passed down to us through generation after generation of ambitious mechanics. Now we have the secret!
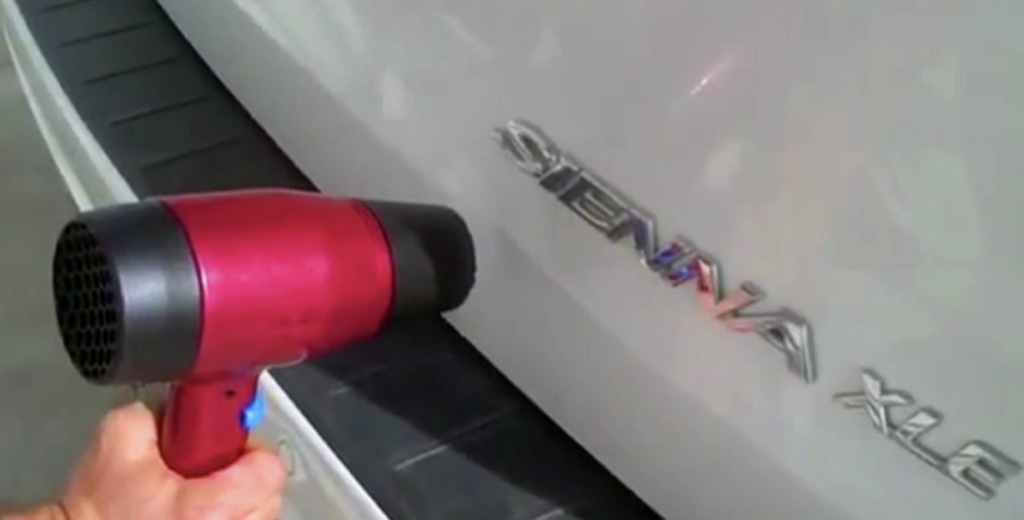
Gather your family and friends, bring them to a celebratory occasion to see the glory of your wondrous deeds, as you gather your instruments of demonstration. With your hair dryer and can of compressed air poised and ready, you express gratitude to the elemental forces that have combined in just such a way so as to allow this magical transformation that is about to take place.
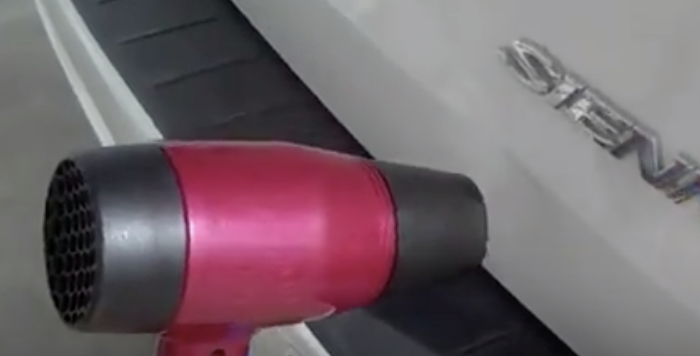
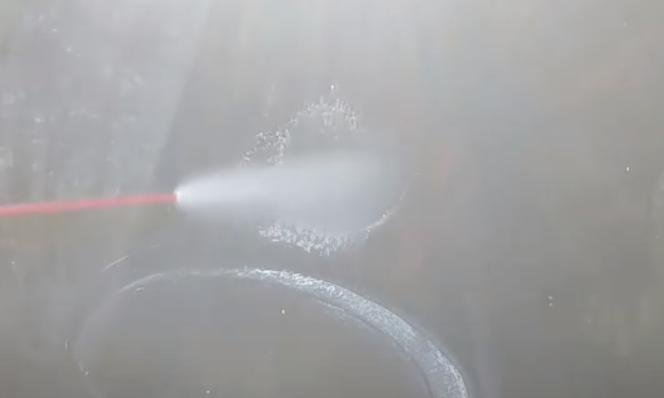
You blow the car with hot air, then quickly follow with the can of compressed, cold air. Moments pass, and nothing happens. You start to sweat a little, your anxiety beginning to build as everyone watches intently to see if you will succeed or fail in your lofty undertaking.
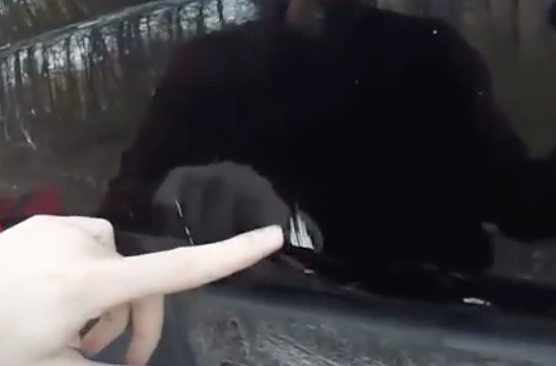
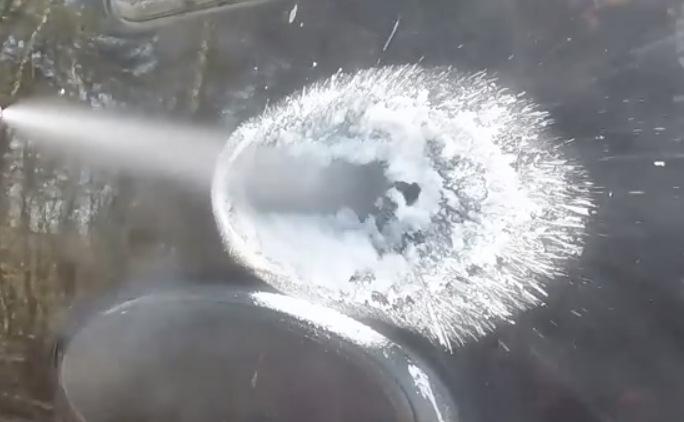
With a sudden, loud pop, the dent snaps back into place, leaving a perfect surface that may have never been dented in the first place. You smile broadly as you look around at all the surprised faces and hands covering jaws agape mid-gasp. You have succeeded where so many have failed, you have done the impossible, and you are now officially DIY certified. Congratulations!
Please Share This Car Hack With Family and Friends
She Weirdly Put Biscuits On The Bottom Of A Muffin Tin. But She Creates An Unexpected Tasty Surprise!
There is a right way and a wrong way to go about doing almost everything. Then there are all the ways that fall in between those two ends, and that’s what is covered in this Allrecipes YouTube video. It features a novel way for you to use a muffin tin to bake a variety of delicious treats that your whole family will love and appreciate.
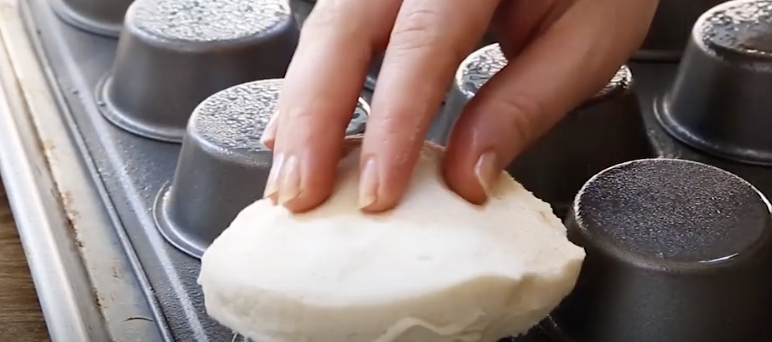
The awesome idea shown makes you think outside the muffin tin, and shows you how to switch up how you normally go about using the classic bakeware. Instead of putting dough in the little slots right side up, flip over the tin and use the underside of the moldings to make different types of edible food bowls. Get creative and imagine all the different ways you could use this technique to bake stuff, and below are some of the recipe ideas covered in the video.
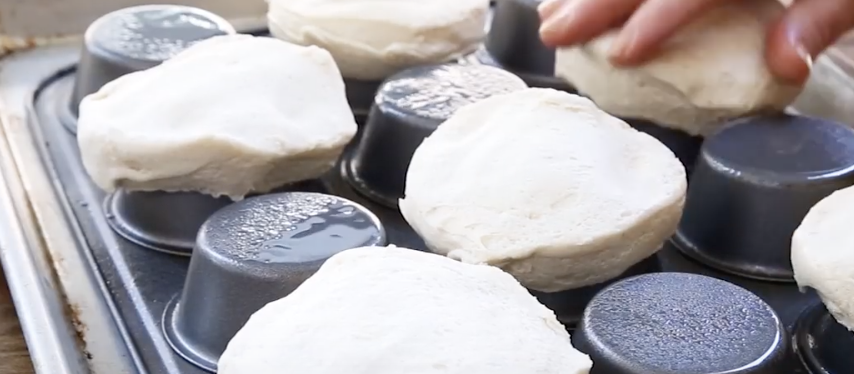
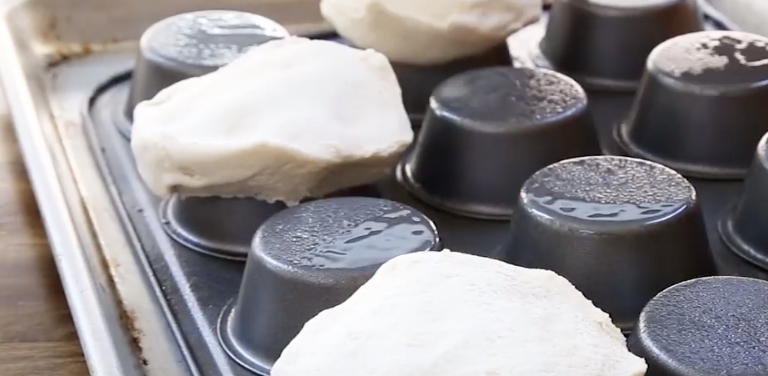
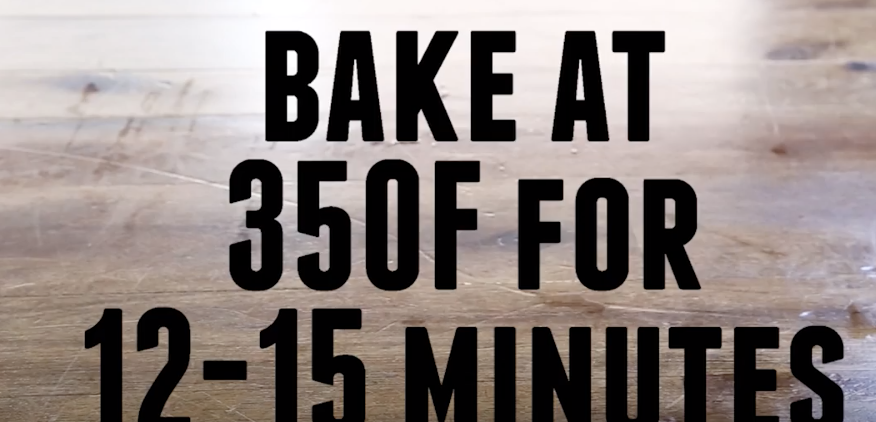
The first recipe shown is for biscuit bowls. Coat the overturned side of the tin with cooking spray, then take some biscuit dough and smush it over the muffin slots on the bottom of the tin. Pop it in the oven at 350 degrees and bake them for 12-15 minutes.
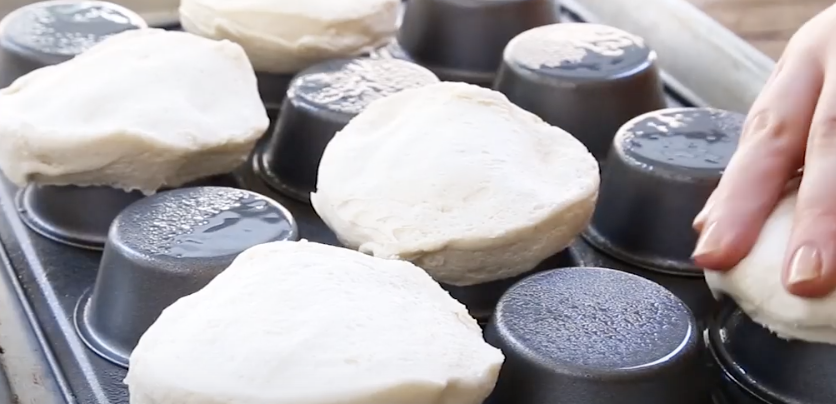
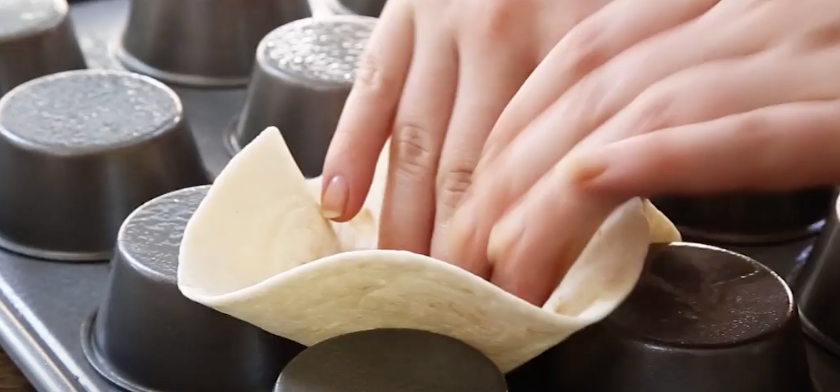
Now you have tasty little biscuit bowls that are perfect for holding hearty soups like loaded potato soup with cheddar or different chowders, as well as dips and chili. The next recipe is for taco bowls. Coat the underside of the muffin tin with cooking spray and then insert soft tortillas in between the muffin slots so that they form a nice bowl shape.
Bake these at 350 degrees for 10 minutes and then fill them up with taco fixings like meat, cheese, lettuce, tomato, salsa, guacamole, or whatever you prefer.
Please Share These Muffin Tin Kitchen Hacks With Family and Friends 🙂
I Was Confused When He Put A Cherry On Top Of The Bottle. But The Reason Is Unexpectedly Brilliant
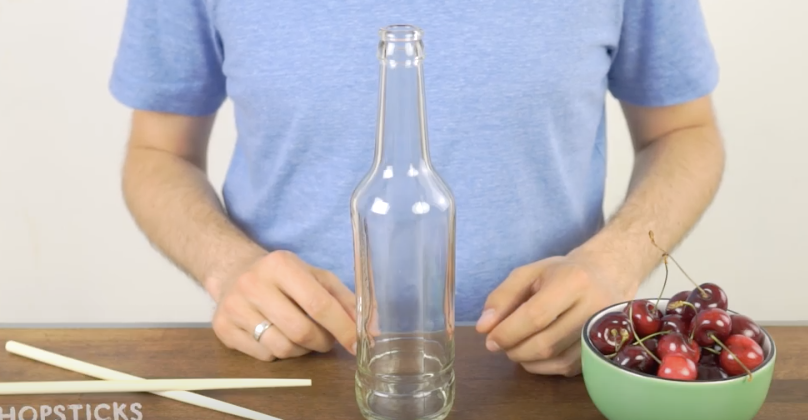
When he put the cherry on top of the bottle, I was confused. But when I saw what he did next, I was running to try it! Cherries are fantastic. Everyone loves them, they are the cherry on top of nature. They have one downfall that makes them aggravating, and it may be the only thing that stands in the way of complete cherry domination. Without the pit, the delicate balance of sweet and tart would be immediately available, and they would be cleaner than the renowned strawberry of legendary lore.
Take me to Japan in April, right at the height of the cherry blossoms, their magnificent pink-white petals sprawling from delicately manicured limbs as thin as glass. The scent of joyful perfection fills the air, as the petals’ twirling dance flirts with the breeze.
Ancient temples rise at impossible angles out of the sea of blooms, their curling roofs housing countless generations of fastidious monks, whose hands relay the attention given to their tree brethren.
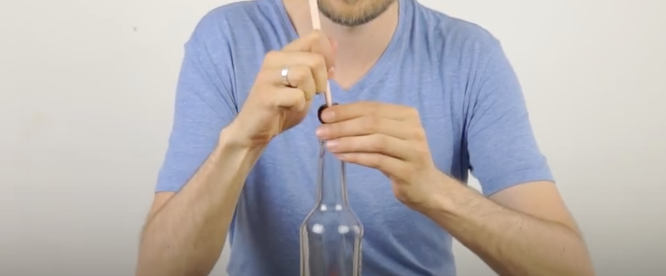
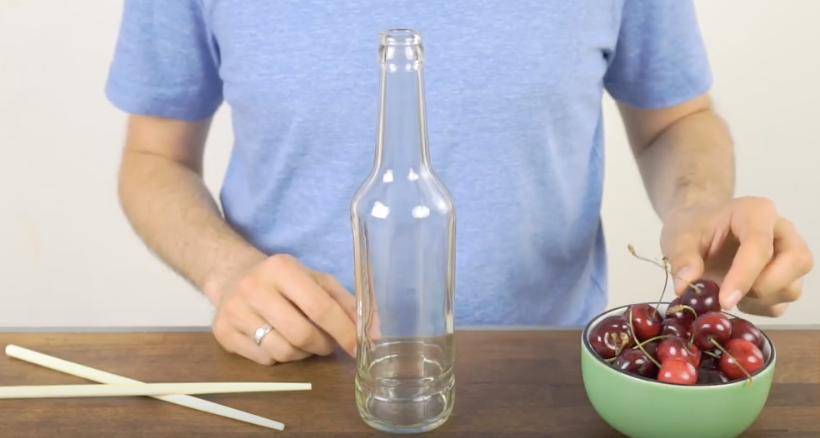
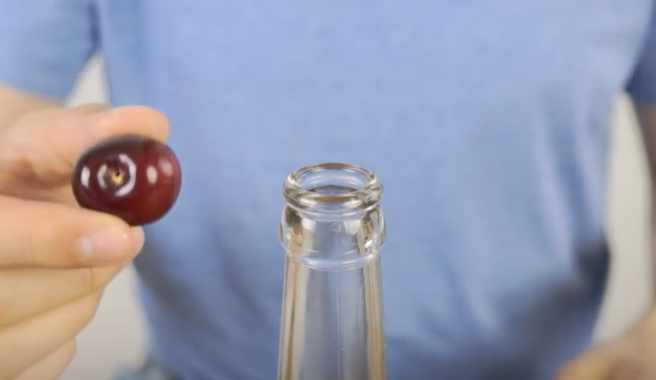
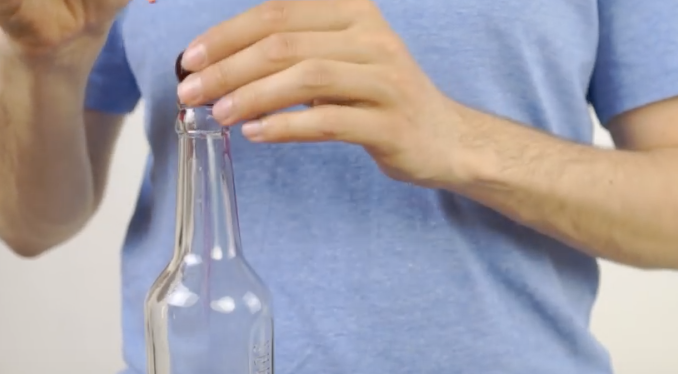
But there is a remedy, decidedly simple, that can be utilized to abolish this infamous pit. You are likely going to want to grab yourself a bottle, chopsticks and a bunch load of cherries. Step one, grab a cherry. Step two, place upon the bottle your cherry.
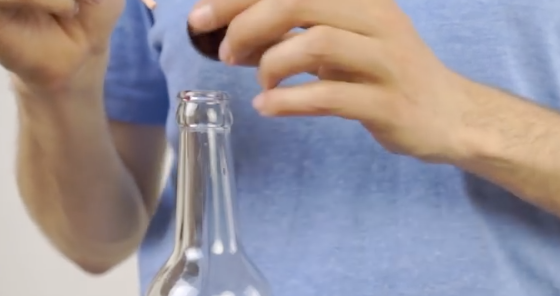
Step three, poke that cherry with that stick. Step four, eat that cherry. You have now successfully demolished the single impediment that stood between you and the cherry palace. Congratulations.
Please Share This Trick With Family and Friends 🙂
How To Keep Wasps Away Using A Brown Paper Bag. I’m So Happy I Learned THIS
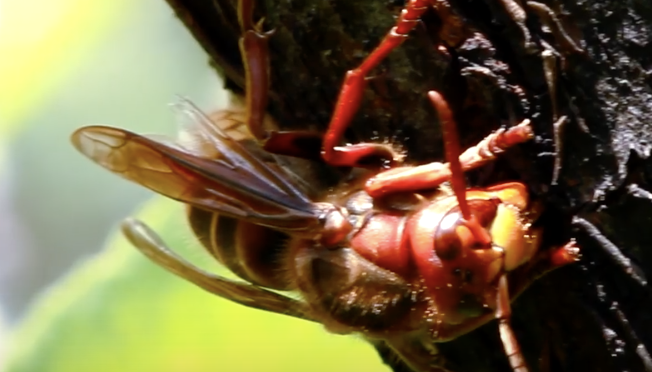
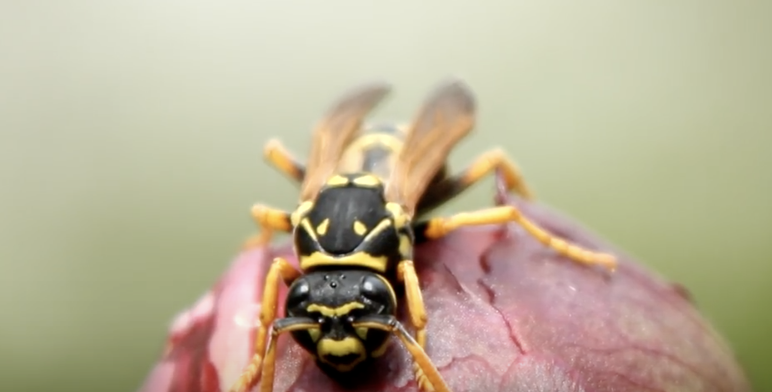
Wasps are scary little flying devils that no one wants to be around. They can suddenly become aggressive and if you get stung by one it hurts like hell. If you have a problem with a bunch of wasps hanging around your house and patio areas then you have to check out this video.
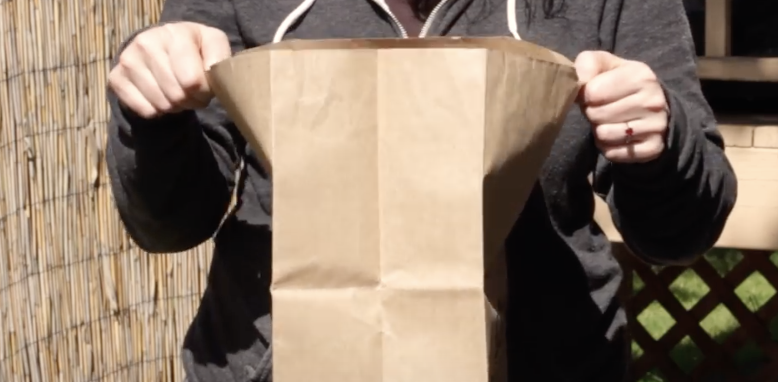
It’s from Household Hacker and it shows a really simple method for keeping wasps away from you and your family. It costs nothing and is a lot safer than using harsh, toxic, expensive chemical sprays, like Raid. All you need is a brown paper bag, some newspapers, tape or string, and a minute or two of time.
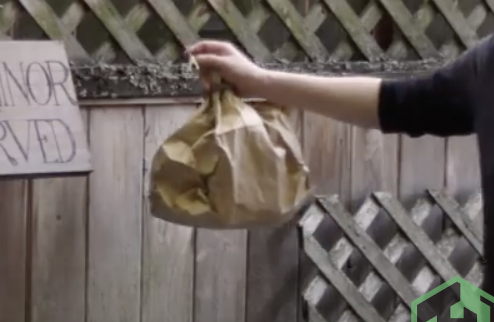
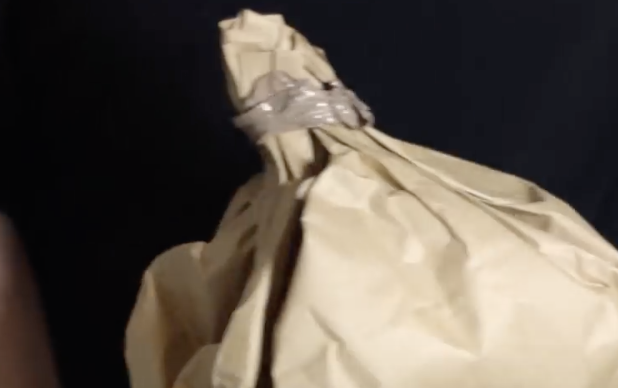
Take the brown paper bag and stuff it with some newspapers or more paper bags. Tie the top off with string, or tape it closed, then crinkle up the bag so that it resembles a wasp nest. Hang it in an area that you wish to keep wasp-free and you’re done!
Wasps will stay away from the vicinity of the fake paper bag nest because they don’t like confrontation with other wasps. When they see the bag they are tricked into thinking a lot of other wasps have claimed the area and so they won’t dare come in any closer.
It’s that simple. So the next time you notice wasps flying around and putting you on edge, don’t kill them, grab a brown paper bag instead! Life can go on for you and the pesky flying creatures peacefully.
Please Share This Wasp Trick With Family and Friends 🙂
After Watching This Simple Trick You Will Never Get Poison Ivy Again Even After Touching It!
Poison ivy rashes are no laughing matter. They can be extremely uncomfortable, itchy, and painful. While some people have a high threshold for poison ivy and never develop a reaction, others are very sensitive to it and even the slightest contact with the plant makes them break out.
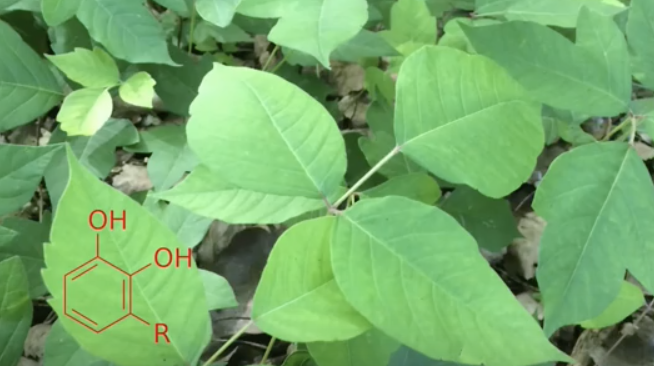
The best way to avoid a rash is to avoid the pant, but that’s not always feasible. Poison ivy reactions are caused by urushiol, an oily resin, that’s found on the stems and leaves of the plant. Whatever comes into contact with the oil can further spread it.
For example, if you drive over some plants it will get on the tires, then if you touch the tires it can get on your skin. Other common things that it may contaminate are gardening tools, rakes, chainsaws, tires, and clothing.
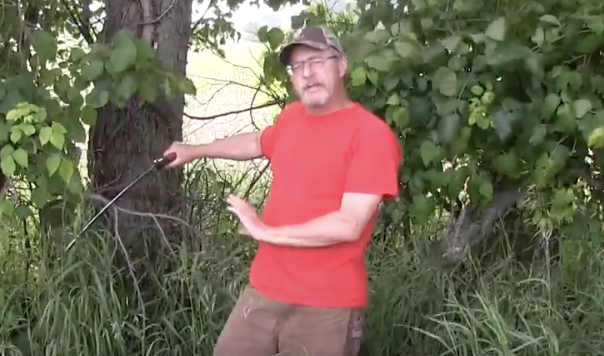
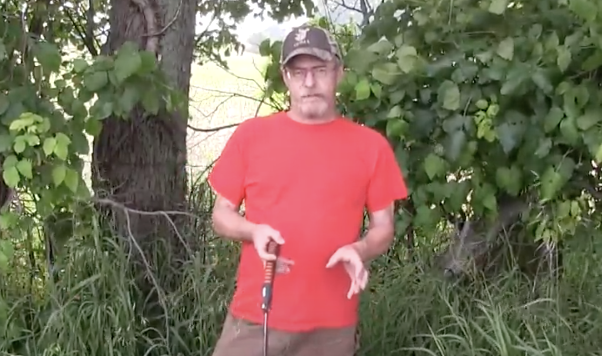
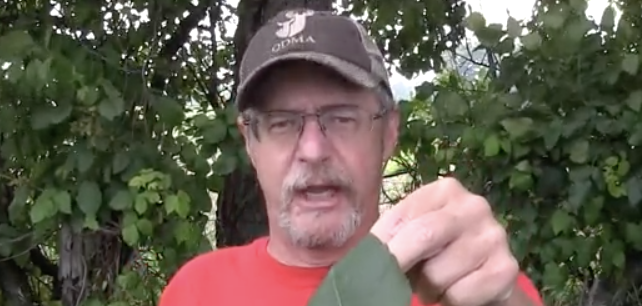
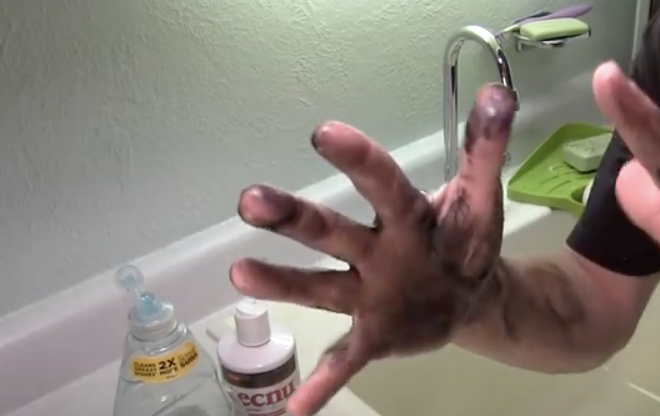
In this video, scientist and wildlife enthusiast Jim Brauker explains the best technique for minimizing your chances of developing a nasty rash. He says that if you ever do come into contact with poison ivy, or suspect you may have, then you need to wash the oil off your skin within 2-8 hours, the sooner the better.
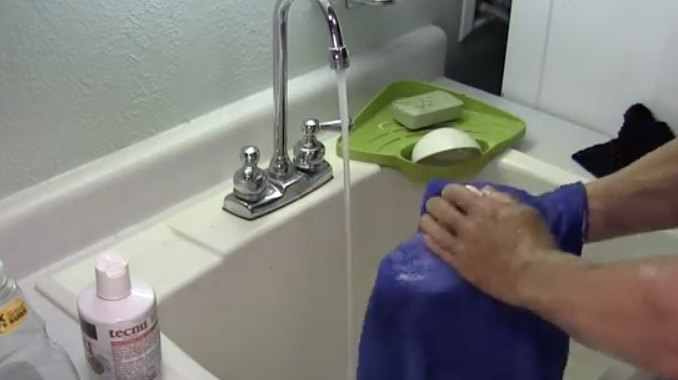
You should use cold water, soap, and a washcloth to help get it completely off your body. The key is to use a washcloth, which provides the necessary friction, on all possibly contaminated areas of your body. A washcloth, loofah, or towel is what works best to pick up and remove all of the oil.
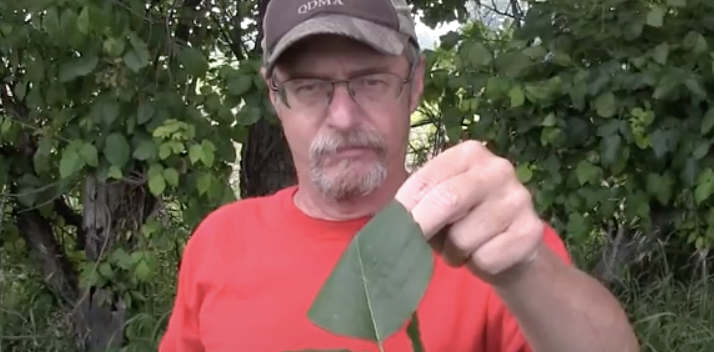
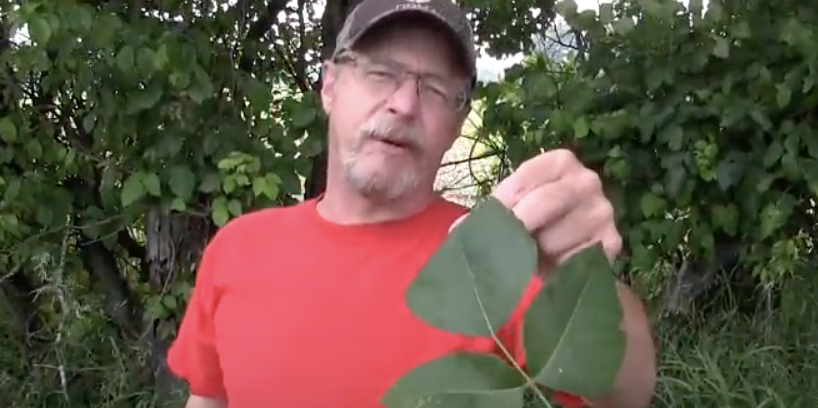
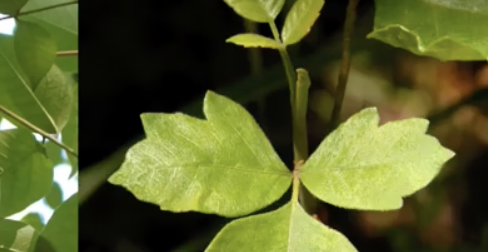
It doesn’t matter what soap you use but never wash with hot water since it opens up pores and allows the urushiol in. Ideally, you should try to avoid the plant in the first place, so you need to know how to identify it. “Leaves of three, let them be.
Leaves of five, let them thrive.” The first part of this old saying provides a helpful way to remember how to identify a poison ivy plant, and thus avoid it. The second part serves to help prevent other similar looking vine plants from wrongly being associated or confused with poison ivy.
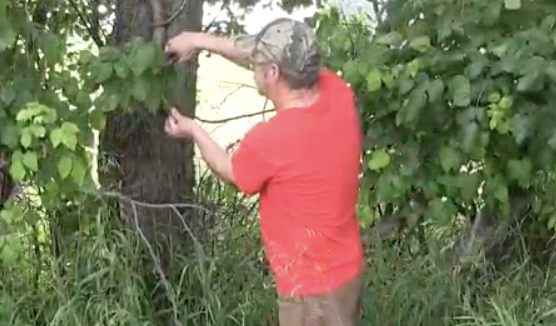
There are additional sayings which provide more details and definitive ways to identify the plant, they include “longer middle stem, don’t touch them” and “hairy vine, no friend of mine.” Out of the three leaves the middle one sports a longer stem than the two side ones and the vines have lots of small ‘hairs’ that it uses to stick to things as it climbs.
That’s important to know because the leaves fall off in the fall/winter but the stems, roots, and vines can still all give you a rash because they too contain the urushiol oil. Other things to look for are glossy leaves with smooth or toothed edges and in late summer the plants sometimes grow white berry clusters.
Please Share This Poison Ivy Trick With Family and Friends
The Easiest Way To Fold and Pack T-Shirts With THIS Unexpected Wrinkle-Free Secret!
Traveling can be a lot of fun and adventure but packing for a trip is anything but that. It’s hard enough anticipating the items you’ll need and deciding what to wear, but the packing part is always hit or miss. Suitcases and bags never seem big enough to hold all the clothes we want to bring along and more often than not people end up over-packing.
With airlines charging a pretty penny for luggage these days, having more than one or two bags can quickly get expensive. Then there’s the issue of arriving at your destination and pulling out a bunch of wrinkled clothes. The last thing you want to do is look like a slob or have to iron all your clothes.
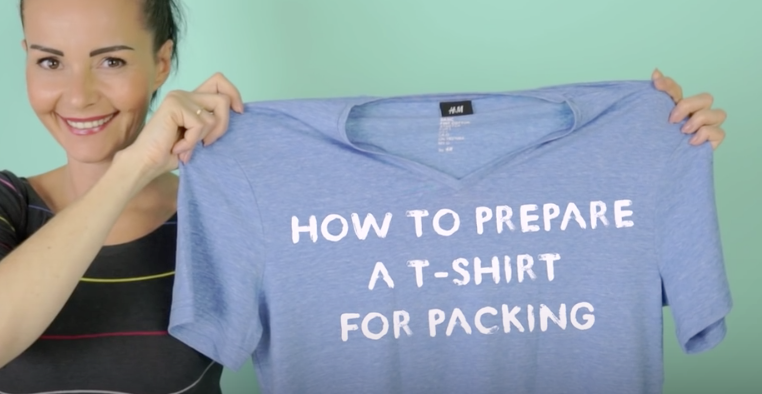
If you want to avoid all these travel packing nightmares you need to re-learn the art of packing. This Handimania video teaches a way of how to efficiently fold and roll shirts up into convenient, travel ready bundles. The shirts will stay wrinkle free and take up minimal space, leaving you room to pack even more stuff.
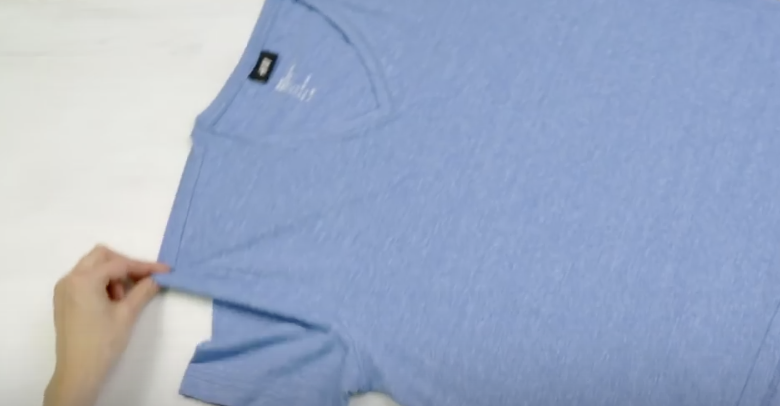
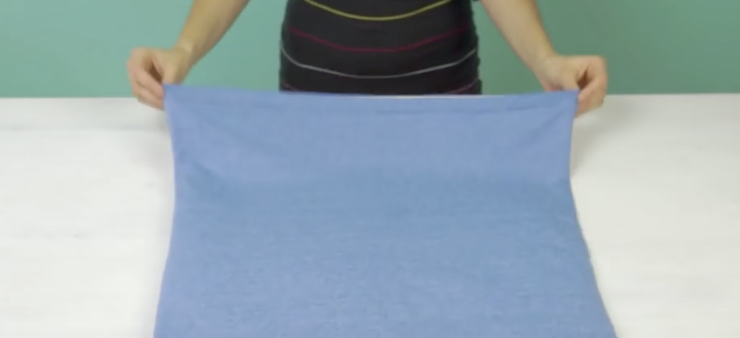
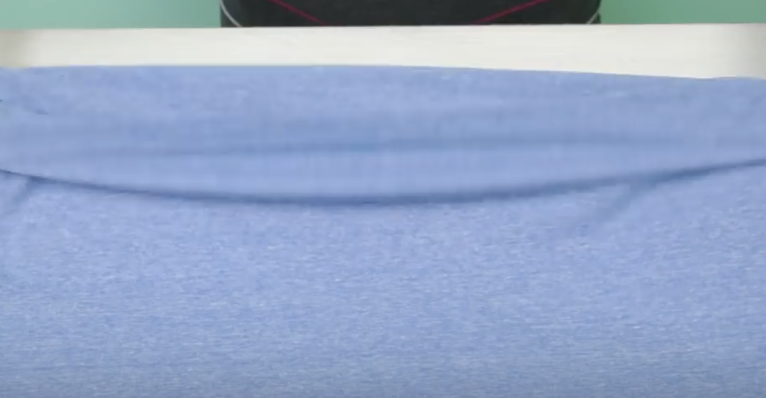
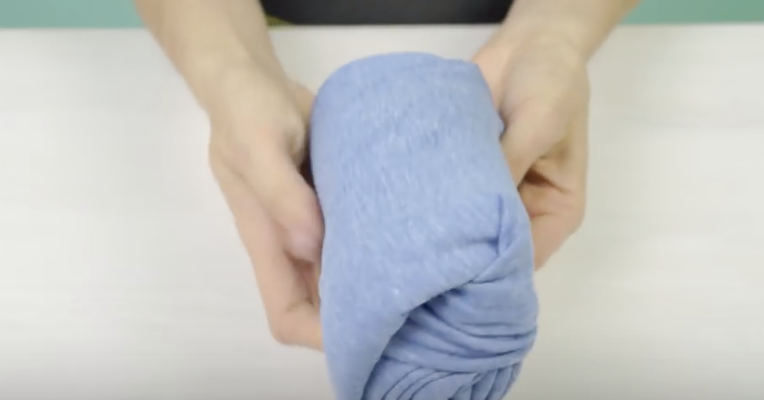
Lay a tee shirt out on a flat surface and smooth away any wrinkles. Grab the bottom hem where the seams meet on the two sides and fold the bottom 2-3 inches of it inside out. Rotate the shirt on it’s side and fold one side over about a third of the way, so that the crease meets at the neck opening, then fold back the sleeve onto the part you just folded over.
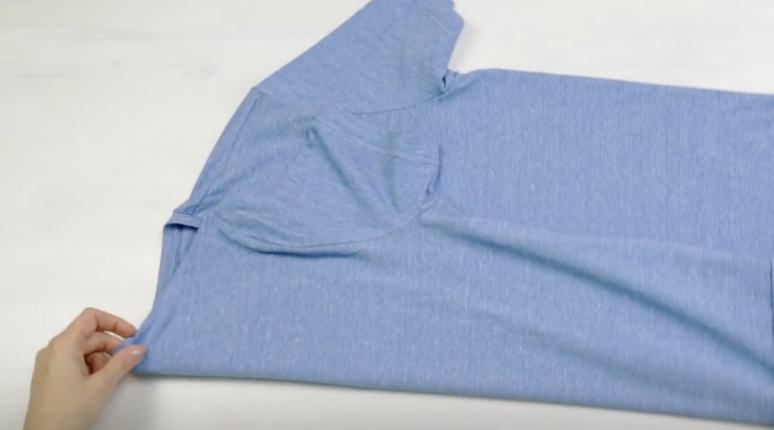
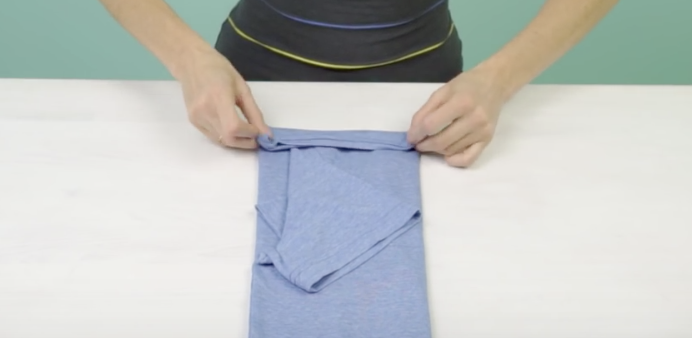
Take the other side and fold it the same way, with the crease/fold falling in line with where the neck opening is on that side, and fold back the sleeve again. You should now have a long, rectangular shaped tee shirt. Starting from the top on the shirt, begin to tightly roll it up, going all the way towards the bottom.

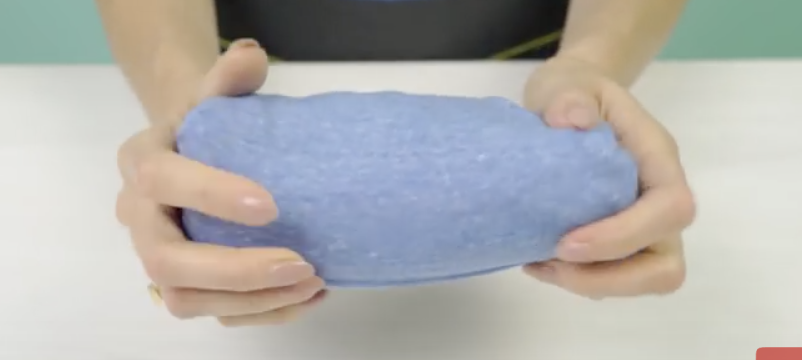
Take one side of the inside out bottom part of the shirt and turn it right side out while folding it over the rolled up portion. Do the same to the other side and you should end up with a tight and secure bundle.
Now all you have left to do is pack up the rolled tees and enjoy your trip. There are other methods for efficiently packing different articles of clothing, but this tee shirt one deals with the most commonly packed item.
It’s the easiest and most convenient method to master that we have seen by far. Hopefully it will save you some space and make traveling a little more stress free. Be sure to check out the video and share it with friends and family because it can only benefit everyone!
Please Share This Trick With Family and Friends


