
He Dips A Lighbulb Under The Faucet. But When He’s Done The Most Unexpected Surprise!
The next time you replace an old light bulb don’t throw it out. Instead, reuse and recycle it to make a bunch of cool, new, handy things. This video from YouTube’s Shake the Future channel will show you how to make 5 different things from an old bulb. Check it out and read on below for more information on the projects covered in the video!
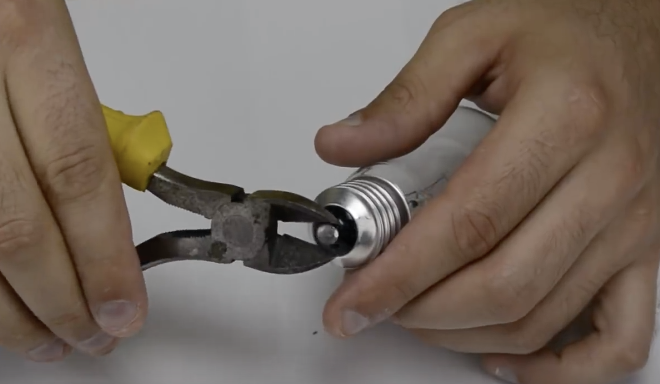
Make sure to use protection and wear safety goggles and gloves. The last thing you want is sharp glass fragments flying into your eye or a cut finger! To prepare the bulb use a utility knife and separate the contact from the surrounding black glass on the bottom. Take a small flat head screwdriver and twist it around the black glass until it breaks, remove the rest with pliers.
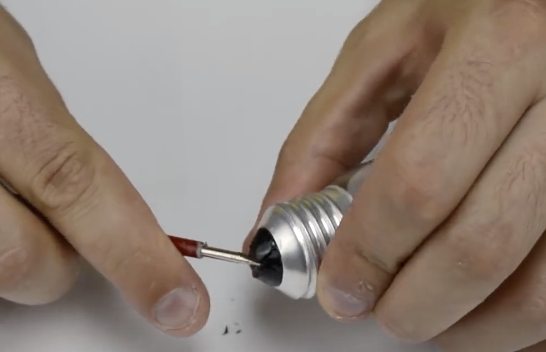
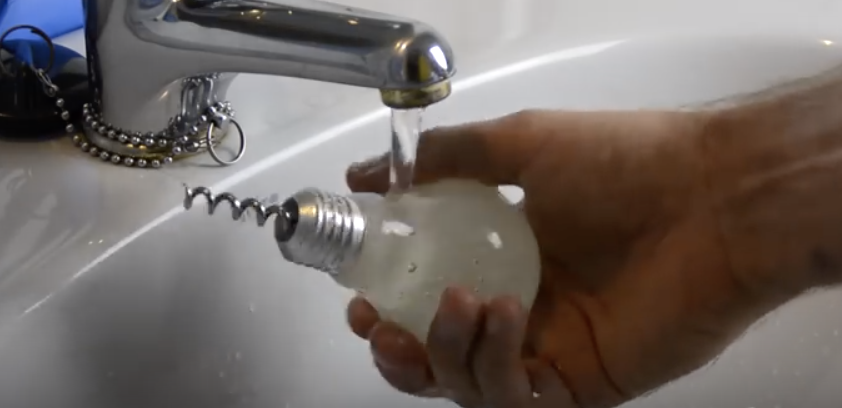
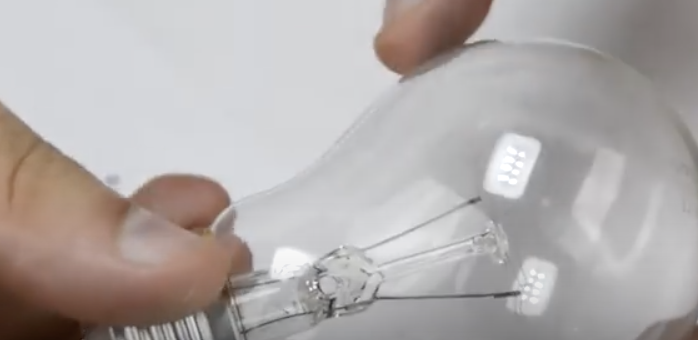
Reach into the bulb and break the stem with a small flat head screwdriver, then use a bigger one to loosen and break the inside filament. Empty out everything and if you need to make the hole bigger slowly apply more pressure to the surrounding edges. Wash out the bulb, let it dry, and now you can use it for a variety of things.
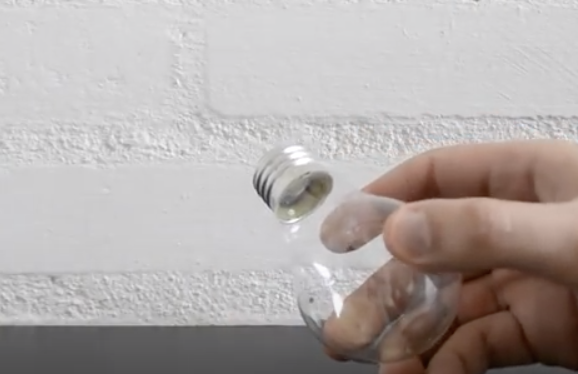
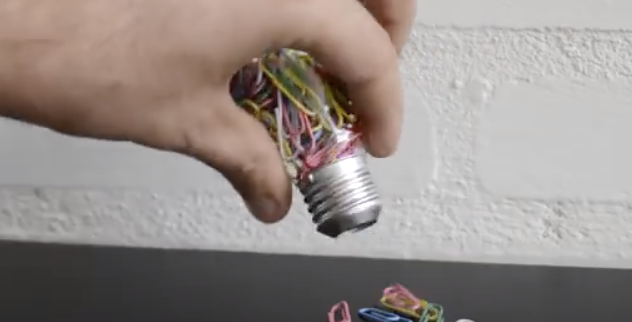
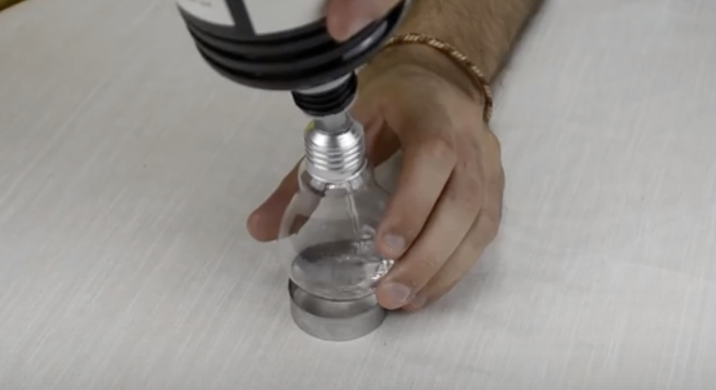
The first way in which you can use an old light bulb is as a handy paperclip dispenser. Place some paperclips inside and shake it upside down when you need one. It also makes a neat flower vase. Fill the bulb halfway up with water, stick in a flower or two, then place it on a small round cookie cutter to stabilize it.
For this next project you only need to remove the bottom of the bulb. Take a solar garden light and glue a string to it, then glue the bulb to the light so it forms a base. Hang it in a sunny spot and voila, you have a new solar light. Alternatively, you can make a light bulb torch.
Use a high temperature sealant to attach a washer to the bottom of the bulb and place it on a cookie cutter base before filling with paraffin based fuel. Insert a wick, wait 10 minutes to soak up the fuel, then you can light it. Make sure to never leave this unattended!
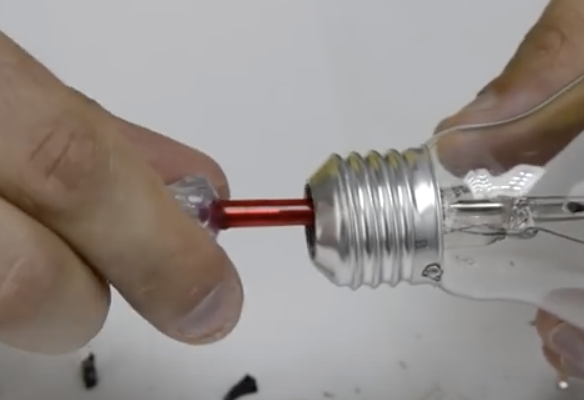
Finally, make a cool corkscrew by removing the worm, the pointed metal helix part, from an old or cheap one and place a small screw through the bottom hole. Fill a light bulb with InstaMorph, a mold-able plastic product, place it in the oven to melt then remove it and top off with more InstaMorph.
Put it back in the oven to melt again and repeat this until it’s filled with melted plastic. Push the worm into the bulb opening and hold it in place for 10 minutes while the plastic cools. Once it has cooled further you can run it under cold water to speed up the process. Finally, when it’s completely cooled off take a hammer and break the glass, now you have a light bulb corkscrew!

Please Share These Light Bulb Hacks With Family and Friends 🙂
This Guy Wipes Steel Wool All Over THIS Windshield. The Final Result Is Awesome!
Anyone who has ever owned, maintained, or driven an automobile knows how the windshield can get cloudy looking over time. This film forms because of all the dirt, dust, pollutants, bugs, tar, and other road grime you drive through gets blasted onto the windshield.
Some of it sticks to the glass, especially bugs, and some of it bounces off. However, it’s the minuscule particles that you don’t see which add up and make the windshield look dirty, hazy, and hard to see out of. A regular car wash will not remove this type of dirt build up.

Instead you need to really scrub and work hard to clean it off. Or, you can try this easy and effective method to truly super clean your car windshield.
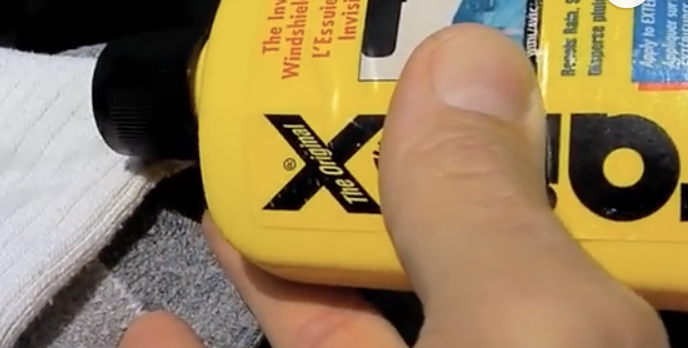
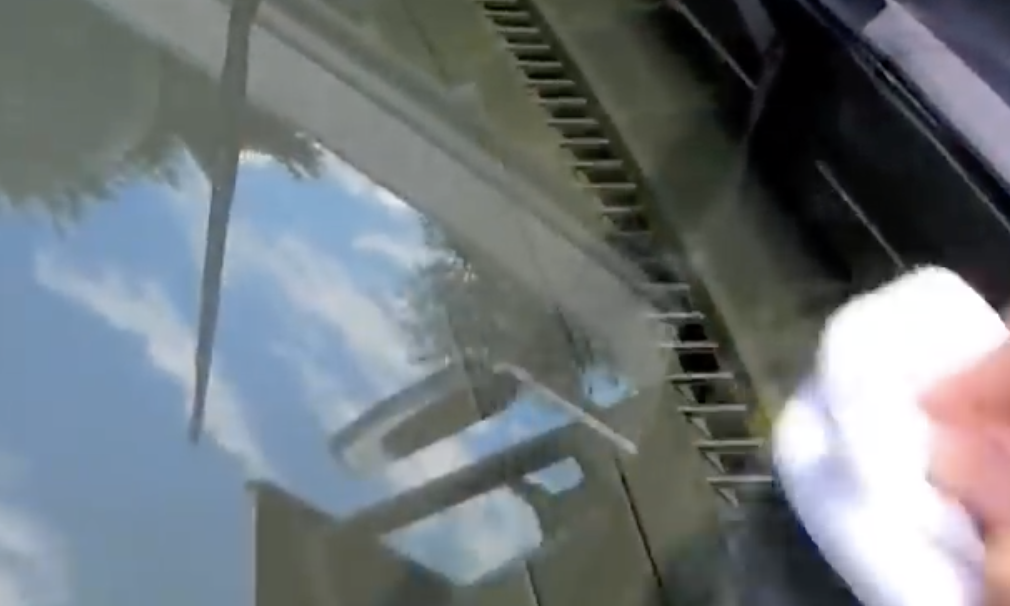
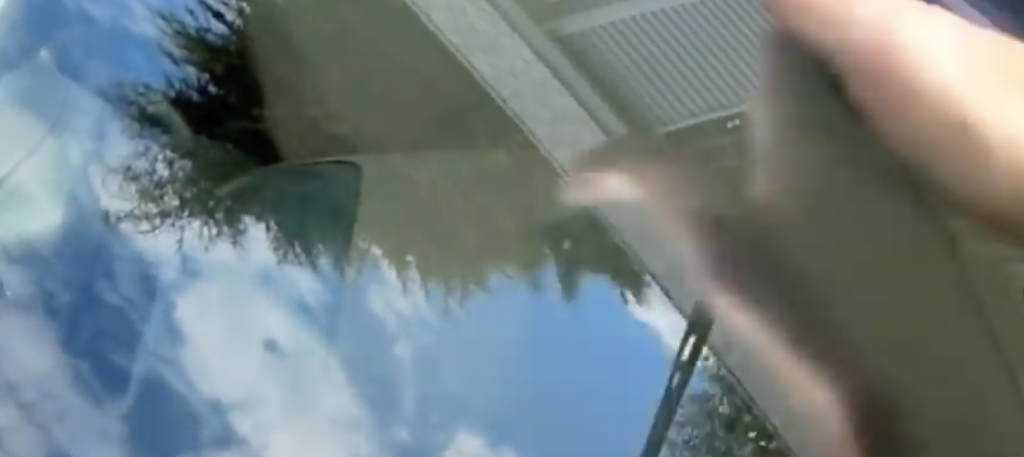
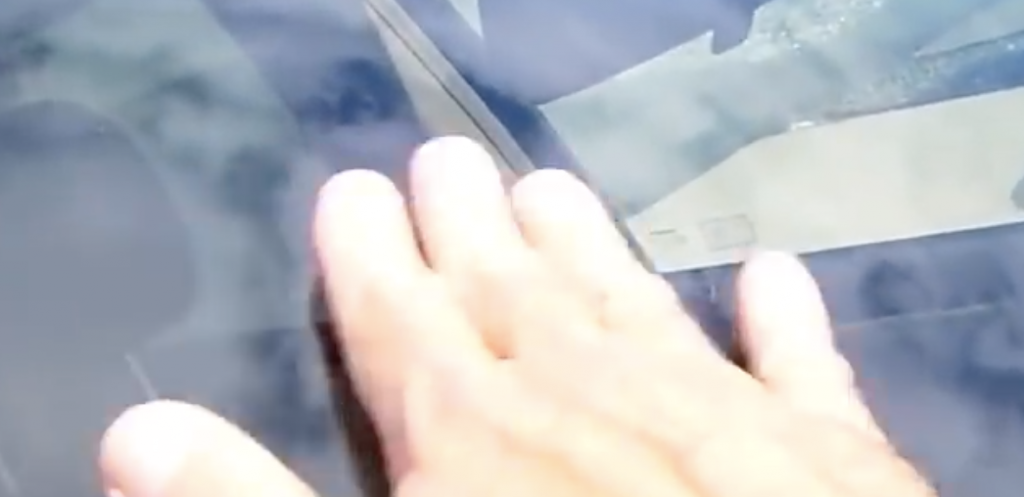
All that you need is rain-x, steel wool (*make sure you get the finest type available which is 4 ott), 2 old cotton t-shirts or rags, and an old pair of cotton socks. Start by taking a steel wool pad and rub it all over the glass. If you use the finest type it won’t scratch and it easily removes everything that may be stuck on the windshield including bugs, grime, and even water spots which are notoriously tough to get off.
Keep rubbing for as long as it takes to completely clean, paying attention to any little spots that may be tougher to get out. It may take you about 5-10 minutes to do this, but the cleaner the better and longer lasting it will be.
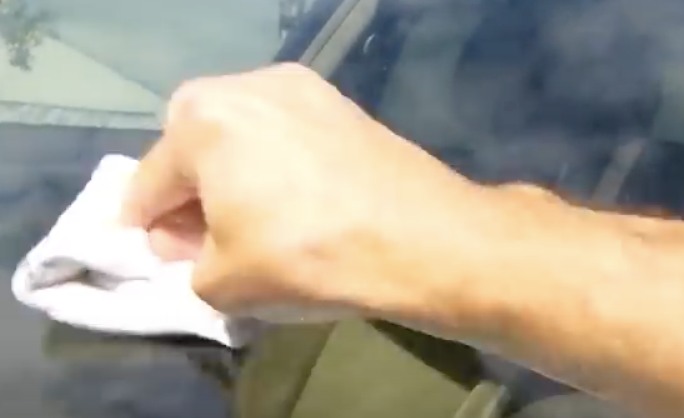
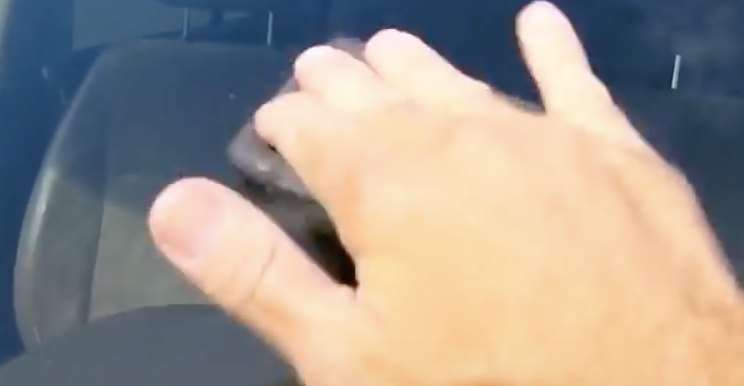
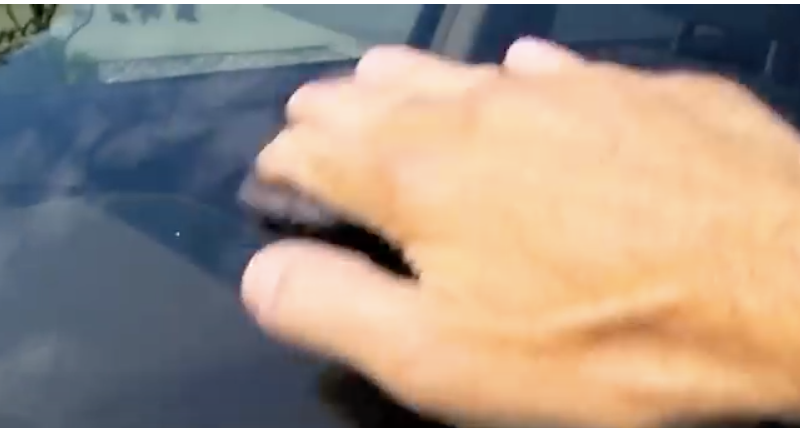
Next, grab an old sock and soak it with rain-x, don’t skimp on this part! Apply it in a circular overlapping motion to the glass, making sure to cover every single spot on it without getting any on the car paint. After it dries a little apply a second rain-x coat right on top of the first one, then let that completely dry.
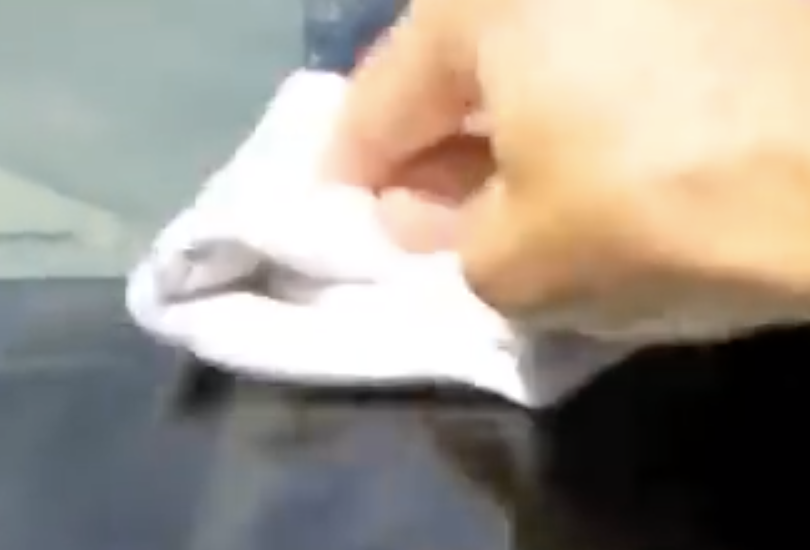
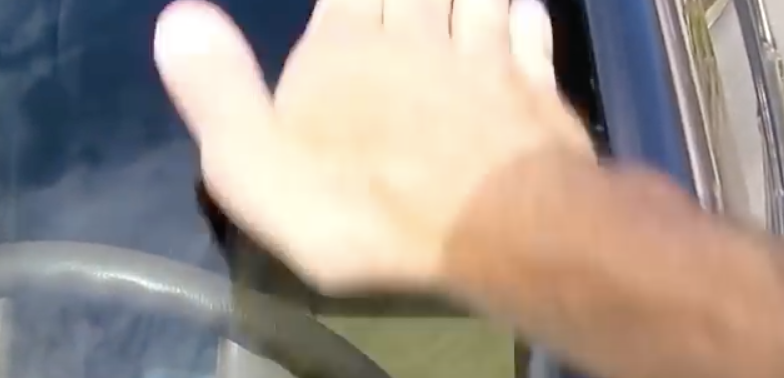
Take one of the rags and completely soak it with water, then wring it out so that it’s still quite wet but not dripping. Wipe the glass with it to remove the rain-x film that’s on the windshield and you don’t need to press down hard or anything. Then take the second dry rag and wipe down the windshield again to completely dry it. That’s it, you’re done!
If you do this your windshield will be incredibly clean, clear, and smooth to the touch. When it rains the water will slide right off the windshield and you won’t need to use the wipers as much as you would have without this treatment. You may also do this to the rear windshield, side windows, and side view mirrors.
The man in the video suggests that you coat the wiper blades with rain-x as well to help make it last longer since it tends to wear off quicker on the windshield from the blades constantly going across it. He also suggested “Invisible Glass” cleaner be used on the inside of windows because it’s superior to regular glass cleaners and doesn’t leave streaks. Check out the video for more tips!
Please Share This Windshield Hack With Your Family and Friends
This Guy Rubs A White Candle On His Bathroom Tiles. But The Reason Is Genius!
When you’re doing some deep cleaning around the house one of the grossest and most tedious areas you have to deal with is hands down the bathroom. As much as you may try to avoid it, at some point in time it must be scrubbed and disinfected, if you want all the surfaces and fixtures to stay looking as fresh and clean as possible.
There are all sorts of specific products that foam and penetrate for toilet’s, showers, sinks and mirrors, but what about tile floors? They seem to slowly build up dirt and gunk over time and nothing ever seems to actually clean the grout.
Mopping is ineffective and if you want it spick and span you basically have to get on your hands and knees and scrub the cracks with a toothbrush.
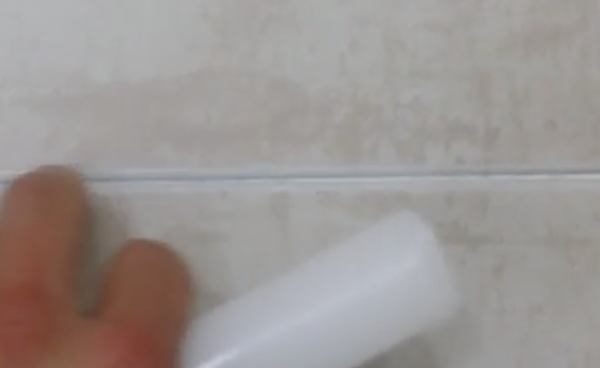
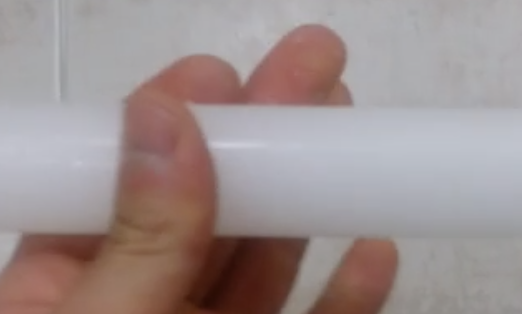
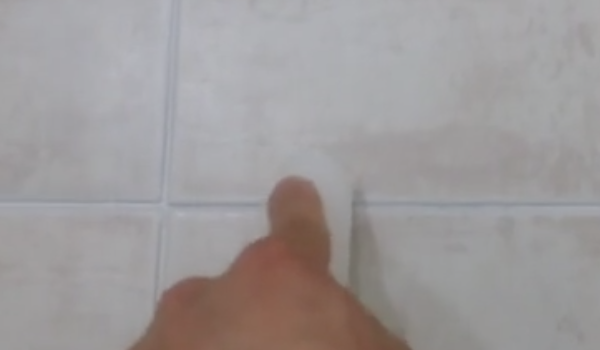
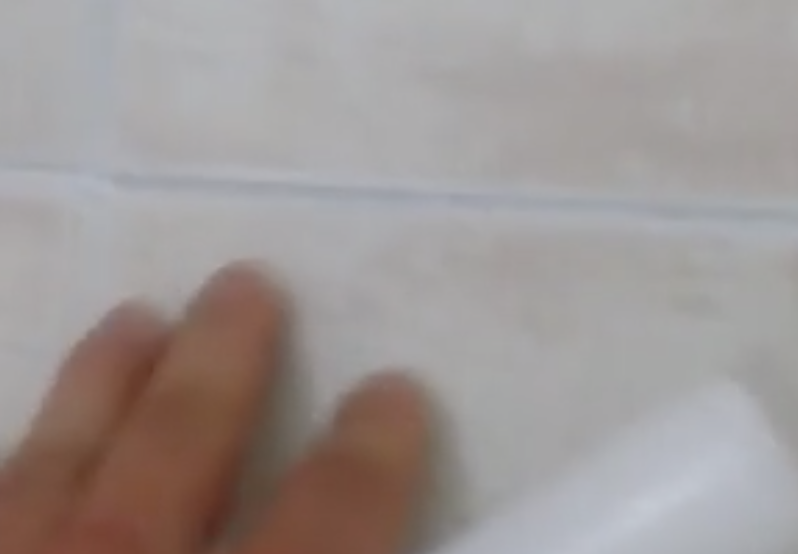
However, there is a much easier and preventative method for cleaning the grout in between tiles. Simply get a white candle stick and rub it directly onto and along the lines between the tiles. Make sure to firmly rub the wax on and go over the cracks a few times so you don’t miss a spot.
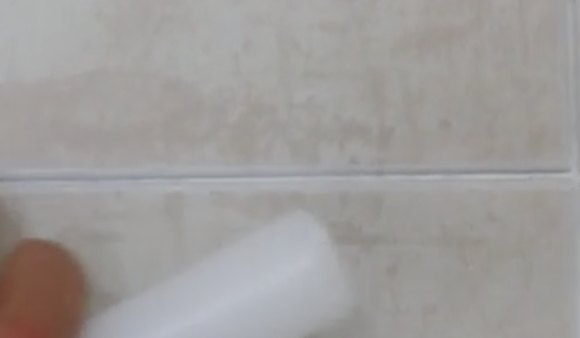
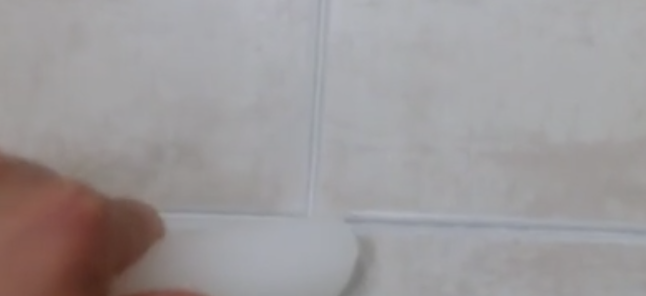
Also, clean the cracks before doing this, since it seals in the grout and whatever may happen to be on it as well, dirt included. The wax is hydrophobic, so when it’s really humid in the bathroom or water drips on the tiles, it repels the moisture and water off of them.
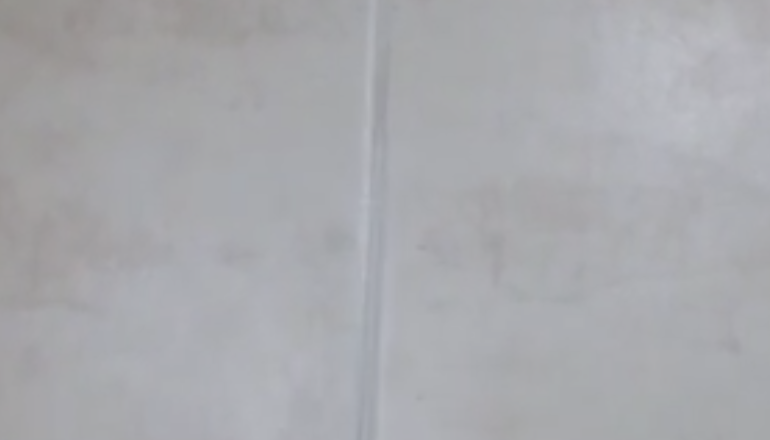
This means that mold and mildew won’t be able to grow and settle in between the cracks, which is what often makes them so hard to clean in the first place. That’s all you need to do to keep the grout from molding, getting clogged up with mildew, or becoming discolored.
Just rub a 50 cent, white colored candle on the cracks! It really works and is the best trick for this exact problem area. Please be kind and share this knowledge with all your friends and family to save them time and energy the next time their bathrooms need cleaning.
Please Share This Tip With Family and Friends
This Is The Secret Trick To Whistling Louder Than Anyone! I’m So Happy I Finally Learned THIS

Have you ever wanted to be able to whistle like a professional and make brilliant, sharp, high pitched sounds? Perhaps you are one of those people who already know how to make loud noises by slightly altering and controlling the airflow out of your mouth.
If so, count yourself lucky and part of the minority because whistling is a dying art. These days you rarely see, or rather hear, anyone whistling by hand except for in the movies. Most whistling is now done with the aid of a metal or plastic instrument.
These devices are commonly beloved by gym teachers worldwide and carried on key chains by women who are marketed them as rape whistles. This tutorial is aimed at the people who can only manage a pathetic blowing sound, and who spit more than whistle when attempting to do so. For those of us who have yet to master the art of whistling, despair not, because this video from the YouTube channel Art of Manliness shows us how it’s done.
Brett McKay is the bearded gentleman who walks through the steps that are required to produce a strong bodied, intense, and flavorful whistle. He has two different ways to go about this. The first way he covers involves two hands, while the second technique is a slightly more advanced one-handed whistle.
Both methods are the types of things which are best learned by watching other people demonstrate how to do them. Check out the video to see how to whistle with your own two hands. Who knows, maybe you will even master the ever elusive, always sought after, loud as hell whistle.
Please Share With Family and Friends
I Was Confused When Mom Put A Container Of Toys Into The Freezer. But The Reason Is Surprisingly Brilliant!
When kids are home in the summertime you need to keep them busy and engaged in fun activities. Children often lose interest in their toys and the same old games they play day in and day out. When boredom sets in no one has fun. If you find that you’re running out of ideas to keep them entertained, check out these ice toys.
They’re a novel way to keep kids busy for a long time when it’s really hot outside and you can make them at home with a few simple items that you likely already have on hand. Your kids will play with them for hours and will love having a new activity to do!
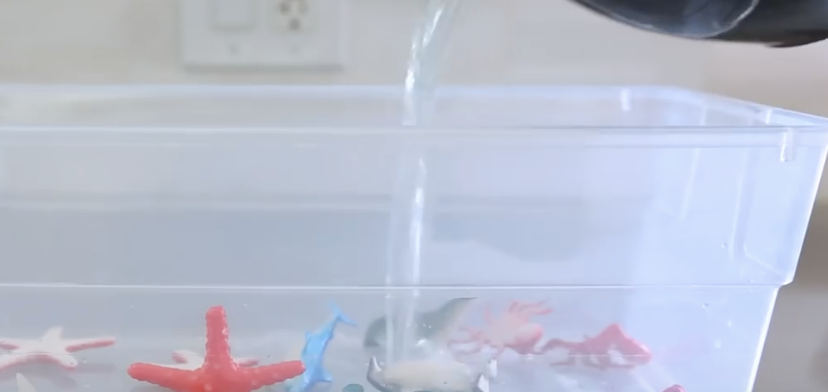
First up is ice toys which are made by using a plastic tub or bin, small toys that can get wet, and colored liquids. Place the toys in the bin, pour some liquid over them, and freeze it until completely frozen. Take it out and pour another color over the first layer.
Make sure the liquid you pour on top of the first frozen layer is very cold because if it’s too warm it will crack the layer underneath it. Freeze that layer completely and repeat the process, adding as many different layers of colored liquid as you’d like.
It takes awhile for all the layers to completely freeze so be sure to start this well in advance of when you want to use it. When it’s time to play, give the kids some tools to work with and help them figure out how to get the toys out of the ice. It should hold their attention for a long time and if it doesn’t simply pop the ice back in the freezer and come back to it at another time.
Next is ice paints that you can make with paint, an ice cube tray, water, and toothpicks. Fill an ice cube container a third of the way with paint, then top them off with water. Stir the paint and water, freeze for about two hours, then stick a toothpick in each paint cube and allow it to completely freeze. Take them out and have the kids paint with the ice cubes on paper as they melt.
The third project is ice boats. You will need small plastic containers, supplies to make sails with (such as paper, fabric, toothpicks, umbrella toothpicks, or small bamboo forks), and finally aluminum foil to make a river. Freeze water in the plastic containers and halfway through freezing them stick a toothpick, or whatever you choose to use for the mast, in the middle of them.
After they completely freeze take them out and glue or tape on some fabric or paper sails. Take some tin foil and form a ‘river’ out of it where the ice boats can float down. Then grab a hose so there is a constant flow of water and have the kids sail their boats down the river. They can race their boats and will play with these fun toys until they melt!
Please Share These Ice Projects With Family and Friends 🙂
She Escapes Duct Tape With One Simple Trick. The Results Could Save Your Life One Day!

Self-defense classes are popular around the world. The personal protection techniques are a cornerstone part of martial arts training and teachings. You don’t need to take a martial arts class to learn self-defense since there are countless courses given that specifically deal with how to defend yourself in real world situations.
These are usually offered commercially for profit and target a specific audience, such as self-defense for kids, pre-teens, teens, adults, women, and so on. Some of us also take alternative steps to stay safe.
We lock our doors, park in well lit areas, and carry mace or pepper spray along with us wherever we go. Even with all these precautions and more, it cannot ever hurt to be extra prepared for circumstances we never expect to be in; like tied up with duct tape.
While we hope you never actually find yourself in a situation where your hands are duct taped together, knowing how to escape such a scenario will give you a one up on whoever put it there. The following video shows a quick and easy technique to help you escape.
Start by bringing you hands high above your head. Then, in one quick movement, swing them down and off to your sides with as much force as you can muster. That’s it. The duct tape will split and you will be free.
In the rare event that this doesn’t work the first time simply try it again until the tape splits. Also, it only works if your hands are taped in front of you and you’re able to raise them high above your head.
Please SHARE This With Family and Friends


