If Your Eyelids Tend To Droop and Sag THIS Life Hack Is The Best Natural Way To Fix It.

Anyone who has eyelids that droop or sag knows just how much they can affect their appearance. The droopy skin makes people look tired and constantly worn out no matter how well-rested they may be. It causes them to appear older and the frustration doesn’t end there because it also makes it a lot harder to apply makeup!

The condition is most typically a natural result of aging for the majority of people, but in some cases it may be caused by disease, nerve damage, injury, or something else. Beyond invasive plastic surgery there’s not much you can do about sagging eyelids in terms of effective and affordable, but don’t give up hope just yet! Countless people have found that an easy, all-natural, and inexpensive home remedy works for them. Best of all, the only thing that you need to try it is one egg!

We all know the popular slogan “The Incredible, Edible Egg,” but not so many people are aware of just how useful eggs can be beyond cooking and eating them. They have been utilized in a variety of homemade beauty treatments for thousands of years and mixed up into all sorts of facial masks and hair treatments.

Egg based beauty blends are excellent for diminishing blemishes and scars, hydrating skin and hair, getting rid of blackheads, and preventing acne. They’re also effective at helping to tighten up the skin around the eye area, making it appear smoother and less droopy.

To do the egg white skin treatment at home simply crack open an egg and remove the yolk. An easy trick to separating the yolk from the white is to first crack it onto a plate, then take a clean empty water bottle and remove the cap. Squeeze some air out and use it the bottle to suck up the yolk.

Next, wash and deep clean your face. Make sure there is no trace of makeup left on or around your eyelids and gently pat dry your skin. Take the egg white and apply it onto your eyelids with a cotton swab. Be extra careful to avoid getting any in your eyes.

Also, it’s very important that you don’t skimp on the coverage or amount, be generous! Keep your eyes closed while you wait for the egg whites to completely dry and when that’s over rinse off the egg and wash your face. Pat dry again before applying your regular moisturizer or serum.

You should see results immediately and they typically last for a couple of days. Since the treatment is completely safe and all-natural you can do the above application once a week or every day if you’d like. It’s best to use it in conjunction with eye exercises that target and tighten saggy eyelids, which the accompanying video covers. This helps to further reduce wrinkles so definitely make sure to check it out.

Please SHARE This With Family and Friends
This Simple Life Hack Will To Stop Your Thighs From Getting Chafed This Summer!

CHAFING is caused when heat causes us to sweat, our thighs touch, causing this painful rash. As women, this can occur whether or not we are overweight, (although it has been nicknamed “Chub Rub”), as many women carry more weight in their thighs, so the tendency for skin-on-skin contact in this area is quite common. Not that many women have the good fortune of having thighs that don’t touch. The video you are about to watch below, offers several great tricks for preventing the pain of chafing from occurring this summer!

WHEN EXERCISING wearing shorts, leggings or any compression type material will prevent your thighs from touching and causing the pain of chafing. If you enjoy WEARING SKIRTS OR DRESSES, there is no need to skip them; wearing a bike short underneath will do the trick. Not only are they designed to wick moisture away from your skin, but they will keep your thighs from touching. A more appealing and prettier choice that is less bulky, are BANDELETTES which slip around your thighs to keep them from touching.

There are also creams, oils and ointments that can be applied for prevention, which won’t get on your clothes as they get absorbed into your skin. According to “Runner’s World”, any DIAPER RASH CREAM that contains ZINC OXIDE will protect your skin, just as it does for babies! ANTI-PERSPIRANT works, but there is a much better solution known as BODYGLIDE which you can get in sports stores or through Amazon. COCONUT OIL, the natural wonder, is a great solution that not only smells great but has anti-bacterial properties.

Please SHARE This With Family and Friends
This Woman Stacks Flower Pots Onto a Metal Rod. But When She’s Done It’s STUNNING!
Vertical gardens are perfect for people who are low on horizontal space or for those who want fresh herbs and flowers close by. They are the best way to get the most use of a small space and if you live in an apartment or don’t have a yard they’re likely your best and only alternative!
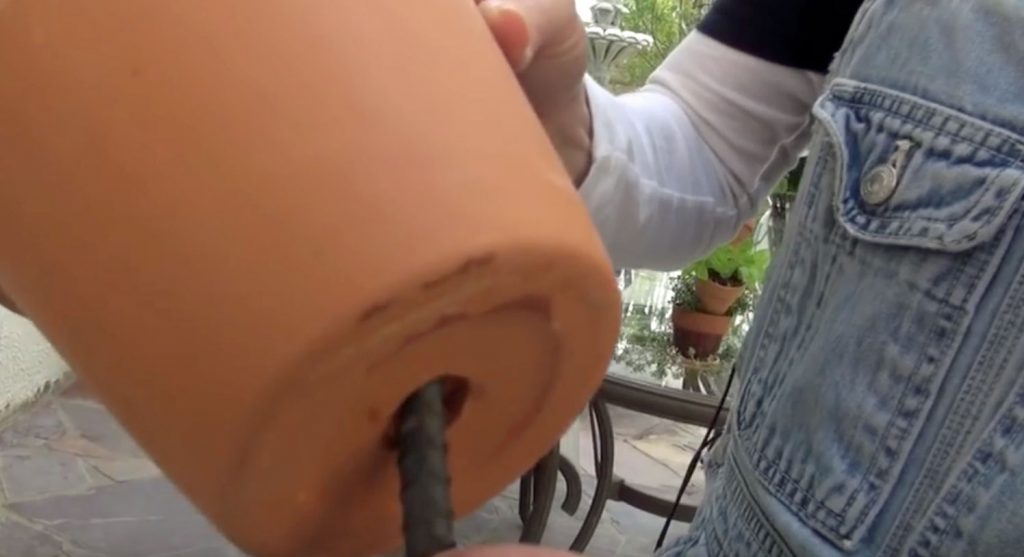
Designs for vertical gardens range from simple and affordable to highly complex and prohibitively expensive. The ‘Tipsy Pots’ idea covered by Tamara Twist and seen here is one of the easier design types and it doesn’t require anything fancy to pull off. All you need are terracotta pots in a variety of sizes and rebar that’s thin enough to fit through the holes in the bottom of them.
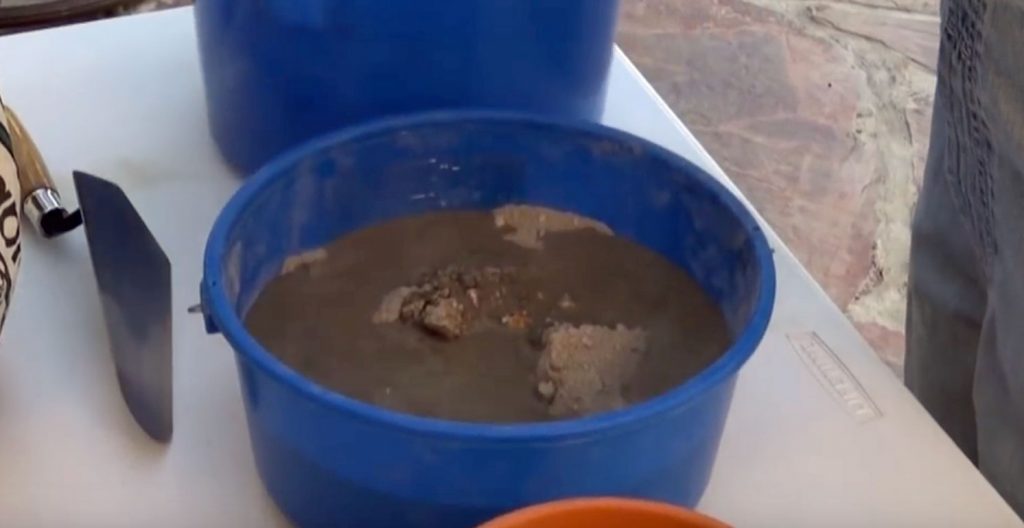
There are two different versions of this planter that you can make. One is for yards, since it’s basically stuck into the ground, and the other one can be placed on decks and patios where it’s free-standing. If you plan on making the free-standing patio version you’ll also need cement to make the base that will hold the planter in place and keep it stable and upright.
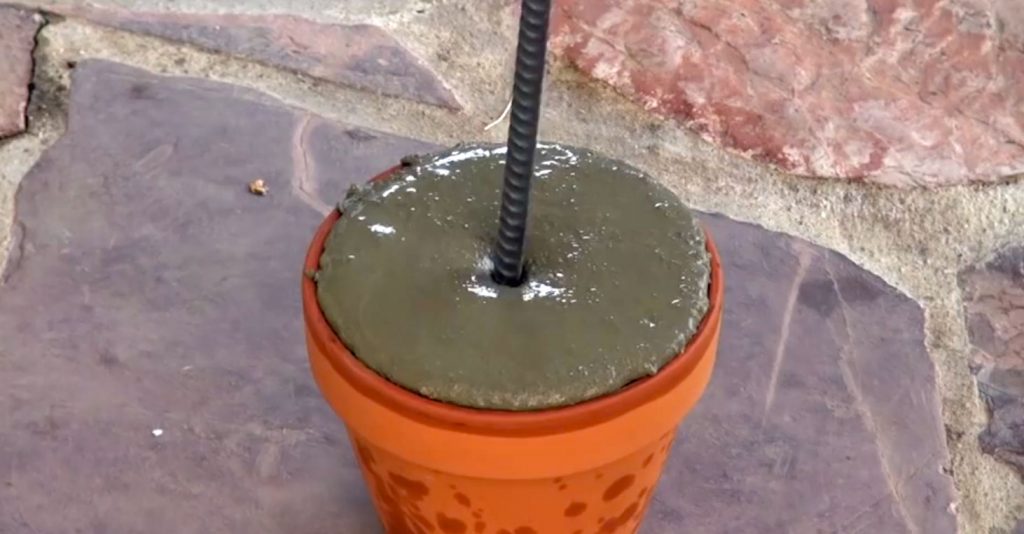
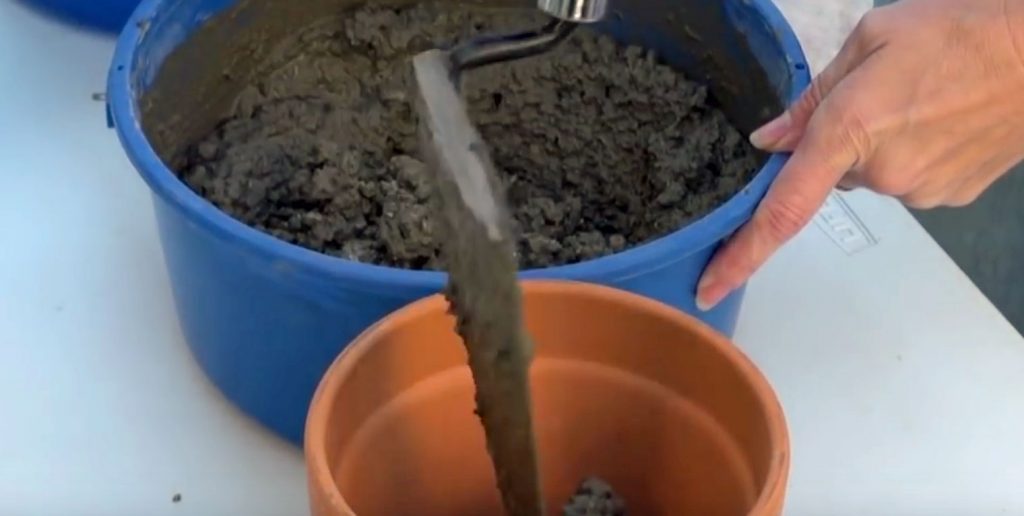
The entire process is quick and easy for either version you end up making. For the free-standing type start by mixing up enough cement to fill a medium sized terracotta pot. Fill the pot up with cement and then place a piece of rebar measuring 3-4 feet in the center of it. To help keep the rebar straight and upright you should secure the top of it by taping it in place, preferably against a wall or fence, as shown in the video.
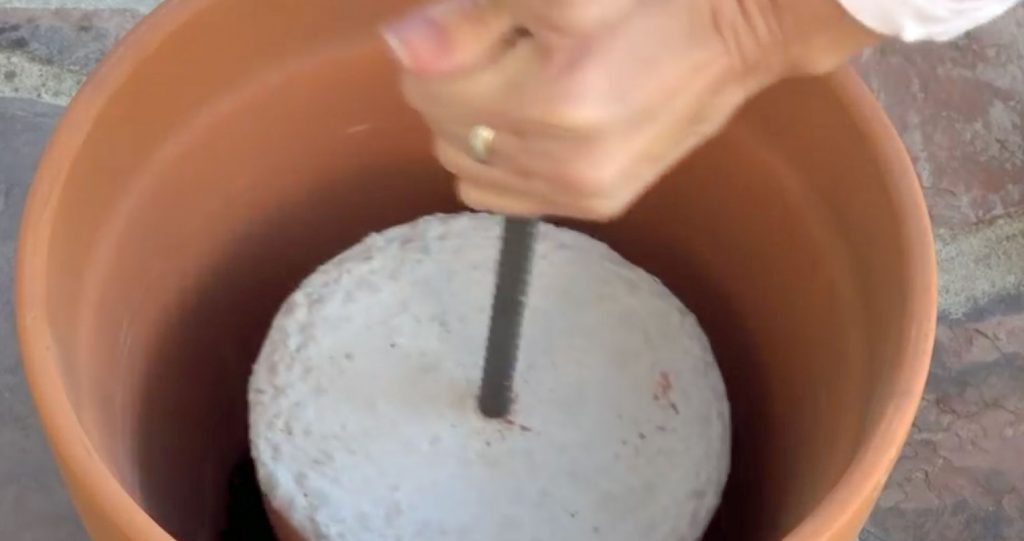
In a larger separate terracotta pot place approximately 3-4 inches of soil in the bottom. When the cement has set and hardened take that pot with the rebar in it and place it inside the larger one before filling the rest of the pot up with more soil.
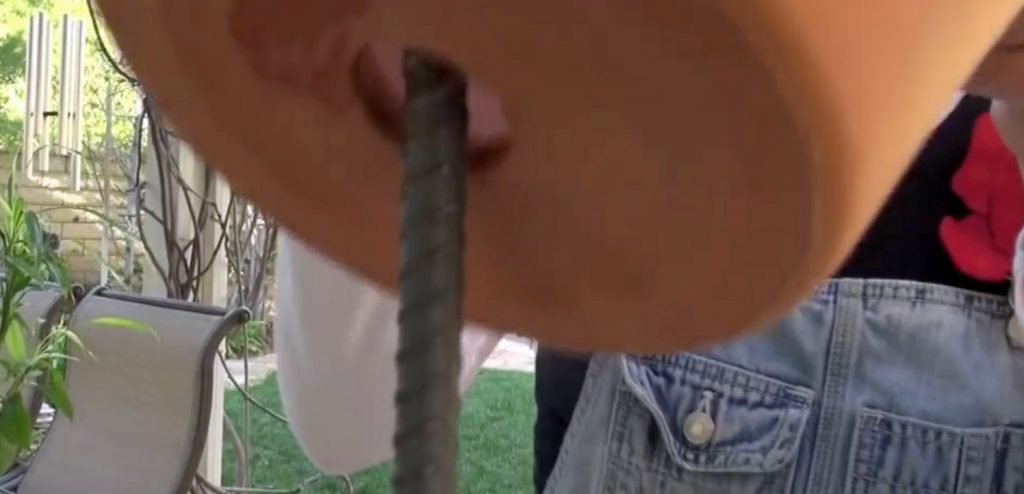
Take another pot and thread it through the rebar, bringing it down until it touches the soil, then tip it so that the back edge of the rim rests firmly against the rebar. Do this with the next pot, but tip it in the opposite direction instead. Continue to add pots, alternating the direction they are tipped in, until you run out of rebar. All that’s left is to place your plants into the pots and you’re done!

To make a free-standing tipsy pot planter without a base simply hammer the rebar 2 feet into the ground. Make sure to that you leave about 3-5 feet sticking out above the ground and then you can begin to thread the pots down, as covered above.
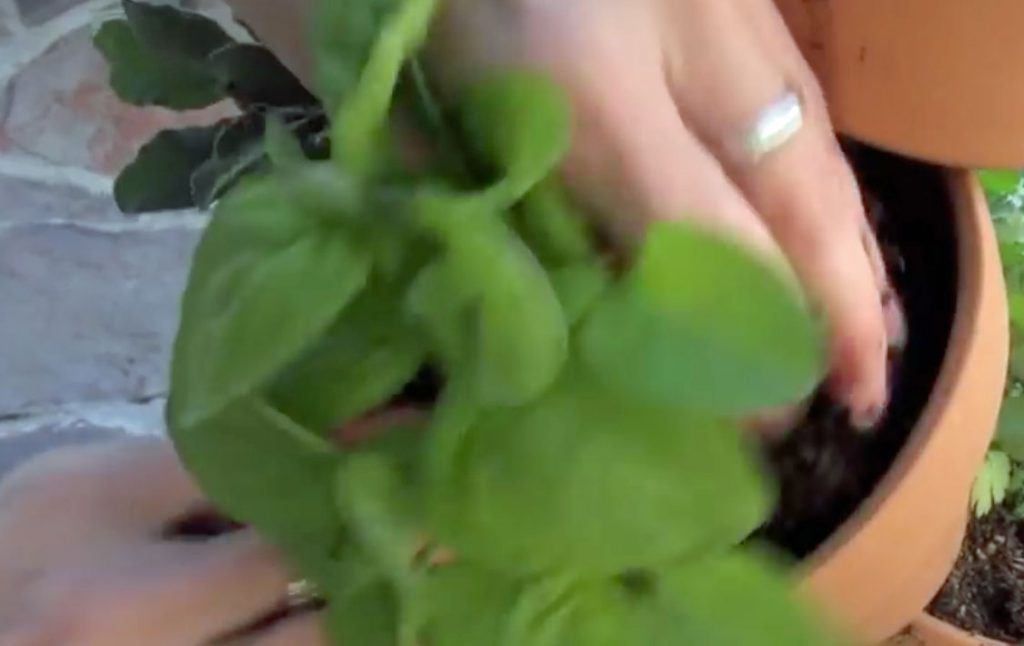
These are so neat and convenient to have around. They put plants and herbs right at your door and are a clever use of simple materials that really catch the eye. Now is the perfect time to start making them so check out the tutorial and share this with friends and family who could use the idea!

Please Share This With Family and Friends 🙂
Whenever She Goes To Her Yard To Garden She Brings Epsom Salt. The Reason Is Brilliant.
Epsom salt is actually magnesium sulfate, which has been known to have the ability to act as a fertilizer, when mixed into the soil of plants, flowers and trees. This allows the plant to put out more healthy growth!
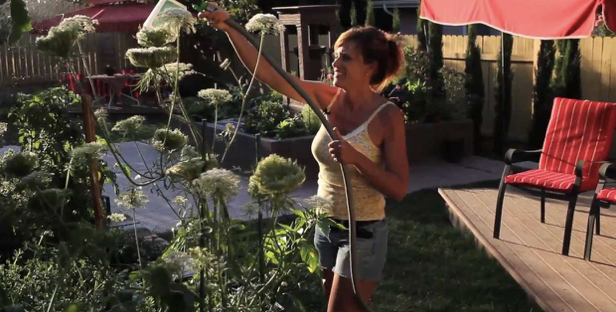
The video you are about to watch below, provides a tutorial in using Epsom salt MORE DIRECTLY on your flowering and non-flowering plants and trees, as well as on bushes and vines that produce fruit and vegetables. By creating a mixture that you attach to your hose, you will see your garden become MORE LUSH IN LESS TIME. She will explain how doing this enables all of your garden, including your lawn, to receive more chlorophyll which converts into energy.
Your fruits and vegetables will be sweeter, leaves and lawn will be greener, and rose bushes (which are finicky), will produce larger blooms. Potted plants, usually more deficient in magnesium than those planted in the ground, will greatly benefit from adding 2 tbsp of Epsom salt into the soil once monthly. Then spraying the actual leaves and blooms as you will see demonstrated, will keep your potted plants blooming all summer.
Please SHARE This Gardening Tip With Family and Friends 🙂
He Mixes This Paste With A Common Household Product That Will Reverse Gum Disease And Whiten Teeth
Good oral health is necessary for overall bodily health. The mouth is essentially the gateway to the rest of our body and it’s tied in with many other conditions, risks, and diseases. For example, gum disease and heart disease are related and according to statistics cited by WebMD “up to 91% of patients with heart disease have periodontitis, compared to 66% of people with no heart disease.”
This mouth-body connection makes regular brushing and flossing of teeth an important part of the preventative care routine you do at home to stay as healthy as possible. Even so, there are alternative things beyond the basics that you can do, and making your own all-natural whitening toothpaste is one of them.
The recipe that follows from FitLifeTV is a great way to help improve both your smile and oral health, and thus your overall health. The accompanying video shows how to make the simple, all natural, homemade toothpaste that’s both effective at cleaning and whitening teeth.

It contains ingredients that are safe and gentle on enamel, and therefore it will not damage your teeth. Many DIY toothpastes use lemon and even salt, which are highly acidic and strip teeth of their protective enamel, in the end these types do more harm than good.
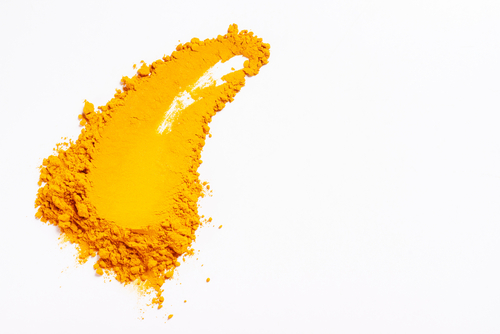
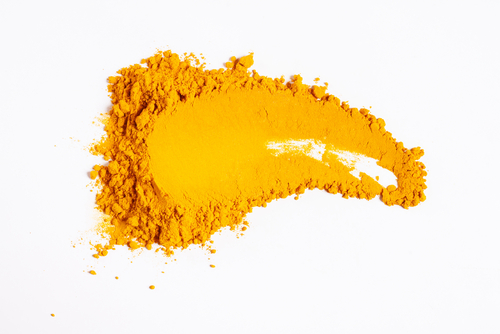
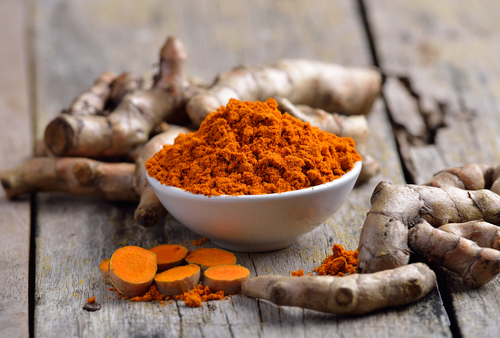
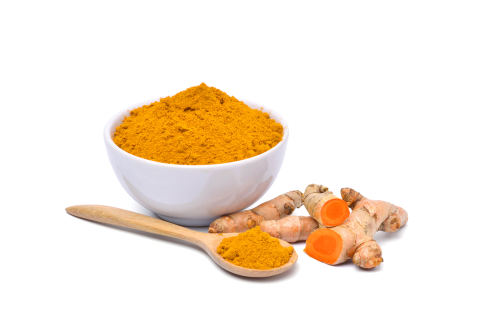
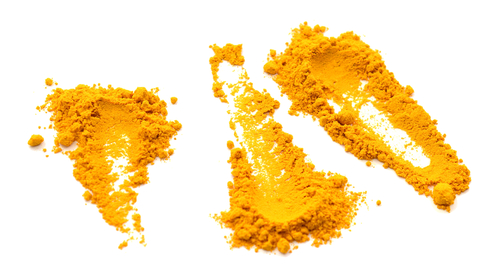
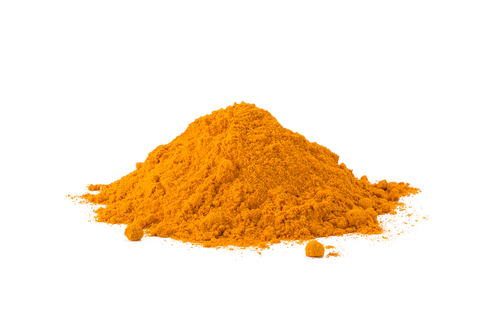
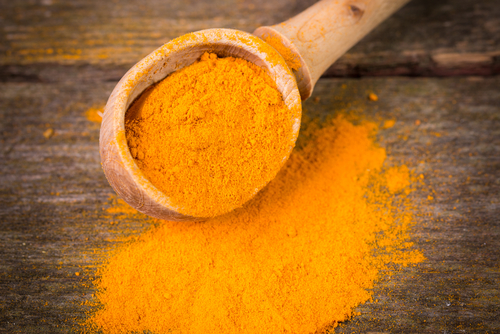
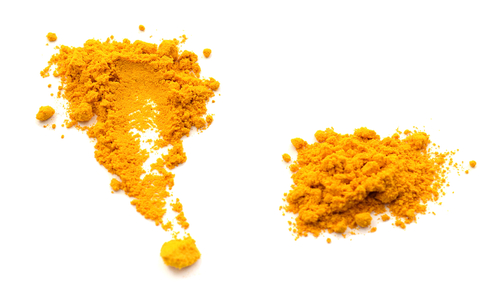
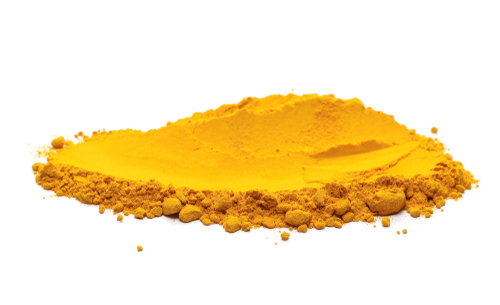
For this toothpaste all you need is coconut oil, turmeric, and food grade peppermint oil flavoring, plus a container to put it all in. You want to use a good extra-virgin type of coconut oil and powdered turmeric, in the video turmeric capsules were used but any powdered variety will do. Start off by mixing together 1 tablespoon of coconut oil with two capsules of turmeric and a few drops of peppermint oil.
Go easy at first because you can always add in more peppermint later to adjust the flavor to your desired taste. Mix it all together very well and then pick up a little bit with your toothbrush and start brushing! After at least two minutes you can spit and rinse, but the longer you brush the whiter, cleaner your teeth will turn out.
With regular use this toothpaste will whiten teeth and give you a healthy, clean mouth. Both turmeric and coconut oil have proven antimicrobial effects and anti-inflammatory properties. In recent times they have increasingly been added to people’s health and beauty routines and it’s easy to see why as there are many reported benefits connected to them.
Turmeric helps to whiten teeth naturally, safely, effectively, and cheaply, but more importantly, it helps with a number of other oral issues like tooth sensitivity. It won’t irritate swollen gums further like many commercial grade toothpastes tend to do. Instead, turmeric reduces overall irritation and sensitivity and helps with tooth aches, gum reddening, oral infections, and more. It also helps to strengthen teeth and prevent them from becoming brittle.
While the health benefits of turmeric have always been celebrated in India, they’re just beginning to become widely known in America. The simple spice can be found in just about any grocery store or market and you may even have a bottle or jar on hand in your kitchen cabinet.
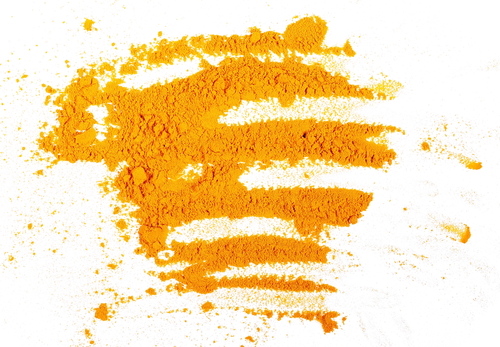
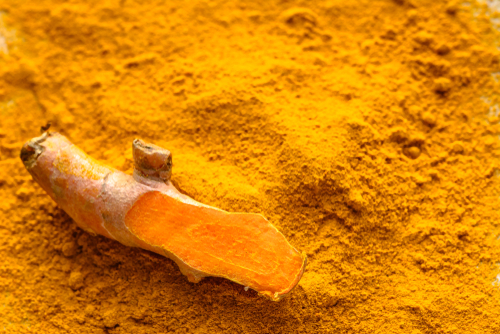
The colorful, orange-yellow spice comes in powder form and most of the world’s supply is grown in India where the Turmeric plant’s roots are gathered, boiled, dried in super hot ovens, and ground down into a fine powder that’s very strong and easily stains whatever it comes into contact with.
That’s why it’s often used as a dye agent, even though it’s most widespread and common use is as a spice for flavoring foods. Now its natural health and beauty benefits are being revealed and this one is among the best!
This whitening toothpaste is all-natural and won’t cost you more than a few dollars to make. For some of us out there this beauty tip could change our appearance, and lives, for the better. So rifle through your spice rack and grab the turmeric, mix it up and smear some on your toothbrush, and be amazed at how such an unlikely solution actually works!
Please Share This Tip With Family and Friends 🙂
She Massages Epsom Salt Into Her Hair. But The End Result Is STUNNING!

There is nothing better than beachy looking waves in your hair. Of course, salons and pharmacies sell sea spray hair products that are pricy. I have used them, but have always found that I need to play chemist, adding other products to achieve the look I’m going for.
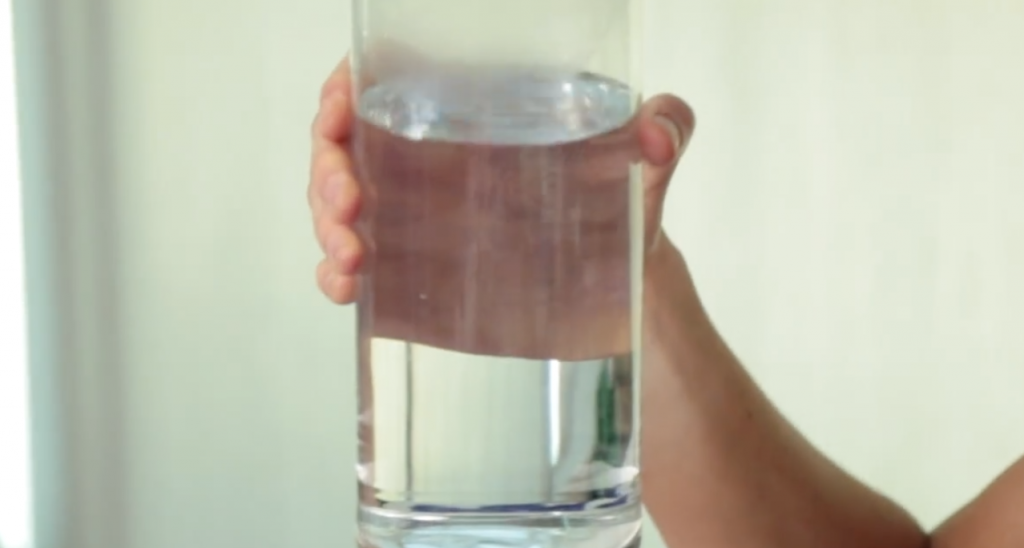
When I came upon this great DIY video , for achieving that beachy, cool,sexy looking hair at home, I couldn’t resist trying it. Sure enough, it worked better than the store bought ones! So, for those of you who love having this look, the video below is for you.

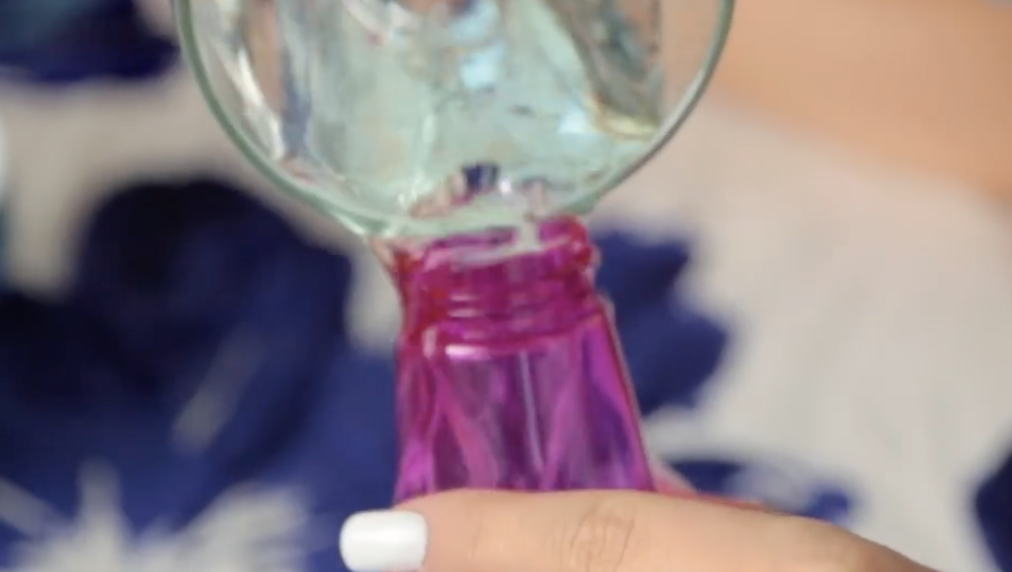
The key to making a DIY SEA SALT SPRAY to produce easy beachy waves, is using EPSOM SALT. Common table salt doesn’t do the trick. All you will need is an empty clean SPRAY BOTTLE, WARM to HOT WATER, EPSOM SALT and HAIR GEL.
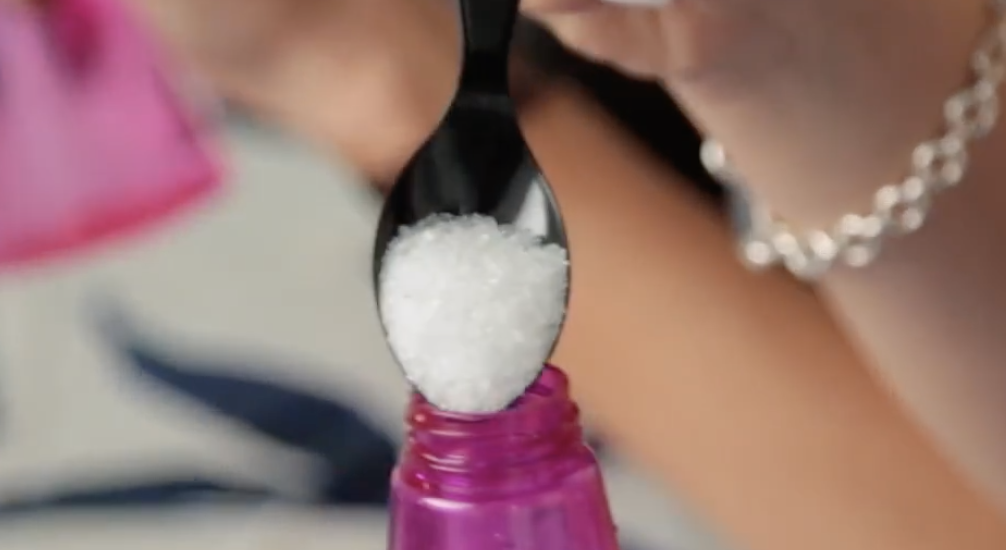
Watch the entertaining video below to see how they combine and prepare the ingredients, and then test it out on their model. I can testify, that it works amazingly to get just the right texture and look, for what you’re going for when the beach just isn’t available! Enjoy!
Please SHARE this great HAIR DIY with your friends and family