I Thought It Was Impossible To Clean Off Caked On Grease Off A Stove. Then I Watched THIS Trick!
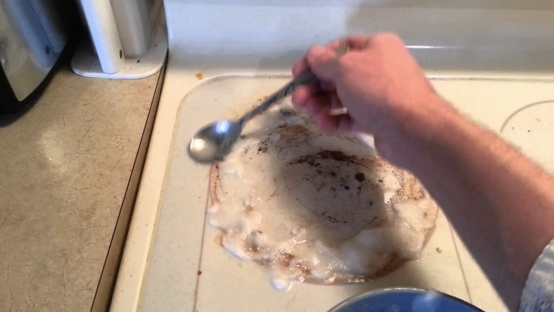
image via – youtube.com
A lot of people think cleaning sucks and I think it’s safe to say the majority of the population agrees agrees with this viewpoint. It’s not fun and can be very tedious and time consuming. However, somebody has to do it because the house isn’t going to clean itself, as much as we’d like it to.
Another pitfall with cleaning is that the products commonly used to disinfect and brighten up surfaces often contain harsh, toxic chemicals and cost a pretty penny. Thankfully there are a variety of cheaper methods out there that can be used to get around these expensive health hazards.
One of these quick and non-toxic methods involves a few simple ingredients that help make it easier to clean off the greasy, nasty, baked and burnt on crud that accumulates on ceramic or glass top stoves. It’s probably something that you’ve been neglecting to do for some time, and this will make it so much less painful when you finally get to it.
All you need is baking soda, water, a bowl, a spoon, a razor blade, and a scouring sponge. You likely have these items in your kitchen or house already and even if you need to pick one of them up it will still be a lot cheaper than store bought oven cleaners. Start by pouring some baking soda into a bowl then add a little bit of water and mix it into a goopy paste.
Take the paste and spoon it over the greasy stains, brushing and spreading it around so that it fully coats the blackened, burnt on areas. Let this sit for about 5-10 minutes while it works to loosen and help lift up the greasy crud on the stove top. When time’s up take a razor blade and gently begin to scrape the burnt areas off the oven.
Scrape the stove top with the razor blade in the same manner you would use it to scrape paint or stickers off glass. Also, using a new sharper blade will help to prevent scratches that are more likely to occur if you use an old, dull, or chipped blade. Finally, follow this up with a scouring sponge to get any remaining, tricky spots off.
Be careful not to press too hard because you may end up scratching the glass surface with it. Test out the area first, go slow, and it’s advised you use a softer type material scouring pad instead of a heavy duty, Brillo pad type. When your all done you may want to wipe down the stove top one final time with some soapy water. Dawn dish soap works great to cut through any lingering dirt or the greasy sheen that may be left behind and will leave your stove shiny as can be.
Check out the video for more information and be sure to try this method the next time you have to clean your stove top!
Please Share This Trick With Family and Friends
This Guy Starts Blow Drying A Dark Banana. But The Reason Is Brilliant!
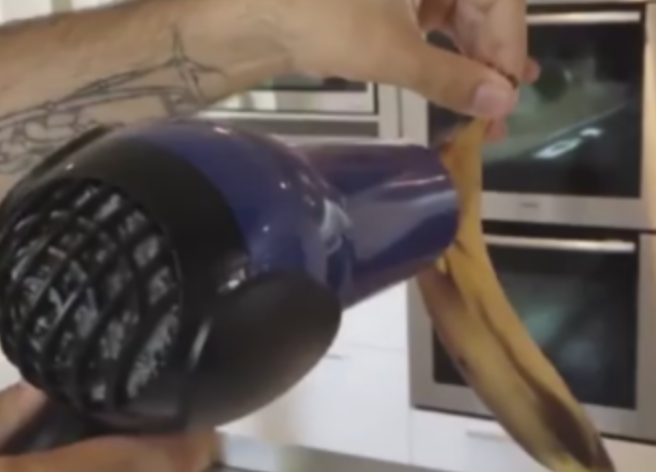
image via – youtube.com
Bananas often ripen faster than we ever expect. In just a matter of days they can go from slightly green to golden yellow before eventually turning brown. Then the rotten looking black peel sets in and the banana becomes completely unappetizing in appearance.
Even though from the outside it looks spoiled, the inside is actually still perfectly edible and good to eat. However, many people remain apprehensive about consuming rotten looking fruit, but now there is a way to salvage the outer peel and reverse the effects of banana aging.
In just over an hour you can give a banana a “face lift” and make it look totally new and fresh again. Read on for how to do it! Grab a resealable plastic bag and pour some white rice into it. Place the spoiled looking banana into the bag and shut it, being sure to remove as much of the air as humanly possible.
Adjust the bagged banana so that the rice is distributed all around and then let it sit undisturbed for at least an hour or so. The rice will remove the excess moisture from the banana without altering it’s taste or anything else. It is basically the banana equivalent of placing a cell phone in rice to get it to work again after you somehow got it all wet, or accidentally dropped it in a toilette.
The next step is to remove the banana from the bag so you can blow dry it! Yes you have to blow dry the rice soaked fruit now. Place the blow dryer on a warm or medium heat setting. You do not want too hot or cool air because then this won’t work, so if you must simply alternate, on and off, from the hot to the cold setting to get a medium-warm temperature.
Work the blow dryer quickly all around the banana and watch as the brown or black colors on the peel melt away and disappear. It should fade away after a few seconds of drying and the banana will turn back to a healthy shade of yellow. When the color is restored you can peel it open and enjoy the sweet, tasty fruit inside.
Even if you don’t eat bananas or don’t mind if they are spotty and brown, this is a cool trick to know. I was impressed that you could even do this in the first place and thought it was neat. It’s a great way to save fruit that otherwise might not get eaten. Try it the next time your bananas get yucky looking!
Watch the video below and let us know what you think!
Please Share This Trick With Family and Friends
She Places Glue Inside A Normal Glass Jar. But When The Lights Go Out and Zoom In It’s Stunning!
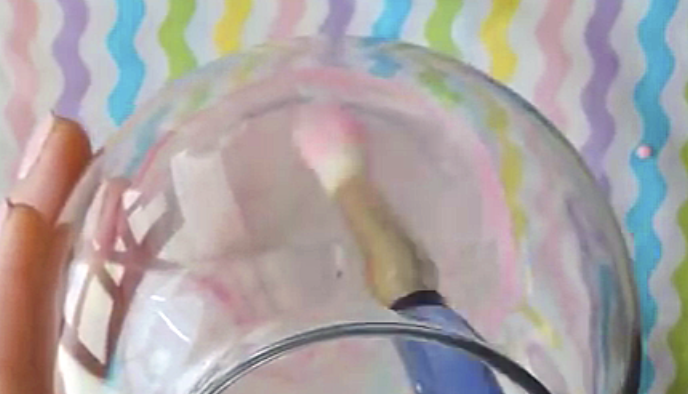
image via – youtube.com
Instead of buying the standard nightlights that are usually plain and ugly try making one yourself. It can be easily done with the help of this tutorial that shows step by step how to create a solar powered rainbow nightlight. The project is not too complex and easy enough for kids to follow and work through.
Also, it is extremely affordable to make these at home, the one shown in the video cost only $4, it may even be cheaper to make this than buying one at the store. All you need is a crystal ball, small solar garden lights, a mini glass bowl, and glitter paints or extra fine glitter and glue.
The dollar store sells the mini glass bowl shown in the video and you can probably find all the other items there as well. If not, Walmart sells solar garden lights at a low cost and craft stores have all the glitter paints and glues. Start off by taking a solar powered strip piece from a garden light and glue it on to the bottom of the clear crystal ball.
Make sure the solar strip faces up and the ball or glass piece you use is clear so that sunlight can get through and charge it. Set that aside to dry while you paint and embellish the glass bowl. In this video the woman is making a nightlight for her young daughter and she has chosen to adorn it with a rainbow colored scheme.
To get the look she brushed a layer of glitter paint on the bottom and then added more rainbow colored layers up the sides. In between each color and coat she waited for the glue to dry so that the glitter didn’t mix together. The finished bowl turned out beautiful and looks very pretty with an opaque, iridescent, rainbow finish.
To complete this project simply take the solar powered light piece, that was earlier glued to the crystal ball, and placed it on the top of the painted bowl. Place the light in a window or anywhere in sunlight and it will charge up during the day and glow through the night. It looks so neat and unique the way the glitter sparkles in the light and kids will love having it on at night.
Plus, it makes a great keepsake or thoughtful gift and is a nice decorative piece to place around the house that will keep you from stumbling around late at night! Watch the video for more detailed instructions and to get a clearer idea on how to make these yourself! 🙂
Let us know how yours turns out! Enjoy! 🙂
Please SHARE With Family and Friends
This Guy Pours Flour Inside This Balloon. But The Reason Is Brilliant and I Totally Need This!
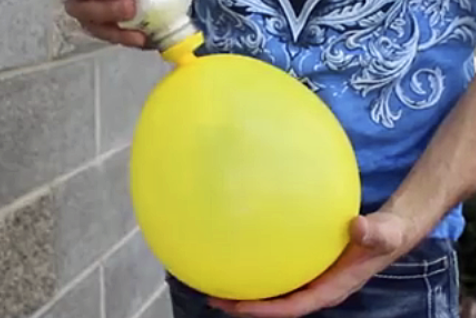
image via – youtube.com
This is a really great project with a very cool end result. Who doesn’t want ninja balls? They make the perfect gift for kids, or adults for that matter, plus they are super easy to make and cost next to nothing. All you need is some flour, a bag of balloons, a couple of appropriately sized plastic bottles and a small amount of time.
Once you are finished, you will have a whole bunch of squishy, fun balls that are durable and perfect for juggling, or anything the kids can think of. First, you need to cut the bottom off of one plastic bottle and put it inside the other, using it as a funnel to fill the second bottle with flour.
Once full, place an air filled balloon over the mouth of the flour-filled bottle and flip it upside down. Shaking it, fill the balloon with flour. Get all the air out of the balloon, then cut off the top. Take another two balloons with the tops cut off and place them over the first, making sure to flip them each time so the holes are covered.
Now for the ninja masks. Cut a balloon as he shows you in the video, then put it around the outside of your flour ball. Tada! You can use any imaginable color combination to make unique and beautiful designs. They are very durable, hold their shape when squished, and are solid enough to make perfect juggling balls.
If I were a kid, I would be so excited if someone made these for me, or better yet, helped me make them myself! What do you think about these awesome ninja balls?
Let us know if you made one and how it came out!
Please Share This Project With Family and Friends 🙂
11 Bra Hacks I Wish I Knew Earlier. I Will Never Look At a Bra The Same Way Again!

image via – shutterstock.com
Everyday over half the population straps on a bra before heading out the door. In general, women are expected to wear a bra but they often choose to do so for many reasons other than just that. Whether it’s for comfort, support, boosting cleavage, or working out, most females simply put on a bra without really thinking twice about it.
Just like all articles of clothing, bras can end up not properly fitting due to fabric stretching or weight loss/gain, and they often slowly deteriorate over time. Sometimes under-wires pop out and stab at ribs, straps slip off or dig into shoulders, and what was once a favorite bra becomes useless, ill fitting, and uncomfortable.
To get the most out of your pricey undergarments, and to deal with the most common bra-related annoyances, check out BuzzFeed’s bra hack video for some easy tricks:
The first trick covered involves converting a regular strap bra into a racerback bra by using a paperclip. Slide the clip through one strap, pull the straps together at the center of your back, then securely attach the clip to the other strap. When underwire sticks out uncomfortably and rubs against skin get a pantyliner, cut a small piece from it, and wrap it around the wire for instant relief.
If you have issues with strapless bras staying up, try using a convertible strap to hold it in place. Start by keeping one end of the strap hooked to the bra, bring the other end around the front, and hook it into the other side for a tighter, more supported fit. When tight straps are causing shoulder pain take a silicone shoulder pad and slide it onto the strap for a quick fix.
When you need to hand wash bras take them into the shower with you and do it there, then dry them rapidly in a salad spinner. To check the fit of a bra see if two fingers or your whole fist fits inside the back strap. The bra fits well if two fingers fit comfortably inside but if your fist fits it’s too big. Finally, to store bras, maintain their shape, and save space, drape them over a hanger.
Wearing a bra doesn’t have to be painful and annoying, and simple alterations or fixes can go a long way to increase your overall comfort.
Hopefully these useful tips and solutions will solve any future bra issues you run into.
Please Share These Bra Hacks With Family and Friends 🙂
This Woman Places Crayons In A Pot And Starts Melting Them. But The End Result Is Incredible!
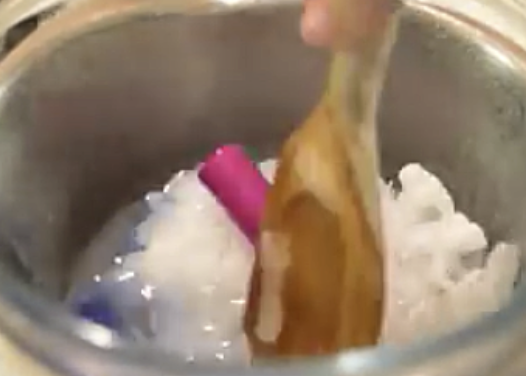
image via – youtube.com
With beautiful warm weather comes annoying biting insects. Now that bug season is upon us it’s time to start breaking out the repellent, zappers, and swatters. Nothing ruins a picnic or backyard BBQ faster than a swarm of disease carrying mosquitoes buzzing around.
However, instead of driving yourself crazy, and slapping yourself silly trying to kill the little suckers that land on you, turn the tables on the mosquitoes. Make the environment and air around you a safe, mosquito-free haven by perfuming it with citronella candles. Citronella oil is derived from the leaves and stems of lemongrass plants and it makes an excellent, all natural insect repellent.
Studies have shown that it is effective at repelling mosquitoes, and if you burn it off through candles you can keep an area skeeter-free. Which leads us to this awesome video tutorial on how to make citronella candles! The whole project is cost effective and easy. Forget buying expensive candles at the store, these are even prettier and can be custom colored.
All that it requires is wax pieces, candle wicks, citronella oil, jars (mason jars are perfect- resealable, cheap, and sold everywhere), plus a bowl and boiling water. First determine how much wax you’ll need by pouring it into the container you plan on using as a candle holder. Boil a pot of water and then place a glass bowl in it.
Pour the wax into the glass bowl and allow it to completely melt. If you want to color the wax simply add in a wax crayon or two and melt it down. When all the wax and crayons are fully dissolved mix in a teaspoon of citronella oil. Attach the wicks to the bottom of the jars with a small piece of tape, then carefully pour the wax into the jars.
To keep the wicks in place as the wax sets, hold them up between two chopsticks over the top of the jar. Once the wax is firm again trim the wick to about an inch above the candle line. One last thing I want to mention is that many store bought citronella candles use a synthetic type of citronella which is vastly inferior and not as effective as the real essential-oil type.
They are often labeled “citronella scented” but don’t contain any of the natural variety’s properties, so they won’t repel bugs. Also, don’t use tiki torch oil/fuel, make sure to use citronella essential oil in the candles. I hope you enjoy the video and candles as much as I have been.
Let us know how yours turned out! 🙂
Please Share With Family and Friends


