Apparently THIS Is The Simple Life Hack To Fix Any Broken Zipper That Won’t Close!
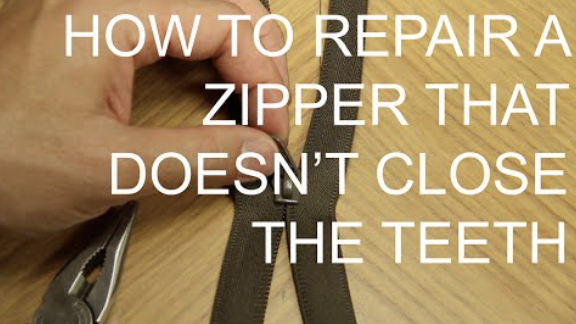
image via – youtube.com
A broken zipper can wreak havoc and make life difficult in different ways. It can cause your favorite pair of jeans to become unwearable, render clothes useless, and leave you in a last minute bind when traveling. That’s the worst case scenario, when your jam packed suitcase won’t shut and your at the airport trying to check luggage.
Nightmares like this happen all the time and if hasn’t happened to you yet, it likely will one day. Instead of tossing articles of clothing or bags out, try fixing the zipper yourself. The repair method covered in this video will help if the problem your having is that the zipper won’t close when zipping from the bottom up.
The experts at UCAN Zippers USA guide us through the basic steps necessary to close a stubborn zipper, so follow along closely because this may come in handy one day! When a zipper stops zipping, it’s usually caused by the slider part wearing out because of all the repetitive pulling back and forth on it.
You will need to clamp down on the mouth of the slider, on both the front and back sides of it, so that it grips and grabs the teeth as you slide it along. If done right, this will bring the sides of the zipper together smoothly and thus close it as you go.
All that you need to do is take a pair of pliers and clamp them down on one side of the mouth of the slider. Go easy, don’t apply too much pressure, and test it out as you go to see how it slides. If it’s still not working, clamp down with the pliers on the other side of the slider and try it again.
Be patient and keep pressing the pliers onto the sides of the slider mouth until your finally able to close the zipper. That’s it!
To see exactly how it’s done and for heaps more insightful information on all things zippers, check out the video and you’ll never get your zipper stuck again!
Please SHARE This Tip With Your Family and Friends 🙂
Apparently If You Put Garlic In Your Ear Overnight THIS Happens!

image via – shuttertstock.com
Garlic works great for many things. If you want to ward off evil spirits and vampires, hang a clove of it around your neck or on the door of your house. Ancient wisdom and old wives tales say that by doing so it helps to keep dark forces at bay. While that may or may not be the case, garlic has always been highly regarded as a powerhouse of a food that can help keep us healthy.
The pungent bulbs provide our bodies with numerous health benefits and you don’t even have to eat it to gain some of them! If you ever happen to suffer from an annoying, painful, terrible feeling headache or earache, garlic can help relieve your misery.
Take a clean peeled clove of garlic and gently place it in the opening of your ear, like you would an ear plug. After a short while you’ll start to feel a heat sensation spreading through your ear and then the pain and irritation will begin to subside. Leave the clove in your ear for at least 30-35 minutes or longer and if you want you can even leave it in overnight.
Garlic is effective at treating ear infections because it has anti-bacterial and anti-viral properties. They get to the root of the problem and work naturally to cut down and kill the bacteria and germs in your inner ear that are causing all the pain and misery.
It also has natural antiseptic properties that reduce the risk of further or future infection. Garlic is also anti-inflammatory and can work wonders at reducing the swelling and throbbing that accompanies ear aches. That’s why a small piece of it in your ear can make a huge difference.
Furthermore, if you eat garlic you’ll end up giving your immune system a boost because it’s packed with nutrients like fiber, Vitamins C and B6, potassium, and calcium.
Whenever you feel like you’re coming down with something or get a cold, skip the meds and instead pop some garlic since it has been proven to help reduce the severity of symptoms associated with the flu and common cold.
Whether you eat it or place a clove of it in your ear, a little bit of garlic can be an immense benefit to you in the end and your body will thank you.
Please Share This With Family and Friends
This Guy Puts A Bar Of Soap In His Microwave. The Results Are An Unexpectedly Wild Surprise!
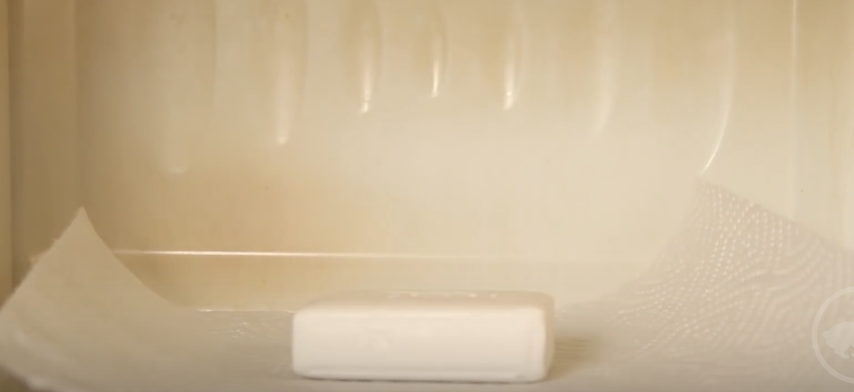
This video shows us 6 science tricks that will be loved by adults and kids alike. Using everyday products the video you are about to watch is so important, because it makes science fun! If you include your kids in the fun, it will increase their curiosity and creativity without incurring danger.
One such experiment is what happens when you put raw eggs in distilled vinegar. There is a reaction that occurs, and within 48 hours something really surprising happens! Not only do the shells dissolve, but the eggs actually bounce!! Then the making of an actual homemade bouncy ball is illustrated, as well as an ivory soap soufflé.
The fun continues as we are shown how to change the color of a flower! Within one hour, before your very eyes, the flower changes it’s color through the process of transferring food colored water through the stem. These, and other fun science experiments are perfect to try with your kids during the upcoming holidays or on a rainy day. Making science awe-inspiring for your kids is the gift of a lifetime!
Please SHARE This With Family and Friends
She Begins Twisting Different Parts Of Her Hair. But When She’s Done An Unexpected Stunning Surprise!
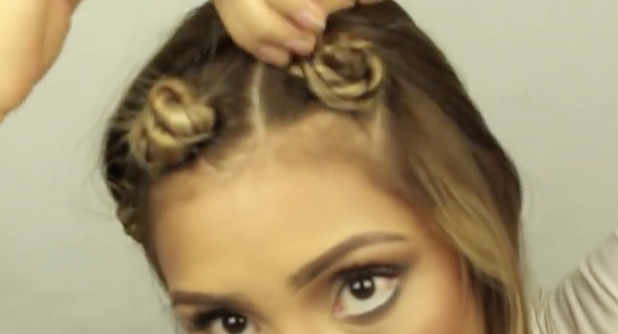
image via – youtube.com
If you love the way that curly hair looks and feels, but lack the time and patience it requires, then you have to check out this tutorial on how to easily attain a head full of bouncy curls. You don’t even need to use a curling iron or any heat with the Real Beauty by Cynthia technique covered here.
It’s perfect for people who are short on time in the morning and for those who have flat or unruly hair. Instead of just throwing your hair up in a bun or letting it fall as it may, wake up and spend less than five minutes styling your hair. That’s all you need and it’s really easy to master this technique. So if you want bouncy, frizz free, and beautifully defined curls, this video will show you exactly how to twist your way to them!
As mentioned above, there’s no heat, irons, or dryers necessary for this and you don’t even need to shower, but you will need a brush or comb, texturizer (Cynthia uses L’Oreal), and some bobby pins. First, brush your hair to get any tangles out and make it easier to work with.
Take a section of hair and add a tiny bit of texturizing cream, combing it through your hair. Twist the hair section up into a knot and secure it closely to your head with a couple of bobby pins. Repeat these steps on each section of hair you twist up, until all of it has been sectioned off and secured into place.
If you do this right before you go to bed at night when you wake up your hair will be ready to unravel and style. If you do it earlier in the day then at a minimum you should wait a few hours until you’re positive that all your hair has completely dried and set before taking it out.
Either way, the longer you keep the twists and bobby pins in, the better. When you wake up, or are sure that your hair is dry, simply take a section of hair and remove the bobby pins before unraveling the twists and separating them as you go.
You can tussle them up and disarrange it for a messier look and add a little hairspray to better hold the curl in. For a quick volume boost try flipping your hair over and spritz some hairspray near the roots only, wait a few seconds for it to dry, then flip your head up.
At the most it’ll only take about 5 minutes to style your curls and you’ll look great with minimal effort and no heat!
Please Share This With Family and Friends 🙂
This Guy Drops A Tennis Ball Inside His Pool At Night. When He Removes It In The Morning Brilliant!
There is nothing like being able to use objects, particularly those that can’t be recycled, for other practical uses that make life easier! The TENNIS BALL is one such object that offers many possibilities for REPURPOSING that will save you money, and remedy everyday problems.
Instead of using dryer sheets, which are chemically laden, for REMOVING STATIC from your clothing, try a tennis ball. Just wrap it in some aluminum foil and throw it in with your wet clothes; static-free clothes that are eco-friendly! A brand new DRY TENNIS BALL is the perfect solution for removing BLACK SCUFF MARKS on floor tile; just cut an X into the ball and stick it on a broom stick, and voila…those black ugly marks are gone.
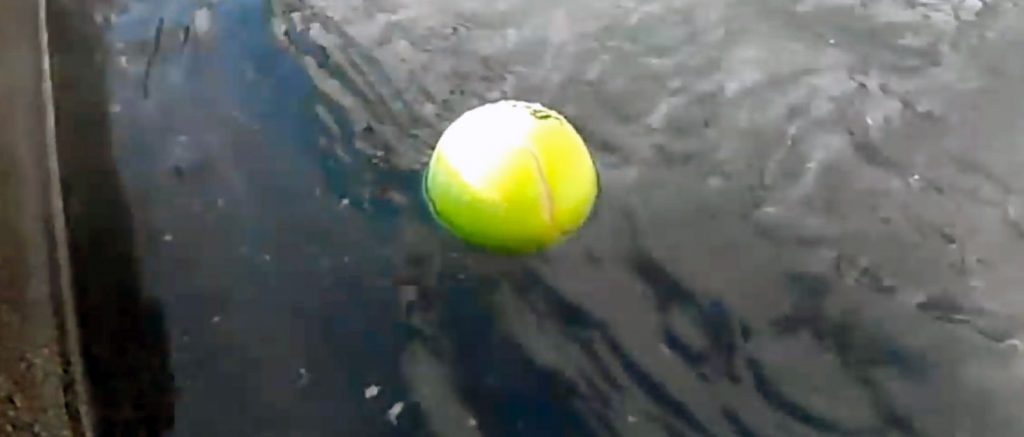
When you pull into your garage, it’s often difficult to know how far to pull in. HANGING A TENNIS BALL so that it dangles, will allow you to know when to stop, as it gently touches your windshield. Last but not least, as you will see in the VIDEO you are about to watch BELOW, tennis balls are a great way to keep a BACKYARD POOL or HOT TUB CLEAN!
It’s an amazing hack to make the stress of cleaning so much easier..
Please SHARE These Tennis Ball Tips With Family and Friends 🙂
She Gets A Toothbrush And Starts Plucking Out Every Bristle But When She Reveals The End Result Is AWESOME!
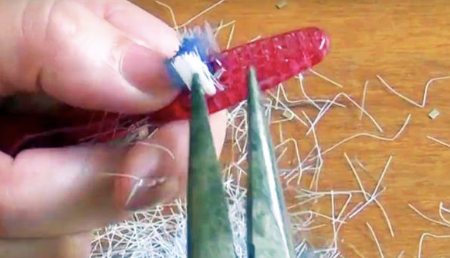
image via – facebook.com
Custom made jewelry can end up costing a pretty penny if you buy it at the store or online. Why not try making some one of a kind pieces at home that cost practically nothing and look just as beautiful as their pricier counterparts! With this tutorial, making your own arm candy can be extremely low cost, easy, and fun to do.
YouTuber Katrina Sherwood posted the creative method that she uses to make unique and inventive plastic bracelets on her blog “Katrinaosity.” The project is a hands-on way to re-use and recycle old plastic toothbrushes into trendy, colorful, 80s style bracelets, so you won’t waste or need to buy anything.
Even if you don’t have any old plastic toothbrushes laying around, they can easily be found at the store for well under five dollars. You can make lots of these and if you mess up it doesn’t matter, just keep going until you make the perfect accessory!
To create your very own bracelets you will need some plastic toothbrushes (the cheap kind work fine), needle nose pliers, a towel and oven mitts, heat resistant tongs, and a pot of hot water. To begin, start by first heating up the pot of water on the stove until it boils.
In the meantime, take the needle nose pliers and use them to rip out all of the bristles from the toothbrush heads. Once the bristles have been completely removed, place one toothbrush at a time in the boiling water for about 10 seconds or so. Using the heat resistant tongs, carefully remove the toothbrush and check to see how pliable it is with a towel or oven mitt protecting your hand.
If it bends enough to be folded into a bracelet shape that will fit around your wrist, it’s done. If it doesn’t, simply place it back in the boiling water for another 10 seconds or so, until it’s flexible enough to bend. The plastic will cool off quickly so you may have to re-boil it a few times until you get the toothbrush to bend into a wearable, desired shape.
These awesome looking, colorful, acrylic type bracelets are so easy to create and turn out beautiful. You can make a bunch and stack them, plus they can be custom made to match any outfit or look you are going for. Check out the video to learn more on how to make them and enjoy!
Please Share This With Family and Friends

