An Awesome 4 Step Toothpaste Life Hack To Deal With Those Dull and Grimy Vehicles Headlights.
image via – facebook.com
When it comes to cars and maintaining them, many people are clueless about what to do or even where to start. Lots of things demand our attention from washing and waxing the paint job to changing the tires and oil. Some of the upkeep is easy and can be done by anyone, while other things are best left to a mechanic. This video falls in the former category and shows how anyone can clean their car’s headlights with just some toothpaste, a bottle of warm water, paper towels, and a bit of wax..
For obvious reasons, headlights are an essential part of any vehicle, and the cleaner they are the better you can see and be seen by other drivers. When headlights turn hazy and dirty, as they inevitably become over time, the light output from the bulbs ends up getting diffused. This makes the light beams appear dimmer, weaker, and therefore less effective. The lights end up covering a reduced area ahead and pose a potential safety hazard, which is the last thing anyone wants because driving is already dangerous enough.
If you noticed that your vehicle’s headlights have this issue then you have to try this quick and easy method to clean the plastic covering. This fix will work if your headlights are yellowing on the outside, pitted, and not smooth. If your car’s headlight is smooth on the outside, it won’t work.
You’ll need to use a type of toothpaste with a gritty texture to it, such as the ones that contain baking soda and peroxide or a whitening version. It’s also important to not use any gel formulas because only pastes work and if you need more grit try adding baking soda to it.
Start by rubbing a generous amount of toothpaste onto the headlight and to keep your hands clean you can use a toothbrush. Work it in really well and soon after the paste should begin to turn yellow as dirt and grime start to come off onto the brush. Next, grab a spray bottle filled with warm water and spray the light, then rub it off with a paper towel.
Apply a fair amount of pressure while buffing it away and when you’re almost done grab a clean paper towel to remove the last of the residue. Finish it off by applying a smidgen of wax to the headlight and wait for it to completely dry before buffing it all off. The wax will form a protective layer over the now clean light and help keep it from becoming yellow again so soon.
The older and more yellow the light, the longer you’ll need to rub the toothpaste into it. If the light is still hazy or you feel that it needs to be cleaner, simply apply more toothpaste and try again. The best part about this technique is it costs maybe a dollar or so, but if you have a tube on hand that’s the right kind of toothpaste then it’ll only cost you a few cents.
In comparison, store bought headlight restoration kits sell from anywhere between $15-25 so this is by far the cheapest way to clean them. Hopefully this trick will work for you and help to restore your car’s headlights to their former clear and shiny glory!
Be safe and and watch the video below for the full tutorial:
Please Share This With Your Family and Friends
He Rubber Bands a Ziplock Bag To His Shower Head For a Grimy Shower Cleaning Life Hack Everyone Should Know
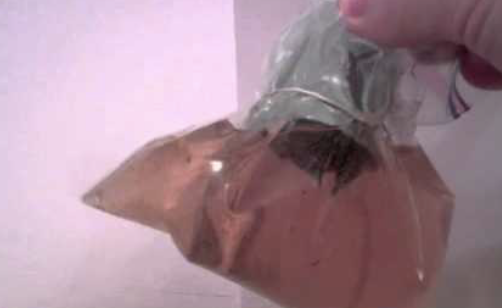
image via – facebook.com
When it comes to cleaning just about everyone loves learning new simple ways to get the same old things done. It can be fun and interesting to discover what nifty and quick solutions people have come up with to solve common problems. This video, from YouTube channel Outdoors and Gear Review highlights a helpful trick for dealing with a common and difficult problem you’re likely to encounter when tidying and cleaning your bathroom up; hard water deposits and stains.
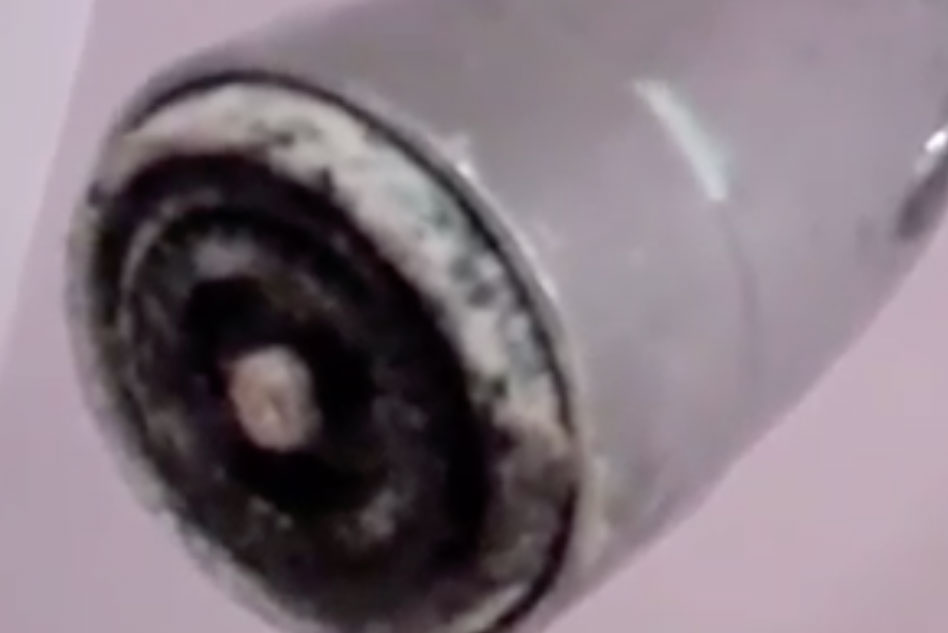
Hard water can be a real pain in the neck and the nasty looking stains and blemishes that it leaves behind on bathroom and kitchen surfaces can be extremely hard to fully remove. The ugly spots and stains are caused by water that contains large amounts of minerals such as limestone, calcium, and magnesium.
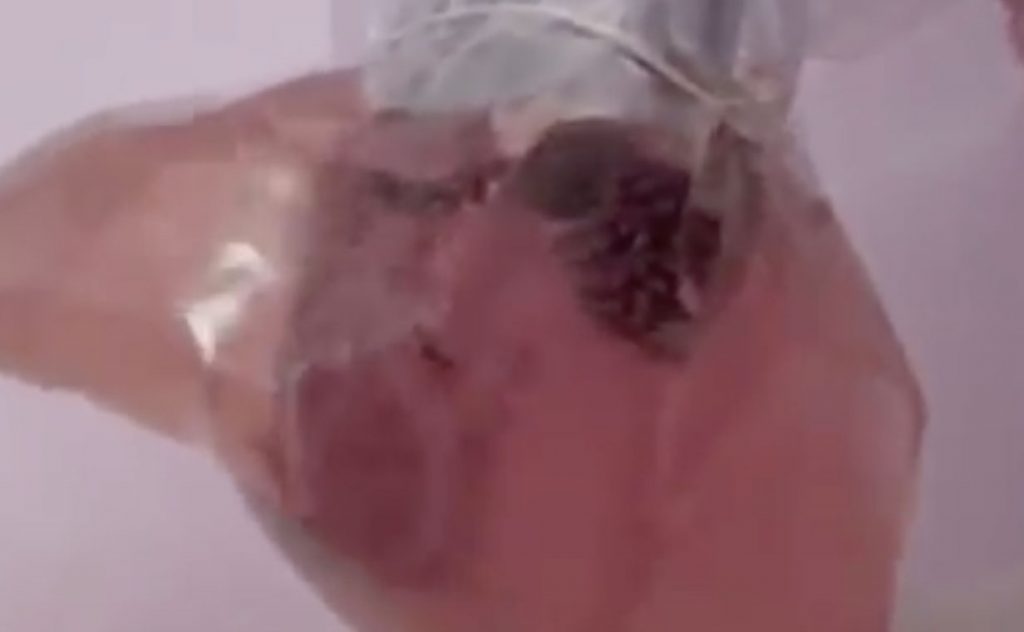
These metals and minerals are naturally occurring, most often in areas with low water tables and mountainous regions, and water that contains them is perfectly safe to use and drink. The biggest downside to it is the crusty, whitish colored mineral deposits and stubborn stains it leaves behind. Over time these gradually build up on stuff, especially faucets and shower heads.
Many people struggle to remove these stains and often think that they need strong, harsh chemical cleaners to get rid of them effectively. However, there’s a better and more affordable way to go about cleaning a shower head with crusted on mineral build up. All you need is apple cider vinegar, a Ziploc bag, and a rubber band.
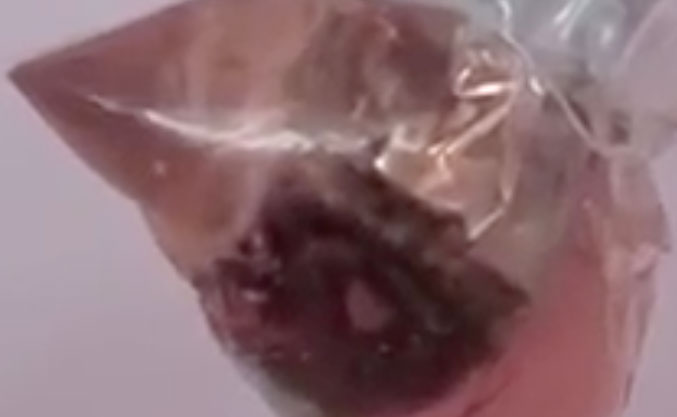
Simply pour some apple cider vinegar into the plastic bag and place it over and on the shower head. Use a rubber band to secure it in place and then leave it on overnight. Remove the baggy the following day, wipe the shower head clean, and it should be restored to its former glory!
Check out the video for more information and to see just how shiny and spotless looking it turns out. This may be the fastest, easiest, and most natural way to clean hard water stains. It requires minimal effort or exertion on your part so try it the next time you’re stuck cleaning the house!
Watch the video below for more information and the full showering cleaning head life hack tutorial:
Please Share This Shower Trick With Family and Friends
Woman Places An Entire Spool Of Yarn Into Glue. The Final Result Is STUNNING!
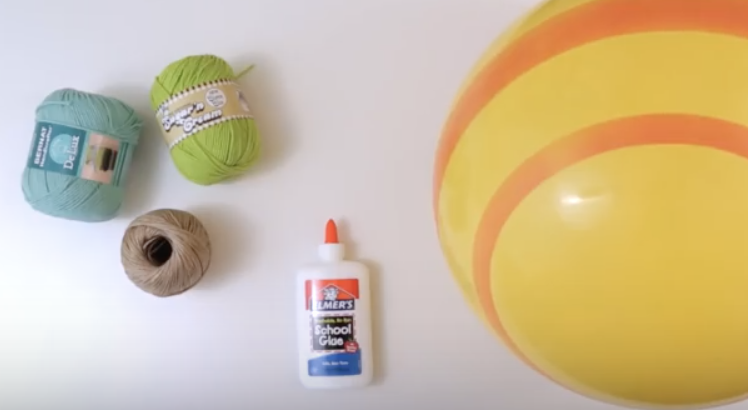
If you’re anything like me then you probably think that yarn can only be used for knitting. Awhile ago I bought some thinking I’d learn how to knit but never quite got the hang of it, which left me with balls of yarn laying around unused. I was about to donate them until I stumbled upon this awesome DIY yarn lamp globe project. The finished piece looks uniquely beautiful and reminds me of one of those birds nest lamps that cost an arm and a leg. The decorative yarn globes and lampshade are easy to make and, best of all, inexpensive!
To start, you will need cotton yarn or hemp cord, standard school glue like Elmer’s (modge podge works too), and bouncy balls of whatever size(s) you desire. Cover up your work space and make an apron for yourself with plastic bags because this will get messy. If you plan on making a lamp, mark a large opening on the bottom where you insert the bulb, and a small one at the top for the cord, on the ball. Also, mark a spot for where you can deflate the ball later, to make it easier when the time comes.
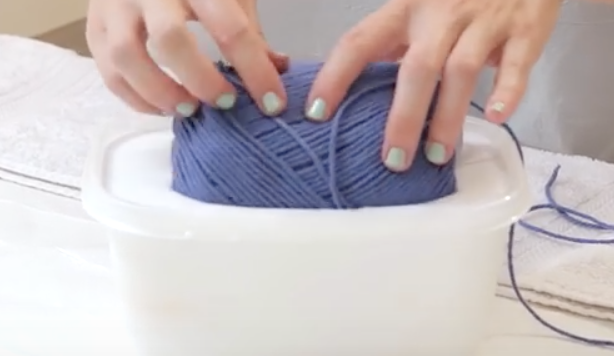
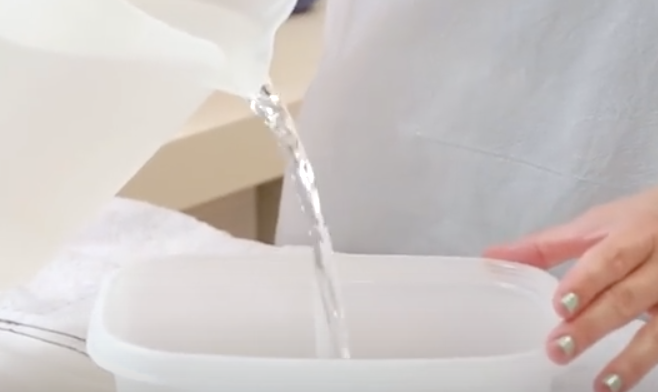
Now mix equal parts water and glue in a plastic container large enough to fit the ball of yarn in. Pull out the end of the yarn and then soak the entire ball in the glue. Begin to pull and unravel the glue soaked yarn and start to wrap it around the ball. When you start, hold the end you began with in place with one hand and wrap with the other until it stays on by itself. Be sure to avoid wrapping around the openings you marked off and wrap until you run out of yarn. Pour any remaining glue mixture over the string so it sets more solidly and focus on the edges around the holes.
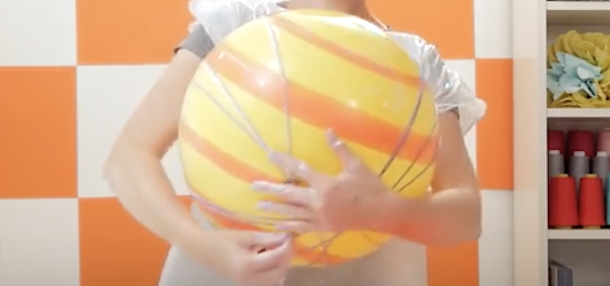
Now make a new clean surface with a fresh plastic bag and set the ball there to dry. It will take at least 2 days for it to completely dry so place it somewhere it won’t be disturbed. Once it dries the original color of the yarn you used will return and when it hardens the glue causes it to have a wicker-like finish. Once it’s dry you can deflate the ball with a pin or other sharp point, let the air out slowly, and once it’s deflated enough you can pull the ball out of the large hole. You now have a yarn globe!
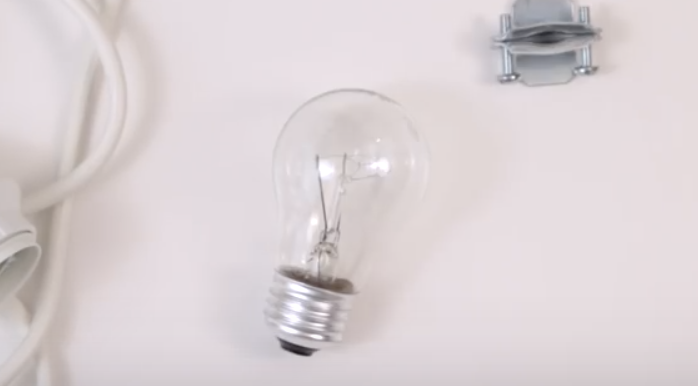
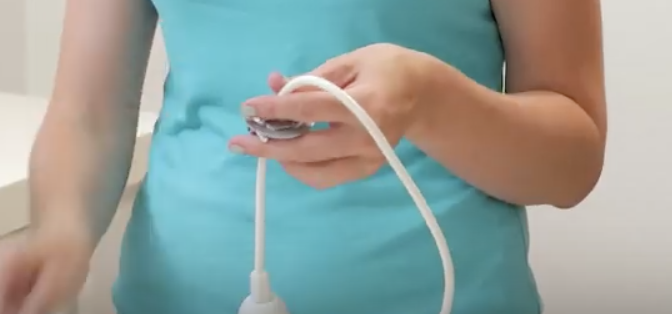
To construct the lamp you will need a hanging light fixture, a light bulb, a 3/8 inch two-piece metal clamp connector, and a 1 x 3/4 inch washer, which can all be bought at hardware store. To keep the light bulb centered in a larger sized lamp take the washer and slide it down the cord to the position you want it set at. Then take the metal clamp connector, clamp it on the washer, then screw it in place. That will prevent the cord from moving around and make the lamp safer. Screw in the bulb, plug it in, and test it out to see if any adjustments are needed. Now all that is left is to hang it up!
Please SHARE With Family and Friends
This Guy Takes An Old Splintered Wood Pallet and Cuts It Up. The Final Result Is Incredible!
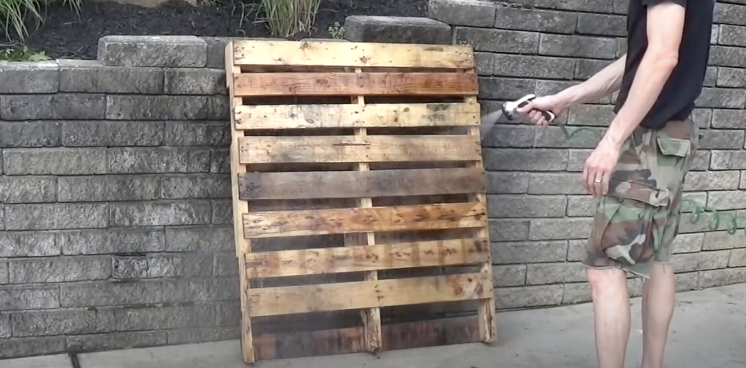
Wood pallets are ideal for moving and storing heavy items and also burn well in bonfires. Now they can be re-worked into beautiful, creative, and functional wine racks with the step by step guidance found in Joe Lydic’s YouTube video. The DIY project turns out a storage shelf with rustic appeal that’s perfect for storing wine glasses, bottles, openers, corks, and whatever else you can fit on it. Best of all, you can usually procure wood pallets from local landscaping companies for free..
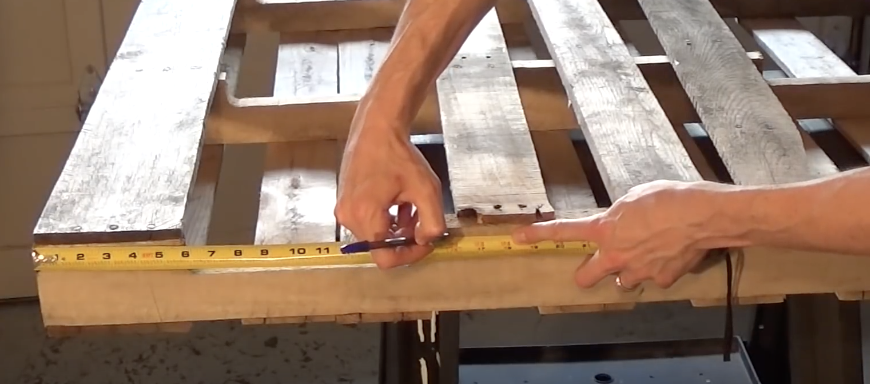
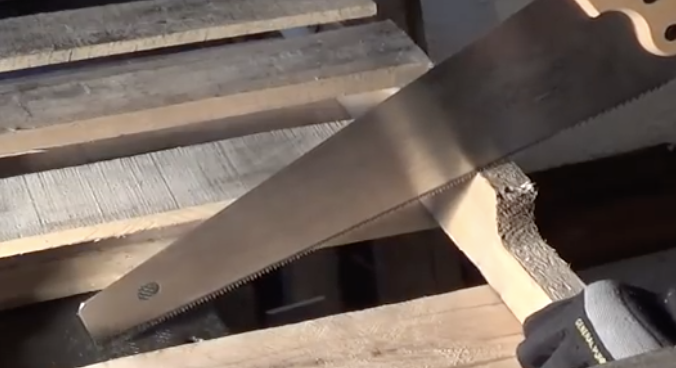
For this project all that is needed are some nails, wood glue, measuring tape, a hammer, a saw, sander or sand paper, a level, and a wood pallet. Begin by hosing off the pallet to get rid of any dirt or dust that may be on it. On the side of it you will see a cut out area, just above that (an inch or so) measure out a line for where you will make a cut. In the video this is 16 inches in from the side edge, and be sure to mark each of the 3 main supporting pieces at the same spot. Take your saw and cut all three of them off then sand the edges of where you made the cuts until smooth.
Next, take an extra slat of wood from the pallet and nail it to the top where you cut/sanded, checking to ensure it sits level. Lay the piece on its side and measure the width and height of the bottom opening (18”x3½”). Take another extra slat and measure out those same dimensions so when cut it fits snugly in the bottom of that opening. Move it onto its other side and hammer in some small finishing nails to secure that bottom piece.
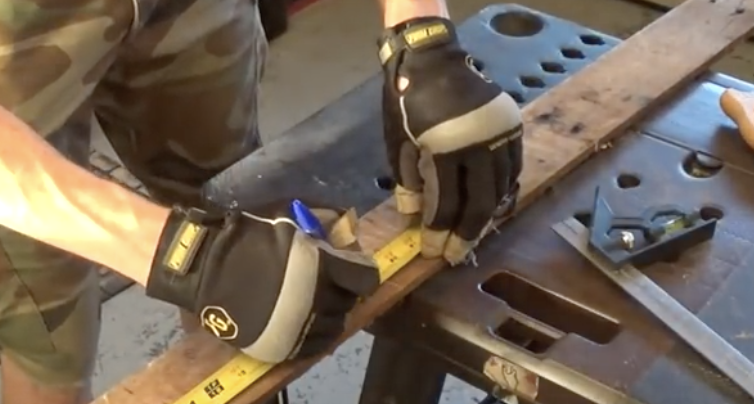
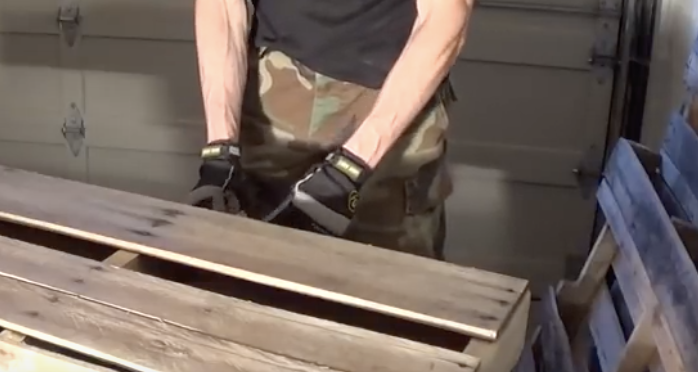
Next, cut 2 small sections off another extra slat (1”x3½”) and nail one onto each bottom end of the wine rack. Take another slat, place it across the top, and set wine glasses on to see how far apart they need to be spaced so they don’t hit each other (5”). Mark off the distance across the top piece, drill a hole at each mark, and cut a slit from the edge inwards to meet that hole. This is where the wine glass stem will slide into place and be held on the rack. Check that the glasses fit, then glue the top on the 2 small end pieces, and finish with a few nails. Sand over the entire rack until smooth and you’re done! The final piece has bottom slots for wine glass storage, a middle shelf for bottles, and extra space on top. It has a rustic and unfinished look but you can always paint or varnish it to your taste.
Please SHARE With Family and Friends
An Awesome and Time Saving Leaf Raking Hack Everyone Should Know This Autumn.
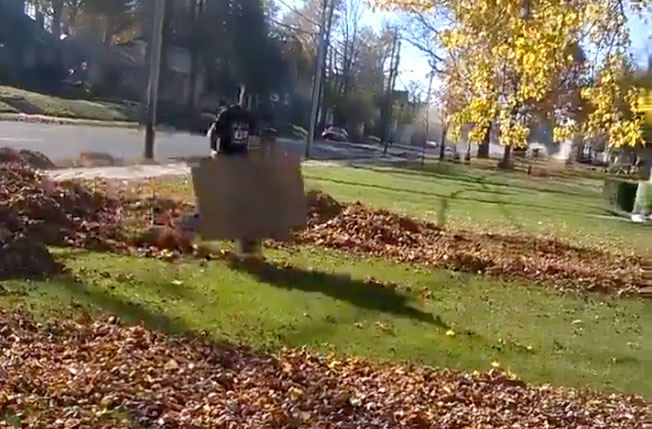
image via – facebook.com
I don’t know about you, but Fall is one of my favorite seasons, coming in a close second to Springtime. The transition from the heat of the Summer to the crisp air of a beautiful autumn day, with the awesome color changes of the leaves, is simply magical. Before we know it, all that uncomfortable heat and humidity from summer will dissipate into a nice cool and pleasant fall vibe. The air begins to smell so fresh and autumn-like as the leaves begin to slowly change from green to yellow, orange and red revealing a stunning mix of beautiful hues and saturations as nature goes through it’s natural cycles.
As these magnificent leaves flutter to the ground giving off an earthy intoxicating smell, we get to walk through their crunchy texture, so reminiscent of the best days of childhood. Unfortunately, as adult homeowners we can’t just let the leaves stay on our lawns and driveways waiting for the cover of snow. We have to deal with the drudgery of clearing them week by week, only having more fall, until the cycle ends.
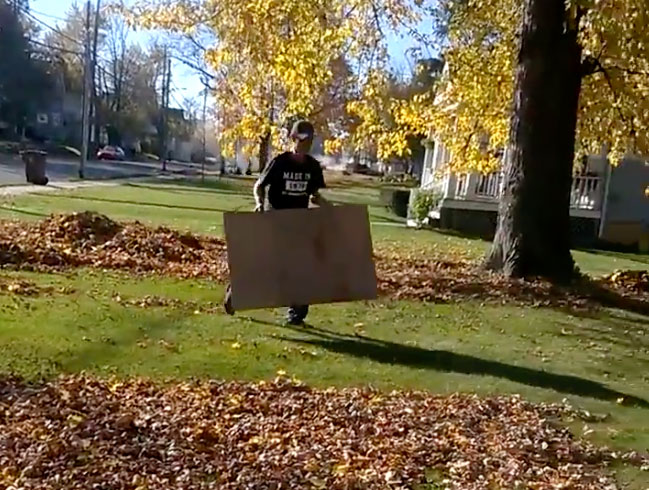
Some people still ‘take to the rake’ in order to remove leaves, making the back breaking effort that takes hours. Still others have gone to the expense of purchasing a leaf blower as an alternative. If you find neither of these choices appealing, the following Video Below that you are about to watch is totally for you.
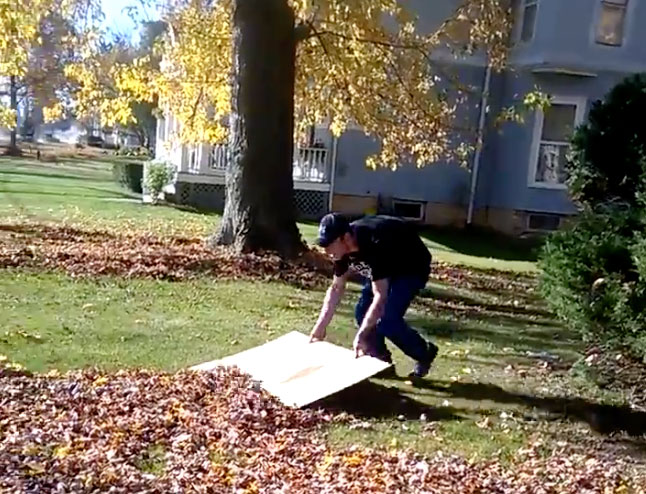
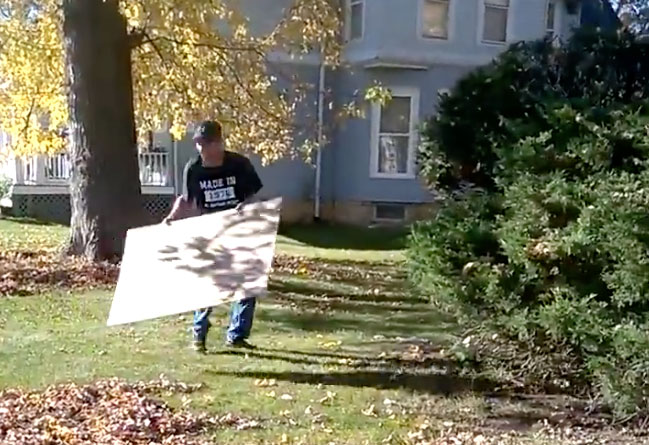
I’m always amazed that simple and clever solutions to problems are out there for so many things, and through the ease of the internet we get to see things that never occurred to us. In the following entertaining footage you will watch a guy who came up with a technique that gets rid of huge sections of leaves on his lawn quickly and easily, while he still gets some healthy exercise, and has many more hours to spend on his weekend having fun!
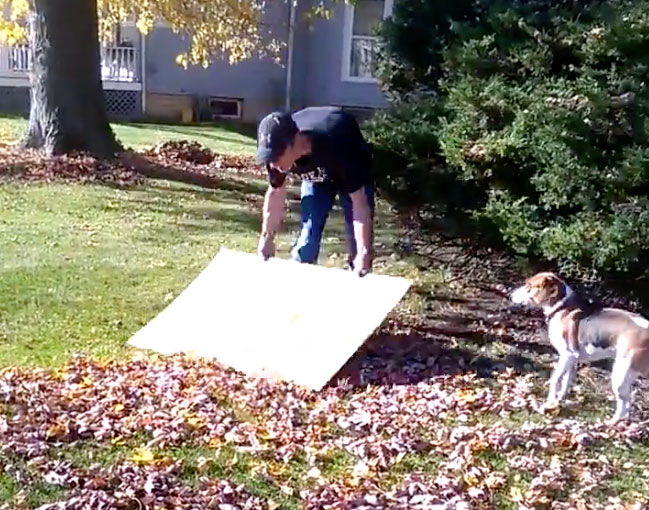
It’s no joke, ingenious and laugh out loud funny…one of those things that begs the question, “Why didn’t I ever think of that?” Note: if video doesn’t play on your tablet or phone turn it horizontal and it will begin to play..
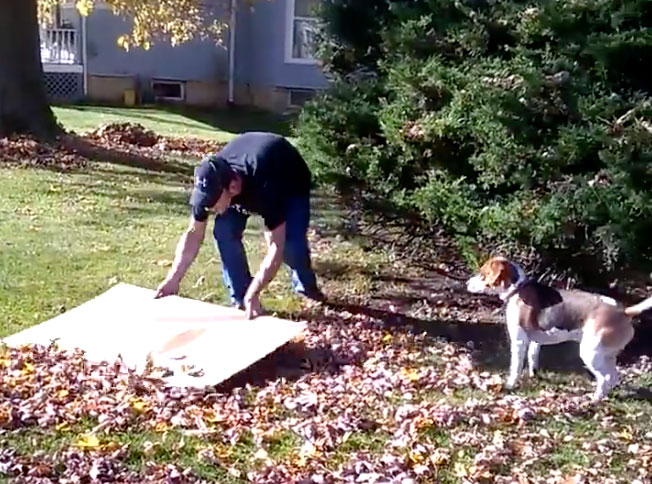
Watch the video below for the full leaf raking life hack tutorial:
Please SHARE this UNIQUE Leaf Raking Hack With Your Family and Friends 🙂
Husband Kept This Stump On Their Lawn For 2 Weeks. Then Shows His Awesome Enchanted Fairy House!
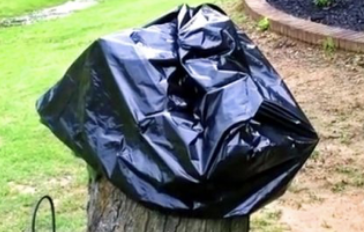
image via – facebook.com
It’s always sad when an old tree dies on my property, that needs to be cut down…and the left-over stump can be an eyesore. Mimi and her husband faced this unsightly stump right in their front yard, after her husband cut down the dead tree. The video you are about to watch below, was posted by Mimi, who came up with the most creative and charming idea for that unsightly stump. Luckily her husband is handy with a saw and woodworking, and was willing to implement Mimi’s adorable idea! He was about to turn this old stump into something awesome.
She takes us through the steps and exact inexpensive materials, that were purchased at Lowe’s hardware and the Dollar Store, that went into their creation. With a little bit of imagination, some amazing hand skills and a clear vision they pulled off one of the cutest and adorable little fairy houses I have ever seen.
Together they transformed an ugly stump into an inviting and adorable “Gnome Tree Stump House”, that adorns their front yard, and has incredible detail. It gives them pleasure each day and has been enjoyed by friends and neighbors alike. I really want one of these at my house but I’m not sure if they are doing this as a business or just as a hobby for fun!
Watch the video below for the full story:
Please SHARE This With Family and Friends


