She Pours Marbles Into a Bowl of Water Filled With Ice. But When She’s Done It’s STUNNING
Nothing pulls an outfit together quite like a piece of beautiful jewelry can. If paired right, the extra bit of decoration and sparkle can instantly upgrade the most plain and simple looks and turn them into modern elegant ones.
This season the hottest trend in jewelry isn’t statement pieces, it’s crystal necklaces. They’re showing up everywhere, from the runways in Paris to stores at the local mall, and a quality made one costs a lot of money.
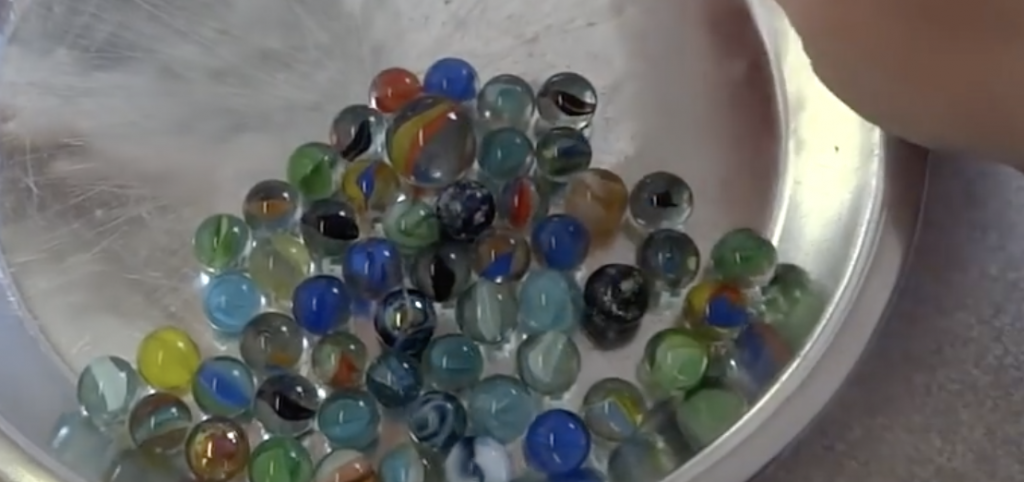
Instead of buying a mass produced, drastically marked up crystal necklace, you can create your own for a fraction of the cost. The one of a kind pieces come out looking absolutely beautiful and they’re also very easy to make if you follow the steps outlined below and refer to the tutorial from yoyomax12.
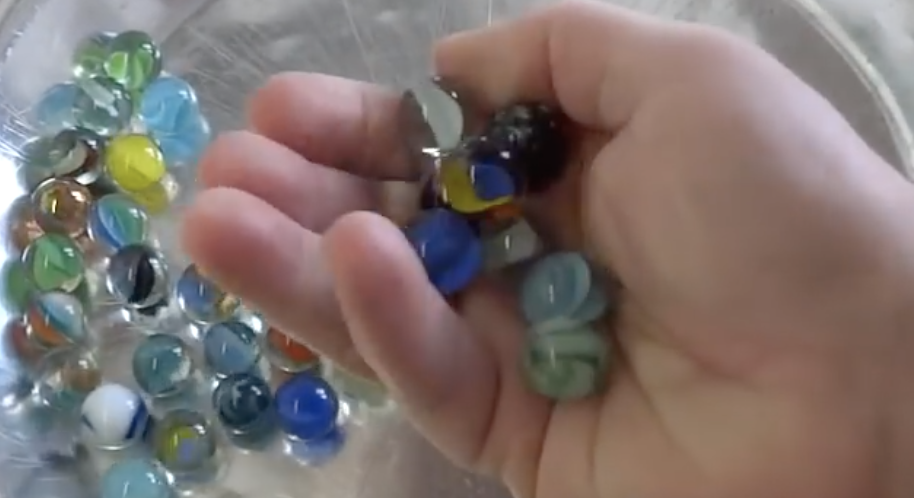
While the video is titled “fried marbles” the technique shown actually involves baking them in the oven. The extreme heat is what helps give the marbles a crackled, unique look which resembles that of a crystal.
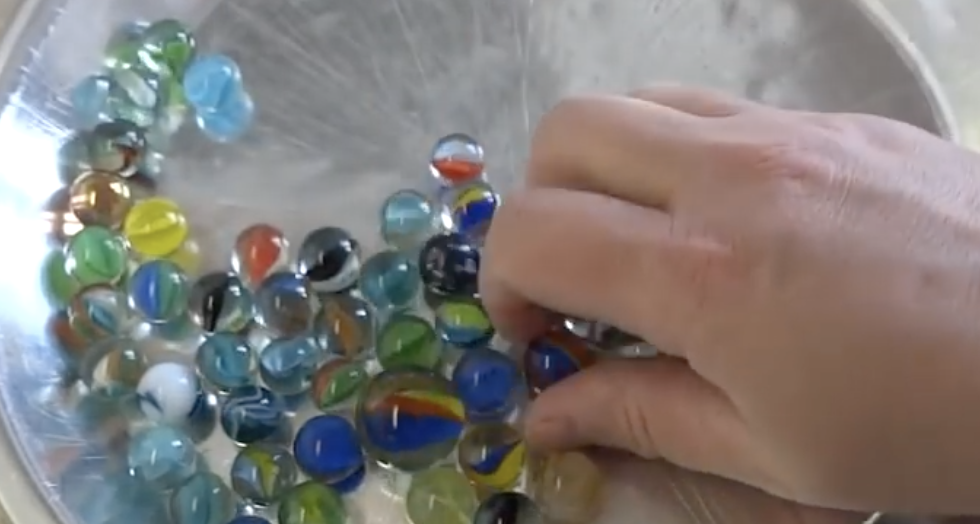
First, you will need some glass marbles, any size or color will work, but the plain clear ones seem to work best for this. Place them in an oven safe container, like a pie dish or pan, and then stick them in the oven.
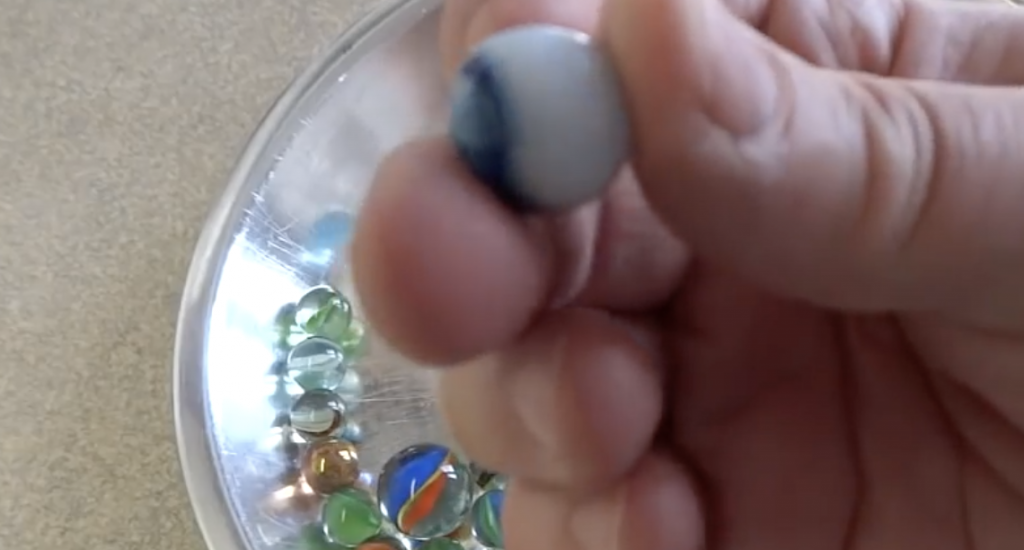
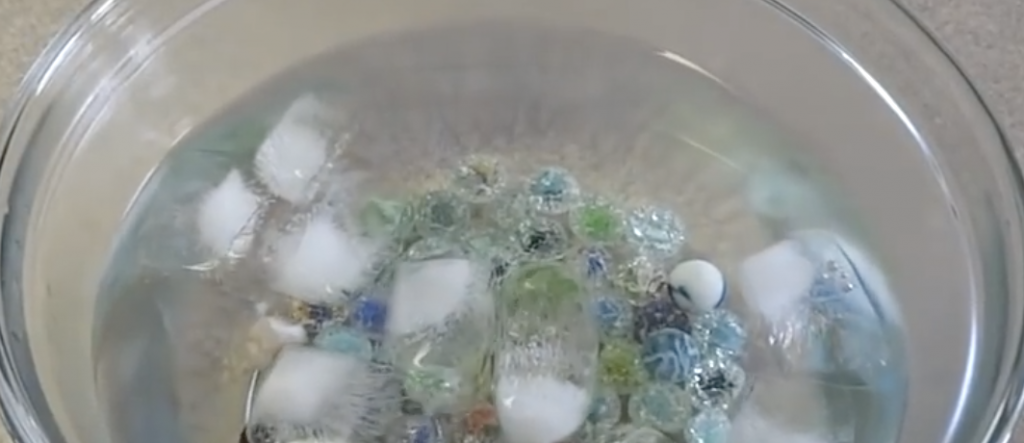
Bake the marbles for about 20 minutes at 500 degrees Fahrenheit. While they’re cooking fill a large bowl up with cold water and place some ice cubes in it because you want the water to be as icy cold as possible.
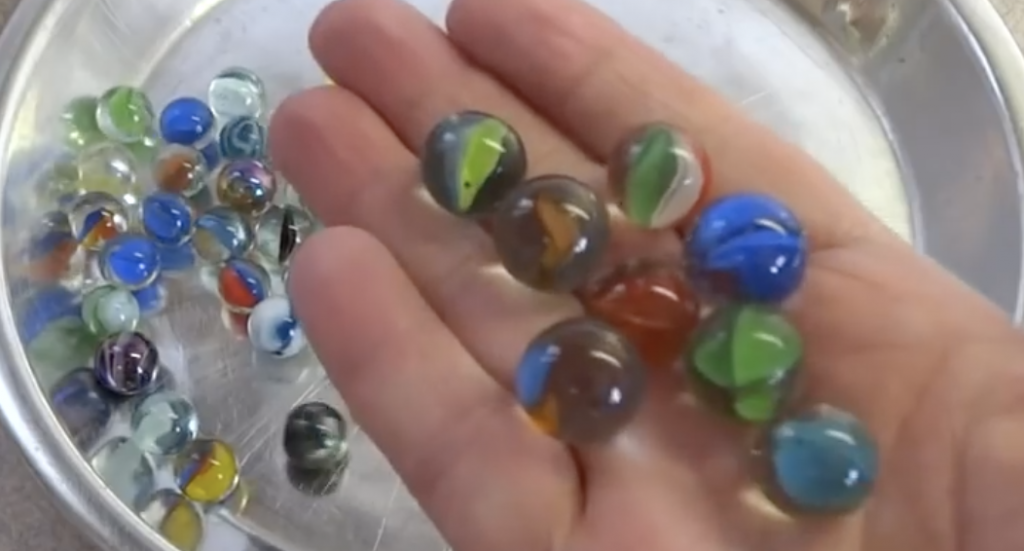
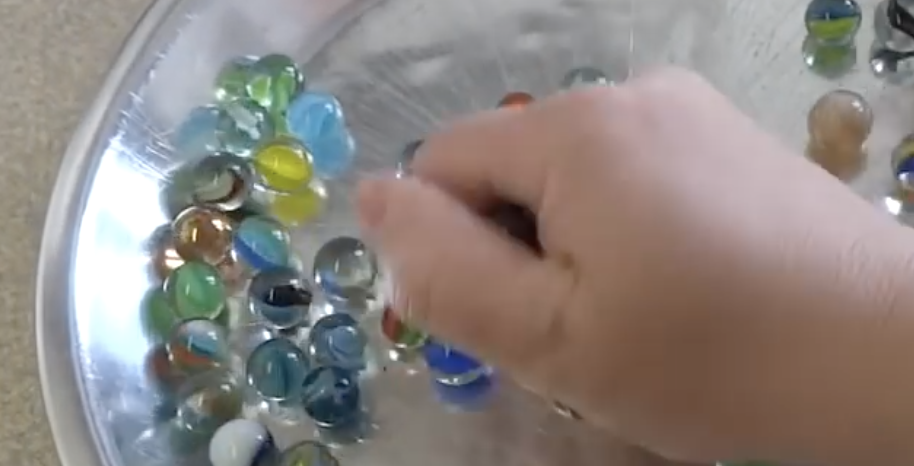
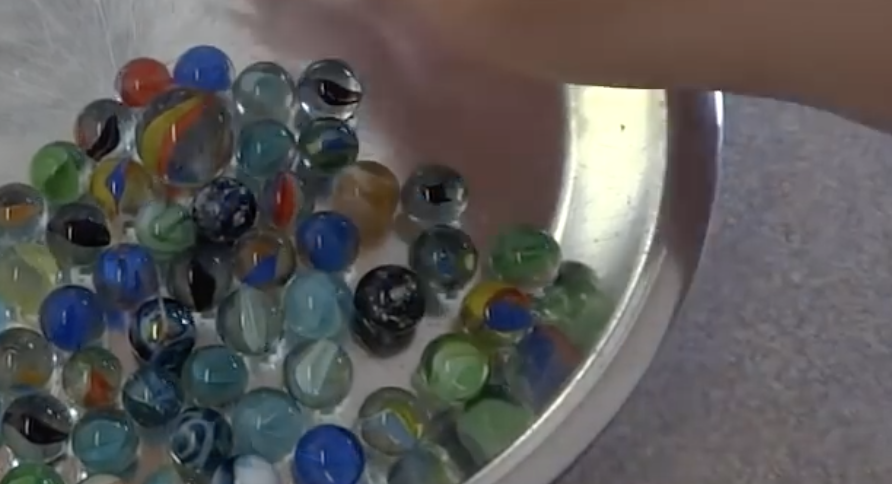
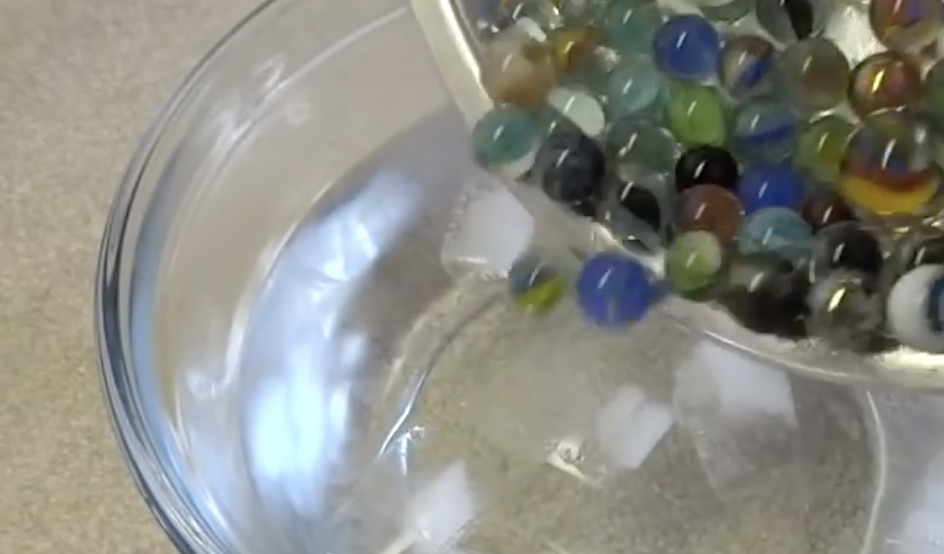
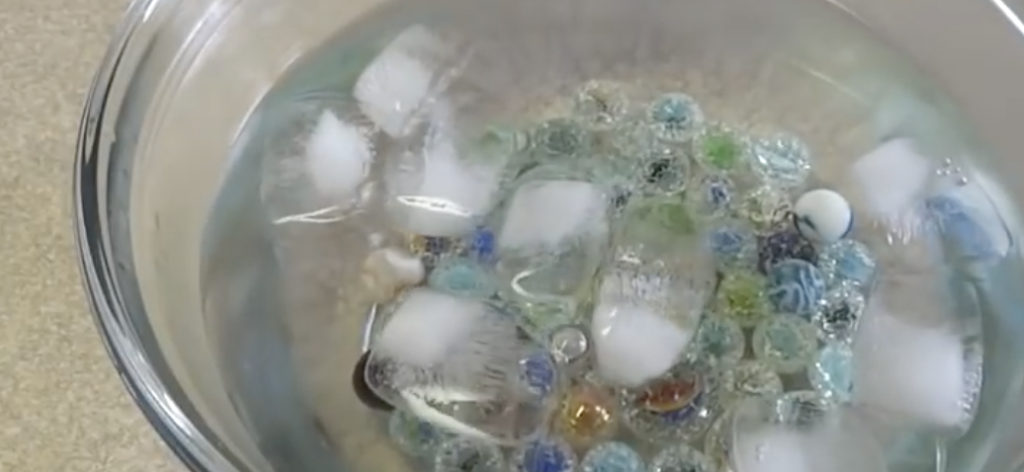
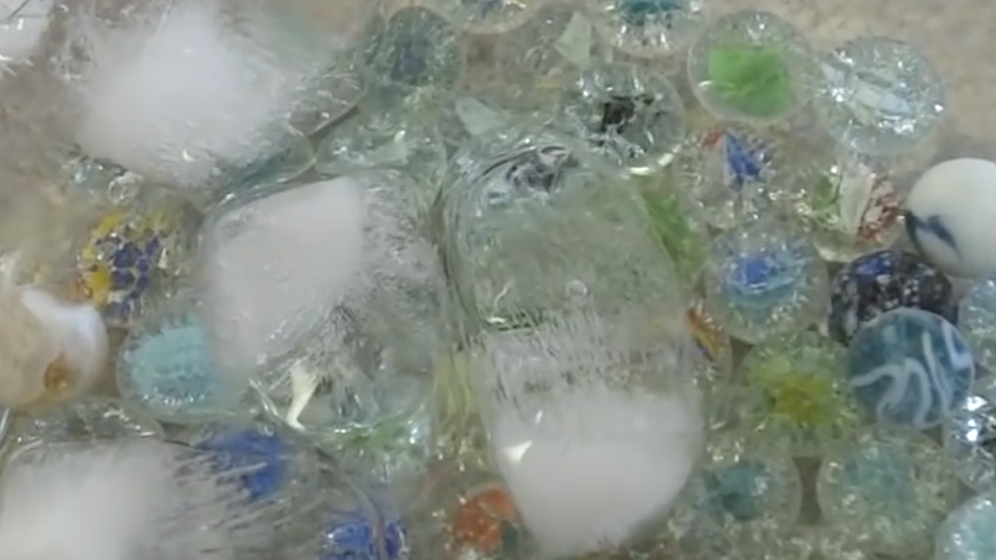
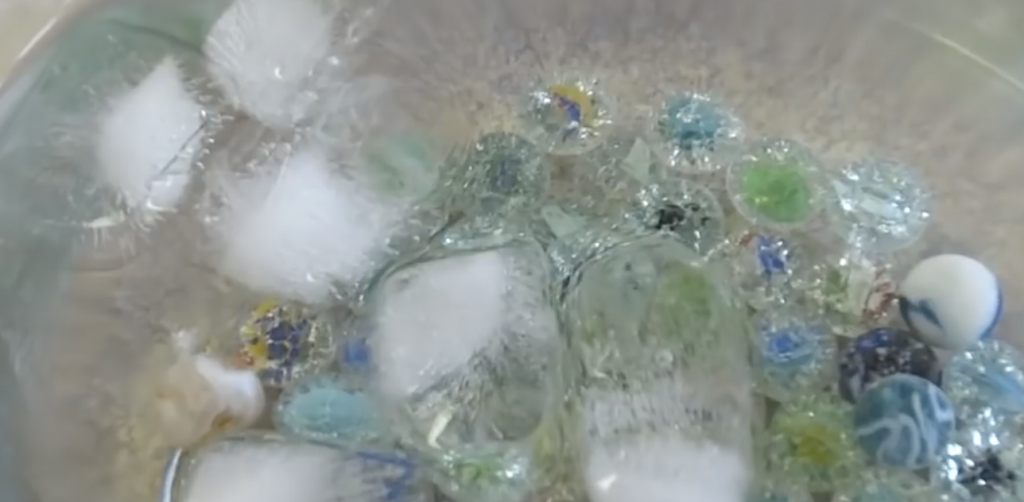
As soon as you take the marbles out of the oven transfer them over to the bowl and carefully pour them into the ice water. Their insides should immediately crackle and shatter and they should end up looking like the ones in the video. If any of them are cracked or broken simply toss them out.
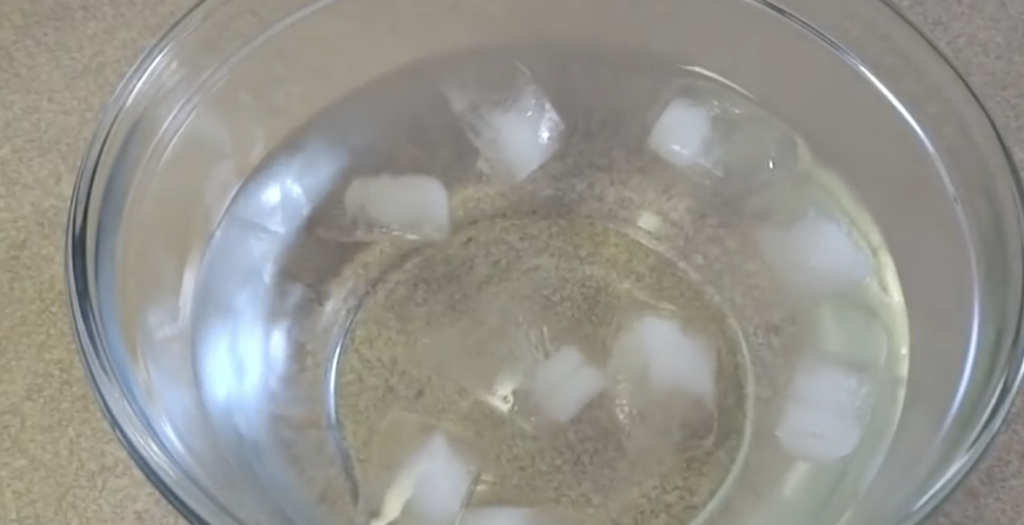
The neat effect and appearance is caused by the glass cooling rapidly and going from an extremely hot temperature to ice cold. That’s what makes the insides of the marble shatter and gives them the distinct, pretty, and unique look that reflects and refracts light much more beautifully than plain old marbles ever could!
To make a necklace with these fried marbles you will need bead caps, eye pins, jump rings and superglue, all of which can be purchased at virtually any craft store. Take an eye pin and thread it into a bead cap before trimming any excess. Fill the bead cap up with clear superglue, press it onto a marble, and allow it to completely dry overnight.
Place a jump ring on the eye pin once the glue has set and now you have a crystal marble pendant! All that’s left to do is add a chain by threading it through the extra jump ring and any type that’s thin enough will do.
You can use leather cording, clear wire, or a metal chain to dress the look up or down. No one else will have anything like this necklace, so be original before they catch on and become all the rage!
Even if you choose to not make a necklace, the fried marbles work well for many alternative things. You can use these little gems to decorate around the house, stick them in a fish tank, or use them for arts and crafts projects. Either way, make a batch, get creative, and try something new!
Please Share This With Family and Friends 🙂
She Rubs Baking Soda Under Her Eyes For 5 Minutes 3x Per Week. The End Result Is STUNNING!

I really don’t know anyone who hasn’t woken up with that awful puffiness under their eyes, that can sometimes takes many hours to go away. This is unbelievably frustrating and unsightly when you have to be somewhere important in the morning!
It turns out there is an easy remedy, probably sitting right there in your kitchen, that will work wonders to rapidly “de-puff” your swollen eyes…BAKING SODA! According to “All About Vision” baking soda is safe for use near your eyes, and will quickly help you to walk out the door looking fresh and rested.
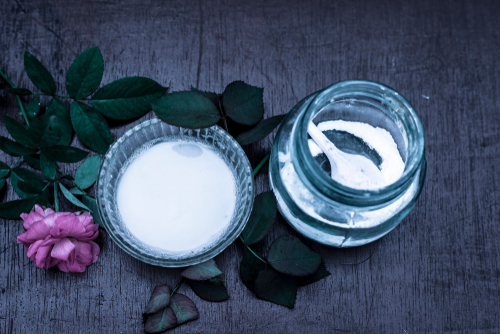
Baking soda, otherwise known as sodium bicarbonate, contains sodium, hydrogen and carbon. One teaspoon of baking soda has about 1,000 milligrams of sodium; it is this high level of sodium that is the key to reducing swelling around the eyes. Because water follows sodium, it enables the water to be drawn back into your body, thus reducing the external swelling, according to “LiveStrong”.
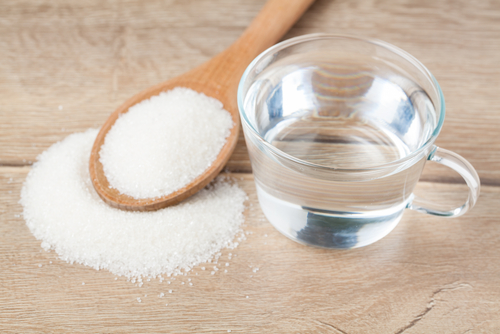
The video below, contains an easy-to-follow tutorial for making the baking soda mixture and appropriately applying it to your swollen areas under your eyes, for a quick remedy for reducing your puffiness and going on with your day.
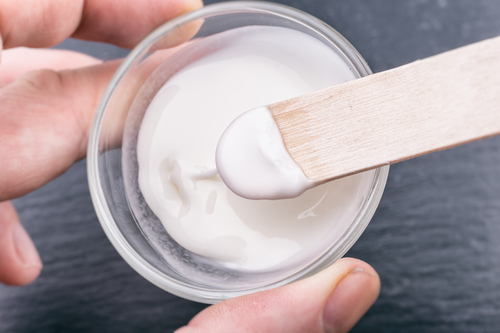
Please SHARE this USEFUL DIY with your friends and family
If You Mix These 4 Natural Ingredients To Make THIS You Will Get Rid Of All Mosquitoes For Good!
There is so much that is wonderful about spring and summer…just the sheer freedom of being outdoors, unencumbered by heavy clothing, swimming, barbecuing, picnics…I could go on and on. Not only do we create new happy summer memories, but so many of the highlights of our lives come back to us when we think about summers past.
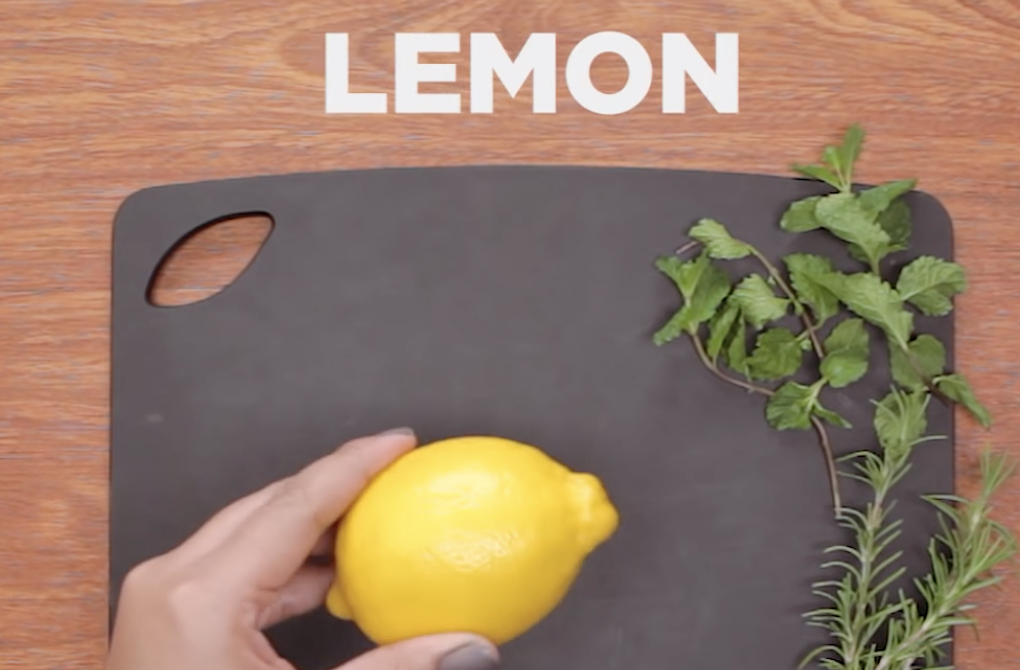
I myself, love gardening and sunshine, but my husband loves sitting outside on a summer night under the stars. Sounds good, right? Unfortunately for both of us, I am one of those people whom mosquitoes are attracted to, and they completely leave him alone. I’ve tried citronella candles, and ultimately submit to lathering myself in chemicals that repel them, but doing that seriously BUGS ME! I don’t like putting chemicals on my skin, so it kind of takes the joy out of the peaceful summer night under the stars.
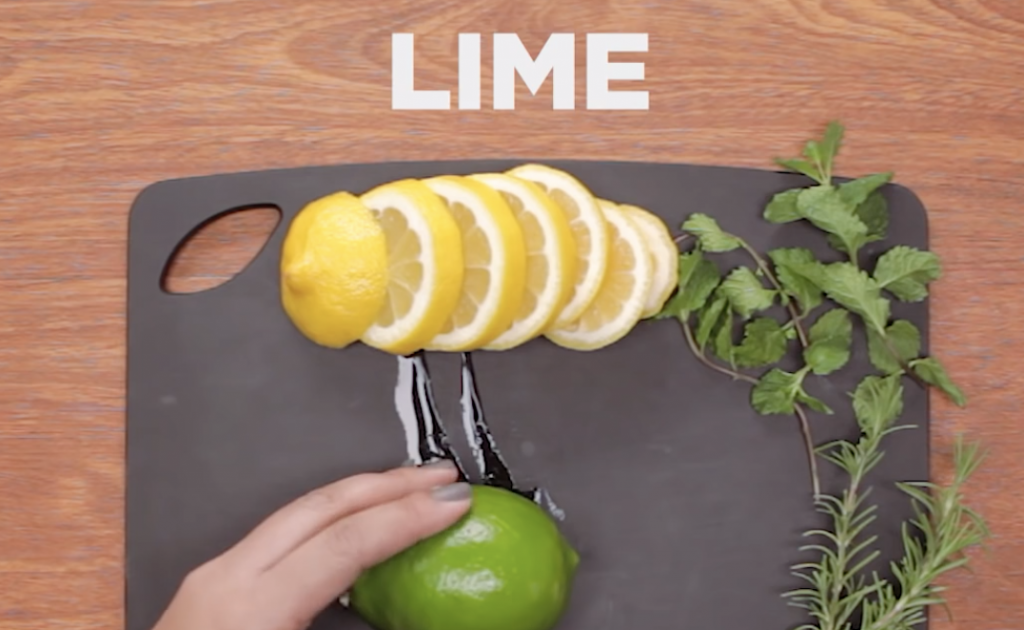
When I came upon this really easy DIY for an all-natural mason jar bug repellant, I was intrigued because it contained all the scents I love, and claimed that for some reason this combination is abhorrent to mosquitoes. Since I had all the ingredients in my house already: MASON JARS, LEMONS, LIMES, WATER, FRESH ROSEMARY, LAVENDER ESSENTIAL OIL and TEA CANDLES…I figured it was worth giving it a try. I made three of them and sat outside in the evening several times this week and it worked!!!
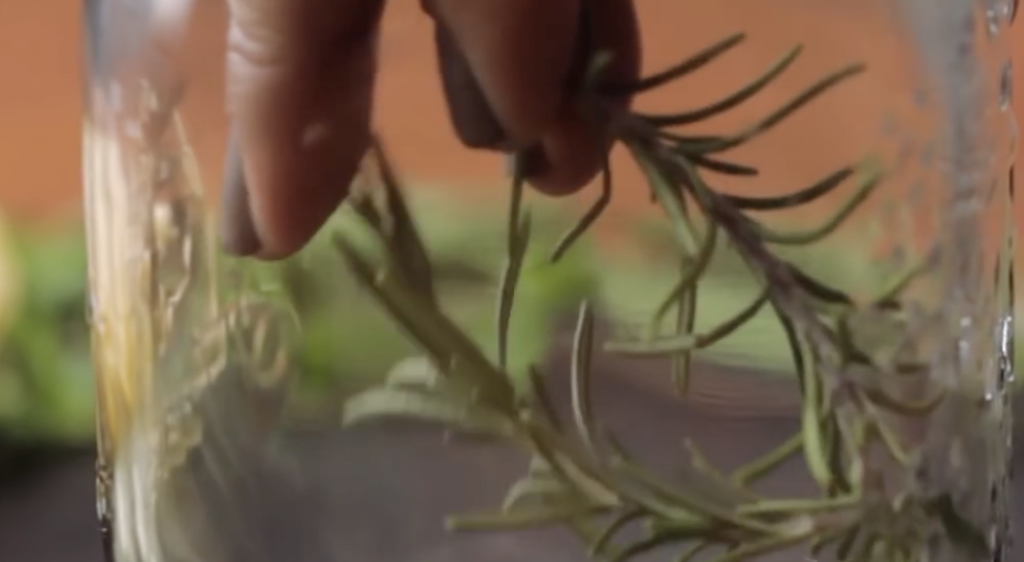
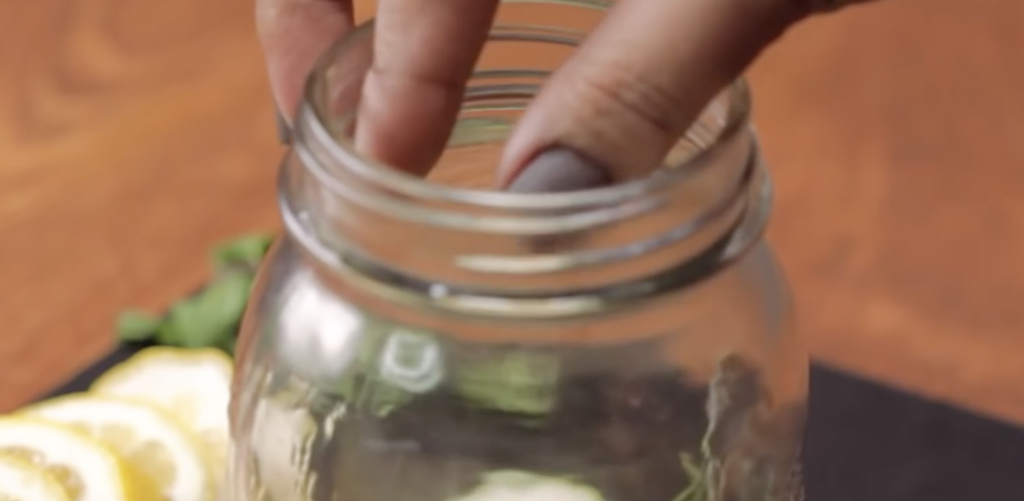
Watch the video below, for exact instructions on how to make these. Not only do they look lovely, but the scent they give off is pure freshness, and the bugs detest the smell! This works great for any summertime outdoor activity where you are “Bugged by Bugs”, and it is a great natural way to make outdoor living a pleasure.
Please SHARE this great NATURAL BUG REPELLENT Recipe with Family and Friends
This Recipe Is All Natural and Will Remove All Your Unwanted Facial Hair With No Pain!

Unwanted facial hair is a beauty issue that countless women, and even some men, have to deal with. The peachy fuzz and upper-lip hairs are commonly viewed as unsightly and unattractive, which is why people are willing to try a range of methods to remove it. The majority tend to use inexpensive waxes and different creams or gels to dissolve whiskers away, while some people spend thousands of dollars on laser hair removal.
There is an endless supply of products and treatments being touted as effective at getting rid of unwanted facial hair. However, lots of them are either ineffective, extremely painful, full of harsh chemicals, or prohibitively expensive. Some may even damage the fragile skin on our faces and end up causing more irritation and harm than good.

If you want an affordable, easy, and completely all-natural way to remove facial hair then try this simple homemade face mask from beauty blogger Himani Wright. It’s safe for all skin types and works to effectively remove peach fuzz on your cheeks, forehead, and neck areas. Best of all, if you use this regularly it will eventually get rid of facial hair completely and permanently. Here’s what you’ll need:

½ teaspoon of extra virgin, cold pressed coconut oil
3 tablespoons of wholemeal flour
A splash of water

Begin by massaging the coconut oil into your skin, making sure to cover your entire face. Coconut oil makes an excellent base moisturizer because it has anti-fungal properties and contains protective things your skin loves, like antioxidants and other nutrients. Next, mix 3 tablespoons of wholemeal flour with enough water to form the thick, pasty consistency shown in the video. Apply the mask onto your face in a downwards stroke and allow it to dry. After approximately 10 minutes remove the mask by rubbing your face in a gentle upward and outward type of motion, refer to the video for more on this.

Once most of the mask is off wash your face with water and pat dry with a towel. Apply a toner (or cold green tea works) to all treated areas, which will close up pores and protect your skin’s health. Finally, the last step is to finish with an application of moisturizer. This treatment may be done twice a week for four weeks straight, with a minimum gap of two days in-between applications. After a month reduce to once a week for as long as it takes facial hair to lessen and disappear.

This is definitely one of the most simple and all-natural ways to remove hair and it won’t cost you more than a few dollars to make. For some of us this beauty tip could change our appearance, and lives, for the better. So rifle through your kitchen, whip up a mask, and be amazed at how such an unlikely solution actually works!

Please SHARE This With Family and Friends
She Takes Kosher Salt and Stirs It Inside a Jar of Vaseline. The Reason Is Brilliant!
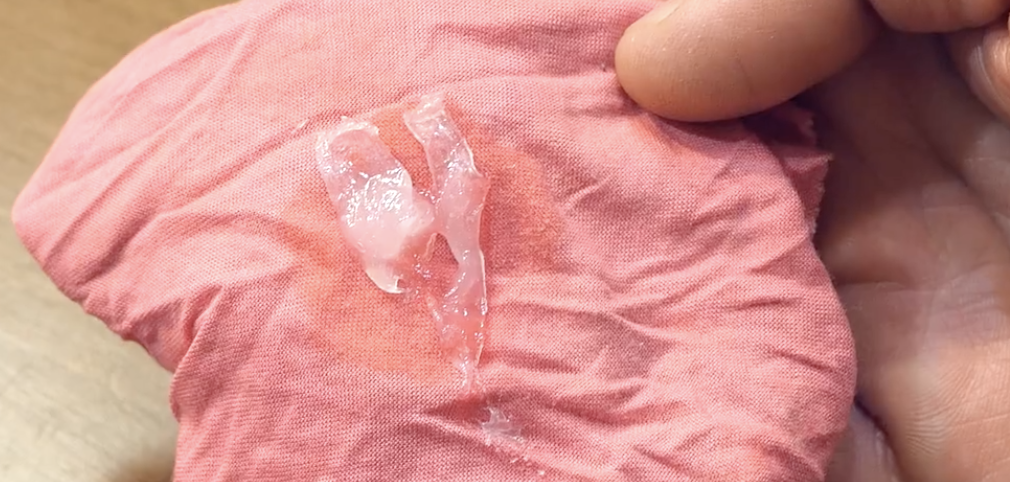
Practically everyone keeps a tub of Vaseline somewhere in their house, whether it’s in the medicine cabinet, under the sink, or in an emergency first aid kit. The product comes in handy for a variety of different uses which range from medical to beauty to household related and so much more, no wonder it was originally called “Wonder Jelly!”
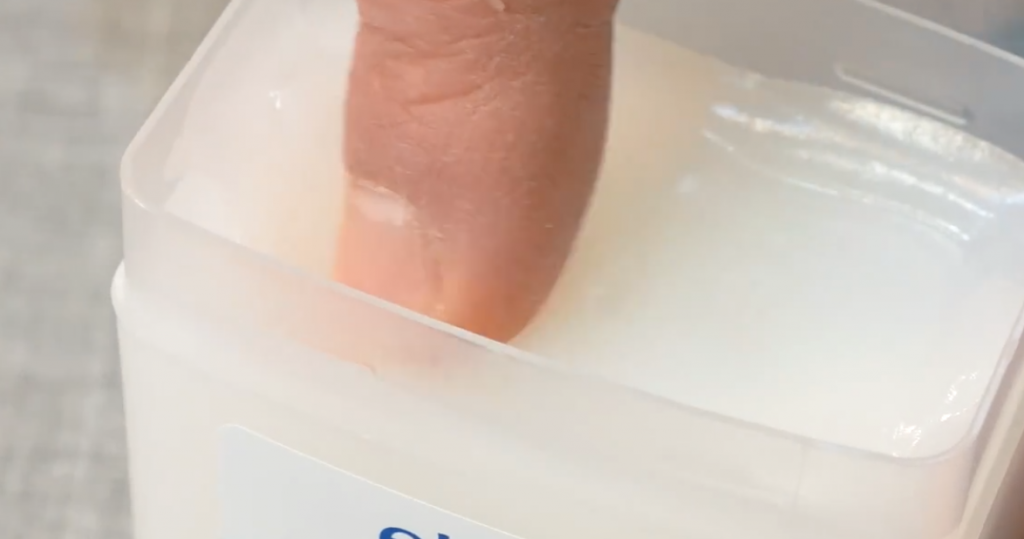
Vaseline is actually the brand name for a certain type of petroleum jelly sold by Unilever that’s free of any colors, added fragrances, and other possible irritants. While most people know that it’s great for soothing dry skin and lubricating things, there are so many other neat ways beyond that to utilize a tub of the gooey stuff. Both this article and the accompanying video from the Slivki Show EN channel on YouTube focus on several of the best Vaseline hacks. They may just come in handy down the line and will definitely save you time and money! Here they are:
Homemade body scrub- To make an all-natural, exfoliating, and deep moisturizing body scrub simply mix together Vaseline with kosher salt. Try it the next time you shower!
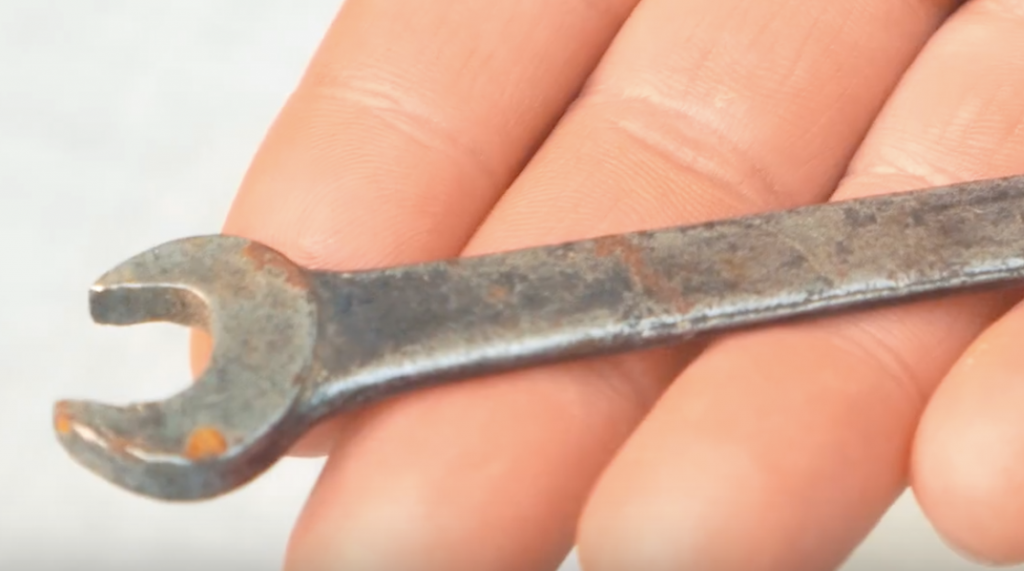
Prevent steel tools from rusting- Waterproof them as well by wiping them with a coat of Vaseline.
Start a fire- Take a piece of cloth or cotton balls and dip them generously in Vaseline. These are perfect for lighting a fire because they catch easily and burn for a long time. If you plan on going camping, seal cotton balls in a small Zip-loc bag and use them as tinder.

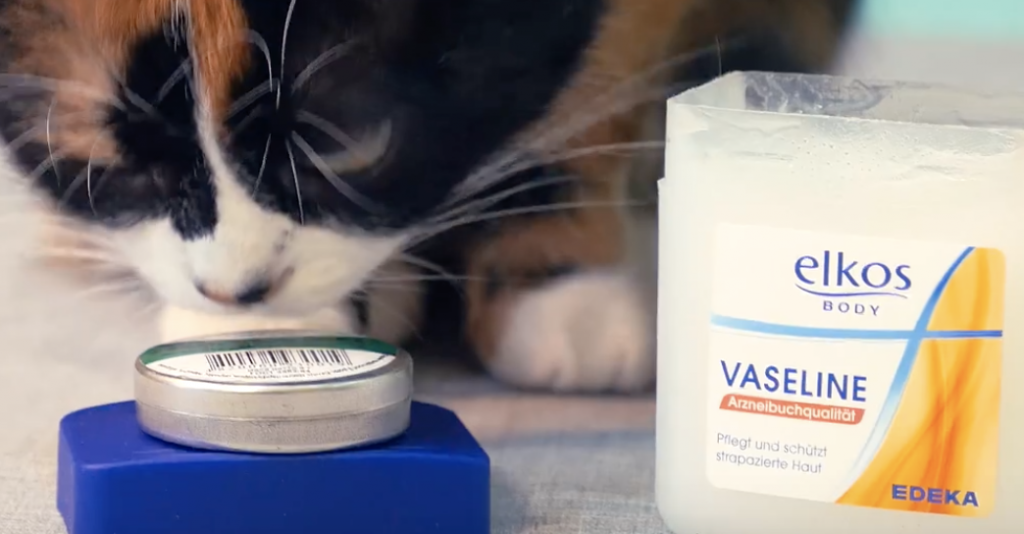
Groom and pamper your kitty- Massage a little bit of Vaseline into your cat’s paws to help protect the sensitive pads, especially if your cat spends a lot of time outdoors.
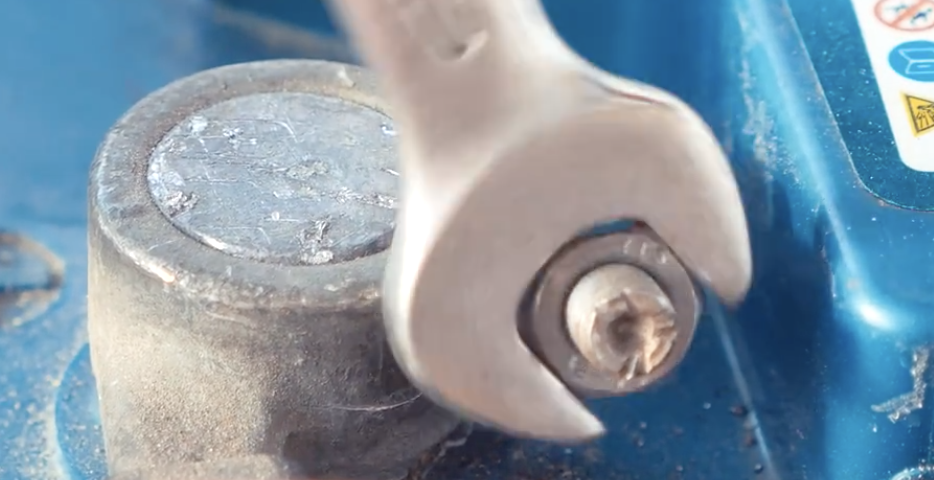
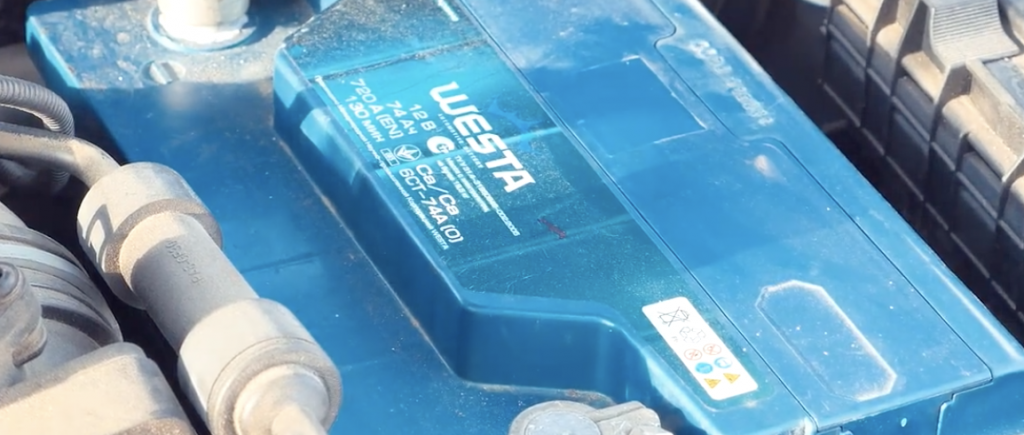
Keep car battery terminals corrosion free- Over time automotive battery terminals build up crud caused by corrosion, which can negatively impact your car’s performance. To prevent this from happening remove the clamps connected to the battery, smear a bit of Vaseline on each of the posts, then re-connect the clamps.
Fix a squeaky door- Rub Vaseline on all the hinges, the extra lubrication will stop the squeaking.
Get rid of water stains, rings, and marks on wood furniture- Take a soft cotton cloth and use it to buff some Vaseline into the wood. Rub it in like furniture polish, in tight circles, until the surface is even, smooth, and shiny.
Make a candle- Tightly roll up a small square of paper into a thin tube then place it halfway in a tub of Vaseline so half is sticking out. These burn brightly and are perfect for emergencies.
Keep your cheeks warm in the cold- When it’s super cold outside rub a little Vaseline on your cheeks and face to keep your skin from getting cold and chapped.
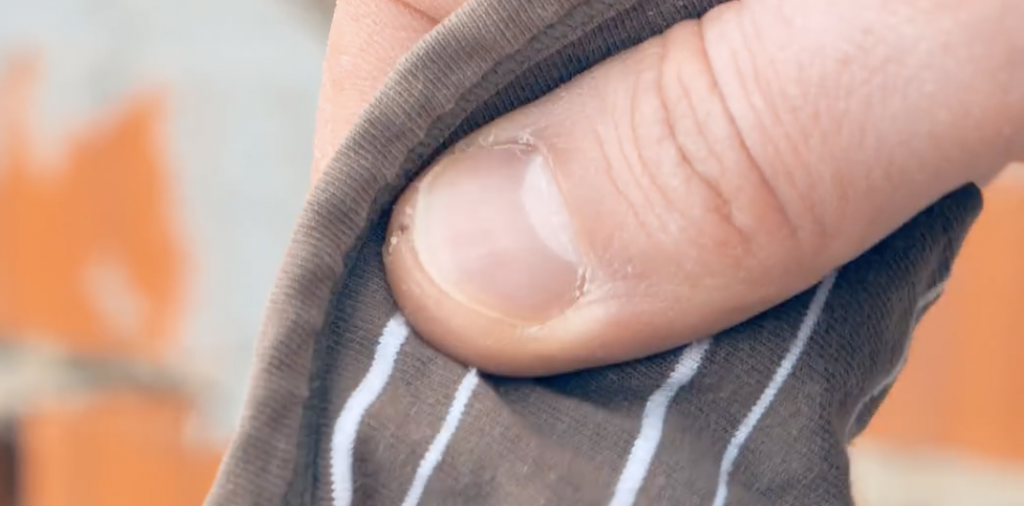
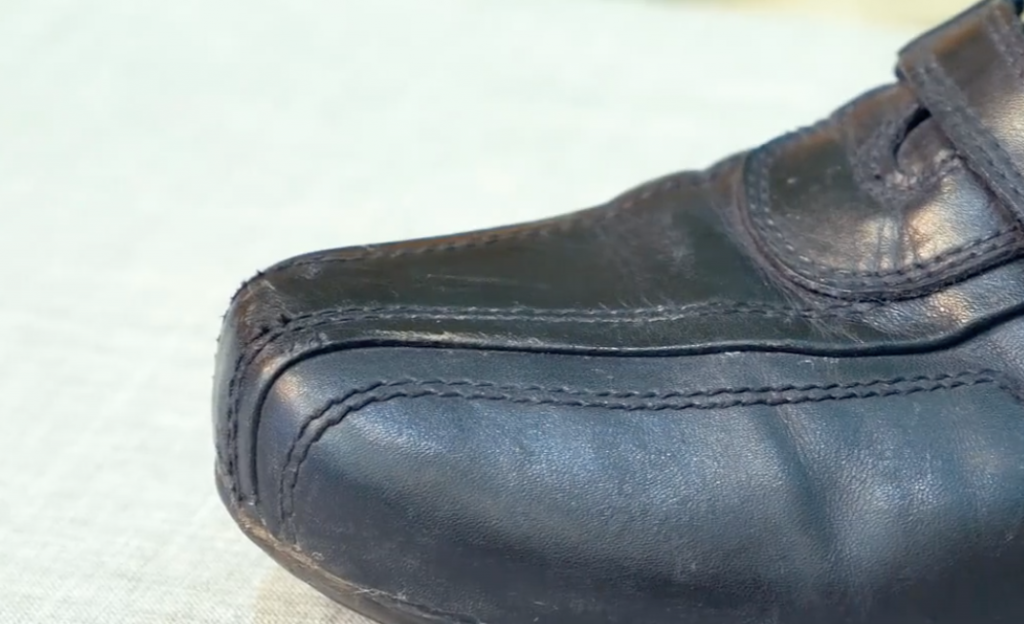
Revamp old leather shoes- Make tired, worn out leather shoes look like new again by buffing them with a little Vaseline. It reconditions them and also has a waterproofing effect.
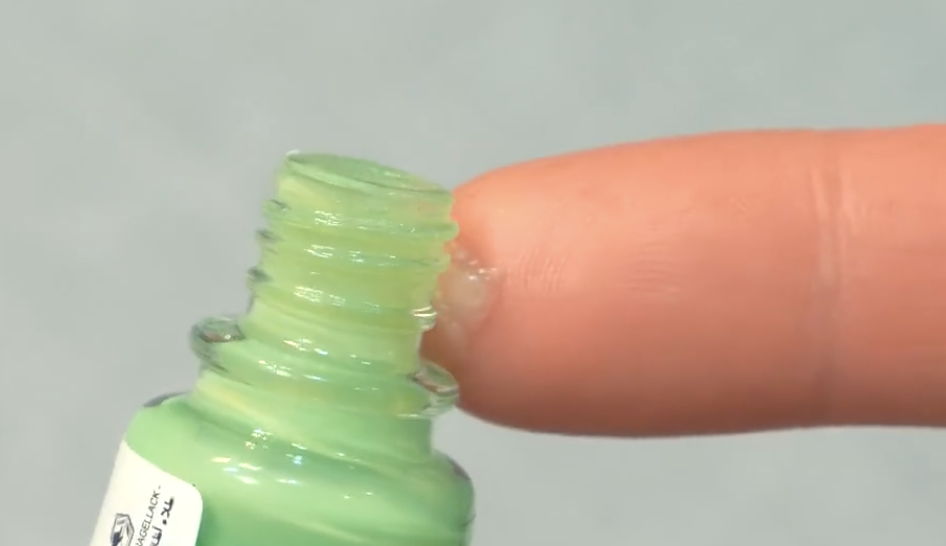
Prevent nail polish bottle caps from sticking- Take a cotton swab and dab some Vaseline on the threads around the base of the bottle opening where the cap twists on. Now it won’t stick the next time you go to open it.
Moisturize rough, dry skin on your feet- Before you go to bed slather Vaseline all over your feet, put on a pair of socks, and wake up to smooth soft skin.

Prevent sensitive ears from jewelry irritation- If your ears become sore from wearing earrings try rubbing Vaseline on the metal stud part that goes through your ear. It coats the earrings and helps them slide through, lessening any negative reaction or sensitivity.
Extend the life of your perfume- If the scent of your perfume disappears too quickly Vaseline can help it last longer by holding the fragrance without altering the scent. Simply apply a little bit of Vaseline on the area where you plan to spritz it on, then spray the perfume over that same area.
If you don’t already have a jar of Vaseline on hand, do yourself a favor and pick some up. It can be used to touch up makeup, moisturize dry skin and elbows, loosen stuck lids, and for so much more. Vaseline is a product that can seemingly do it all!

Please SHARE This With Family and Friends
She Rubs a Fresh Tomato On Her Face For 2 Minutes 2x a Week. The Reason Is Brilliant!

Acne, pimples, blackheads, oily skin, redness, dark spots, wrinkles. If you have any one of the aforementioned skin issues then this homemade facial scrub is for you. It brightens skin and tightens pores as it helps to clear up acne, pimples, and blackheads while working to help fade acne scare and those unsightly dark spots on skin!
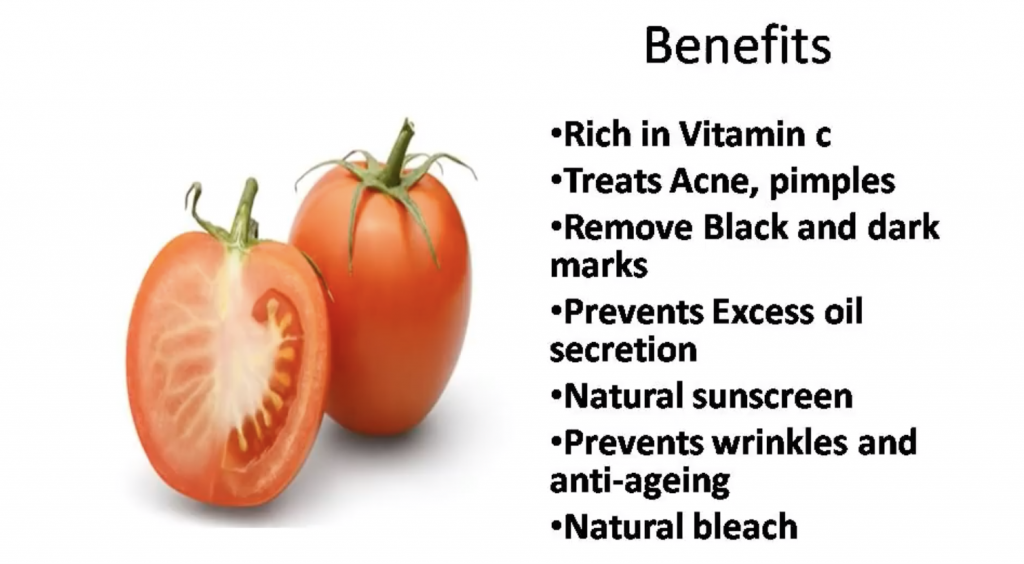
Plus, it’s anti-aging and helps fight wrinkles while leaving skin soft and smooth. This treatment is among the most beneficial ones you’re likely to ever come across and it all comes down to a few simple, inexpensive, and easy to find ingredients, the main one being tomatoes!
Tomatoes are rich in antioxidants and those help combat the effects of harmful free radicals in our bodies, which damage and age our skin and bodies. When topically applied, a tomato has the ability to stop skin damage on a cellular level. In addition, tomatoes contain a large variety of vitamins and nutrients that help tighten and nurture skin, including vitamins A, C, K, E, B1, B2, B3, and B6.
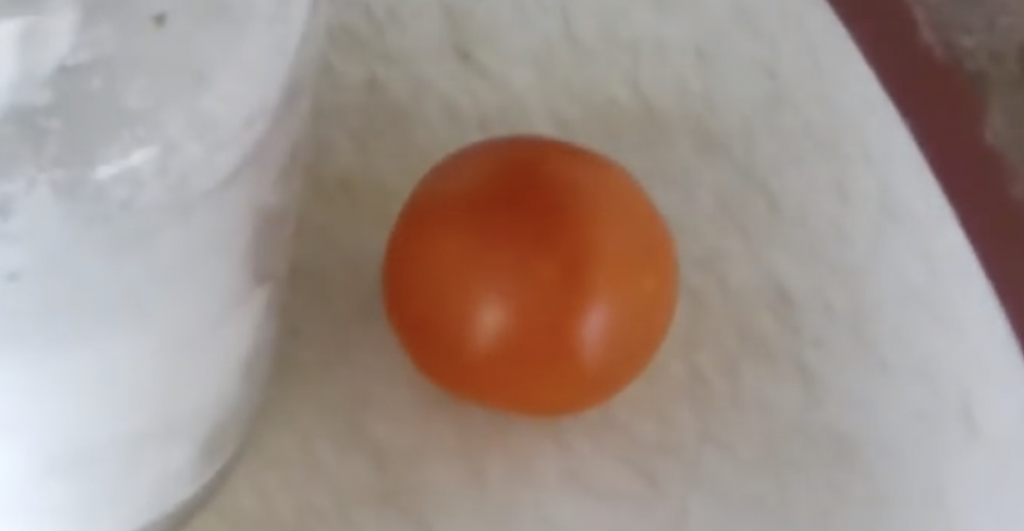
However, the real power of the tomato lies in its juice which can effectively balance skin’s pH levels. Tomato juice is acidic and this acidity can help naturally dry out oily pores and acne spots, thus reducing breakouts severity and preventing them in the first place.

If you want to take the easiest route all you have to do it cut a tomato in half. Rub the tomato all over for your face for 2 minutes, rinse and voila. This is a great way to treat small breakouts and little pimples if you don’t have a lot of time on your hands.
The accompanying video from StarNaturalBeauties covers more information on the topic and it goes over how to make the homemade tomato scrub. The ingredients and instructions on how to apply it are covered below, so check it out and give this all-natural treatment a try!
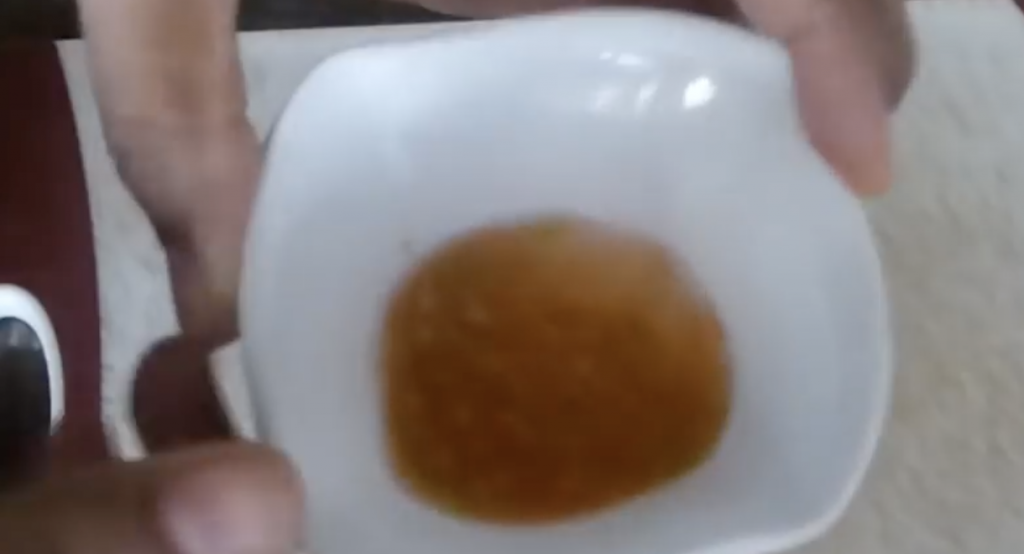
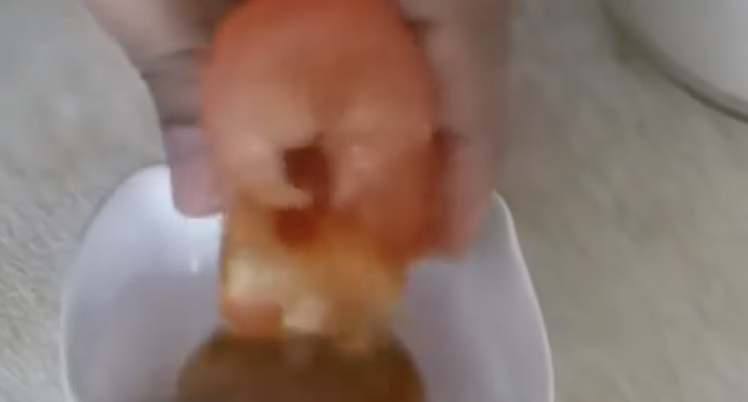
To make the tomato facial scrub shown in the video take a ripe red tomato and cut it in half. Squeeze the juice from one of the halves into a small bowl and be sure to use at least one tablespoon of fresh tomato juice.
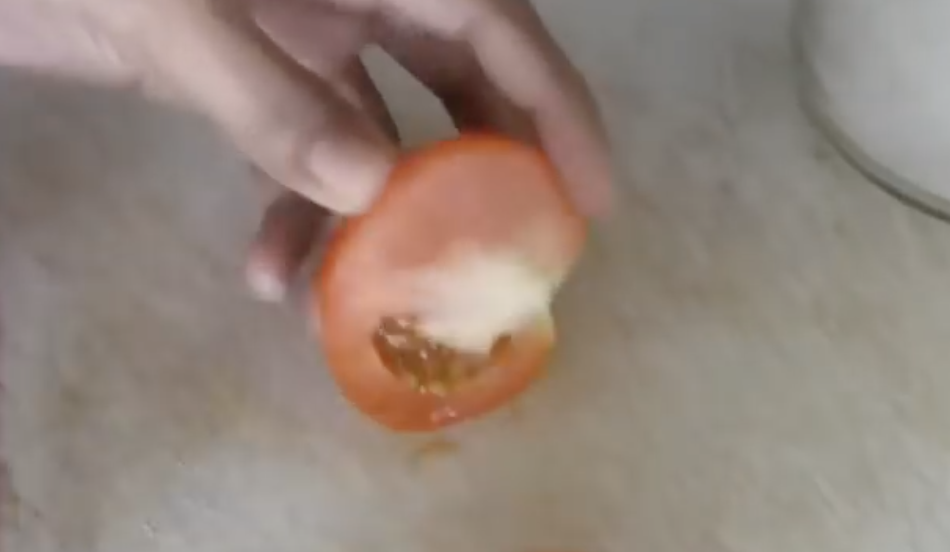
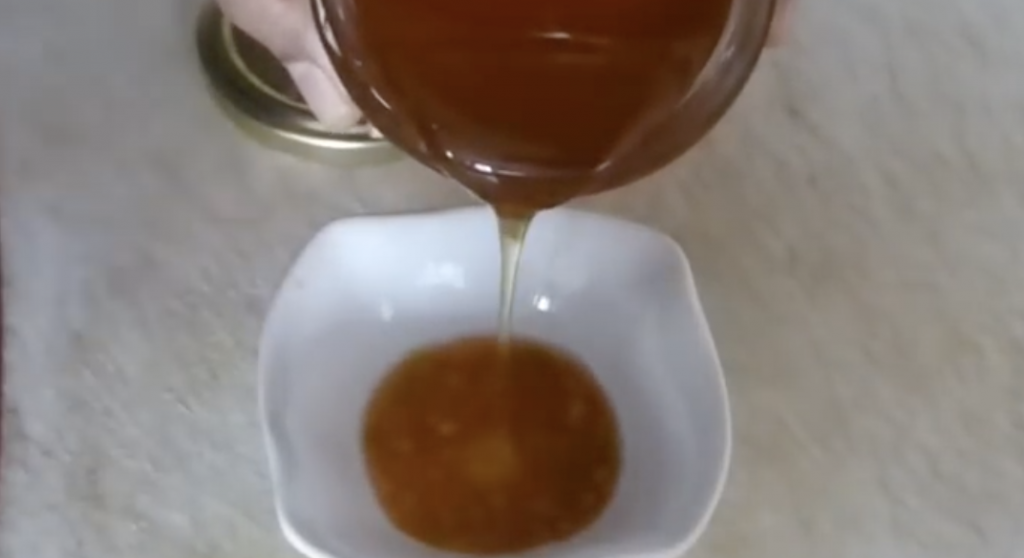
Add about ¾ tablespoon of granulated sugar to the bowl and mix it up well. This mixture works best for oily skin, but for sensitive or combination type skin you should add a ½ teaspoon of honey, and for dry skin further add a ½ teaspoon of coconut or almond oil.

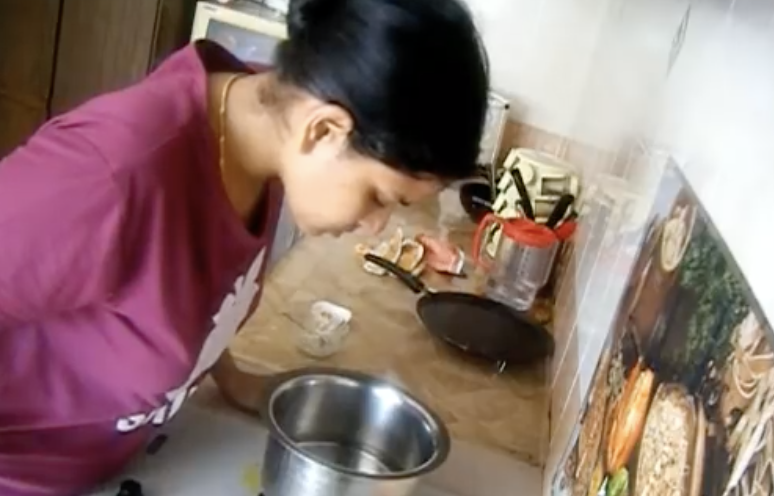
Before you apply the facial scrub first steam your skin. Simply heat a pot of water on the stove and when it’s hot enough to produce and give off a light mist of constant steam place your face a safe distance above it. The steam will open up your pores and make it easier for the tomato scrub to work it’s magic at cleaning out more of the oil, dirt, and dead skin cells that are blocking them.
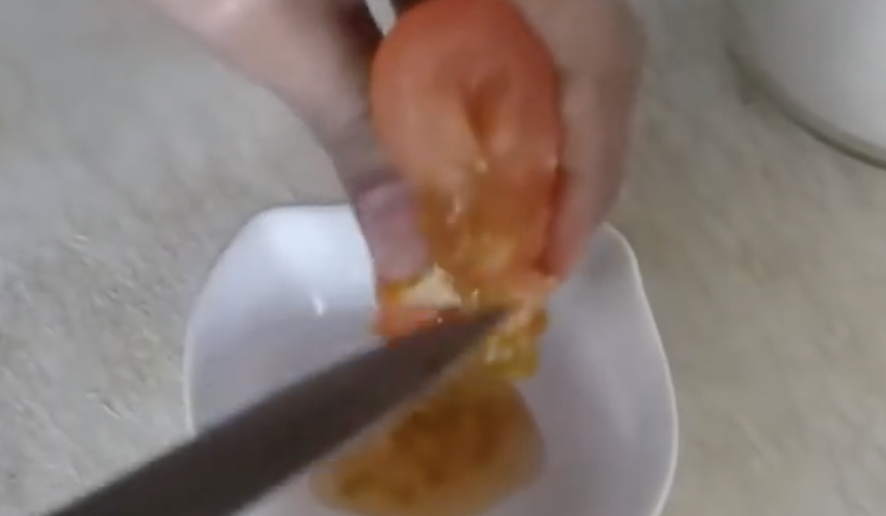
When you’re done steaming, have the scrub ready and apply it all over your face and neck. Gently work it into skin for two minutes, then leave it on for another two minutes, before rinsing it off with room temperature water. It’s important to use room temperature water because it helps to close your pores and tighten skin up. Finally, pat dry your face and and then apply some moisturizer.
This tomato scrub can and should be applied at least two times every week. It’s all natural and won’t cost you more than a few dollars to make. For some of us out there this beauty tip could change our appearance, and lives, for the better. So grab a tomato, juice it, mix in the other stuff, smear some on your face, and be amazed at how such an unlikely solution actually works!
Please SHARE This With Family and Friends


