THIS Brilliant Way Of Cutting Apples Is So Easy. I Wish I Knew About This Earlier!
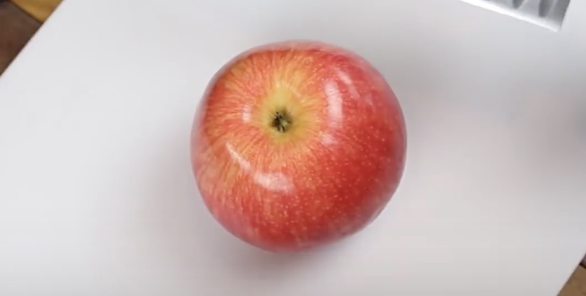
There is a simple, faster way to cut apples that keeps them fresh for much longer than most traditional methods. Most people usually cut apples into quarters and end up with pieces of core left on the slices or try and hack it off haphazardly. This video by Grant Thompson, “The King of Random,” demonstrates the handy technique and offers proof that it’s the smartest way to carve up an apple.
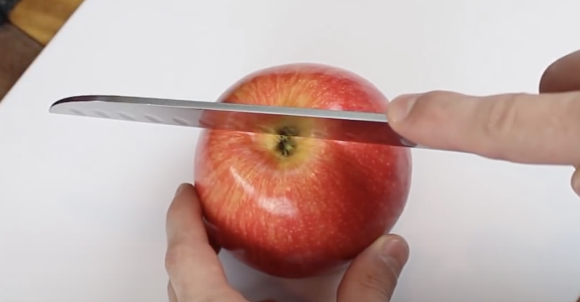
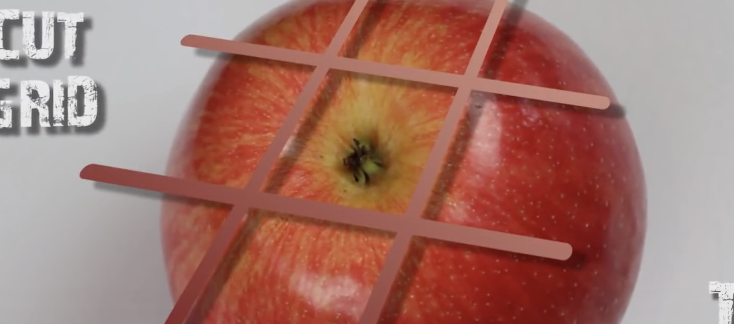
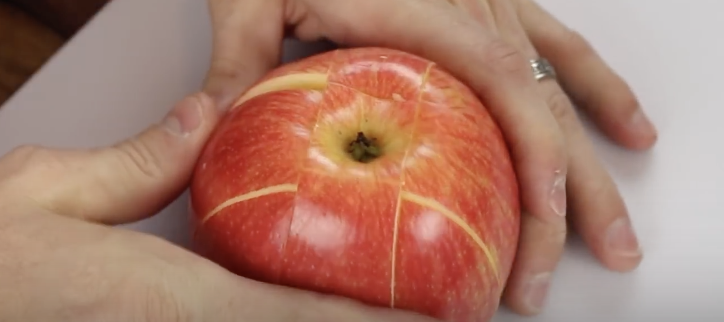
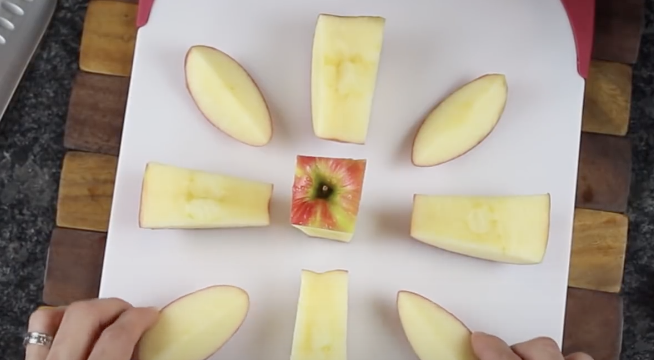
First, turn the apple upside down to stabilize and prevent it from rolling around when you cut it. Imagine a tic-tac-toe pattern, with the center square lining up with the middle core part of the apple, and cut down along the lines holding the apple together as you slice. You end up with 8 edible pieces and 1 core part that can easily be discarded. If you keep the pieces together it will stay fresh longer since none of the flesh is directly exposed to air which turns it brown after awhile. Slap a rubber band around the outside to ensure the slices stay together tight and pack it for lunch or a later snack.
An informal experiment was set up to test if this way is better than others. One apple was cut regularly and left out untreated and two were cut tic-tac-toe style, bound with rubber bands, and one was treated with lemon juice, which is said to keep apples from turning brown. After 9 hours the exposed ones turned brown, the held together one had slightly browned, and the lemon treated one was the freshest. As to timing, the tic-tac-toe method was 5x quicker and left virtually no mess.
Additional apple slicing tricks are also covered in the video that show neat ways to present it when serving at home. Briefly touched on is a way to cut up slices so that they can be rearrange into an apple swan. It is covered in another video but seems like a great way to get young children to eat more fruit, or impress your guests!
Please SHARE With Family and Friends
When She First Wrapped Ice Cream In Bread I Was Confused. But The Final Result Is Mouth Watering!
Summer is coming and that means one thing for certain; ice cream treats! If you need to up your ice cream game and take it to the next level then this recipe is for you. Lets face it, most people serve a couple of boring scoops on the side of a slice of pie or cake. With this fried ice cream recipe you can elevate it to the focal point of dessert while simultaneously impressing everyone who can see and taste your delicious concoction.
Be forewarned, this is easier to make than you’d imagine and the risk is high that you may become addicted to ice cream enveloped in a warm, crispy shell. Check out the video and below is a breakdown of the recipe and instructions.
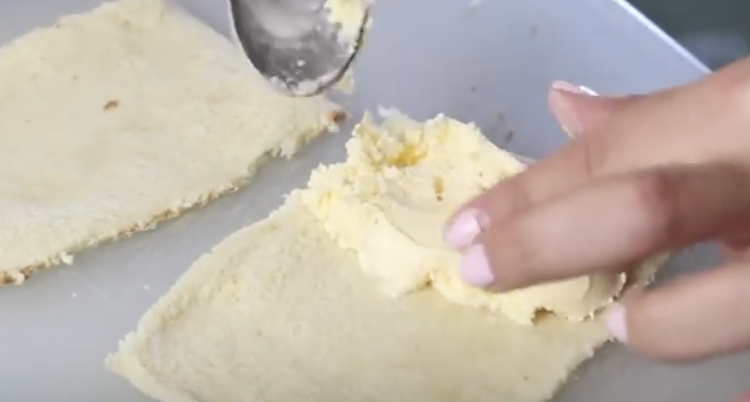
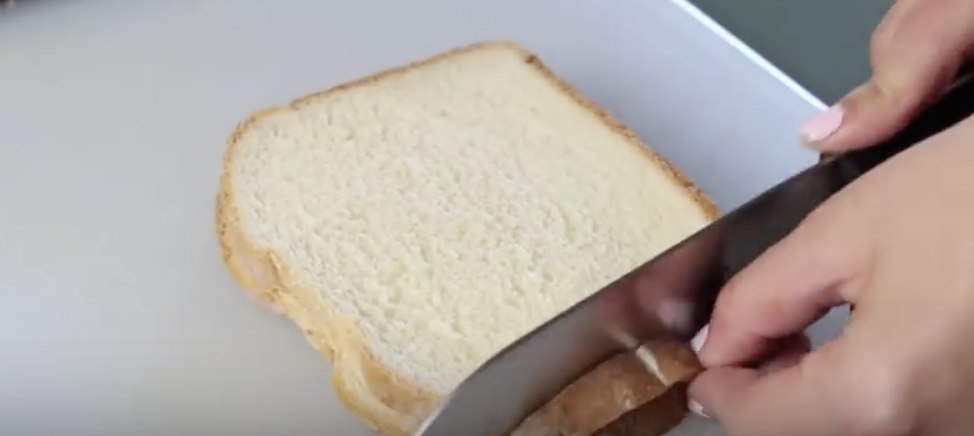
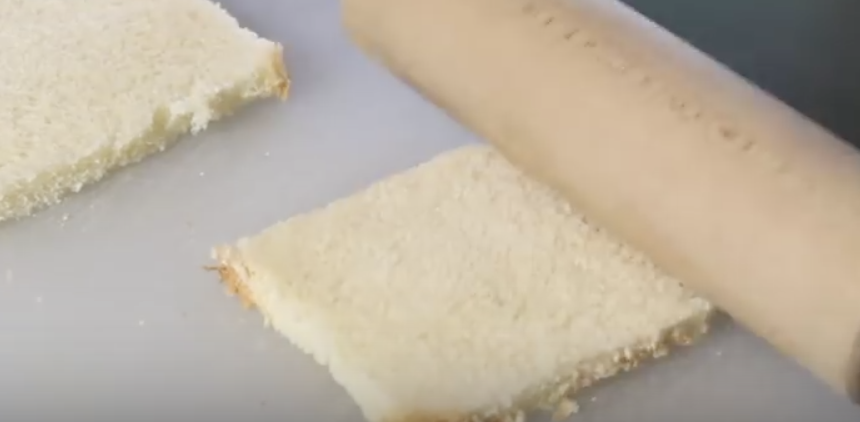
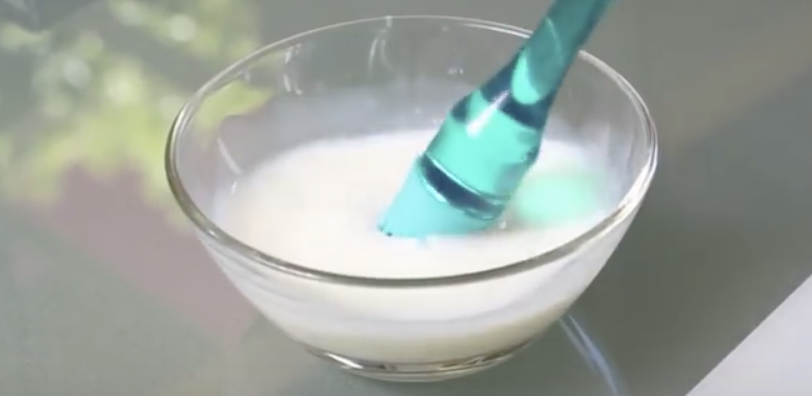
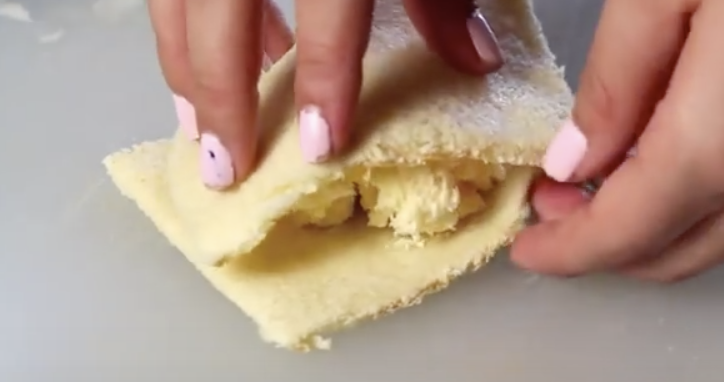
Take a few slices of white sandwich bread and cut off all edges and crust. Roll it flat with a pin or the side of a cup and then scoop some ice cream onto it. Roll up the bread around the ice cream so that it’s completely ensconced and to help the ends stick together brush on a little milk.
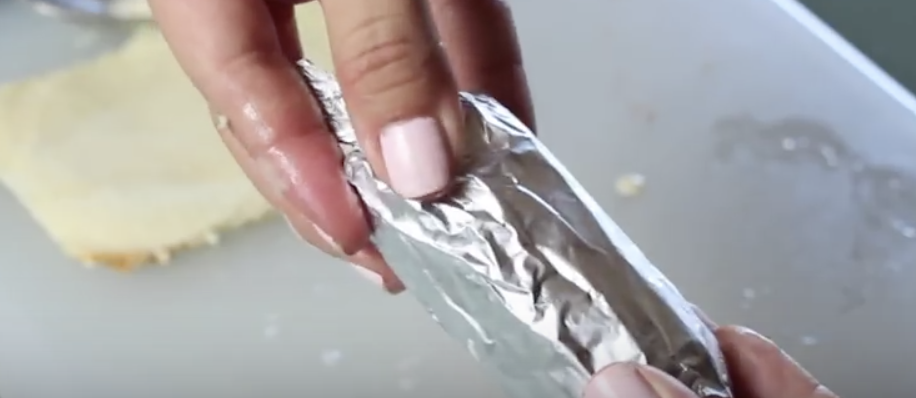
Working quickly, take the breaded piece of ice cream and wrap it up in tin foil as if it were a candy, then place it in the freezer for at least 4 hours. For a round shape simply ball up the ice cream in the bread, cover with tin foil, and freezer.
Next, make the batter by first mixing ¼ cup of milk with one egg. Then slowly add in ¾ cup of pancake mix and stir until smooth. Take the frozen ice cream/bread out of the freezer, unwrap from the tin foil, and completely coat it with batter.
Heat up some oil in a pan until at least 350 degrees, then drop the battered ice cream in the hot oil. Flash fry it for only a few seconds, any longer and the ice cream will start to melt. Finally, drizzle some caramel, chocolate syrup, and/or Nutella on a plate and over the fried ice cream. Add some whipped cream, nuts, sprinkles, fresh fruit, or whatever topping you desire and top it all off with a cherry!
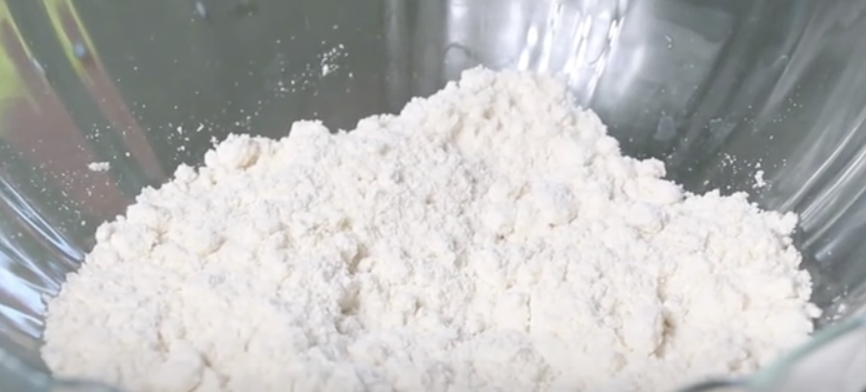
Please SHARE With Family and Friends
This Guy Mixes Peanut Butter With An Egg and Sugar. But By The End I’m Drooling!
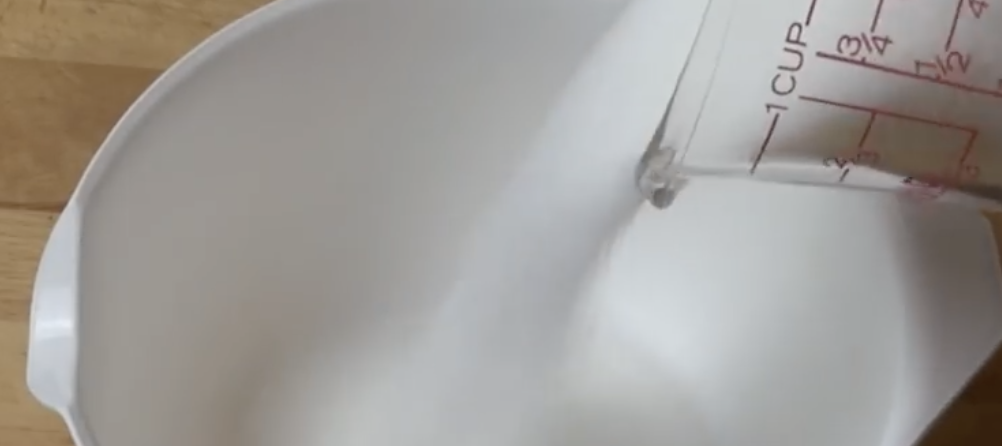
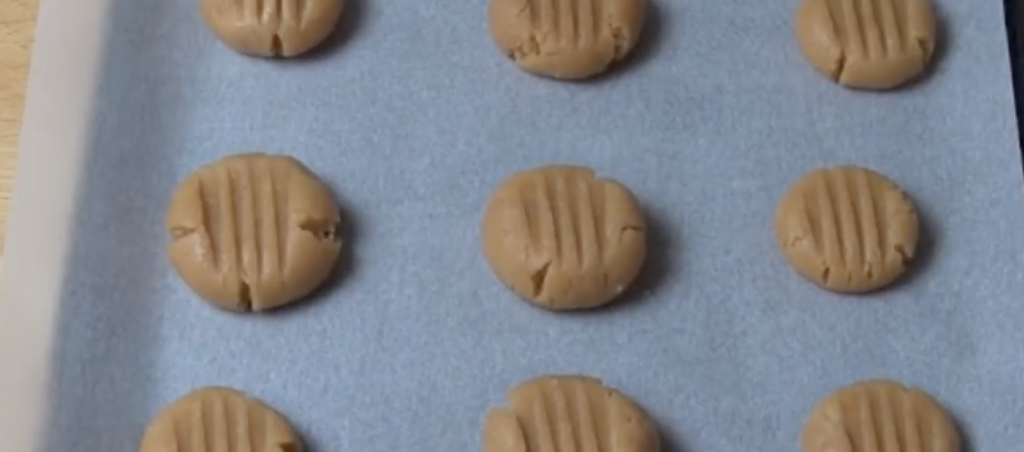
You are about to learn how to make the best peanut butter cookies ever. The best part is, it only takes 3 ingredients that you most likely already have in your house, an egg, peanut butter and sugar. They don’t require flour and they will taste better than peanut butter cookies that do contain flour. On top of that they are healthier, and have just the right amount of sweetness, moistness and chewiness. Not to mention, the peanut butter adds a nice amount of protein and they are just so tasty.
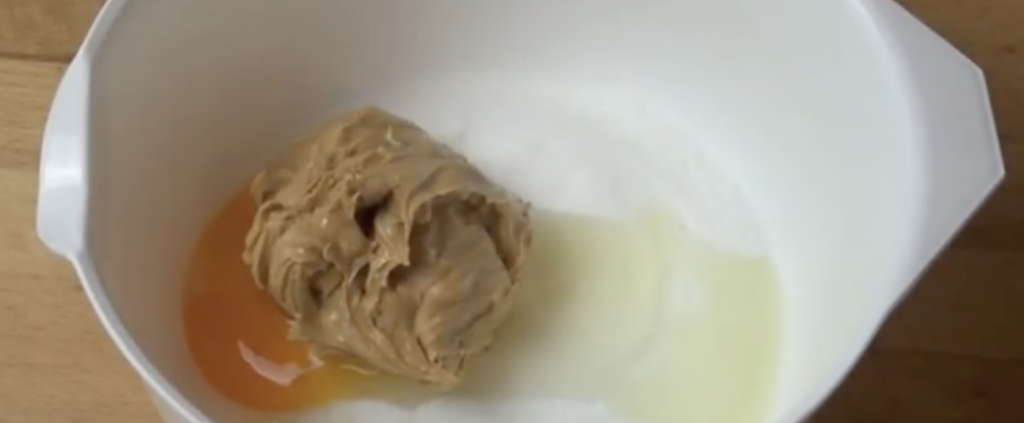
They only take 5 minutes to prepare and 10 minutes to bake. Because they are so easy, these cookies would be a really fun thing to make with the little ones as well. They are perfect to bring to a party or if you are just looking for a quick and simple homemade dessert for the family.
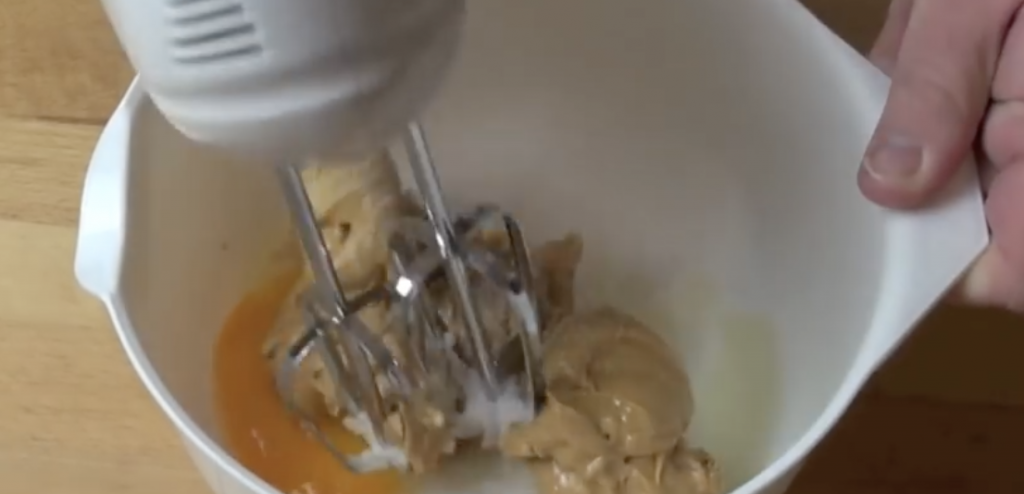
You can choose if you want chewy or smooth peanut butter. Also if you want them to be less sweet just use a little less sugar and they are still delectable. Bake them until they are golden crisp and enjoy! If you chef these up this weekend let us know how it goes! We always love to hear feedback about the recipes we feature here!
Please Share With Family and Friends
She Cracks 2 Eggs Into This Potato. But When She’s Done My Mouth Won’t Stop Watering!
For ages it’s been known that breakfast is the most important meal of the day, yet many people will just grab a cereal bar or skip it all together. If you want to stay healthy and have energy that lasts throughout the day then you have to take the time to eat a wholesome breakfast. This can be tricky and a lot of people claim that they just don’t have the time or motivation to make a tasty meal first thing in the morning. Perhaps part of the reason for these excuses is that many people are simply sick and tired of the same old breakfast foods that they’ve eaten over and over again, countless amounts of times.
This recipe offers a new spin on the usual, tired, old, boring potato and egg dishes, so check it out! It’s a refreshing way to cook up a whole meal right inside of a homemade baked potato. You’ll get a serving of eggs, bacon and potatoes with this version of the recipe but feel free to get creative and add in other ingredients like ham, sausage, peppers, veggies, etc.
These loaded breakfast-potato-egg-bacon-and-cheese bowls are unbelievably delicious and make the perfect addition to any brunch or boring morning routine. Keep reading for instructions on how to make them and watch the video for more information.
Ingredients: (Serves 2)
– 3 large baked potatoes – 3 eggs – 3 strips of bacon – cooked 3 tablespoons of cheddar cheese – shredded 1 tablespoon of parsley -freshly chopped butter salt and pepper, your call!
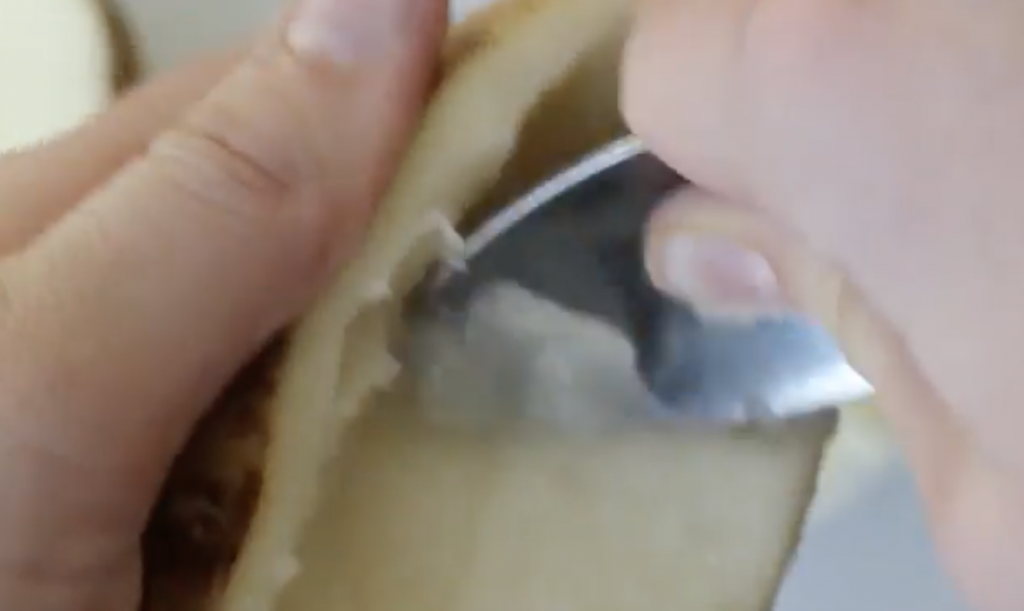
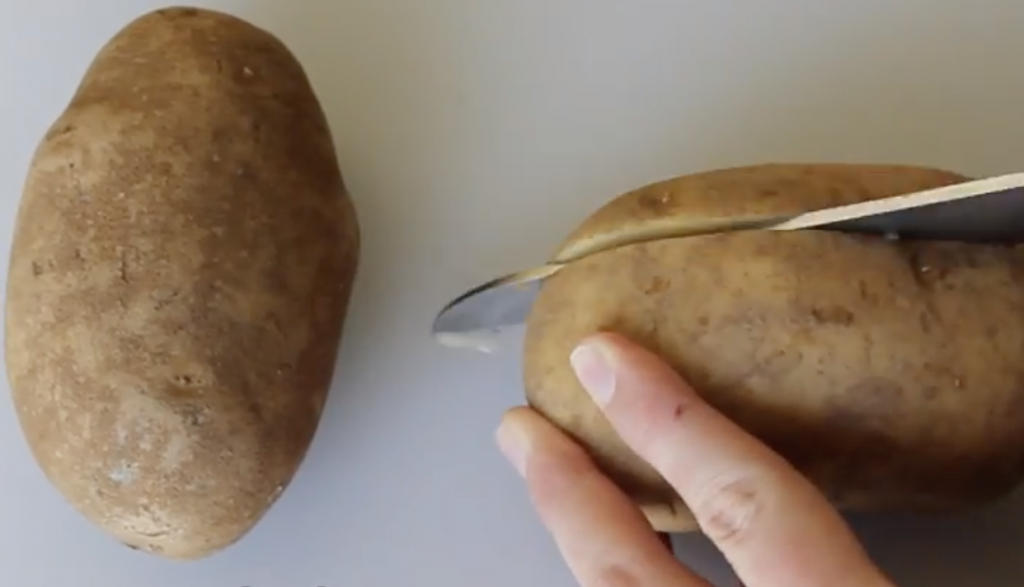
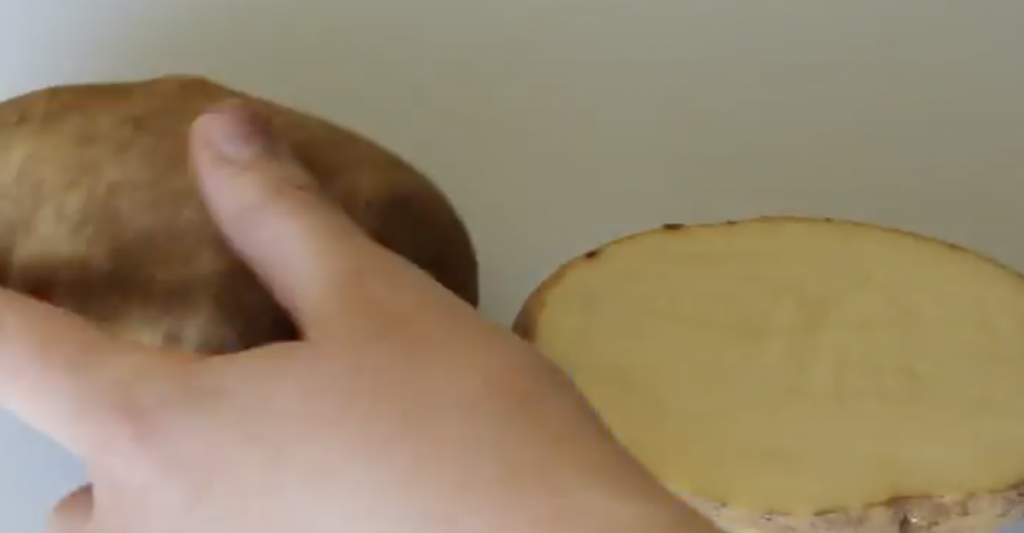
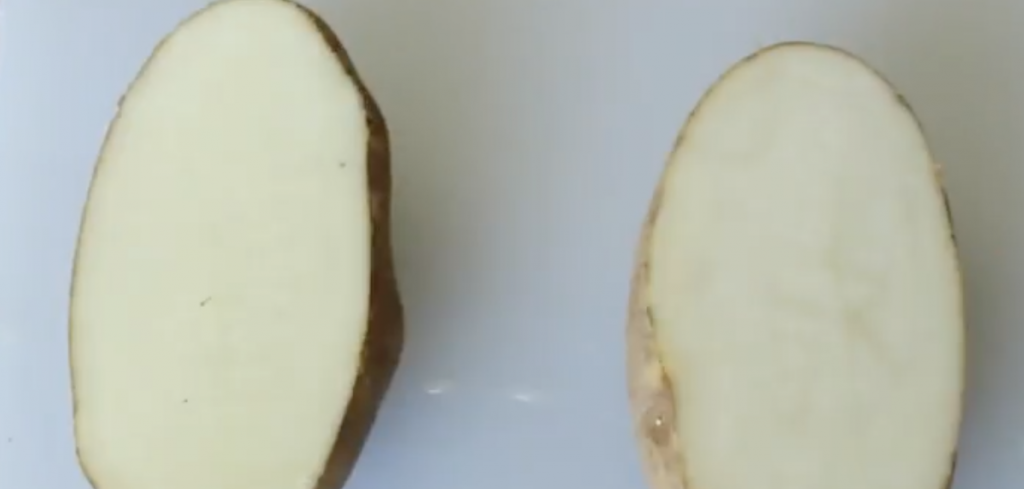
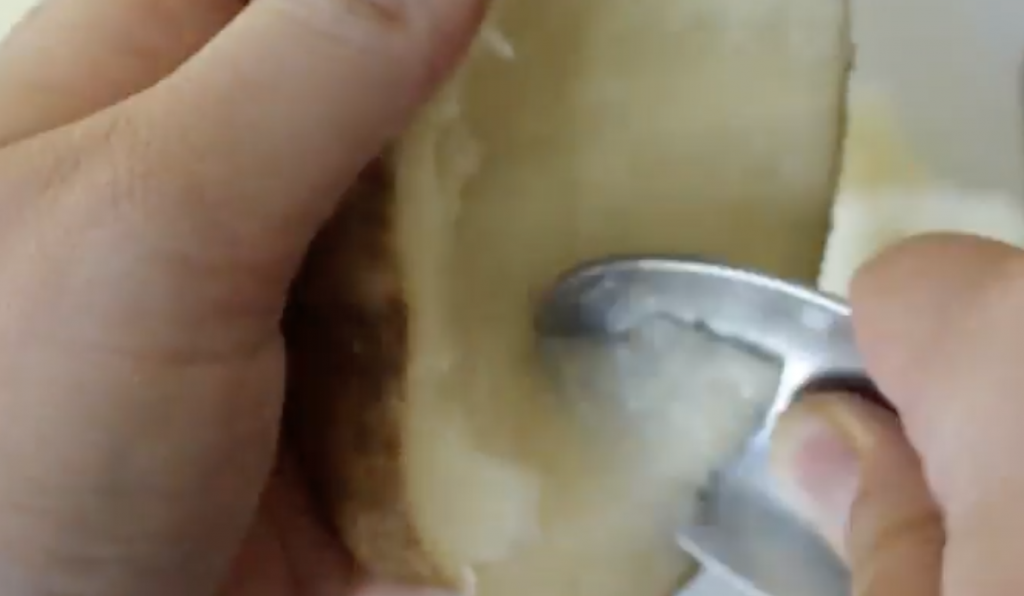
Directions: Start by baking the potatoes, or you can bake them ahead of time to make this quicker. Once they’ve cooled off lay them on their sides and, cutting lengthwise, slice off about 1/3. Hollow out the larger 2/3 side with a spoon and form a nice little bowl. Be careful here and avoid digging out too much potato or making any holes in the skin. You want to leave enough potato all around the sides and edges so that it remains stable and can stand upright without flopping over.
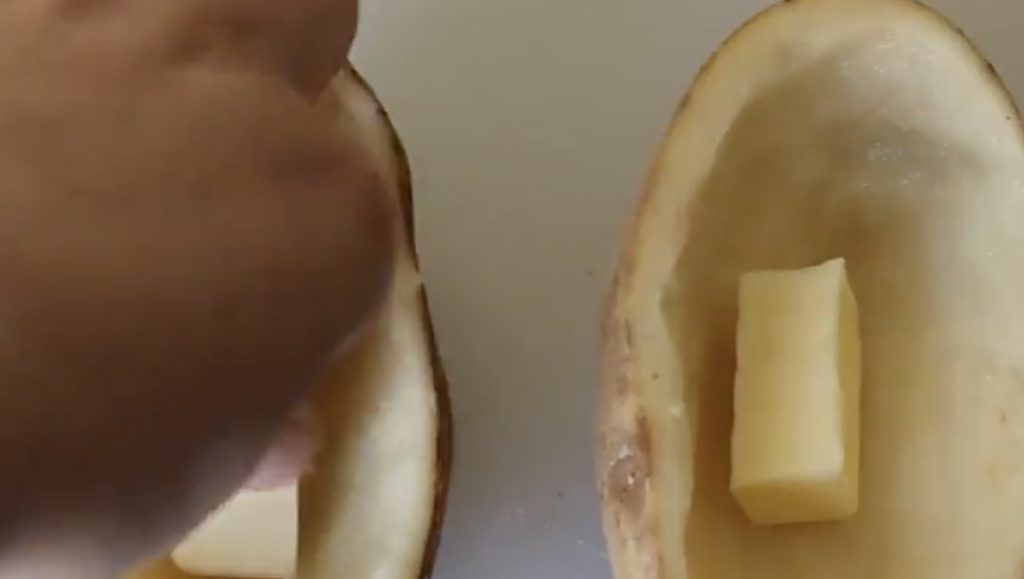
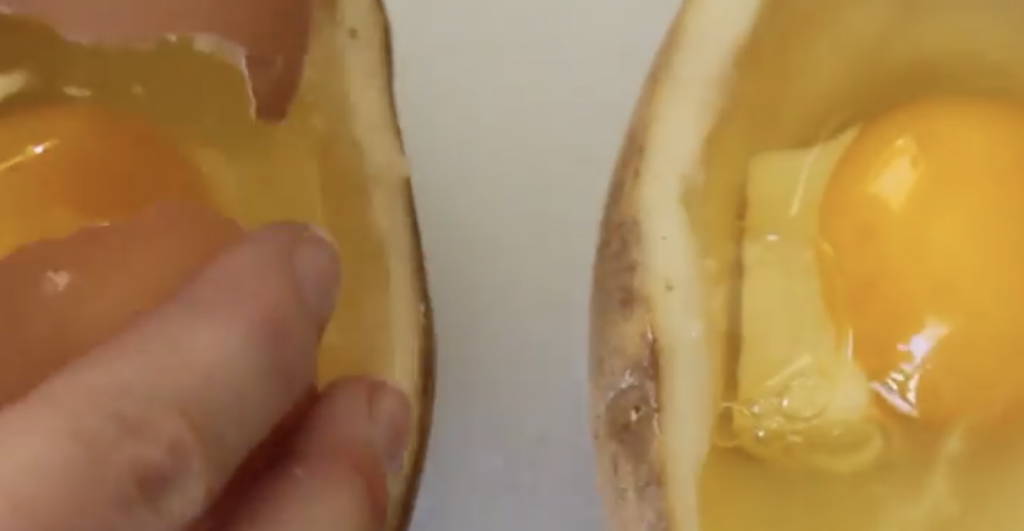
Place about a one-half tablespoon of butter into the middle of each potato and follow that up a cracked egg as well. Sprinkle over the cheese and crumble a bacon strip atop each one, before finishing them off with the parsley and a dash of salt and pepper. Place the potato bowls in a 350 degree heated oven and bake for 20-25 minutes. Allow them to sit and cool a few minutes, they will be super hot, and then serve and enjoy.
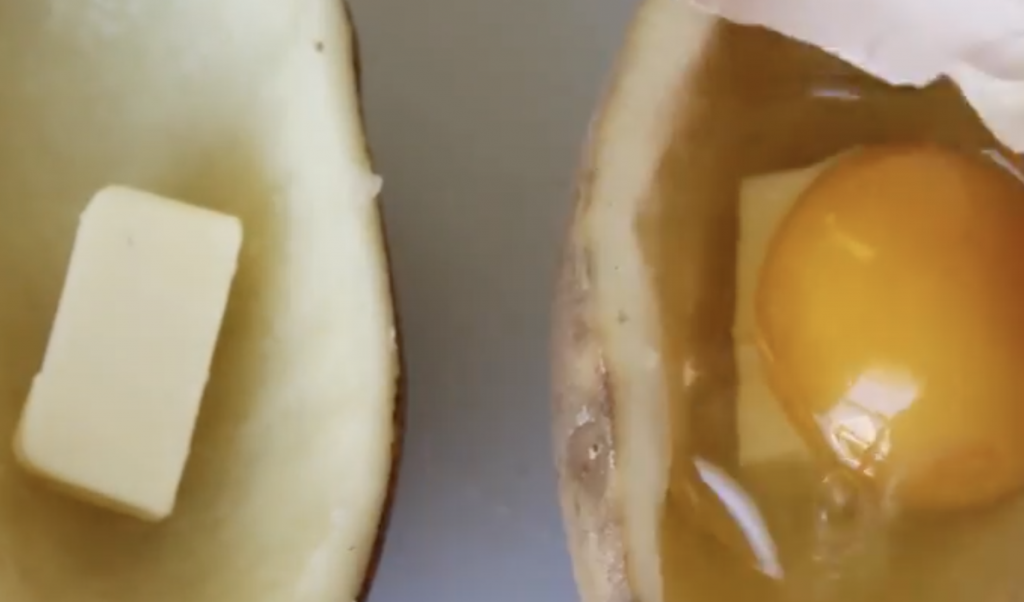
These look and taste delicious and are not that difficult to make. Try them out and see for yourself how delicious a simple, homemade breakfast can actually be. Bon Appétit!
Please Share This Recipe With Family and Friends 🙂
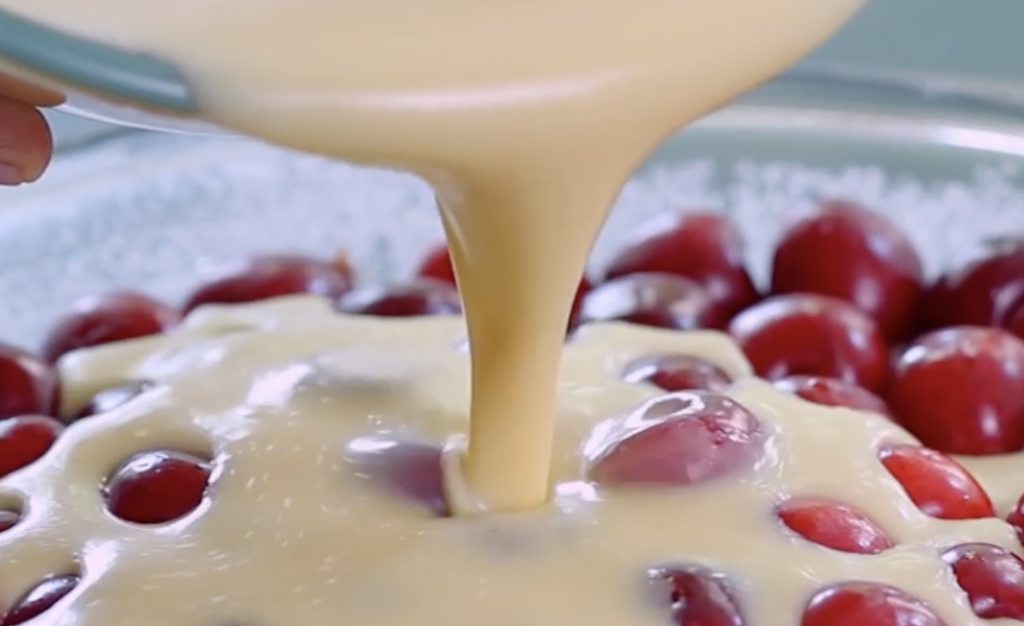
She Takes Batter And Pours It Over These Ripe Cherries. But When She’s Done Mouth YUM!
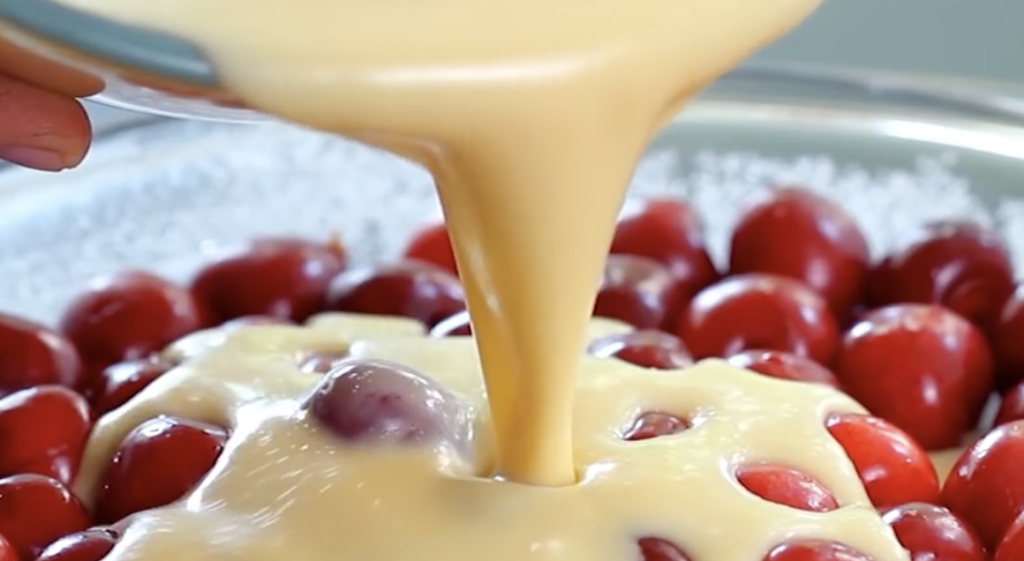
If you love to bake, the video you are about to watch below, is for you! Anyone can bring a store bought cake to a party as a dessert offering, or bake something simple out of a box, but making the effort for the delectable Cherry Clafoutis…well that’s impressive!

This famous French dish has a custard base with fresh pitted cherries, sprinkled with powdered sugar, that is so delicious that the first bite is mind blowing! The recipe in the video is really easy to follow, and will yield 6-8 servings.

The Ingredients you will need are:
– 20 oz of fresh sweet cherries, stemmed and pitted – 2 tbsp of butter melted – 4 eggs – 1 cup of milk – 1/3 tsp of salt – 3/4 cup of flour – 1/2 cup of sugar – 1/2 tsp almond extract – 1/2 tsp vanilla extract powdered sugar for dusting
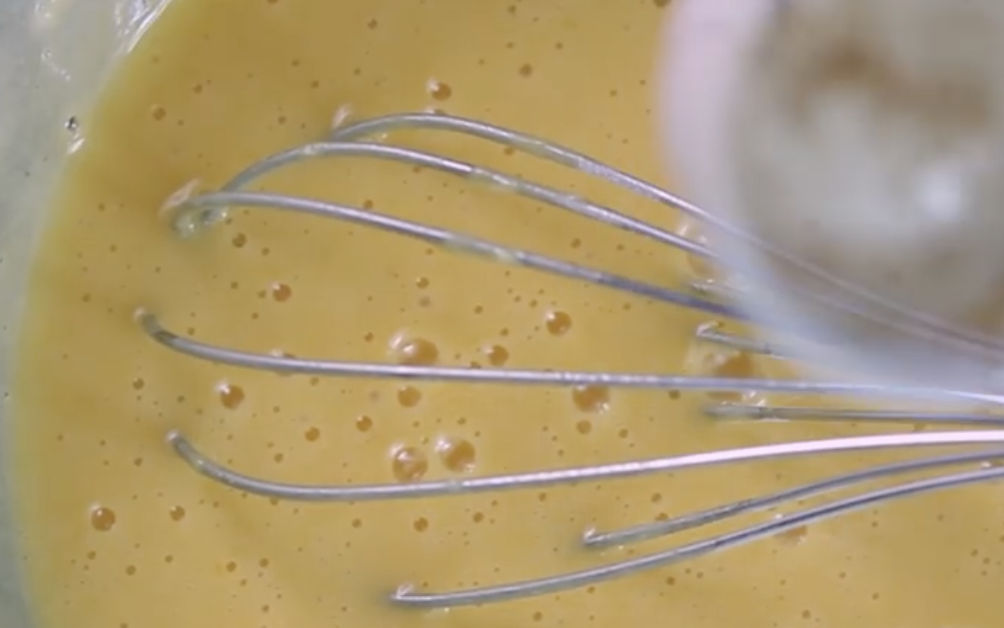
Watch the video to see how this delectable dessert is combined, and then baked in a 350 degree oven for 40-45 minutes, to produce a puffed and golden brown thing of beauty! Let us know if you’ll try this.
Please SHARE This Delicious Recipe With Your Family and Friends 🙂
Lady Pours Chocolate Cake Batter Into The Rice Cooker. When She’s Done YUM!
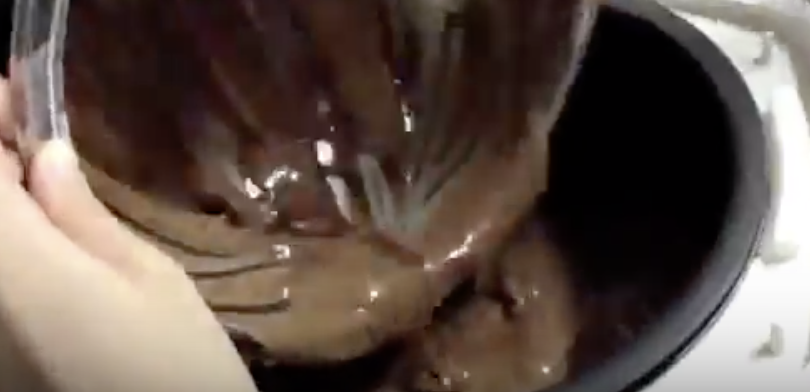
Rice cookers are handy little appliances that make cooking up tasty foods on the fly easy, practical, and safe. You don’t have to watch them because they run on automatic timers and your food stays warm after it cooks. They also cook a lot more than just rice, you can even bake a cake in one, which is exactly what this video shows you how to accomplish. The delicious homemade cake only needs 12 minutes to fully bake and comes out perfectly moist!
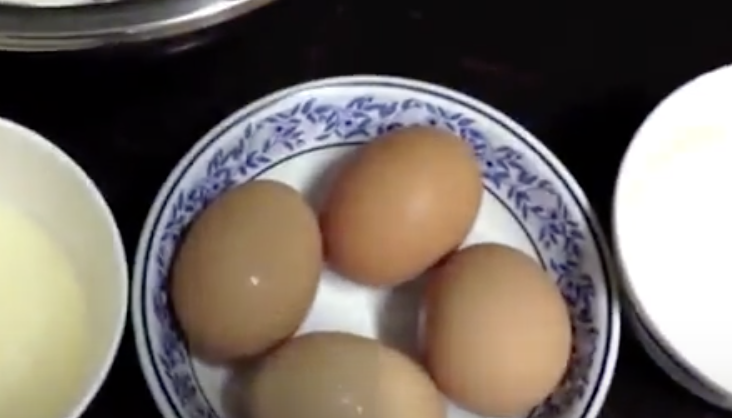
To make the home-made chocolate cake you will need the following ingredients; 50 grams of all-purpose flour (slightly under ½ a cup), ¼ cup of cooking oil, 4 eggs (with the whites separated from the yolk), 100 grams of sugar (½ a cup), 150 grams of chocolate (approximately 1 cup), 100 grams of whipping cream (a little over 1/3 of a cup). The video does not list the exact measurements or convert what is listed, so all these conversions are approximate.
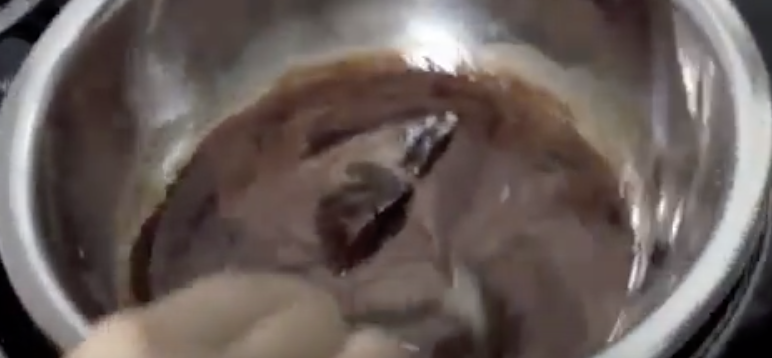
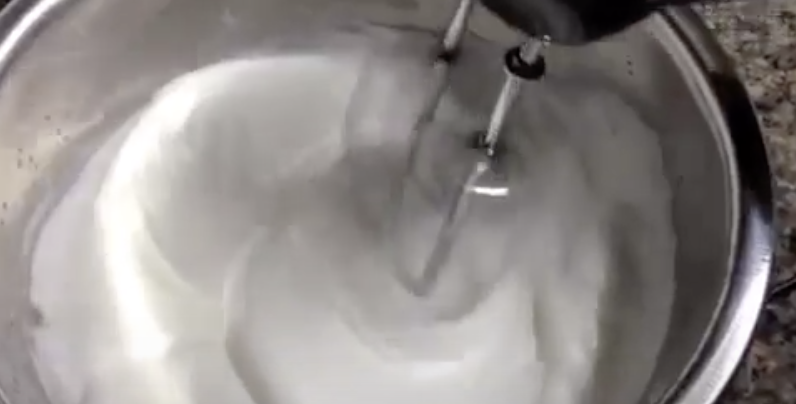
Start by heating on medium-high a large pot of water. In a metal or glass bowl combine the chocolate and whipping cream, then carefully place the bowl in the heated pot of water, frequently stirring until it completely melts. Next, whip up the egg whites with a blender and slowly add in the sugar until it’s well blended then set aside.
Take the bowl with the melted chocolate and stir in the egg yolks and cooking oil. Now combine the sugar and egg white mixture to the chocolate one, blending them together well, and finally sift the flour into the batter and mix it all up. Grease the inside of the rice cooker before pouring the batter in and cook for 12 minutes.

To save or cut down on the recipe preparation time you can also use a boxed cake mix. However, the cook times may be different and be sure to grease the inside of the cooker before pouring the batter in. Check out the video for how to whip up a cake from scratch, without ever even heating up the oven, and to see how it’s done!

Please Share This Tip With Family and Friends

