He Cracks An Egg Into Onion Rings. But When He’s Done The Most Unexpected Tasty Surprise!
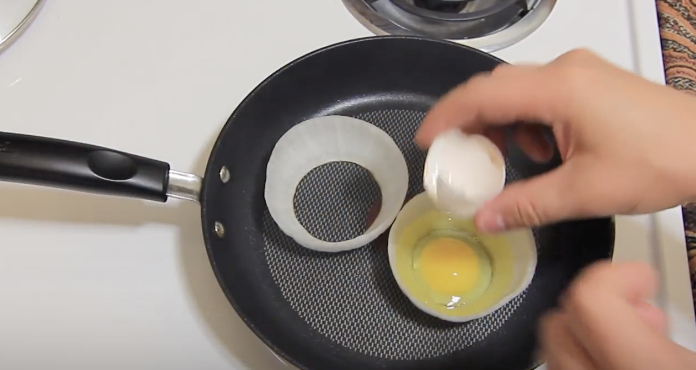
Everyone loves to learn new and simple ways to get the same old things done. It can be fun and interesting to discover what nifty and quick solutions people have come up with to solve common problems. This video, from the HouseholdHacker YouTube channel, highlights 10 tricks for dealing with difficulties you may have encountered when cooking or bustling about in the kitchen.
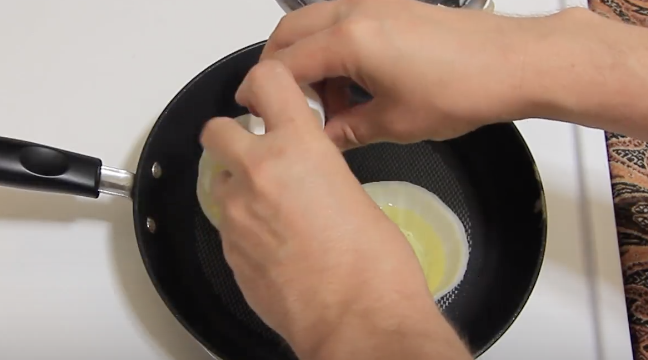
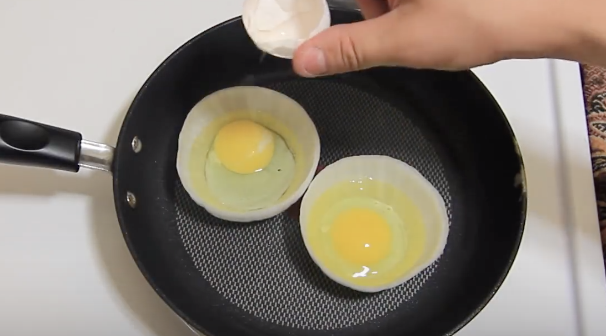
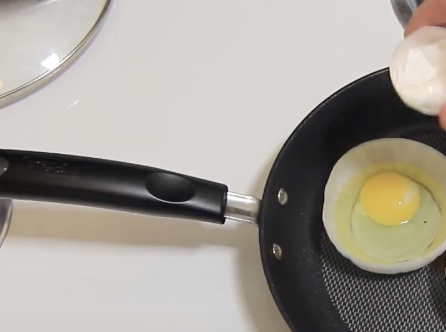
The tastiest hack shown is the eggs and onion gourmet breakfast. Take an onion and cut out a couple of large circles, place them in a pan on medium heat, wait one minute and then crack an egg into each one. Cover the pan and cook for 3 minutes, then sprinkle on some salt and pepper.
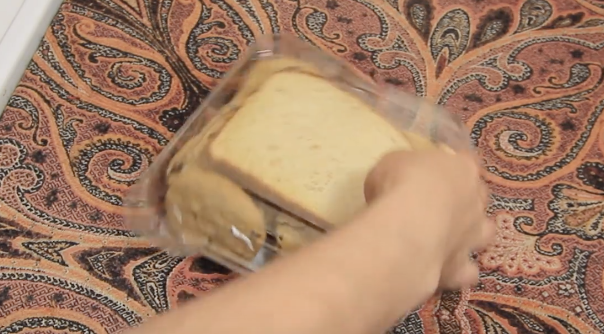
The most useful trick for cookie lovers is to place a piece of bread into the container holding the treats. It will release moisture and keep the cookies softer for longer. Also included is a great way to reheat pizza on the stove top, which avoids the soggy, limp, microwaved effects of zapping it.
Heat up a burner on medium-high and place a pan on it. Once it’s heated up set the leftover pizza into the pan and cook for one minute, then flip and cook for another minute. The slices will come out crisper and as if they’d just been pulled out of the oven.
The most interesting alternative technique shown was cooking hard boiled eggs in the oven, which makes them not hard boiled at all, but they come out that way nonetheless. Heat the oven to 325 degrees, place the eggs on a tray, and put them in to cook for 30 minutes.
After you take the eggs out place them in a pan of cold water and allow to sit for a few minutes. Once they are cool you can eat them right away or store them in the refrigerator. There are six additional innovative and useful kitchen solutions covered in the video so be sure to check it out. And remember to share the knowledge because they may end up making life easier for you or someone you love!
Please Share These 10 Incredible Food Life Hacks With Family and Friends
Apparently I’ve been Cooking Pasta Wrong This Entire Time. How Did I Not Know About This Earlier?
Even people who are not culinary aces know how to make pasta in the centuries old traditional manner. Most everyone starts the process off by putting a fair amount of water into a big pot. Some even add a couple of shakes of salt or a drop of olive oil to the water.
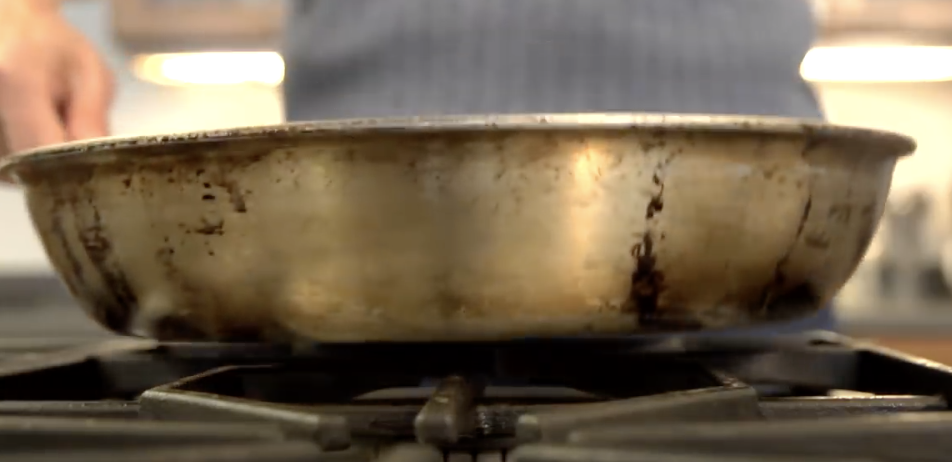
Then the pot is placed on the burner and heated until the water begins to boil, at which point the pasta is dropped into it and cooked until done. The problem with this way of cooking is that the pasta tends to stick together in mushy clumps that are unappetizing.
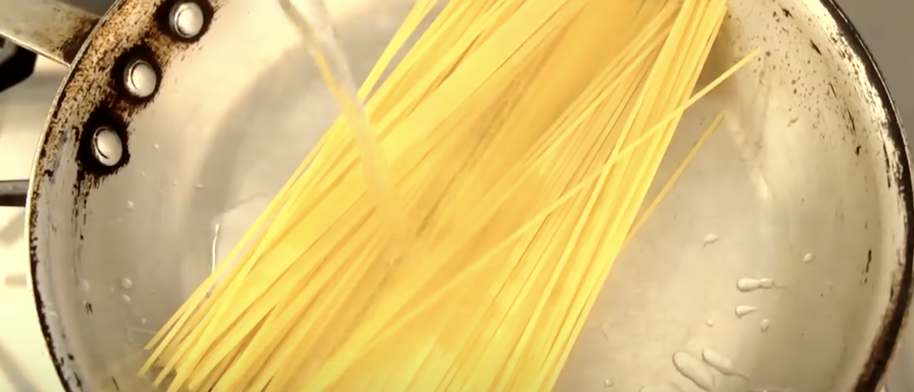
However, there is a better and more efficient way to properly whip up a delicious batch of the family favorite food. Cooking pasta with this alternative method eliminates the all too common problem of it sticking together in blobs, and instead leaves you with perfectly prepared noodles that everyone will actually want to dig into. It involves using less water and swapping out the bulky metal pot with a frying pan.
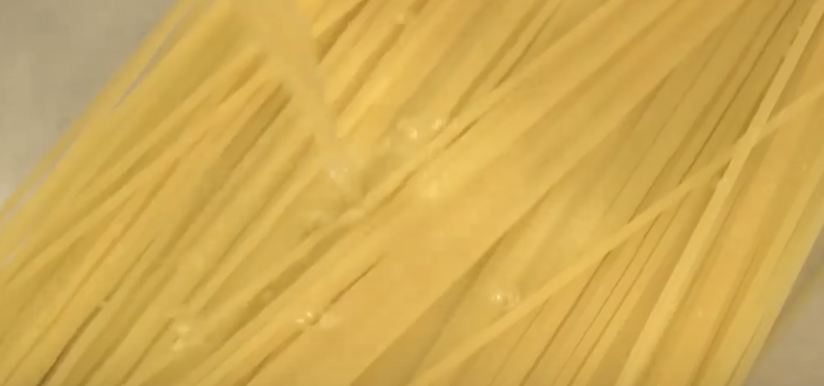
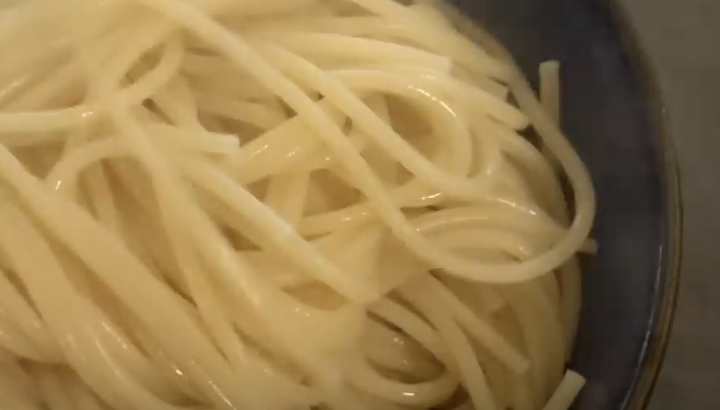
Start by placing the pasta in a large frying pan. Pour about a quart and a half of cold water in the pan and over the pasta. Turn on the stove and cook until the desired consistency is met. If you prefer al dente pasta, or a slightly firmer texture, less time is needed. You should end up with perfectly cooked pasta that lacks any clumpy stuck together pieces, because the cold water was added to the pasta before it began to cook.
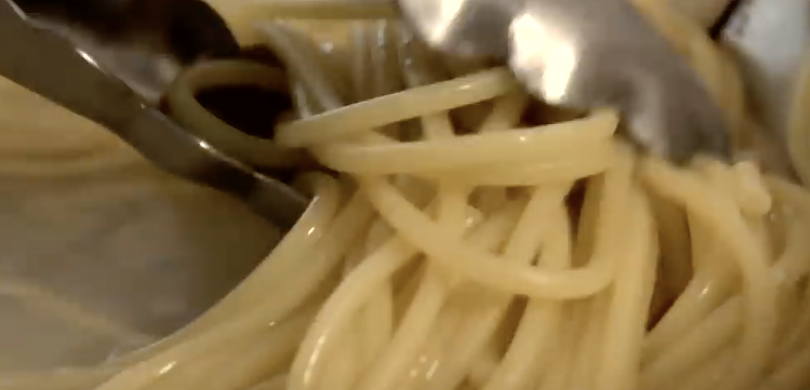
You also will have a thick, dense liquid leftover from the water than remains. This can be used to make a variety of different sauces with and gives you further use of the leftover water that most people simply throw out. Check it out and share with others so that you’ll never have to endure lumpy pasta again!
Please Share This Trick With Family and Friends
I Was Confused When He Put 1 Pound Of Onions In A Pan. When He’s Done An Unexpected Surprise!
Everyone loves a hearty bowl of delicious soup. It warms the soul as well as the stomach, and the mix of flavors is a true delight to the taste buds. Anyone can heat up soup from a can, but this video tutorial will have your family and friends asking for seconds with this homemade french onion soup! Making soup from scratch might seem intimidating, but with this great recipe and excellent guidance, it becomes easy.
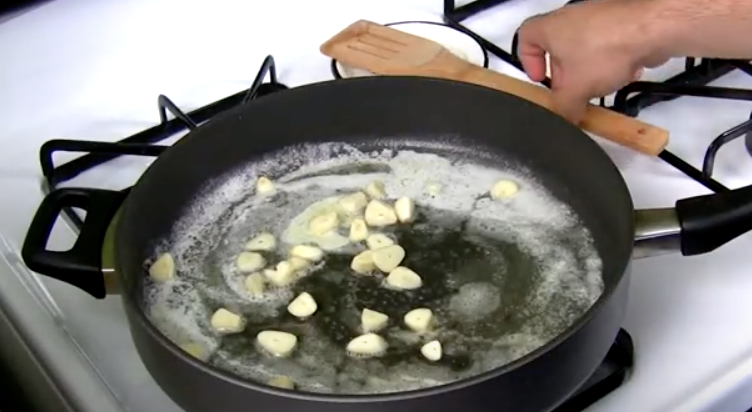
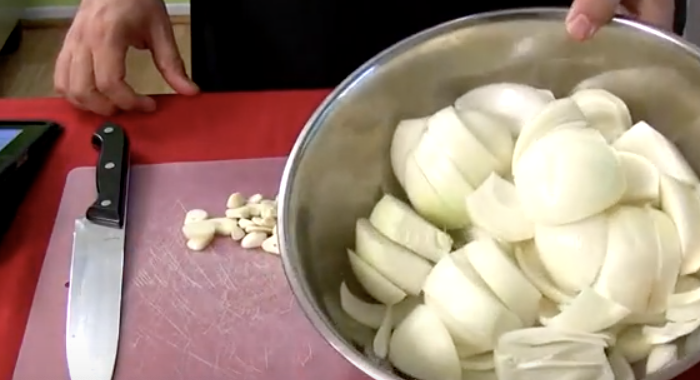
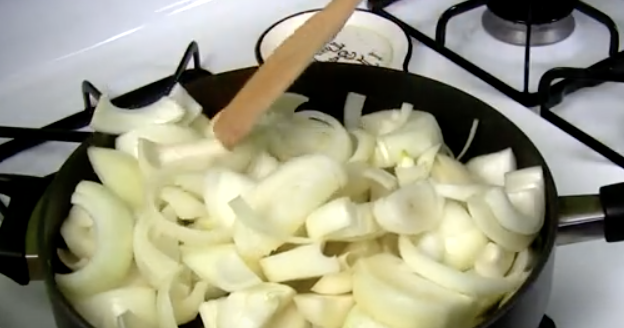
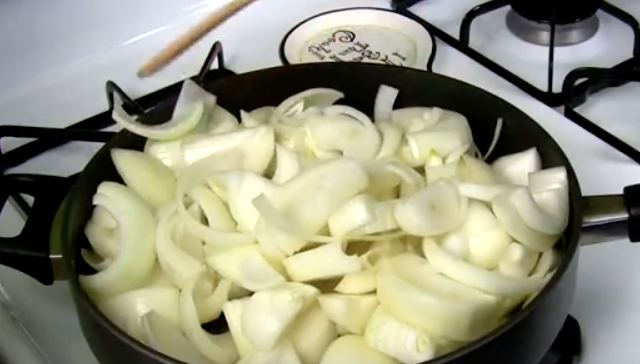
To get started, you will need the following ingredients: Parmesan cheese, Dijon mustard, Swiss cheese, butter, broth, French baguette, onions, garlic and dry white wine. First, toast slices of the baguette in the oven until crispy. Chop up your onions and garlic, sautéing them in the butter.
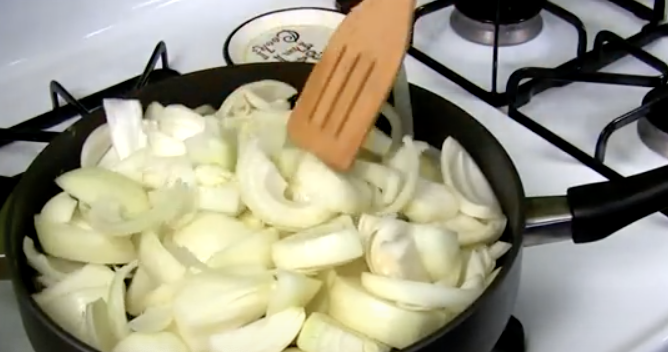
Once they start to brown, add the wine and let it simmer until it glazes over. At this point, add the mustard and broth, again leaving it to simmer. For the finishing touch, he bakes the bread and cheese onto the top for a perfect, golden brown topping.
French onion soup dates back three hundred years, although onion soups existed at least as far back as the Roman Empire, and most likely have been made ever since man started eating onions. Regardless of the interpretation, this dish is a classic for a good reason: it tastes great! Tell us how your soup turns out!
Please Share This Recipe With Family and Friends
After I Watched This Brilliant Trick I Will Never Bake Potatoes The Same Way Again!
For a new spin on the usual, tired, old potato check out this recipe! It is for delicious twice-baked potatoes and if you haven’t tried one yet prepare to be blown away by their soft yet crusty, melted cheesy, tasty goodness. Seriously, these hot twice-baked pillow globs are unbelievably delicious and make the perfect side to any dish. Keep reading for instructions on how to make and watch the video for more!
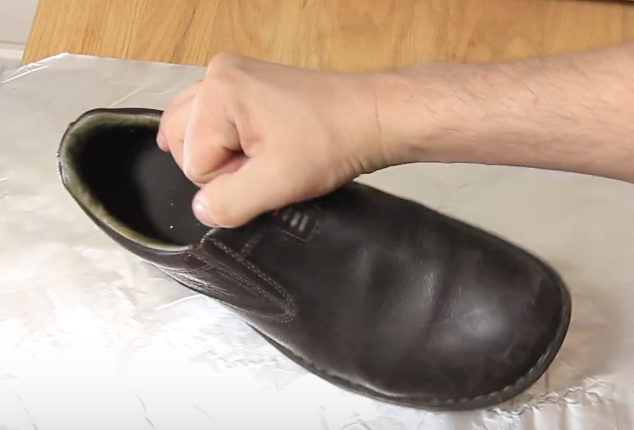
To make 4 servings all you need is 4 large russet potatoes, 3 tablespoons of butter, 1-2 tablespoons of minced green onion, salt, pepper,cayenne, ½ cup of shredded white cheddar cheese, ½ cup cream or milk, and one egg yolk. First rub potatoes with vegetable oil, put them on an aluminum lined tray and bake for one hour at 400 degrees. Remove and allow to cool before cutting 1/3 off each potato lengthwise.
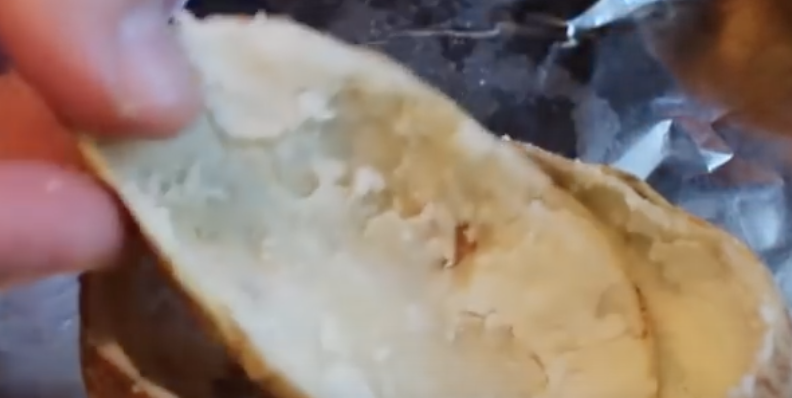
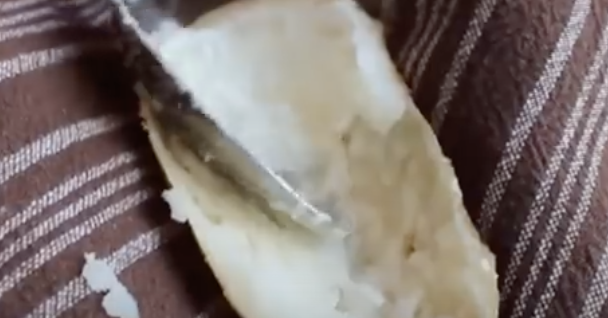
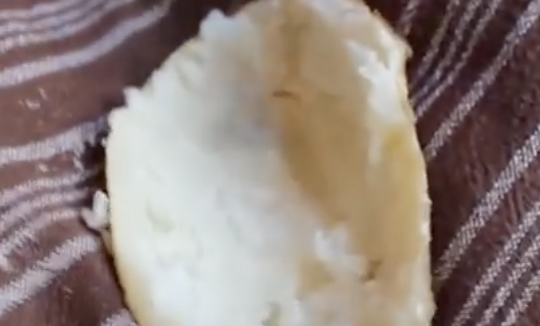
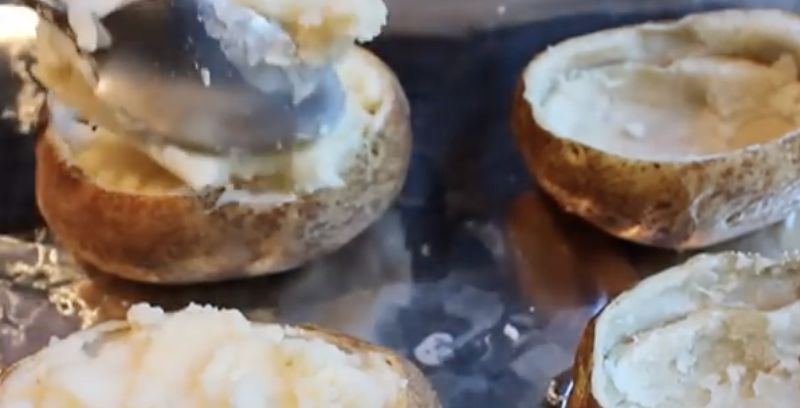
Scoop the insides out to within about 1/8- inch of the skins and put the flesh in a bowl. Mix it with the butter and green onion, then add in salt, pepper, cayenne, and cheese. Once it’s all melted add the milk or cream and egg yolk. Take a hollowed out potato skin shell and fill it with the mixture. Press the top with a fork to add texture, brush with melted butter, and sprinkle on some cayenne if you so desire. Bake again for 20-30 minutes or until a nice golden brown on top.
Please SHARE With Family and Friends
I’ve Been Cutting Cake The Wrong Way This Whole Time. How Did I Not Know This?
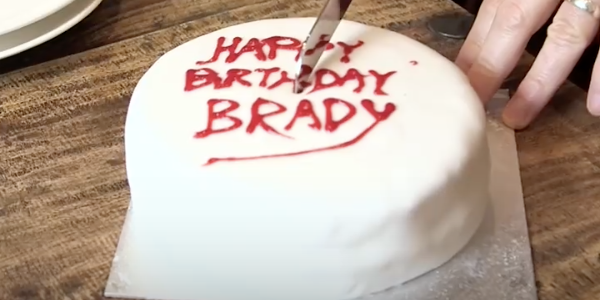
There is a right way and a wrong way to cut a cake. Chances are you, and most everyone you know, have been doing it the wrong way your entire life. This video from YouTube user Numberphile explains and demonstrates the proper way to cut up a delicious slice of cake so that when you store the leftover pieces for later they stay moist. No one wants to eat leftover cake that has become crusty, hardened, and dried out, so check it out!

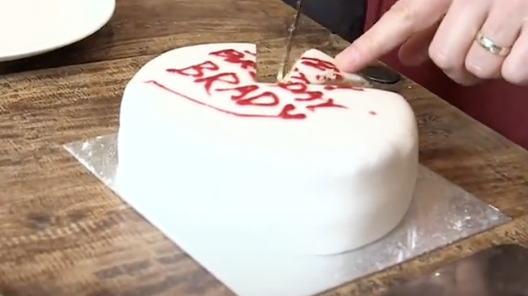
The method was first described in a December 20th 1906 issue of Nature Magazine. British mathematician, Sir Francis Galton, eloquently wrote in a letter to the editor “The ordinary method of cutting out a wedge is very faulty.” He then went on to describe the ideal way to cut up a round cake based on mathematical and scientific principles. Starting in the center of the cake, with a long knife, cut two parallel lines completely through it.
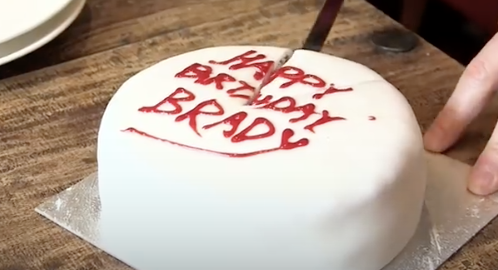
Remove the rectangular segment from the middle as that piece is for eating. You should end up with two halves that can be pushed together. This closes the cake into a smaller version of its former shape, thus allowing the inside edges of the cut parts to stay fresh longer. For the second slice, cut another central cross-section at a right angle, or 90 degrees, to the original cut.
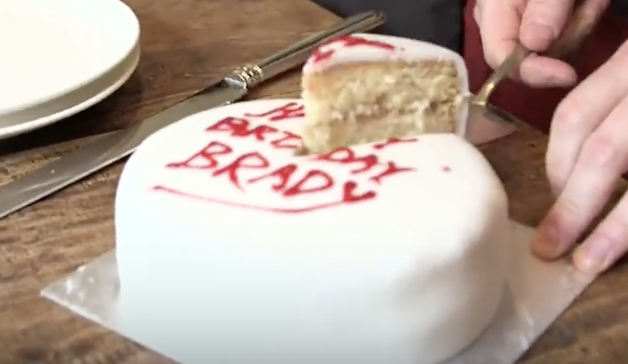
Now you should have 4 cake segments that can be pushed back together into an even smaller round cake. All edges should be sealed in and will remain deliciously moist for much longer. The technique is not what you’d expect but when it’s all said and done it makes perfect sense.
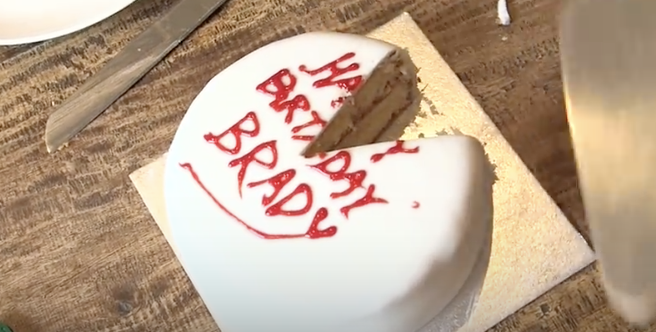
When it comes time to store it in the refrigerator the probability of exposed edges drying out is dramatically decreased since they are sealed in. Now the next time you are at a party where cake is being served you can impress everyone with your scientifically tested cake cutting skills!
Please SHARE This Technique With Family and Friends
She Pours Eggs On Top Of Apples. When She’s Done I Can’t Stop Drooling!
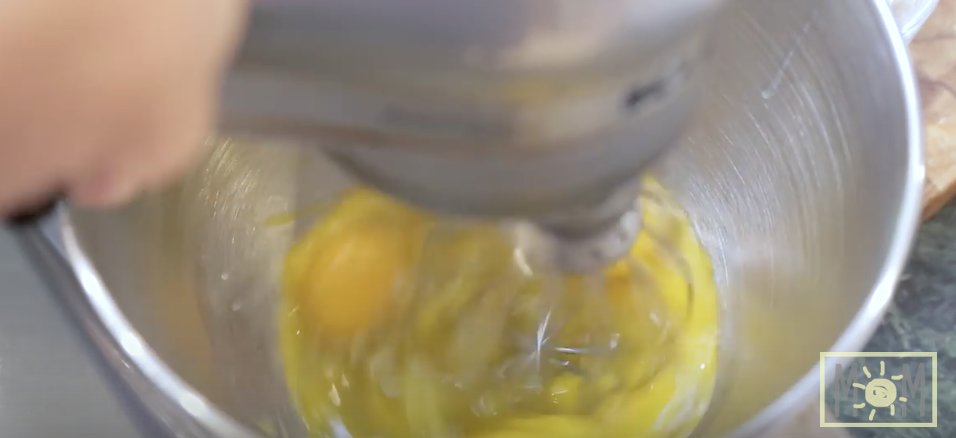
Sometimes the simplest ideas create the best results. In the following video you will learn how to make a delectable breakfast dish that your friends and family won’t be able to get enough of. Instead of just making normal boring pancakes, you add one surprise ingredient to really make the dish pop. That ingredient is 3 large sliced apples.
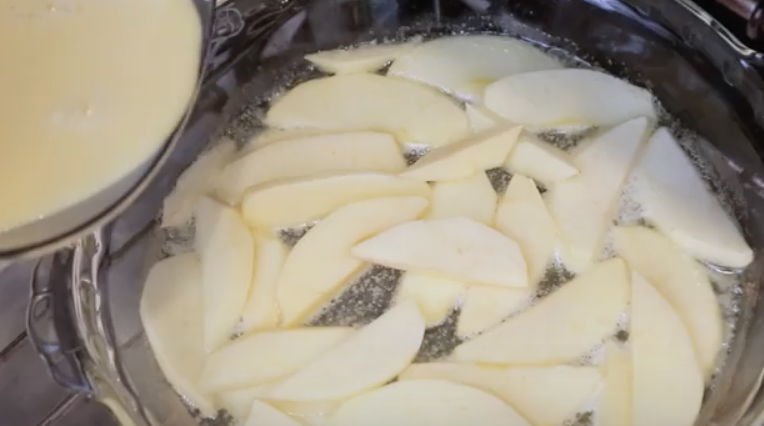
In the video below you will meet Meg from WhatsUpMoms who is joined by none other than her own mother Mimi. This duo will show you step by step how to make these Apple Puffed Pancakes. This dish is Meg’s favorite dish from her childhood and every time she goes and visits her parents she begs her mom to make it.
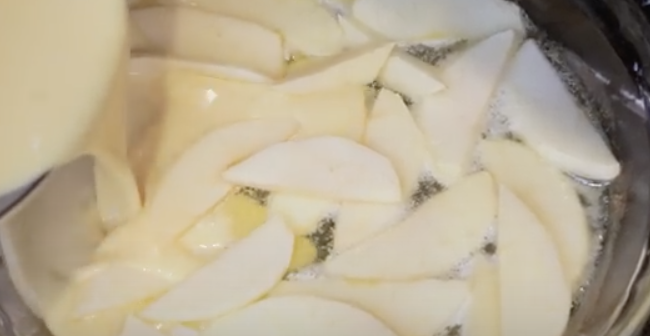
In order to make this delicious treat, you will need eggs, whole milk, flour, salt, butter, apples, brown sugar, and cinnamon. Then just follow along with the simple instructions, and voila your apple puffed pancakes will be ready to serve! This looks so yummy. I can’t wait to try it.
Please Share This Delicious Recipe With Family and Friends


