She Cuts an X Into An Onion And Puts It In The Oven For 30 Min. When She Reveals The Result WOW!
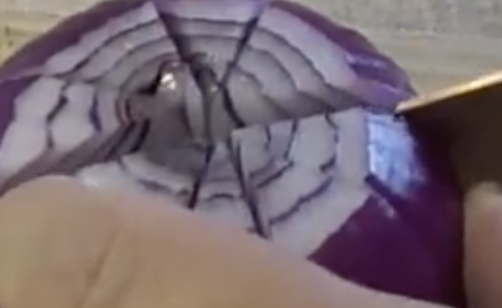
image via – facebook.com
If you have ever enjoyed a tasty blooming onion then you will love this healthy take on that good old deep fried favorite loved by so many! The oven baked recipe is easy to make and prepare, all you need is onions, olive oil, balsamic vinegar, and salt and pepper (optional). The onion will come out of the oven tender, tasty, full of flavor, and makes a beautiful colorful addition to any food it’s served with!
Below is the onion flower recipe! Start by gathering the ingredients; 4 red onions, 3 Tbsp. olive oil, 2 Tbsp. balsamic vinegar, salt and pepper. If you plan on serving this as a side dish with other food on a plate it is best to use smaller sized red onions and if it’s an appetizer then larger ones will do!
Peel the onion and slice off the the bottom root part so that it can be set down flat without rolling around! Carefully cut down the center, but be sure not to cut all the way through, you want to leave about half an inch uncut so that the pieces stay together..
Then cut it in half again so you have 4 pieces, and finally cut each of those in half so you end up with a total of 8 segments, all joined together at the bottom. Place the onions in a bowl, pour the olive oil and balsamic vinegar over, and toss them until they are well coated.
After, transfer all four onions onto a greased baking dish, spreading them out evenly so they have room to cook. Drizzle the remaining oil and vinegar on and sprinkle with salt and pepper. Cover the dish with aluminum foil and bake at 425° for 25-30 min!
When time is up take them out, remove the foil, and then bake uncovered for an additional 10 minutes. When they come out of the oven the onions should be “blooming” and will have opened up in similar fashion to that of a flower’s petals unfolding.
They will be crisp on the outside and tender, juicy, and flavorful on the inside. Onions get sweeter when baked at high temps and these taste just as good as they look! Actually they taste better! 🙂
Let us know how yours turn out! Bon appetite! Enjoy!
Please SHARE This Recipe With Your Family and Friends
This Woman Wraps Bubble Wrap Around This Cake. But When She’s Done STUNNING
When you bake a cake at home it usually ends up being slathered in frosting and maybe some sprinkles, candy, or fruit gets thrown on top of it. The average home baker simply does not have the knowledge or specialized tools to make fancy cakes.
However, with this simple chocolate tempering decoration technique you can take a boring run of the mill cake and turn it into a work of art! All you need is a piece of clean bubble wrap, pastry chocolate, a microwave, and an already baked cake. Read on to see how you can take a cake from blah to WOW with a little finesse and patience, and be sure to check out the video to see how it’s done.
In a microwave safe bowl break up pastry chocolate into pieces, place it in the microwave, and cook for 1 minute on medium heat. Remove the bowl, stir the chocolate, and resume heating it for an additional minute. Depending on your microwave, you may have to keep heating it in short stages, and you can stop once the chocolate is completely melted and smooth.
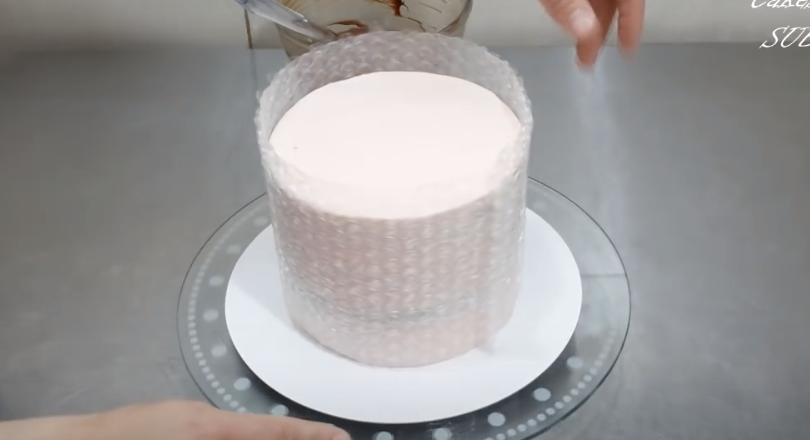
Take a clean, washed piece of bubble wrap that has been fitted to match the size of the cake you’re decorating and wrap it around the cake. Leave about ½ an inch of the edge to overlap where it meets, as well as an inch that extends over the topside of the cake (see video). Lay the bubble wrap flat with the bubble-side facing up and pour the melted chocolate onto it.
Working quickly, smooth the chocolate evenly over the wrap with a flat knife or spatula, covering the piece to the edges as best you can. Allow the chocolate to dry and harden up a bit for about 10 minutes, at room temperature, before you go on to the next step.
Once it’s ready, carefully pick up the chocolate bubble wrap and apply it to the outside of the cake. Make sure the chocolate covered side faces in, touching and resting against the cake, then wrap it around while smoothing it on and pressing firmly against the cake. Pay careful attention to the seam where the edges meet and make sure it’s evenly aligned. Wait about 10 minutes while it sets, then you may remove the wrap.
Starting at the edge that overlaps at the seam begin to slowly peel back the bubble wrap away from the chocolate. Once you get started it should come off easily and you’ll be left with a honey-combed chocolate enveloped cake that looks amazing and super tasty!
The chocolate part that extends over the top edge of the cake makes an excellent holder for any additional topping you may wish to add on, like fruit, candies, cream, or whatever other creative things you come up with.
Please Share this with family and friends
I’ve Been Cutting Cake The Wrong Way This Whole Time. How Did I Not Know This?
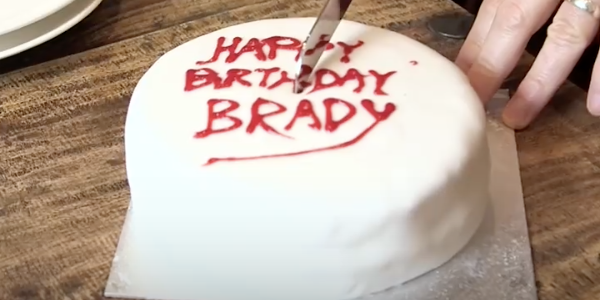
There is a right way and a wrong way to cut a cake. Chances are you, and most everyone you know, have been doing it the wrong way your entire life. This video from YouTube user Numberphile explains and demonstrates the proper way to cut up a delicious slice of cake so that when you store the leftover pieces for later they stay moist. No one wants to eat leftover cake that has become crusty, hardened, and dried out, so check it out!
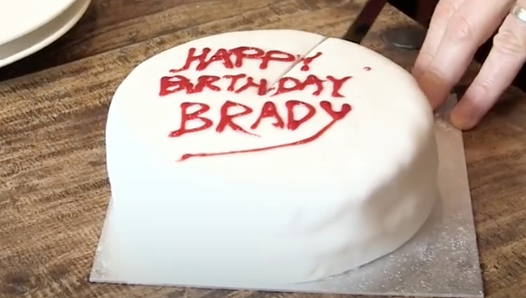
The method was first described in a December 20th 1906 issue of Nature Magazine. British mathematician, Sir Francis Galton, eloquently wrote in a letter to the editor “The ordinary method of cutting out a wedge is very faulty.” He then went on to describe the ideal way to cut up a round cake based on mathematical and scientific principles. Starting in the center of the cake, with a long knife, cut two parallel lines completely through it.
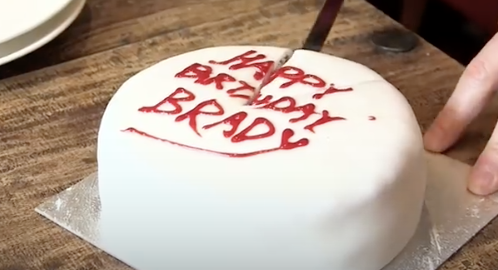
Remove the rectangular segment from the middle as that piece is for eating. You should end up with two halves that can be pushed together. This closes the cake into a smaller version of its former shape, thus allowing the inside edges of the cut parts to stay fresh longer. For the second slice, cut another central cross-section at a right angle, or 90 degrees, to the original cut.
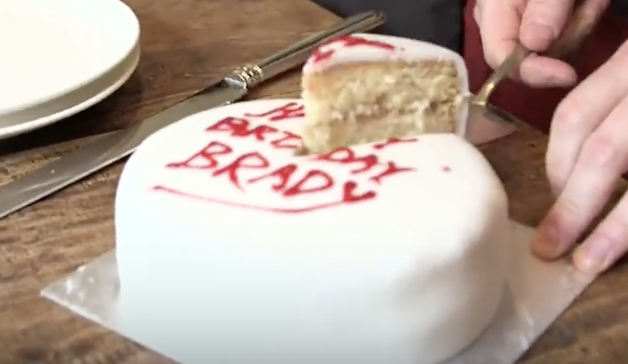
Now you should have 4 cake segments that can be pushed back together into an even smaller round cake. All edges should be sealed in and will remain deliciously moist for much longer. The technique is not what you’d expect but when it’s all said and done it makes perfect sense.
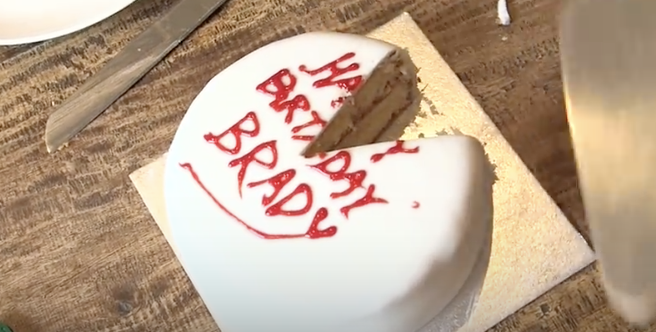
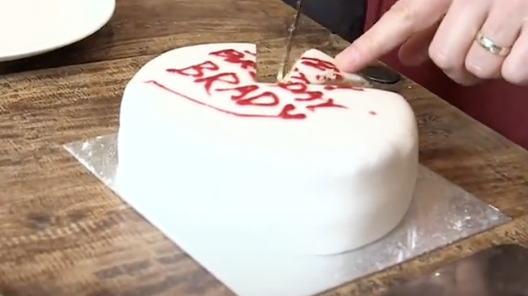
When it comes time to store it in the refrigerator the probability of exposed edges drying out is dramatically decreased since they are sealed in. Now the next time you are at a party where cake is being served you can impress everyone with your scientifically tested cake cutting skills!
Please SHARE This Technique With Family and Friends
This Lady Scoops A Few Different Batters Into A Bowl. When She Removes It From The Oven WOW!
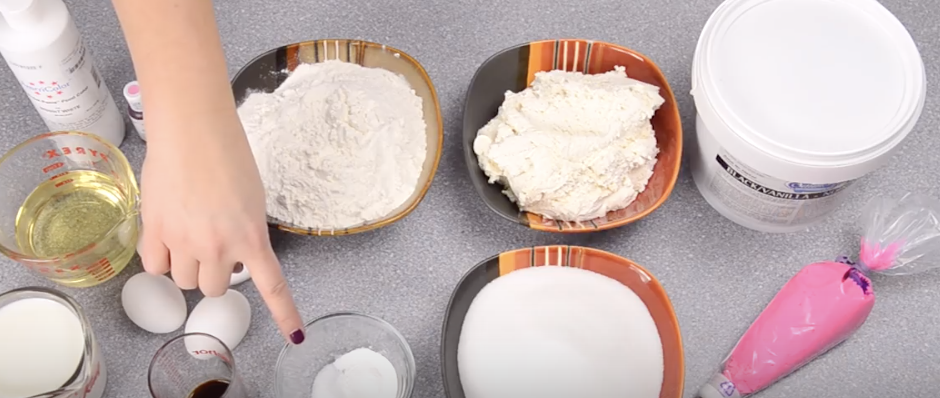
There is nothing in the world that makes people happier than a beautiful cake. Especially when it is for a party, it can change the whole vibe of the get together just by its mere presence. Nothing brings people together than a delicious cake that is almost too beautiful to eat. In the following video you will learn how to chef up a cake that your guests will remember forever. I know I will never forget this delicious recipe.
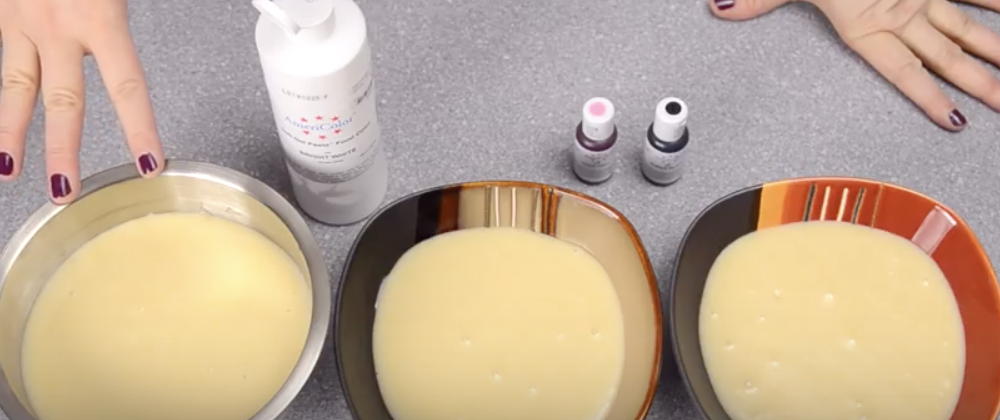
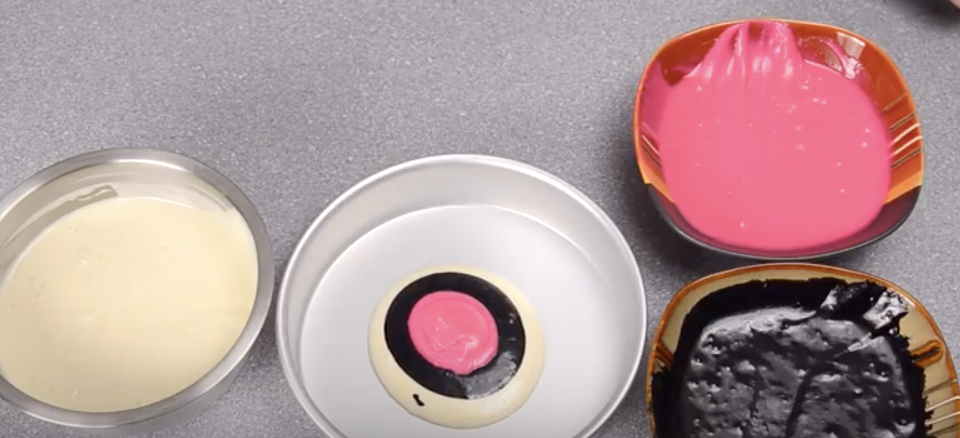
The outside of this Zebra Cake really pops with it’s bright colors and strong contrasts. But the best part about this cake is the inside, which kicks the whole thing up a notch. When designing a Zebra Cake you can go with the traditional black and white. Or you can take a walk on the wild side and add pink like she does in the video. Also if you did orange it would transform from a Zebra to a Tiger Cake.
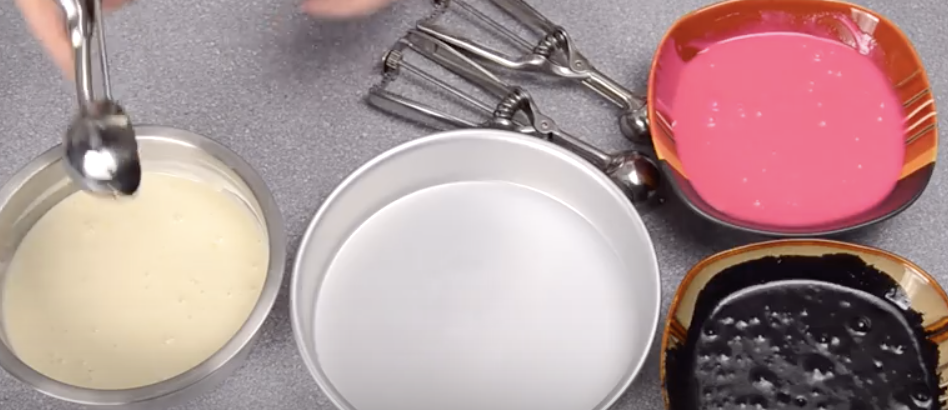
This recipe is something I will definitely be trying out. I can’t wait to experiment with different color schemes to produce a unique dessert experience for my guests at the next party. Are you going to try this out? Let us know!
Please SHARE With Family and Friends
She Presses Dough On An Upside Down Muffin Tin. But When She’s Done YUM!
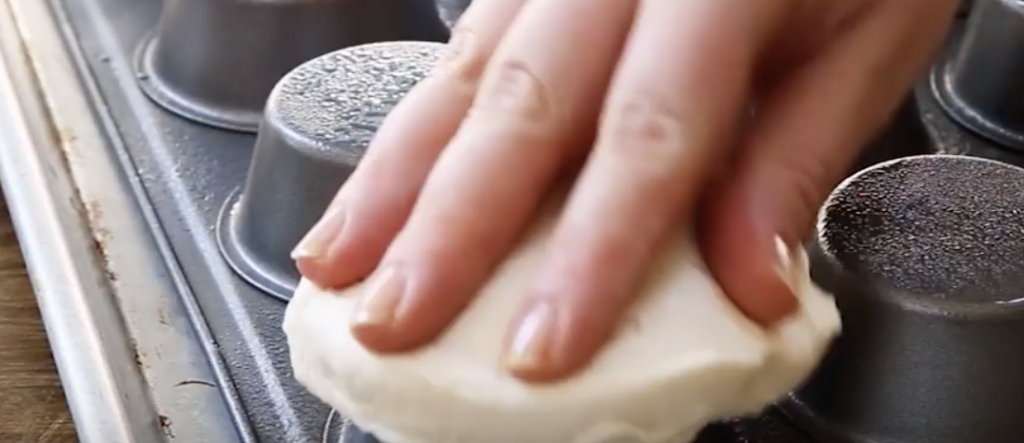
There seems to always be a right way and a wrong way to go about doing practically everything. Then there are all of the many ways that fall in between those two opposite ends, and that’s what is covered in this Allrecipes YouTube video. It features a novel way for you to use a plain old muffin tin to bake a variety of delicious treats that the whole family will love and appreciate.
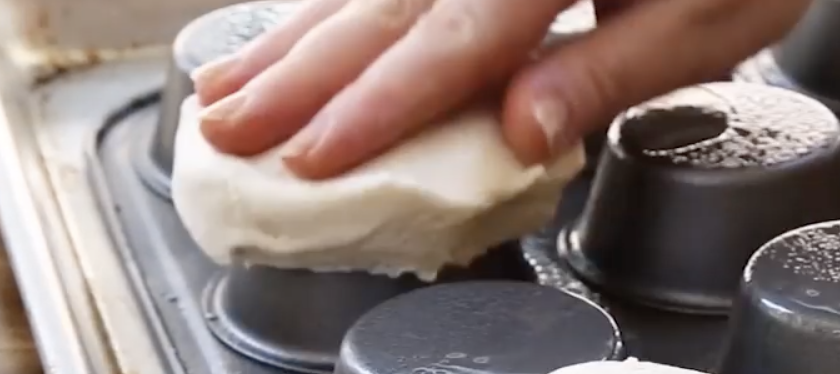
The innovative idea shown makes you think outside the muffin tin by switching up the way in which you’d normally go about using the classic bake ware. Instead of putting batter or dough in the little slots right-side up, flip over the tin and use the underside of the moldings to make different types of edible food bowls.
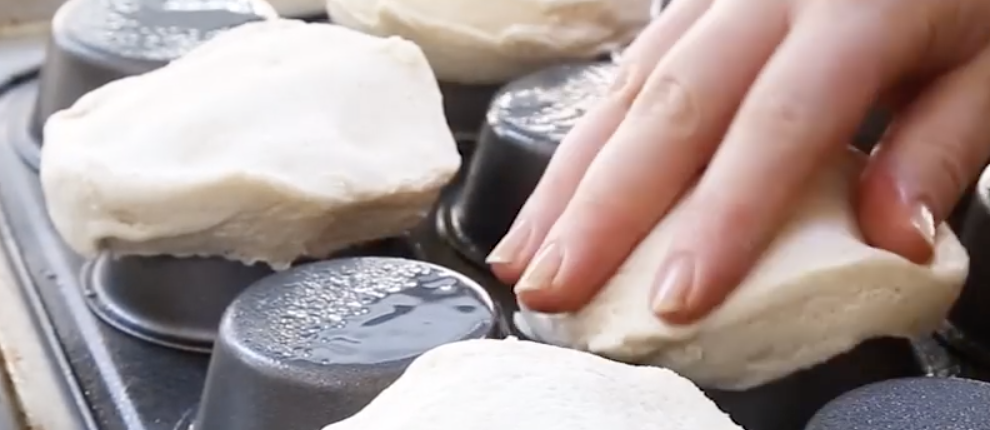
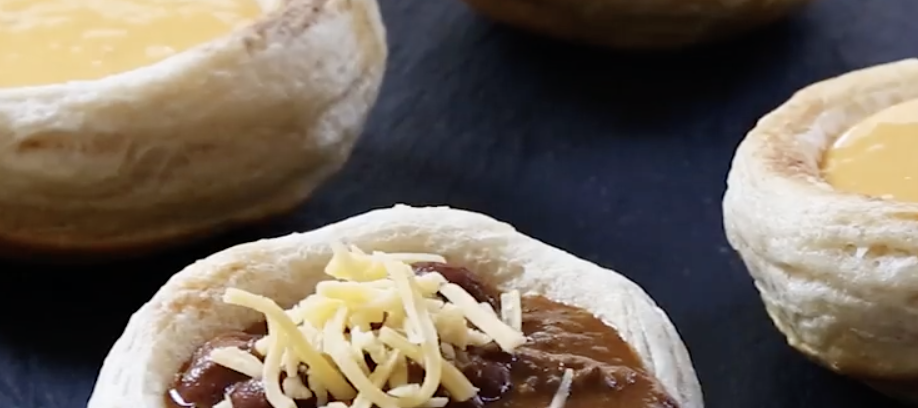
Get creative and imagine all the different ways you could use this technique to bake stuff and check out the recipe ideas covered in the video and below. The first recipe shown is for biscuit bowls. Start by turning the tin over and coating the underside with cooking spray. Take some biscuit dough (homemade or store bought) and smush it over each of the muffin slots on the bottom of the tin.
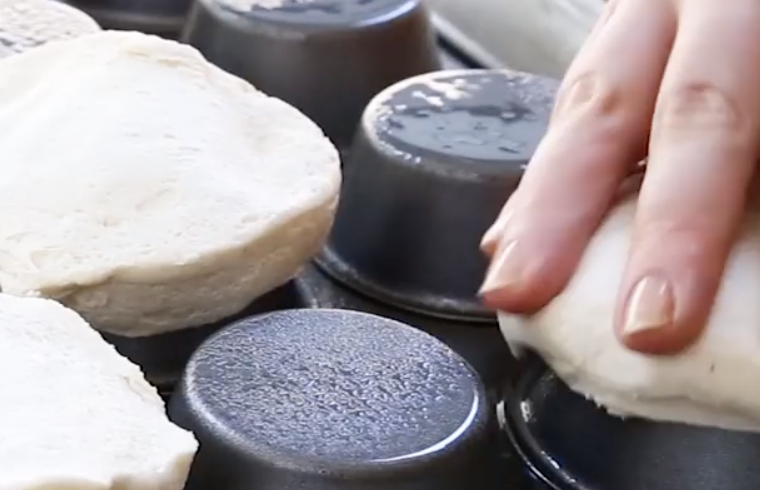
Pop it in the oven and bake them for 12-15 minutes at 350 degrees. When they’re done you’ll have tasty little biscuit bowls that are perfect for holding hearty soups, like loaded potato soup with cheddar or different chowders, as well as dips and chili.
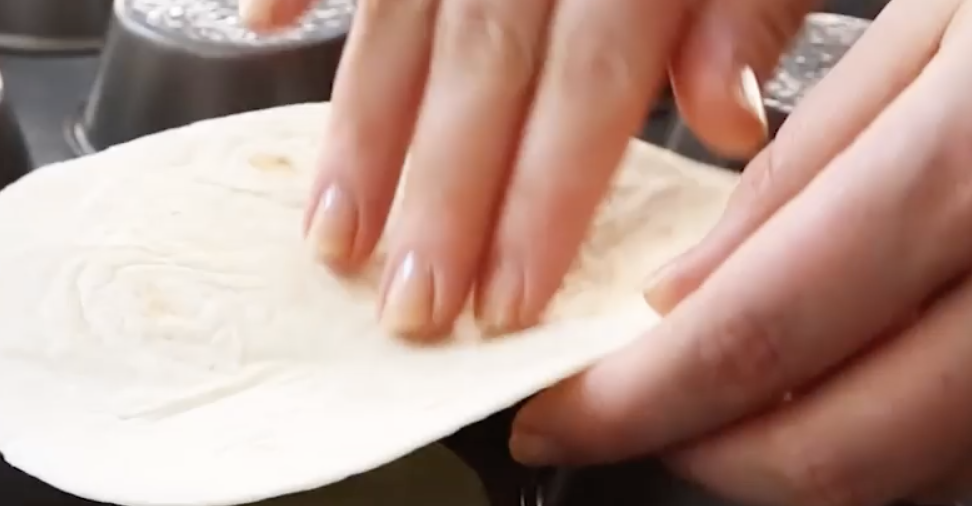
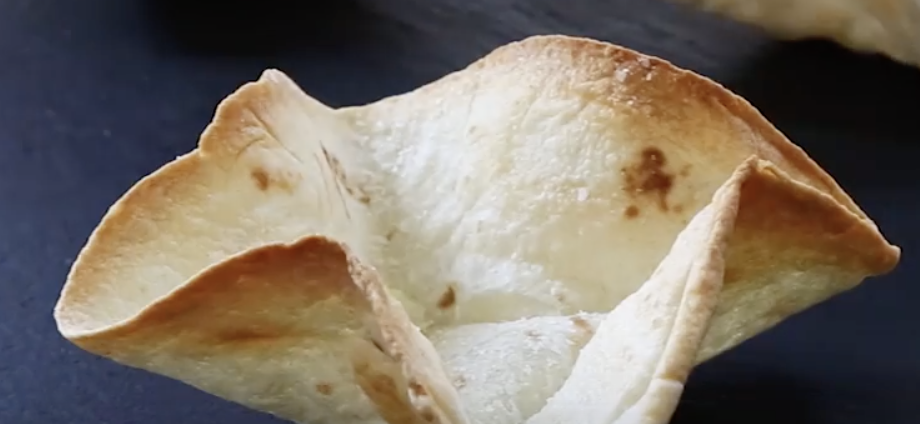
The second recipe is for taco bowls. First coat the underside of the muffin tin with cooking spray and then insert soft tortillas snugly in-between the muffin slots so that they form a nice bowl shape.
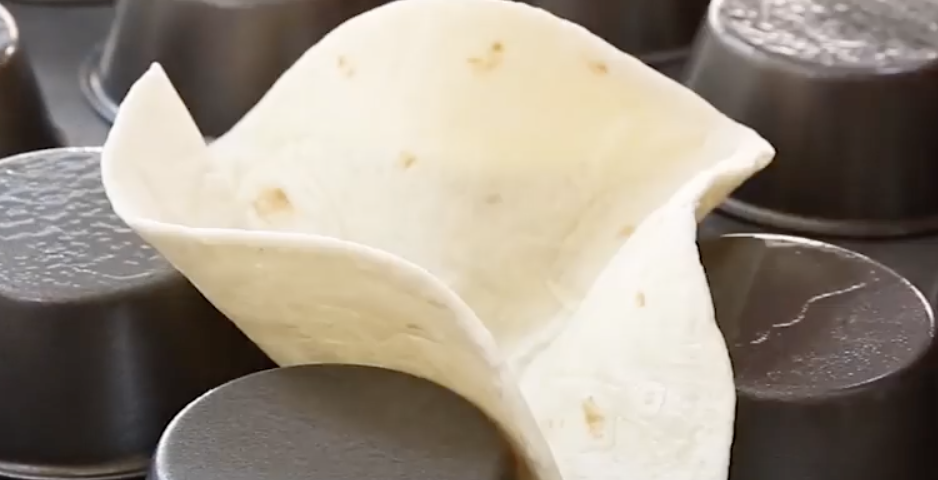
Bake these at 350 degrees for 10 minutes and then fill them up with your favorite taco fixings like meat, cheese, lettuce, tomato, salsa, guacamole, or whatever else you prefer.
The whole idea is a great way to maximize your muffin tin beyond using it to make the standard batch of cupcakes or muffins. Try it out and pass it on!
Please Share These Recipes With Family and Friends 🙂


