This Guy Places Colored Sand On His Special Table. When He Does THIS I’m Mesmerized
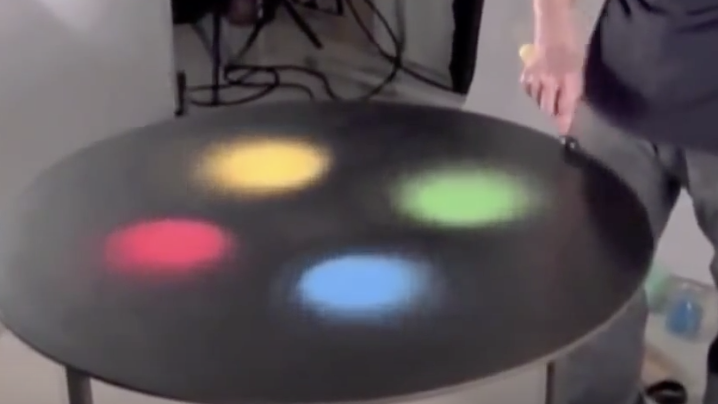
Auditory Synesthesia is known as the rare ability to see sounds. For most of us we can imagine what this would be like but for some musicians like Billy Joel and Stevie Wonder this sense is a reality. Meet musician Kenichi Kanazawa who has created an amazing apparatus which will give us some insight on what seeing sound is really like.
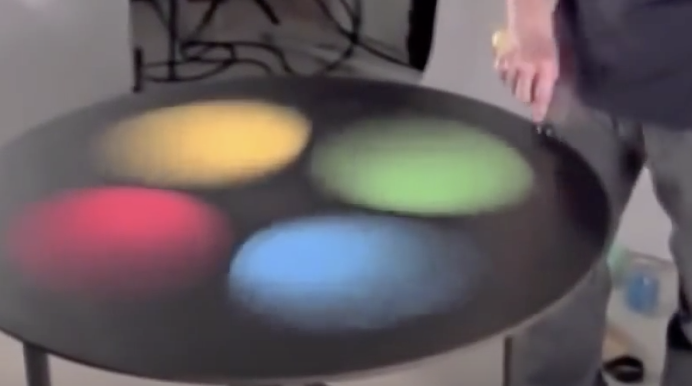
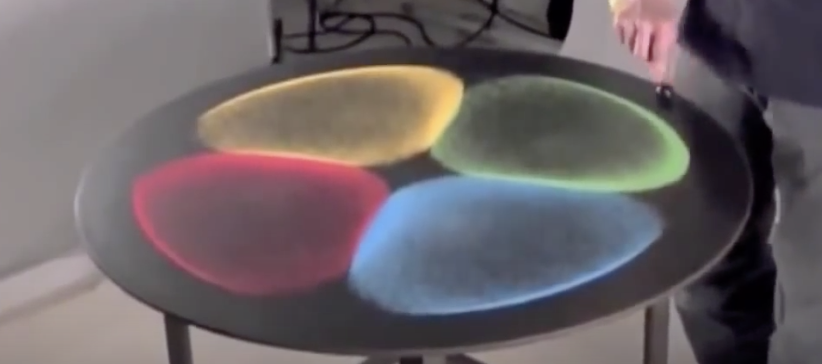
Kenichi uses colored sand and then sends pulses of sound frequencies through this specially designed table. The sand begins to to bounce around and form different shapes. As he changes the frequency so do the shapes of the san as they morph into the most beautiful perfect patterns!
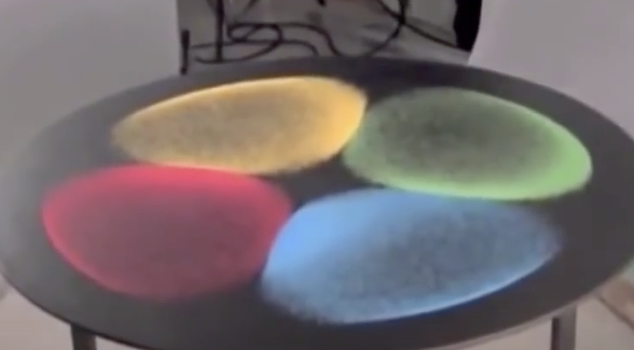
The whole thing is beautiful and rather hypnotizing. It is really amazing to see visually what is going on inside our ears. Imagine every time you are listening to any sort of music, vibration or any other sound this is happening inside of us. This demonstration completely blew us away and we knew we had to post it for everyone to see. Enjoy!
Please SHARE With Family and Friends
Woman Places A Rubber Band Around This Coffee Filter And Dunks It In Water. WATCH What It Becomes!
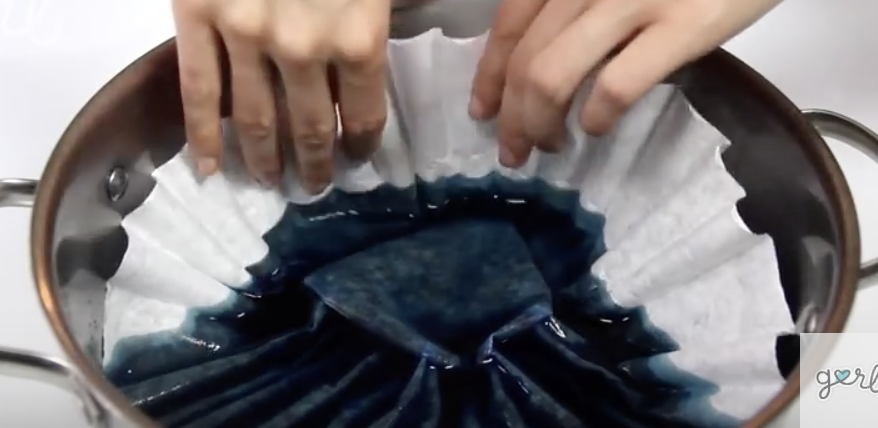
When it comes to getting someone special in your life a gift nothing is more thoughtful and unique than something homemade. These hand crafted flowers are perfect for decorations and make a great alternative gift to give a party host instead of the traditional bottle of wine. No special occasion is needed to hand these beauties out, present one to someone you appreciate, and show them you care.
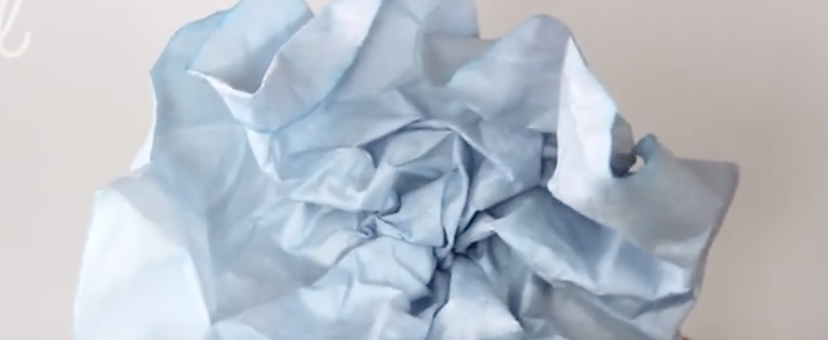
To make your own you will need coffee filters, scissors, a straw/pen/pipe cleaner or similar object, small rubber band, masking or duct tape, and glue. The first method is called the bunch n’ crunch where you pinch a filter in the center and bunch up the remaining material into a flower like form. Add in layers by pinching 3-6 filters onto the first and ruffle them into shape until you have a nice, full flower.
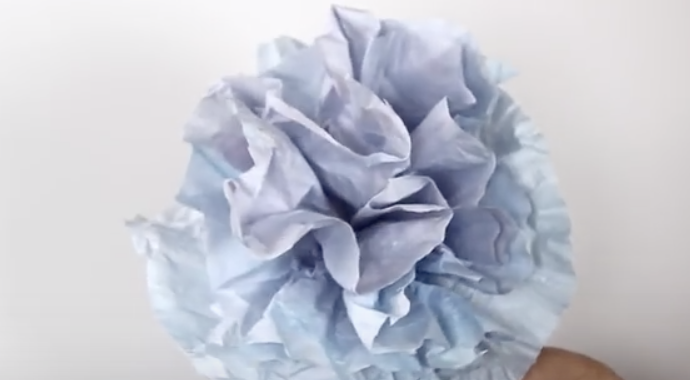
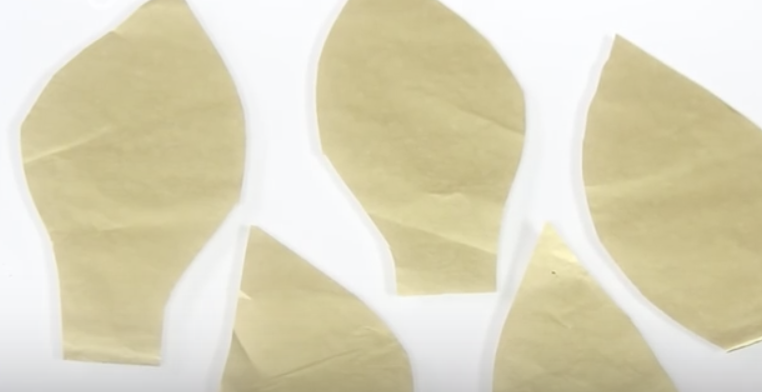
Take a rubber band to bind the base of the filters securely in place. To add petals, cut a filter into leaf-like shapes then glue them on behind any layer of flower, or wherever you think looks best. For the stem, attach a pipe cleaner on by wrapping it around the base of the flower or glue it on. You can style filters by dyeing, painting, cutting, and shaping them before you begin bunching to add more variety and uniqueness to the flowers.
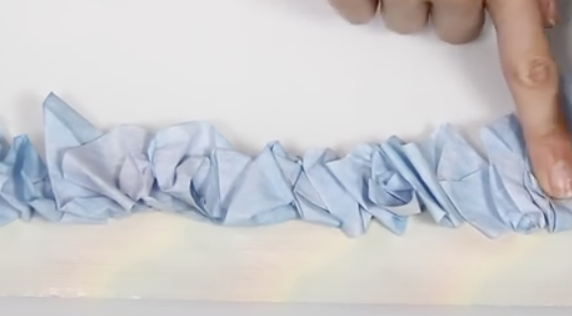
The second method is the singular rose technique in which you cut a filter into a spiral. Start cutting at the outside edge, around and inwards towards the center, leaving the spiral about an inch or two wide. Roll out 2 feet of tape sticky side up, secure it down at both ends, and place one end of the filter spiral down on the top half of it.
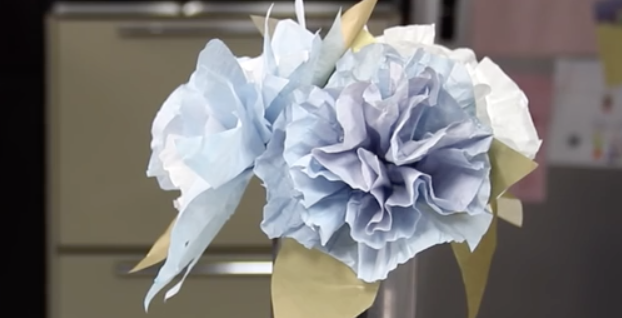
Unwind the spiral along the tape, making sure it overlaps as much as possible while you bunch and stick it on from one end to the other. Attach a pen or straw to one end the tape then slowly wrap it around until it’s completely rolled up into a flower. If you want you may attach more tape to the stem to further secure it to the flower. Watch the video for more tips and instructions on how to craft these beautiful flowers!
Please SHARE With Family and Friends
With Just 3 Simple Steps This Woman Transforms Ordinary Mason Jars Into Something Amazing!
Mason jars have been making a huge comeback recently and they are no longer used only for your grandmother’s canning needs. These days they hold anything from quick and easy on the go salads and snacks to hand poured candles. This YouTube video from flourishxo shows how to make DIY colored mason jars. They add an extra pop of color for any room in the house and can be used for holding flowers or a flame-less tea light. Best of all they are very inexpensive and easy to make.
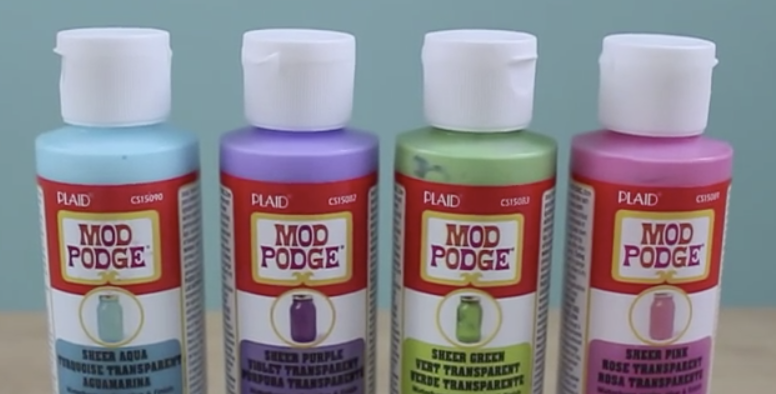
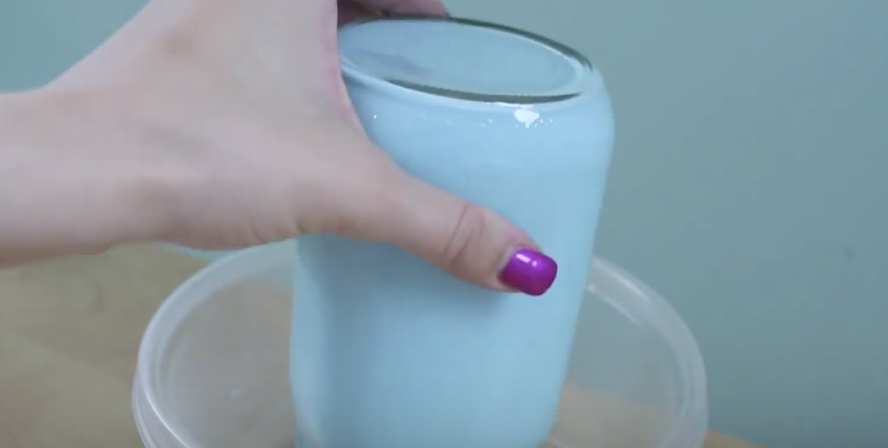
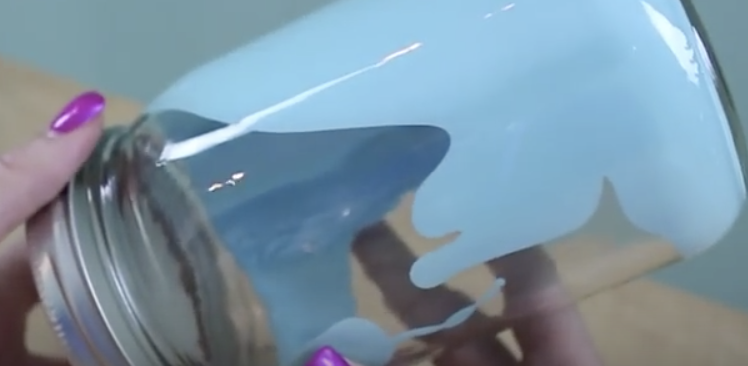
Start by gathering your materials. You will need mason jars of any size, different colored modge podges, a plastic container/bowl and paper towels. Begin by pouring some colored modge podge into a mason jar and place the lid on tight. Then, tip the jar all around and upside down so that the modge podge coats the entire inside surface of the glass evenly.
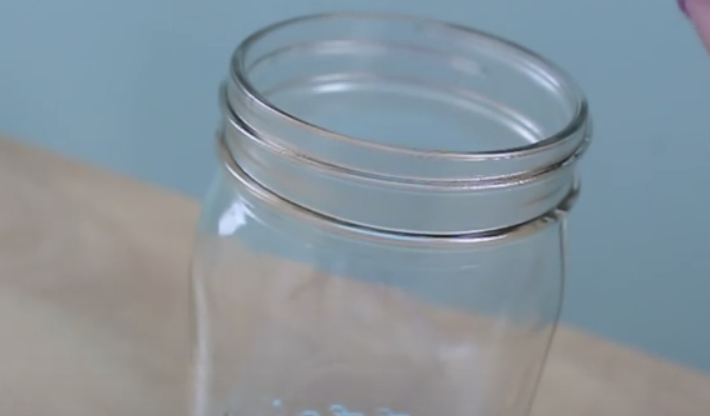
Take your time and be sure to make certain there are no spots left uncovered by the glue. After, remove the lid and turn the jar upside down into the bowl so that any and all excess glue drips down and out. Repeat the process for each jar you want to color and then take some paper towel and wipe up any excess modge podge from the lid(s). Wait about 12 hours to completely dry before using them for whatever you’d like!
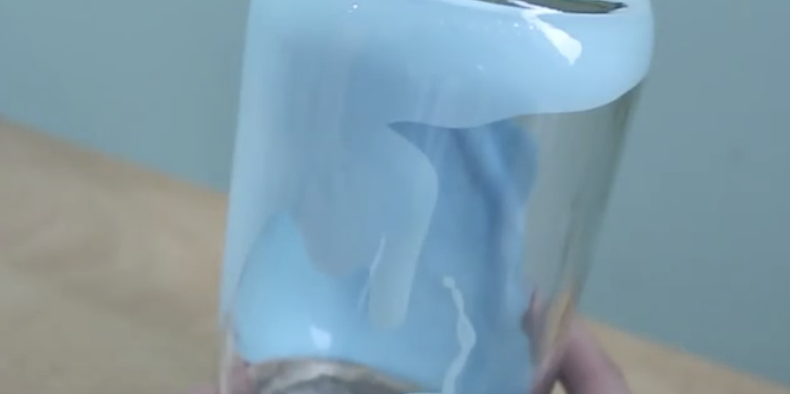
The colored mason jars will make a beautiful decoration on a porch or as an addition to a picnic table spread. You can use them to hold utensils, napkins, candles, flowers, or as a hold-all for little knick knacks. The possibilities are wide open and they are incredibly easy to make with things you likely already have on hand. Check it out and give it a try!
Please SHARE With Family and Friends
When You Mix Alcohol With Normal Sharpies The Results Are STUNNING!
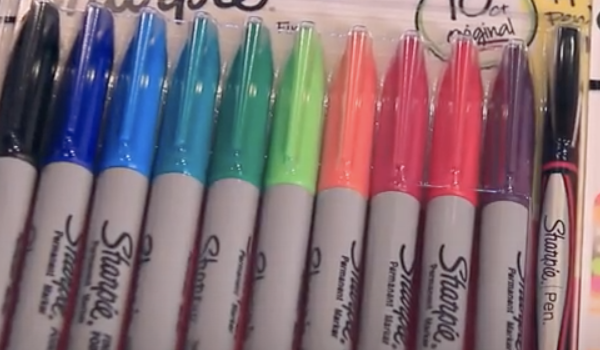
If you’re looking for a cool and easy craft idea, or some unique colorful pictures to liven up a space, then check out this video. YouTube channel SoCraftastic uploaded the tutorial which features artwork done primarily with Sharpies, or any permanent marker, and rubbing alcohol. There are 4 different techniques covered and each attains certain results. Each one turns out looking awesome and, best of all, they don’t require that you be a highly skilled fine artist.
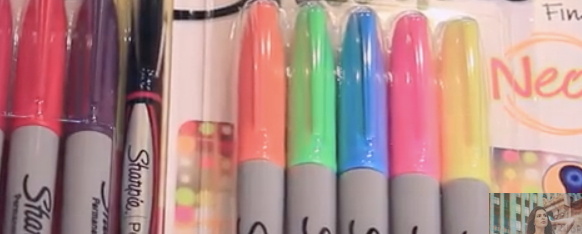
The Sharpie watercolor technique is the first covered. Take a sandwich bag and color on it with a marker until there seems to be a lot of ink on the bag. Fill up a dropper with rubbing alcohol and squeeze some onto the marker/bag. Mix it all together with a paintbrush and then you can paint it on canvas as you would with watercolors.
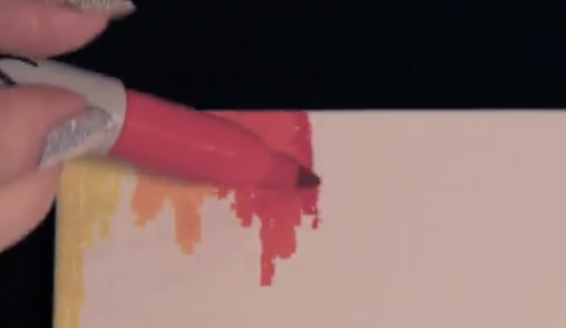
If you add in more rubbing alcohol it gives you lighter hues that are more faint and after about 5 minutes it should be dry. Next is the tie dye technique, which works best with neon colors. Start by drawing a star-burst, then extend it out in layers with different colors until the entire canvas is filled. Take a dropper of alcohol and drip it onto different parts of the canvas. It will spread the ink out and overlap the colors into a nicely blended smear.
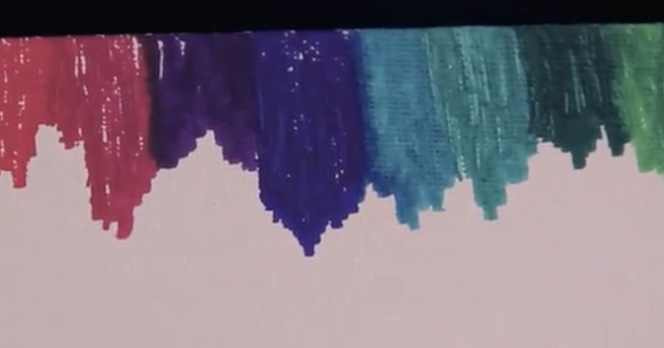
The third is the crayon melting technique, which requires only the top portion of the canvas be colored. Mix up and alternate colors in any way you desire, the video shows rainbow, and you can color over onto the side as well. Prop the canvas upright and drop alcohol onto the top colored portion, making sure to let it run down the canvas as if it melted and dripped down like wax.
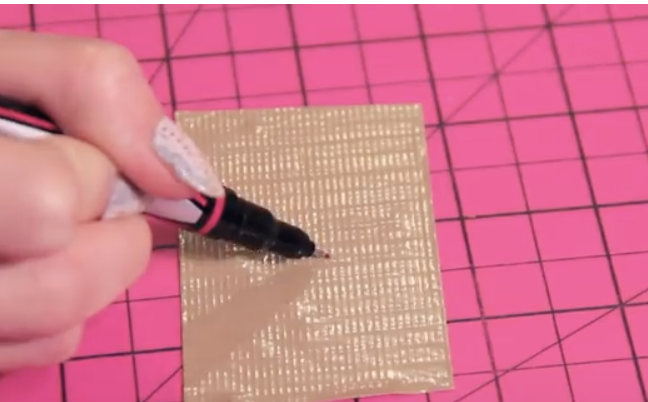
Last up is the galaxy-esque style. Draw stars on duct tape and cut them out (or use stickers) then place them down before you add any ink. Color all over the canvas, with different colors here and there, then add in some black spots. Prop the board upright and drop on alcohol so it runs down. Let it dry and then it’s safe to peel off the stars.
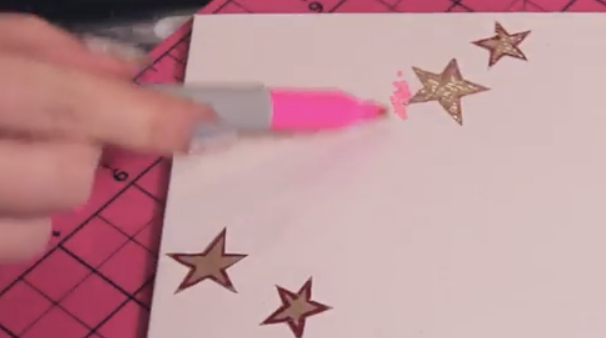
The video girl painted her stars with gold puffy paint, and she brushed on modge podge mixed with glitter, to add a bit of sparkle to the galaxy. These make a really fun project for kids, teens and adults. Plus, with 4 alternative ways everyone can find something to try. Check it out and enjoy!
Please SHARE With Family and Friends
Woman Wraps Some Apple Slices Inside a Puff Pastry. When She’s Done It’s Almost To Beautiful To Eat!
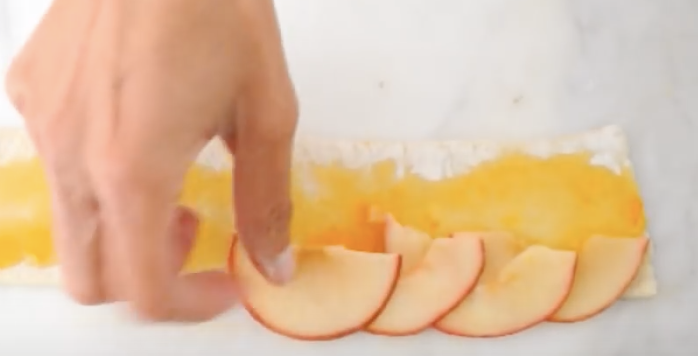
I am always trying to cook healthy meals for my family and friends. However, a lot of the time my sweet tooth takes over and nutrition gets thrown out the window. In some very special cases, my sweet tooth and nutrition align to form a healthy dessert I can enjoy and not feel guilty about eating! This is one of those cases where art meets nutrition and my sweet tooth still is satisfied!
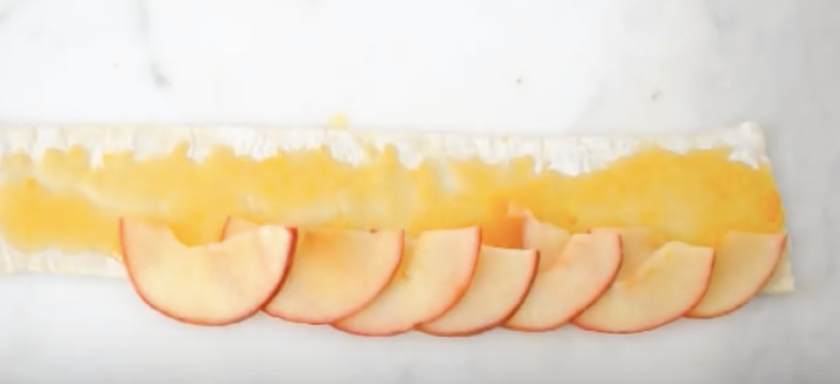
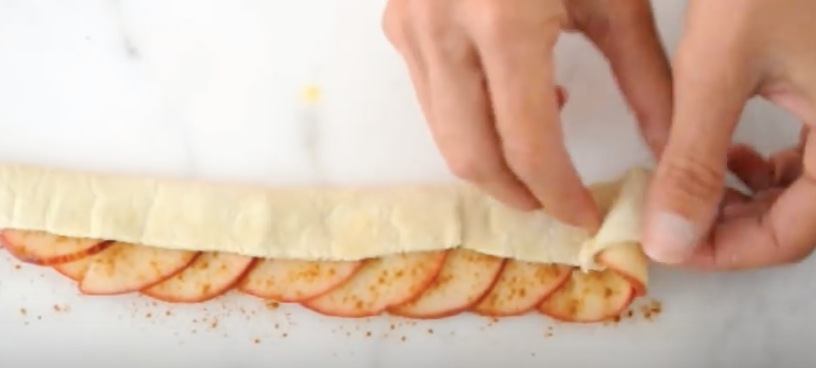
Meet Manuela M. a chef on Youtube has gained quite the following due to her awesome recipes and creative videos she produces. In the following video, Manuela shows us how to create a a rose shaped apple baked dessert that looks almost to pretty to eat.
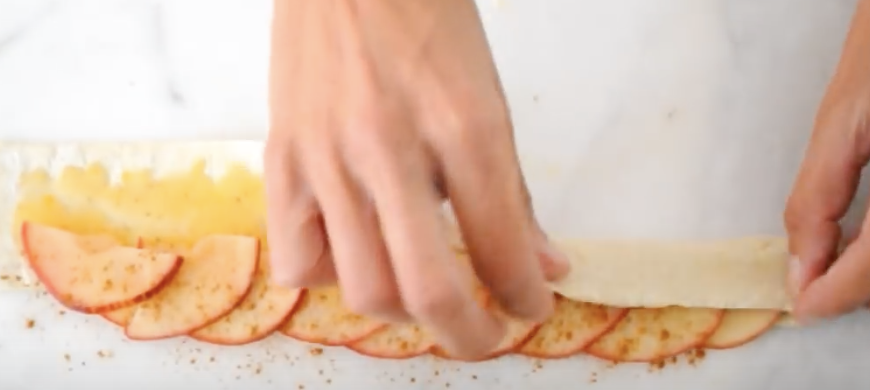
Manuela takes, sliced apples, all natural apricot preserves, freshly squeezed lemon juice and finally puff pastry. She then takes all these ingredients mixes them together and produces a fine piece of food art! I think you will be pleasantly surprised by how easy it is to make this beautiful dessert. Are you ready try this out?
Please SHARE this Recipe with Family and Friends
Video: Woman Starts Spray Painting A Seashell. But When She’s Done Stunning!
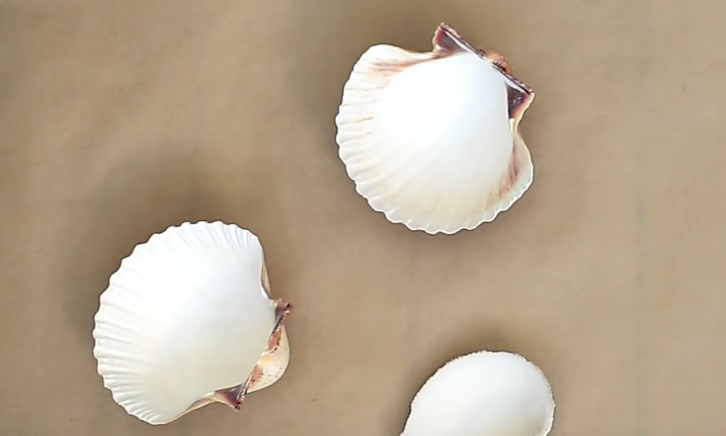
With the warm weather finally here and summer will be here before we know it!r If it feels a bit too early for all that, then try making these fun little candles. They seem like the perfect accessory to liven, and lighten, up any space. Best of all, the pretty beach-chic lights are super simple and very inexpensive to make. All you need are seashells, tea light candles, glue, and spray paint.
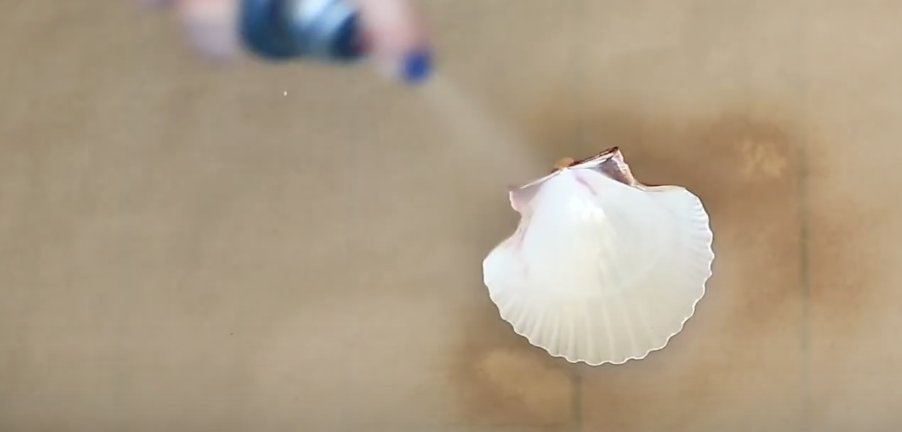
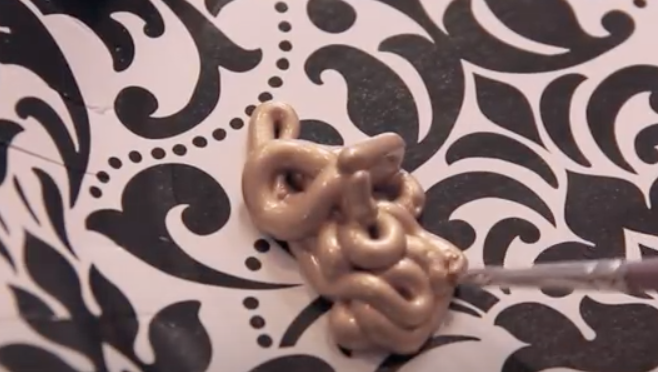
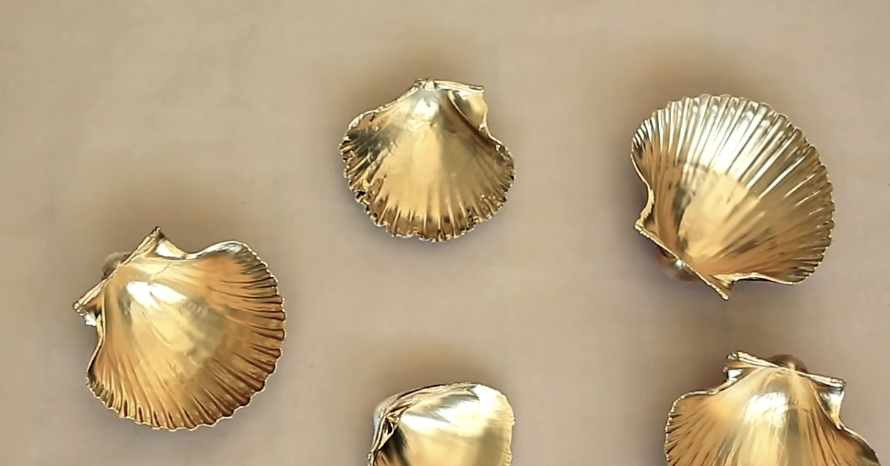
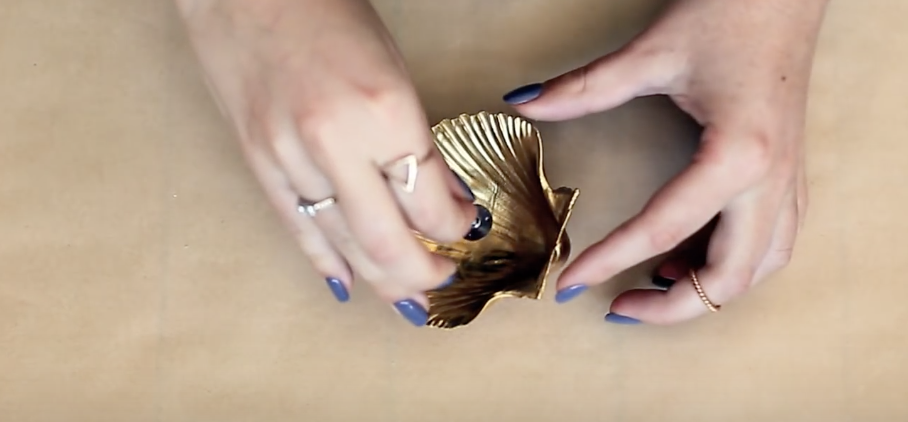
You can either use shells you may have collected at the shore and have on hand, or do what the video says and head to a craft store, like Michaels, to pick them up. Then, spray paint the shells with whatever color your heart desires or that you already have on hand. The gold ones shown came out looking very nice, and other metallic finishes like silver and bronze would likely be on par with those in the video.
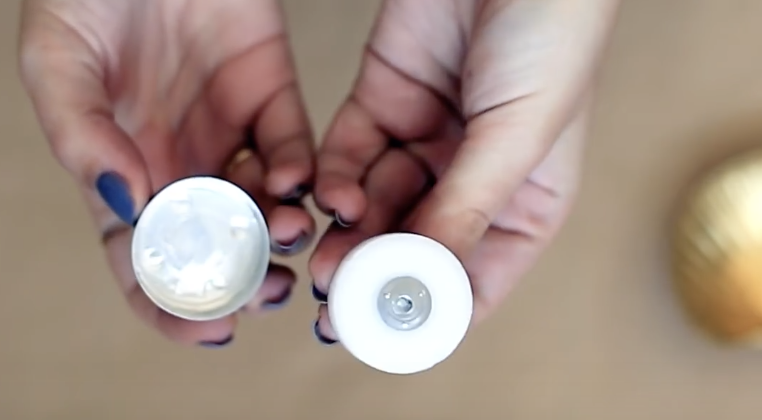
After that, remove the wicks from the tea lights and make sure to return the wax back into the metal holder. Glue the wicks to the base of the shells then set them aside to dry. Melt the wax by placing the metal tea lights/wax holders on a pan over low heat. Watch this part closely and when it’s all liquid take the wax and carefully pour it into the seashells. As they dry and solidify use a pair of pliers to grab the tops of the wicks and straighten them out.
All that is left is to allow your freshly poured candles to fully harden. Strategically place them or strew the shells wherever you please, set them alight with a flame, and enjoy!
Please Share With Family and Friends

