image via – youtube.com
Nails have always been painted and decorated to match and compliment outfits and occasions, and now they’re fast becoming one of the most versatile and fun ways to get into different holiday spirits. People have come up with thousands of cool designs and techniques to get crazy, creative looking nails. There are tons of how to videos online that teach how to achieve super complex looking nail art designs. Some are easy and others are best left to professionals at a salon.
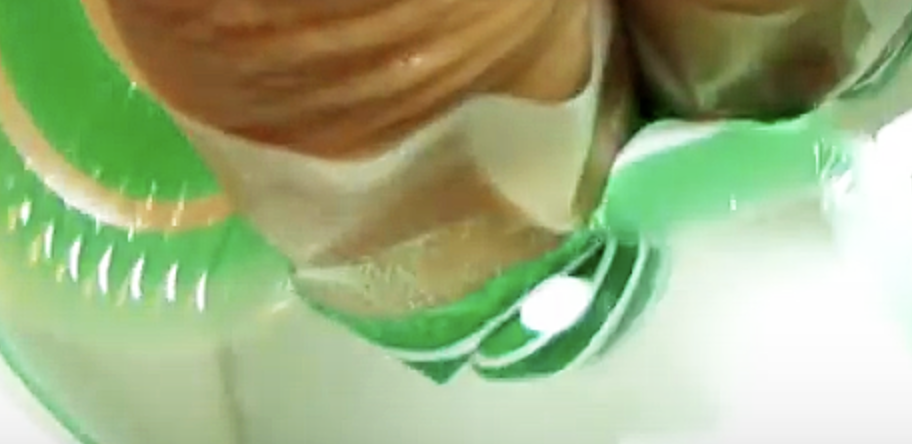
This tutorial from the My Simple Little Pleasures YouTube channel is perfect for St. Patrick’s Day. The video shows how to turn nails into festive four leaf clovers with water and nail polish that goes on with a marbling effect. The instructions make it very easy for anyone to recreate and each of the specific products used are listed in the video description. Try it out and get creative! After all, the worst thing that could happen is you may have to remove the polish.
For starters you will need white and green colored nail polishes, base coat, clear and fast drying top coat, a small paper cup, room temperature filtered water, plus a wooden cuticle pusher manicure stick or a similar type of sharp tool.
Start off by prepping your nails and apply a layer of base coat beforehand to help protect them. Gather all the things you need and fill the paper cup with room temperature filtered water. Take the green polish and drip a drop of it into the center of the water cup, then take the white polish and let a droplet of it fall in the middle of the cup.
Keep alternating drops of the nail polishes for six times each into the cup until 12 rings of polish have formed on the surface of the water. Take the cuticle pusher stick and use the pointy side to gently and carefully draw four lines, one from each side to the center of the cup. This draws the polish together and is what will form the four leaf clover so make sure to evenly space the lines so that the leaves will turn out even as well.
Next, take the pointy end of the stick and dip it down into the center to shrink the clover. Work quickly so that the polish doesn’t dry. Now it’s time for the application part. To make this less messy you may want to place tape around the skin near your nails beforehand. Line your middle nail up with the center of the cup as evenly as you possibly can so that the other two surrounding fingernails are also even with the polish lines in the cup.
Gently dip your fingernails down into the water and keep them there while you use the wooden manicure stick to clean up the excess polish around them. When the surface is clear, pull the nails out and allow them to dry. You can remove any extra nail polish that’s on your fingers and clean up nail edges to make them look neat. Be careful not to smudge or smear it but if you do, once it’s completely dry, you can fix up any spots that need it. Lastly, don’t forget to finish the look off with a clear top coat to protect your new paint job and make it last longer.
This four leaf clover nail art design is really easy to DIY and people will definitely notice the cool marbled effect on your nails, they really stand out! Best of all, doing this yourself at home will save you all the money that you would have ended up spending at the nail salon and it’s not cheap. All it takes is a little time and effort and you can have festive, creative, unique looking nails!
Please Share This With Family and Friends 🙂


